5 EN
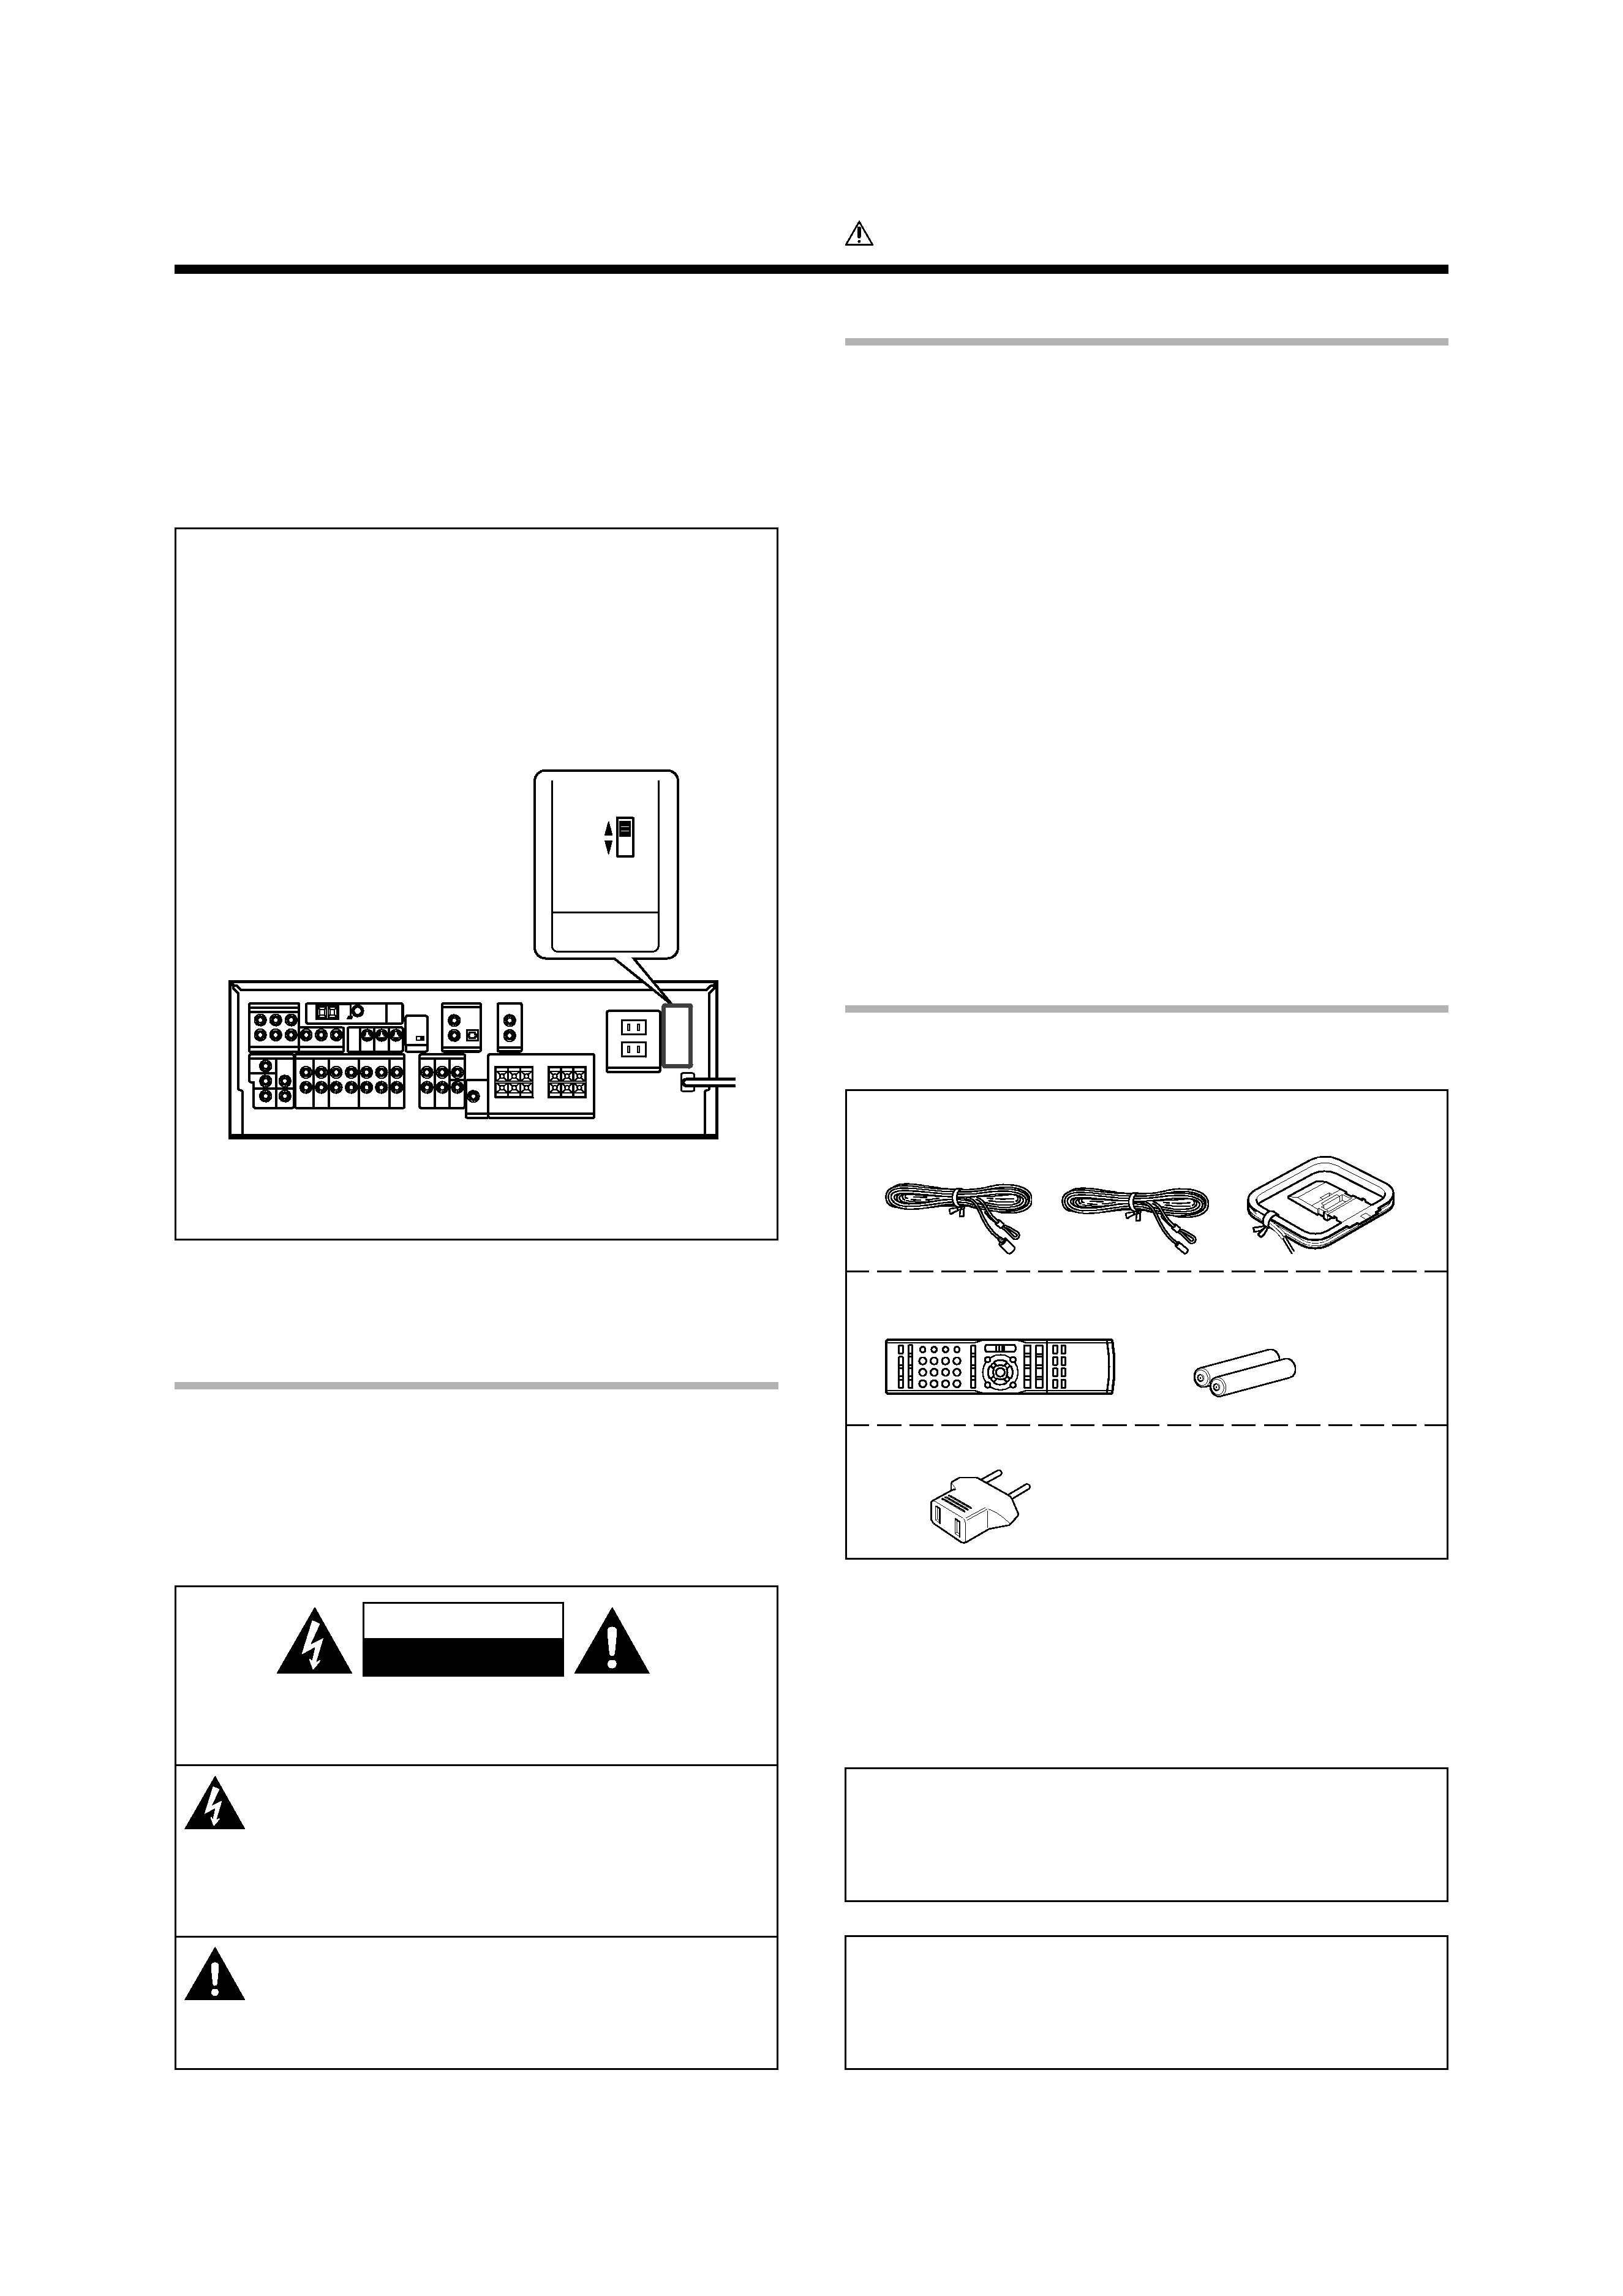
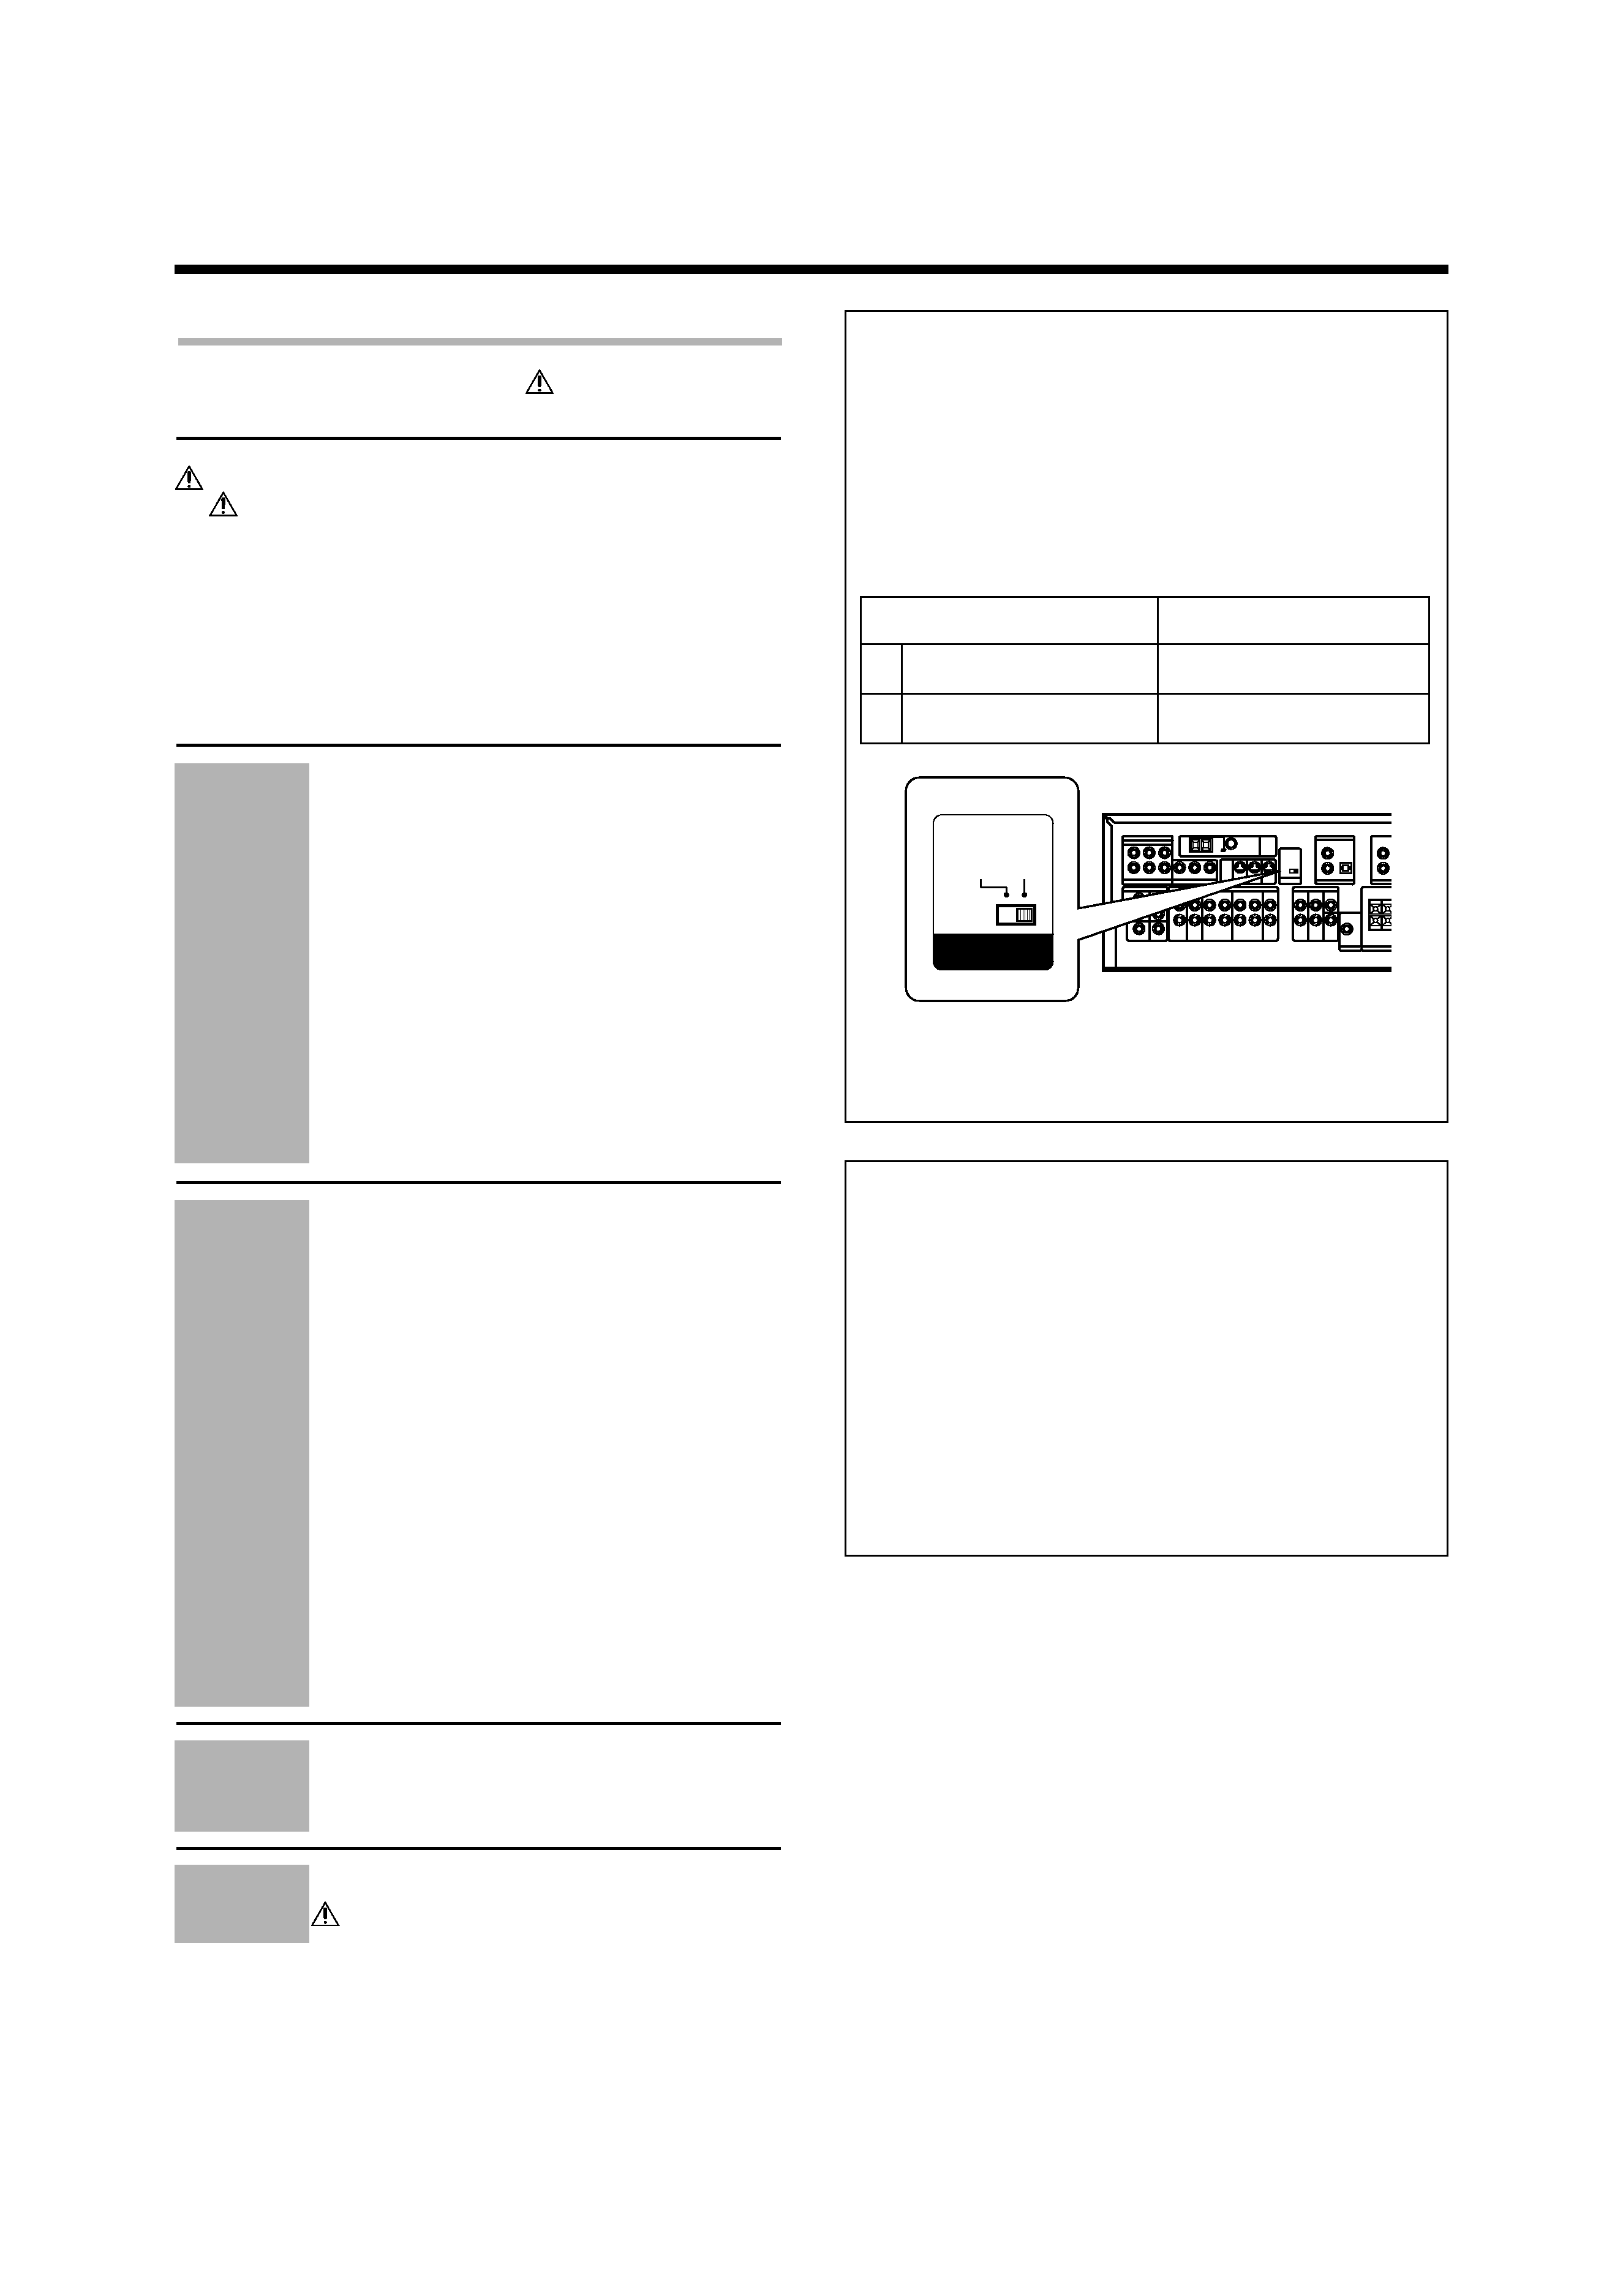
Before applying the power
Special features
True home theater sound
This model incorporates a wide variety of surround modes to bring you
maximum enjoyment from your video software. Select a surround mode
according to your equipment or the software you are going to play and
enjoy!
£
Dolby Digital and Dolby Digital EX
The DOLBY DIGITAL mode lets you enjoy full digital surround from
software processed in the Dolby Digital format. Dolby Digital provides up
to 5.1 channels of independent digital audio for better sound quality and
more powerful presence than conventional Dolby Surround. As for Dolby
Digital EX, it creates six full-bandwidth output channels from the 5.1
channel sources. This is done using a matrix decoder that derives three
surround channels from the two in the original recording. For best result,
Dolby Digital EX should be used with movie soundtracks recorded with
Dolby Digital Surround EX.
Dolby PRO LOGIC
II
x and Dolby PRO LOGIC II
DOLBY PRO LOGIC
II, whilst totally compatible with its predecessor
PRO LOGIC, provides greater advantages in surround sound. It allows
user to enjoy the conventional stereo or Dolby Surround with a convinc-
ing "5.1 like" presentation. PRO LOGIC
II offers special features for
controlling the overall spatial, dimensionality and frontal sound field
imaging. PRO LOGIC
II produces an impressive surround sound from
video software marked
and three-dimensional space
from music CD. When listening to music, you will be able to enjoy the
experience of sheer STEREO surround sound.
DOLBY PRO LOGIC
IIx enhanced DOLBY PRO LOGIC II's features.
It creates 6.1 channel and 7.1 channel surround sound from stereo or 5.1
channel signals. This feature provides you an astonishing ambience
effect which makes you feel you are surrounded by natural sound.
Especially 7.1 channel surround sound can produce real back sound from
Surround Back speakers.
DTS and DTS-ES
DTS (Digital Theater System) is a 5.1 channel digital audio format that
provides five full-spectrum channels and one low-frequency (subwoofer)
channel for unprecedented clarity, optimum channel separation and a
(wide) dynamic range.
DTS-ES (Extended Surround) presents 6.1 channels surround system
with additional Surround back channel which evolved from the conven-
tional 5.1 channels surround system. DTS-ES format that was recorded
in DVD, CD or LD comprises of two modes. DTS-ES Discrete 6.1
produces the discrete surround back which is completely independent
and DTS-ES Matrix 6.1 produces the surround back which synthesized
within the left and right surround channels using matrix technology. DTS-
ES has perfect compatibility with the conventional 5.1 channels surround
system. 6.1 channels surround with an additional surround back pre-
sents a more natural presence and surround effects by increasing the
impression of the sound image from back.
Important:
When a DTS disc is played on a CD, LD or DVD player, noise may be
output from the analog output. It is recommended that you connect the
digital output of the player to the digital input of this unit.
Neo:6
Neo:6 is a new technology which was developed by DTS. It can produce
high grade 6 channels surround with an astonishing fidelity from 2
channels content. Neo:6 has 2 modes, "CINEMA" mode is for movie
playback and "MUSIC" mode is for music playback.
DSP surround modes
The DSP (Digital Signal Processor) used for this model incorporates a
variety of high quality adjustable sound fields, like "ARENA", "JAZZ
CLUB", THEATER", STADIUM" and "DISCO". It is compatible with
almost any kind of program source.
DVD 6-channel input (KRF-V6090D/KRF-V5090D only)
If you own a DVD player equipped with 6-channel output, this model
allows you to obtain the full surround sound impact of DVD source
material featuring multi-channel encoding. Since the source signals are
digital and each channel is input independently, the resulting ambience
is far superior to what can be achieved with conventional surround sound
systems.
ACTIVE EQ
ACTIVE EQ mode will produce a more dynamic sound quality in any
condition. You can enjoy a more impressive sound effect when ACTIVE
EQ is turned on.
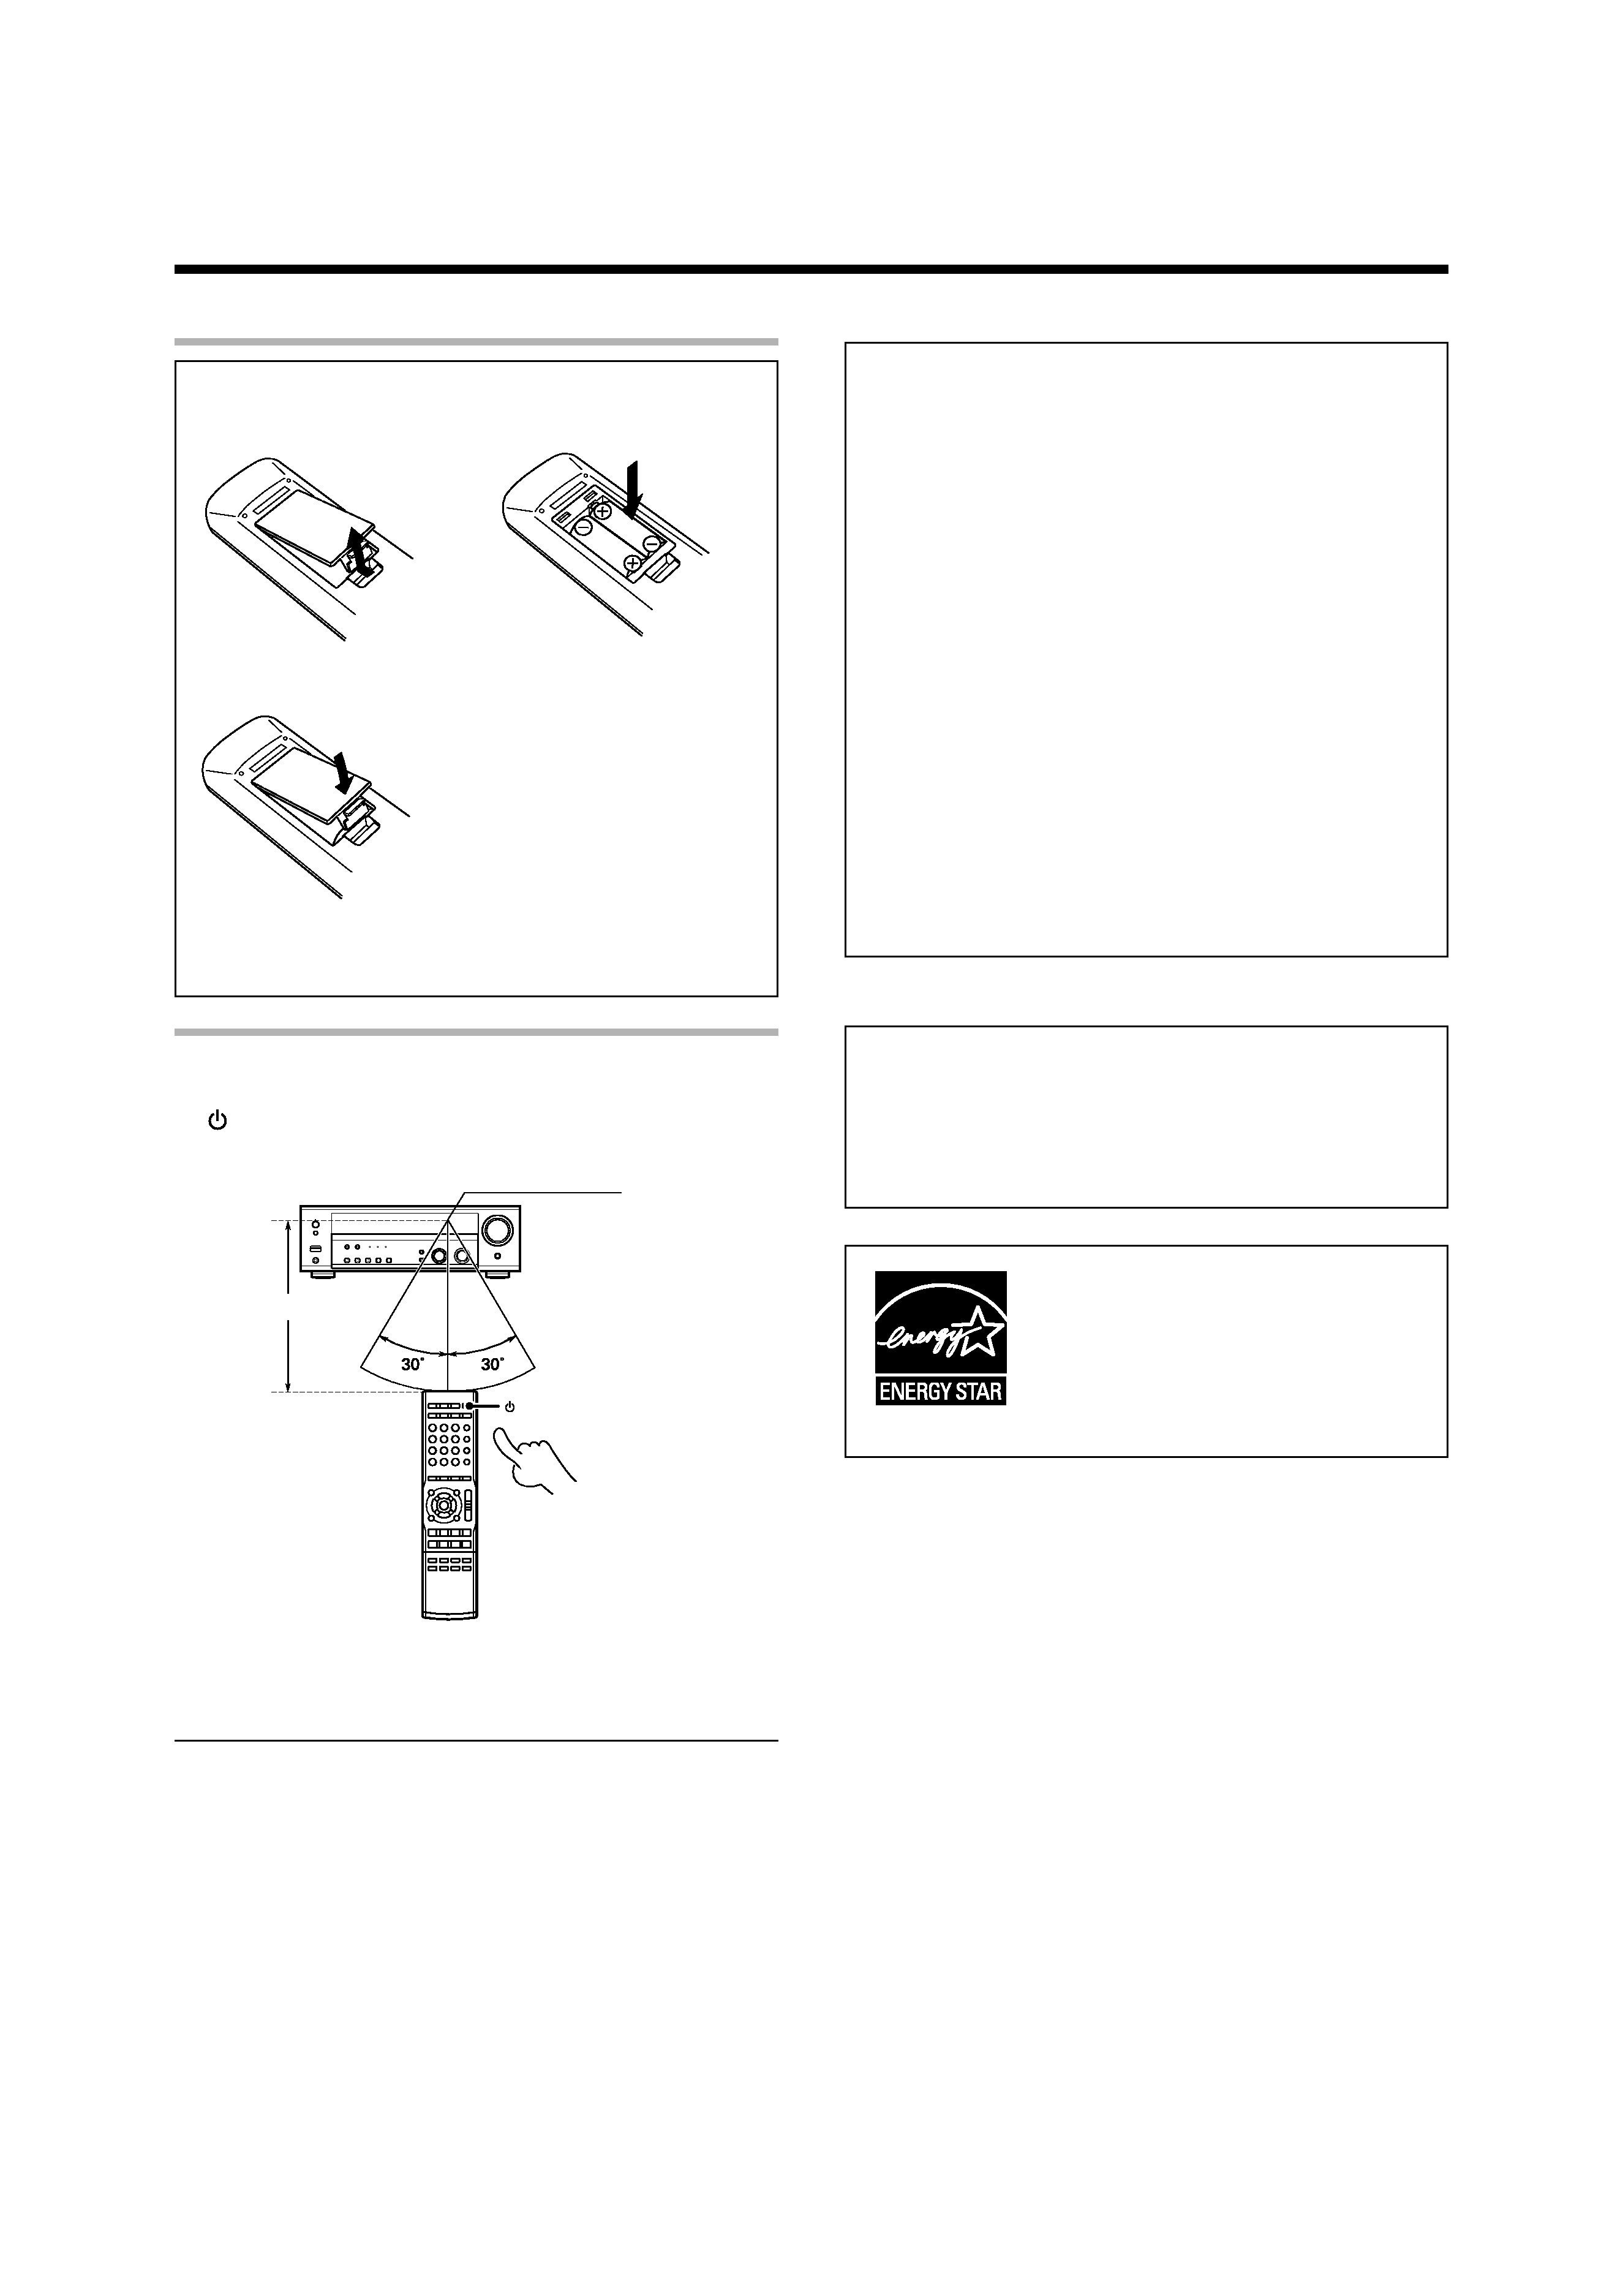
IR (InfraRed) remote control
In addition to the basic receiver operations, this IR remote control
supplied can also control KENWOOD DVD players directly without using
the DVD Special features.
04.11.25, 18:54
5