KENWOOD KDC-X8006U Owner's Manual

Cover page of KENWOOD KDC-X8006U Owner's Manual

Owner's Manual for KENWOOD KDC-X8006U, downloadable as a PDF file.

Manual details

  • Immediate download after payment.
  • Delivered as a PDF file.
  • The manual has 40 pages
  • File size: 0.53 MB
  • Available language versions: French, Arabic, English, Russian, Spanish, Dutch, German, Chinese Traditional, Italian
  • Different language versions may vary sligthly in file size and page count.

We guarantee that...

  • our manuals are complete,
  • our manuals are checked with antivirus,
  • We'll issue refund if the manual is damaged, incomplete or unreadable (our refund policy)

Sample pages

Thumbnail of page 1Thumbnail of page 2Thumbnail of page 3Thumbnail of page 4
Thumbnail of page 5Thumbnail of page 6Thumbnail of page 7Thumbnail of page 8
Thumbnail of page 9
background image
CD-RECEIVER
KDC-X8006U
INSTRUCTION MANUAL
© B64-3638-00/00 (MW)
background image
CD-RECEIVER
KDC-X8006U
INSTRUCTION MANUAL
© B64-3638-00/00 (MW)
background image
2 | English
Contents
Safety precautions
3
Notes
4
General features
6
Power
Selecting the Source
Volume
Attenuator
Audio Control
Adjusting the detail of Audio Control
Audio Setup
Speaker Setting
Subwoofer Output
TEL Mute
Function Control mode
Display Type Selection
Status Setting
Graphic Display Selection
Text Display Selection--Display Type B&E--
Text Display Selection-- Display Type C&D--
The text display
Font Color Selection
Station/Disc Naming (SNPS/DNPS)
Angle Control
Theft Deterrent Faceplate
Tuner/TV control features
16
Tuning
Tuning Mode
Direct Access Tuning
Station Preset Memory
Auto Memory Entry
Preset Tuning
Frequency Step Setting
TV Tuning
TV channel Preset Memory
Preset TV Tuning
Direct TV Tuning
CD/USB device/Audio file/External disc
control features
19
Playing CD & Audio file
Playing USB (iPod) device
Drive Search
Playing External Disc
Fast Forwarding and Reversing
Music Search
Disc Search/Folder/Album Search
Direct Music Search
Direct Disc Search
Play function of CD and Audio file
File Select
Text/Title Scroll
Menu system
24
Menu System
Security Code
Source Select Mode
iPod mode setting
Touch Sensor Tone
Manual Clock Adjustment
Date Adjustment
Date Mode
DSI (Disabled System Indicator)
Display Illumination Control
Dimmer
Built-in Amp Setting
Dual Zone System Setting
Supreme Setting
B.M.S. (Bass Management System)
B.M.S. Frequency Offset
AMP Control
CRSC (Clean Reception System Circuit)
Auxiliary Input Display Setting & Station/Disc
Naming
Text Scroll
Built-in Auxiliary input Setting
CD Read Setting
Audio Preset Memory
Audio Preset Recall
Firmware version display
Basic Operations of remote control 31
Accessories/ Installation Procedure 33
Connecting Wires to Terminals
34
Installation
35
Troubleshooting Guide
37
Specifications
40
background image
English
| 3
Safety precautions
2WARNING
To prevent injury or fire, take the following
precautions:
· To prevent a short circuit, never put or leave any
metallic objects (such as coins or metal tools) inside
the unit.
· Do not watch or fix your eyes on the unit's display
when you are driving for any extended period.
· Mounting and wiring this product requires skills and
experience. For safety's sake, leave the mounting
and wiring work to professionals.
2CAUTION
To prevent damage to the machine, take
the following precautions:
· Make sure to ground the unit to a negative 12V DC
power supply.
· Do not install the unit in a spot exposed to direct
sunlight or excessive heat or humidity. Also avoid
places with too much dust or the possibility of
water splashing.
· Do not place the faceplate (and the faceplate case)
in areas exposed to direct sunlight, excessive heat or
humidity. Also avoid places with too much dust or
the possibility of water splashing.
· To prevent deterioration, do not touch the terminals
of the unit or faceplate with your fingers.
· Do not subject the faceplate to excessive shock, as it
is a piece of precision equipment.
· When replacing a fuse, only use a new fuse with
the prescribed rating. Using a fuse with the wrong
rating may cause your unit to malfunction.
· Do not apply excessive force to the open faceplate
or place objects on it. Doing so will cause damage
or breakdown.
· Use only the screws provided or specified for
installation. If you use wrong screws, you could
damage the unit.
Attach the panel while you are on the
vehicle
The panel lock arm appears when the panel is
removed. Therefore, the panel must be attached while
the electrical system of the car is operating.
Do Not Load 8 cm (3 in.) CDs in the CD slot
If you try to load a 8 cm (3 in.) CD with its adapter into
the unit, the adapter might separate from the CD and
damage the unit.
About CD players/disc changers connected
to this unit
Kenwood disc changers/ CD players released in 1998
or later can be connected to this unit.
Refer to the catalog or consult your Kenwood dealer
for connectable models of disc changers/ CD players.
Note that any Kenwood disc changers/ CD players
released in 1997 or earlier and disc changers made by
other makers cannot be connected to this unit.
Connecting unsupported disc changers/CD players to
this unit may result in damage.
Set the "O-N" Switch to the "N" position for the
applicable Kenwood disc changers/ CD players.
The functions you can use and the information that
can be displayed may differ depending on the models
being connected.
¤
· You can damage both your unit and the CD changer if you
connect them incorrectly.
Lens Fogging
When you turn on the car heater in cold weather,
dew or condensation may form on the lens in the
CD player of the unit. Called lens fogging, this
condensation on the lens may not allow CDs to play.
In such a situation, remove the disc and wait for the
condensation to evaporate. If the unit still does not
operate normally after a while, consult your Kenwood
dealer.
The marking of products using lasers
(Except for some areas)
CLASS 1
LASER PRODUCT
The label is attached to the chassis/case and says
that the component uses laser beams that have
been classified as Class 1. This means that the unit is
utilizing laser beams that are of a weaker class. There
is no danger of hazardous radiation outside the unit.
iPod is a trademark of Apple Computer, Inc.,
registered in the U.S. and other countries.
The "AAC" logo is trademark of Dolby
Laboratories.
background image
4 | English
· If you experience problems during installation,
consult your Kenwood dealer.
· When you purchase optional accessories, check with
your Kenwood dealer to make sure that they work
with your model and in your area.
· The characters conforming to ISO 8859-1 character
set can be displayed.
· There are places in this manual where lit indicators
are described; however, the only time an indicator
will light is in the following settings.
When Status Display is set to On as mentioned in
<Status Setting> (page 11).
· The illustrations of the display and the panel
appearing in this manual are examples used to
explain more clearly how the controls are used.
Therefore, what appears on the display in the
illustrations may differ from what appears on the
display on the actual equipment, and some of the
illustrations on the display may be inapplicable.
How to reset your unit
· If the unit fails to operate properly, press the Reset
button. The unit returns to factory settings when the
Reset button is pressed.
· Remove the USB device before pressing the Reset
button. Pressing the Reset button with the USB
device installed can damage the data contained in
the USB device. For how to remove the USB device,
refer to <Playing USB (iPod) device> (page 20).
· Press the reset button if the disc auto changer fails
to operate correctly. Normal operation should be
restored.
Reset button
Cleaning the Unit
If the faceplate of this unit is stained, wipe it with a
dry soft cloth such as a silicon cloth.
If the faceplate is stained badly, wipe the stain off with
a cloth moistened with neutral cleaner, then wipe it
again with a clean soft dry cloth.
¤
· Applying spray cleaner directly to the unit may affect its
mechanical parts. Wiping the faceplate with a hard cloth or
using a volatile liquid such as thinner or alcohol may scratch
the surface or erases characters.
Cleaning the Faceplate Terminals
If the terminals on the unit or faceplate get dirty, wipe
them with a dry, soft cloth.
About KENWOOD "Music Editor" of PC
application attached to KDC-X8006U
· "Music Editor" is recorded in the CD-ROM attached
to this unit.
· Refer to the attached installation manual for the
installation method of "Music Editor".
· Refer to the user's manual recorded in the
installation CD-ROM and Help of "Music Editor" for
the operation method of "Music Editor".
· The unit can play CD/ USB device created by "Music
Editor".
· Information about "Music Editor" upgrade is put on
the site, www.kenwood.com.
About Audio file
· Playable Audio file
AAC-LC (.m4a), MP3 (.mp3), WMA (.wma),
WAV (.wav)
· Playable disc media
CD-R/RW/ROM
· Playable disc file format
ISO 9660 Level 1/2, Joliet, Romeo, Long file name.
· Playable USB device
USB mass storage class, iPod with KCA-iP200
· Playable USB device file system
FAT16, FAT32
Although the audio files are complied with the
standards listed above, the play maybe impossible
depending on the types or conditions of media or
device.
· Playing order of the Audio file
In the example of folder/file tree shown below, the
files are played in the order from
to
.
CD (
)
: Folder
: Audio fi
Folder
Audio file
An online manual about audio files is put on the
site, www.kenwood.com/audiofile/. On this online
Notes
background image
English
| 5
manual, detailed information and notes which are not
written in this manual are provided. Make sure to read
through the online manual as well.
/
· In this manual, the word "USB device" is used for flash
memories and digital audio players which have USB
terminals.
· The word "iPod" appearing in this manual indicates the iPod
connected with the KCA-iP200 (optional accessory). The
iPod connected with the KCA-iP200 can be controlled from
this unit. iPods that can be connected with the KCA-iP200
are the iPod nano and the iPod with video. When an iPod
is connected using a commercially available USB cable, it is
handled as a mass-storage-class device.
· For the supported formats and types of USB device, refer to
www.kenwood.com/usb/.
About USB device
· Install the USB device in the place where it will not
prevent you from driving your vehicle properly.
· You cannot connect a USB device via a USB hub.
· Take backups of the audio files used with this unit.
The files can be erased depending on the operating
conditions of the USB device.
We shall have no compensation for any damage
arising out of erasure of the stored data.
· No USB device comes with this unit. You need to
purchase a commercially available USB device.
· For how to play the audio files recorded in a USB
device, see <CD/USB device/Audio file/External disc
control features> (page 19).
· When connecting the USB device, usage of the CA-
U1EX (option) is recommended.
Normal playback is not guaranteed when a cable
other than the USB compatible cable is used.
Connecting a cable whose total length is longer
than 5 m can result in abnormal playback.
About Bluetooth Hands free control
Refer to the instruction manual of the Bluetooth
Hands Free Box KCA-BT100 (optional accessory).
However, the following control methods of the
function for this unit may be different from the
Instruction manual; therefore, refer to the following
supplemental instruction.
<Dialing by Using the Quick Dialing Function>
1. Press the Control knob. Select the "DIAL" display.
2. Press the [FNC] button.
3. Select the number to recall by turning the Control
knob
4. Press the Control knob.
<Registering to the Preset Dial Number List>
1. Operation is the same. Refer to the instruction
manual of KCA-BT100.
2. Press the [FNC] button.
3. Select the number to recall by turning the Control
knob
4. Press the Control knob for at least 1 second.
About Menu operation
For how to operate Menu, refer to <Menu System>
in this instruction manual. For the items to be set
up, refer to the instruction of Hands Free Box.
About display of Cell-Phone Status
Cell-Phone Status is displayed in the status display
of this unit. For the information about the displayed
icons, refer to the instruction manual of Hands Free
Box.
Handling CDs
· Do not touch the recording surface of the CD.
· Do not stick tape etc. on the CD, or use a CD with
tape stuck on it.
· Do not use disc type accessories.
· Clean from the center of the disc and move
outward.
· When removing CDs from this unit, pull them out
horizontally.
· If the CD center hole or outside rim has burrs,
use the CD only after removing the burrs with a
ballpoint pen etc.
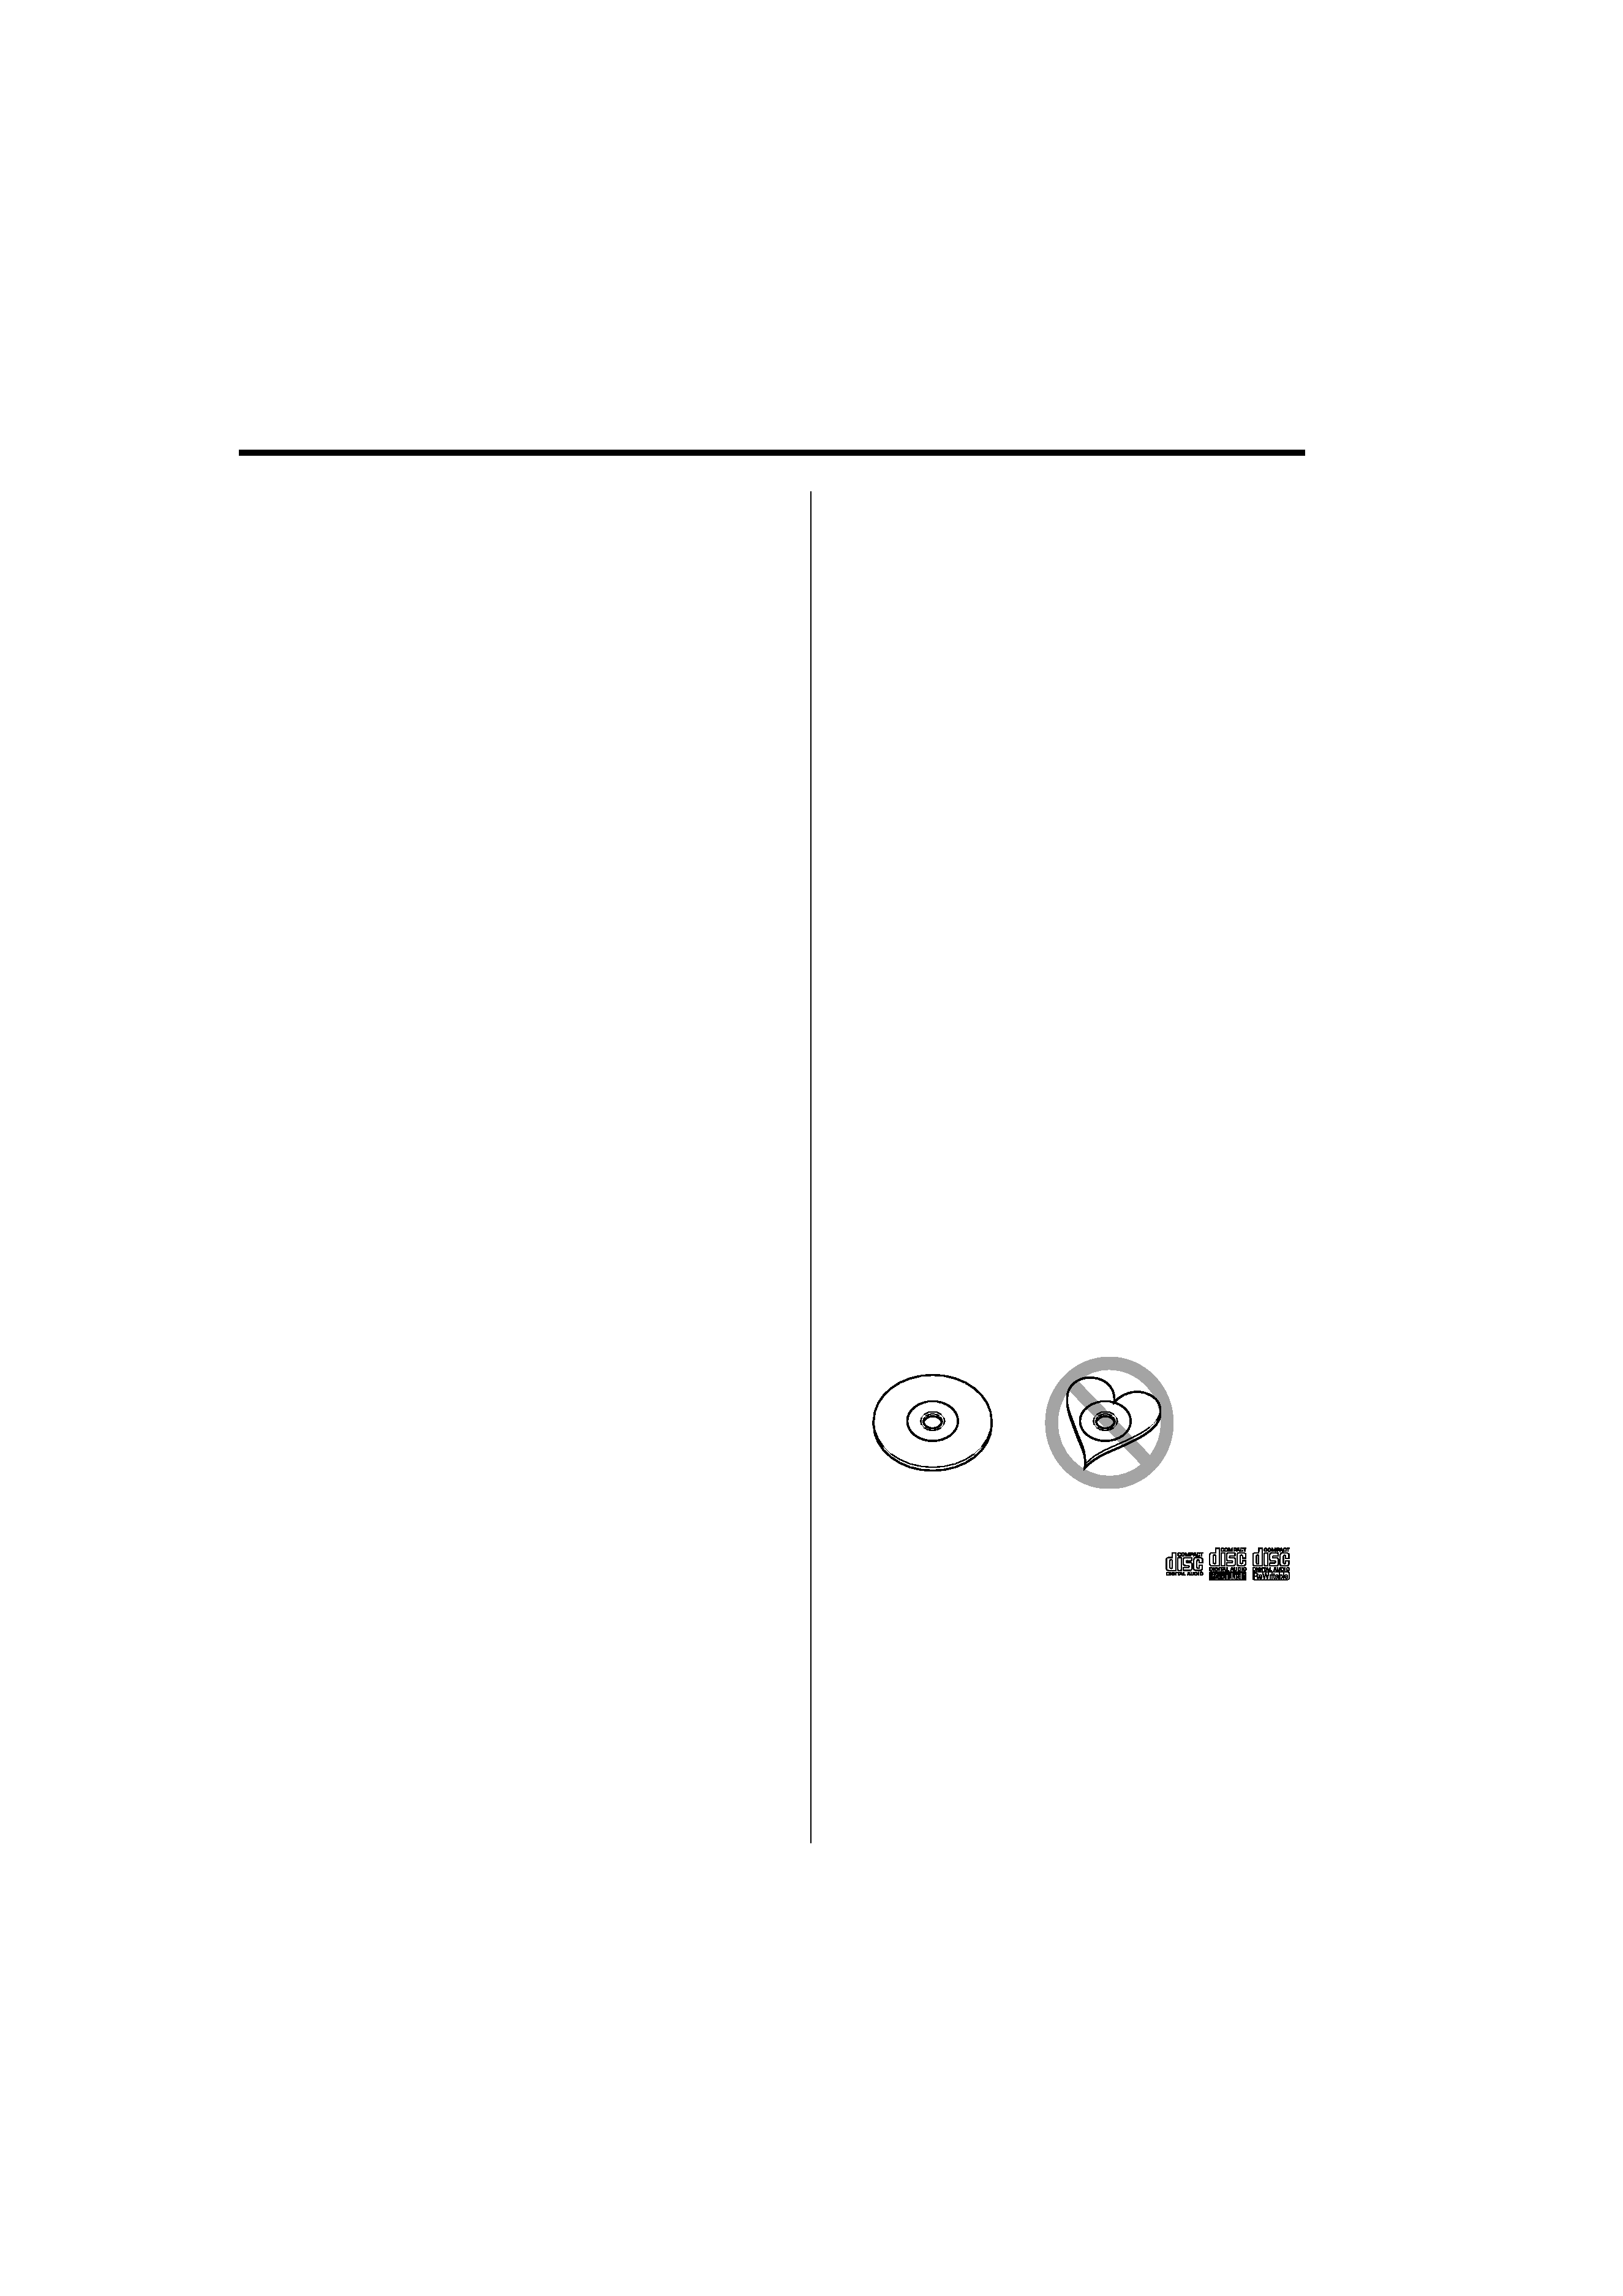
CDs that cannot be used
· CDs that are not round cannot be used.
· CDs with coloring on the recording surface or CDs
that are dirty cannot be used.
· This unit can only play the CDs with
.
This unit may not correctly play discs which do not
have the mark.
· You cannot play a CD-R or CD-RW that has not been
finalized. (For the finalization process refer to your
CD-R/CD-RW writing software, and your CD-R/CD-
RW recorder instruction manual.)

Reviews

There are no reviews of this manual yet.