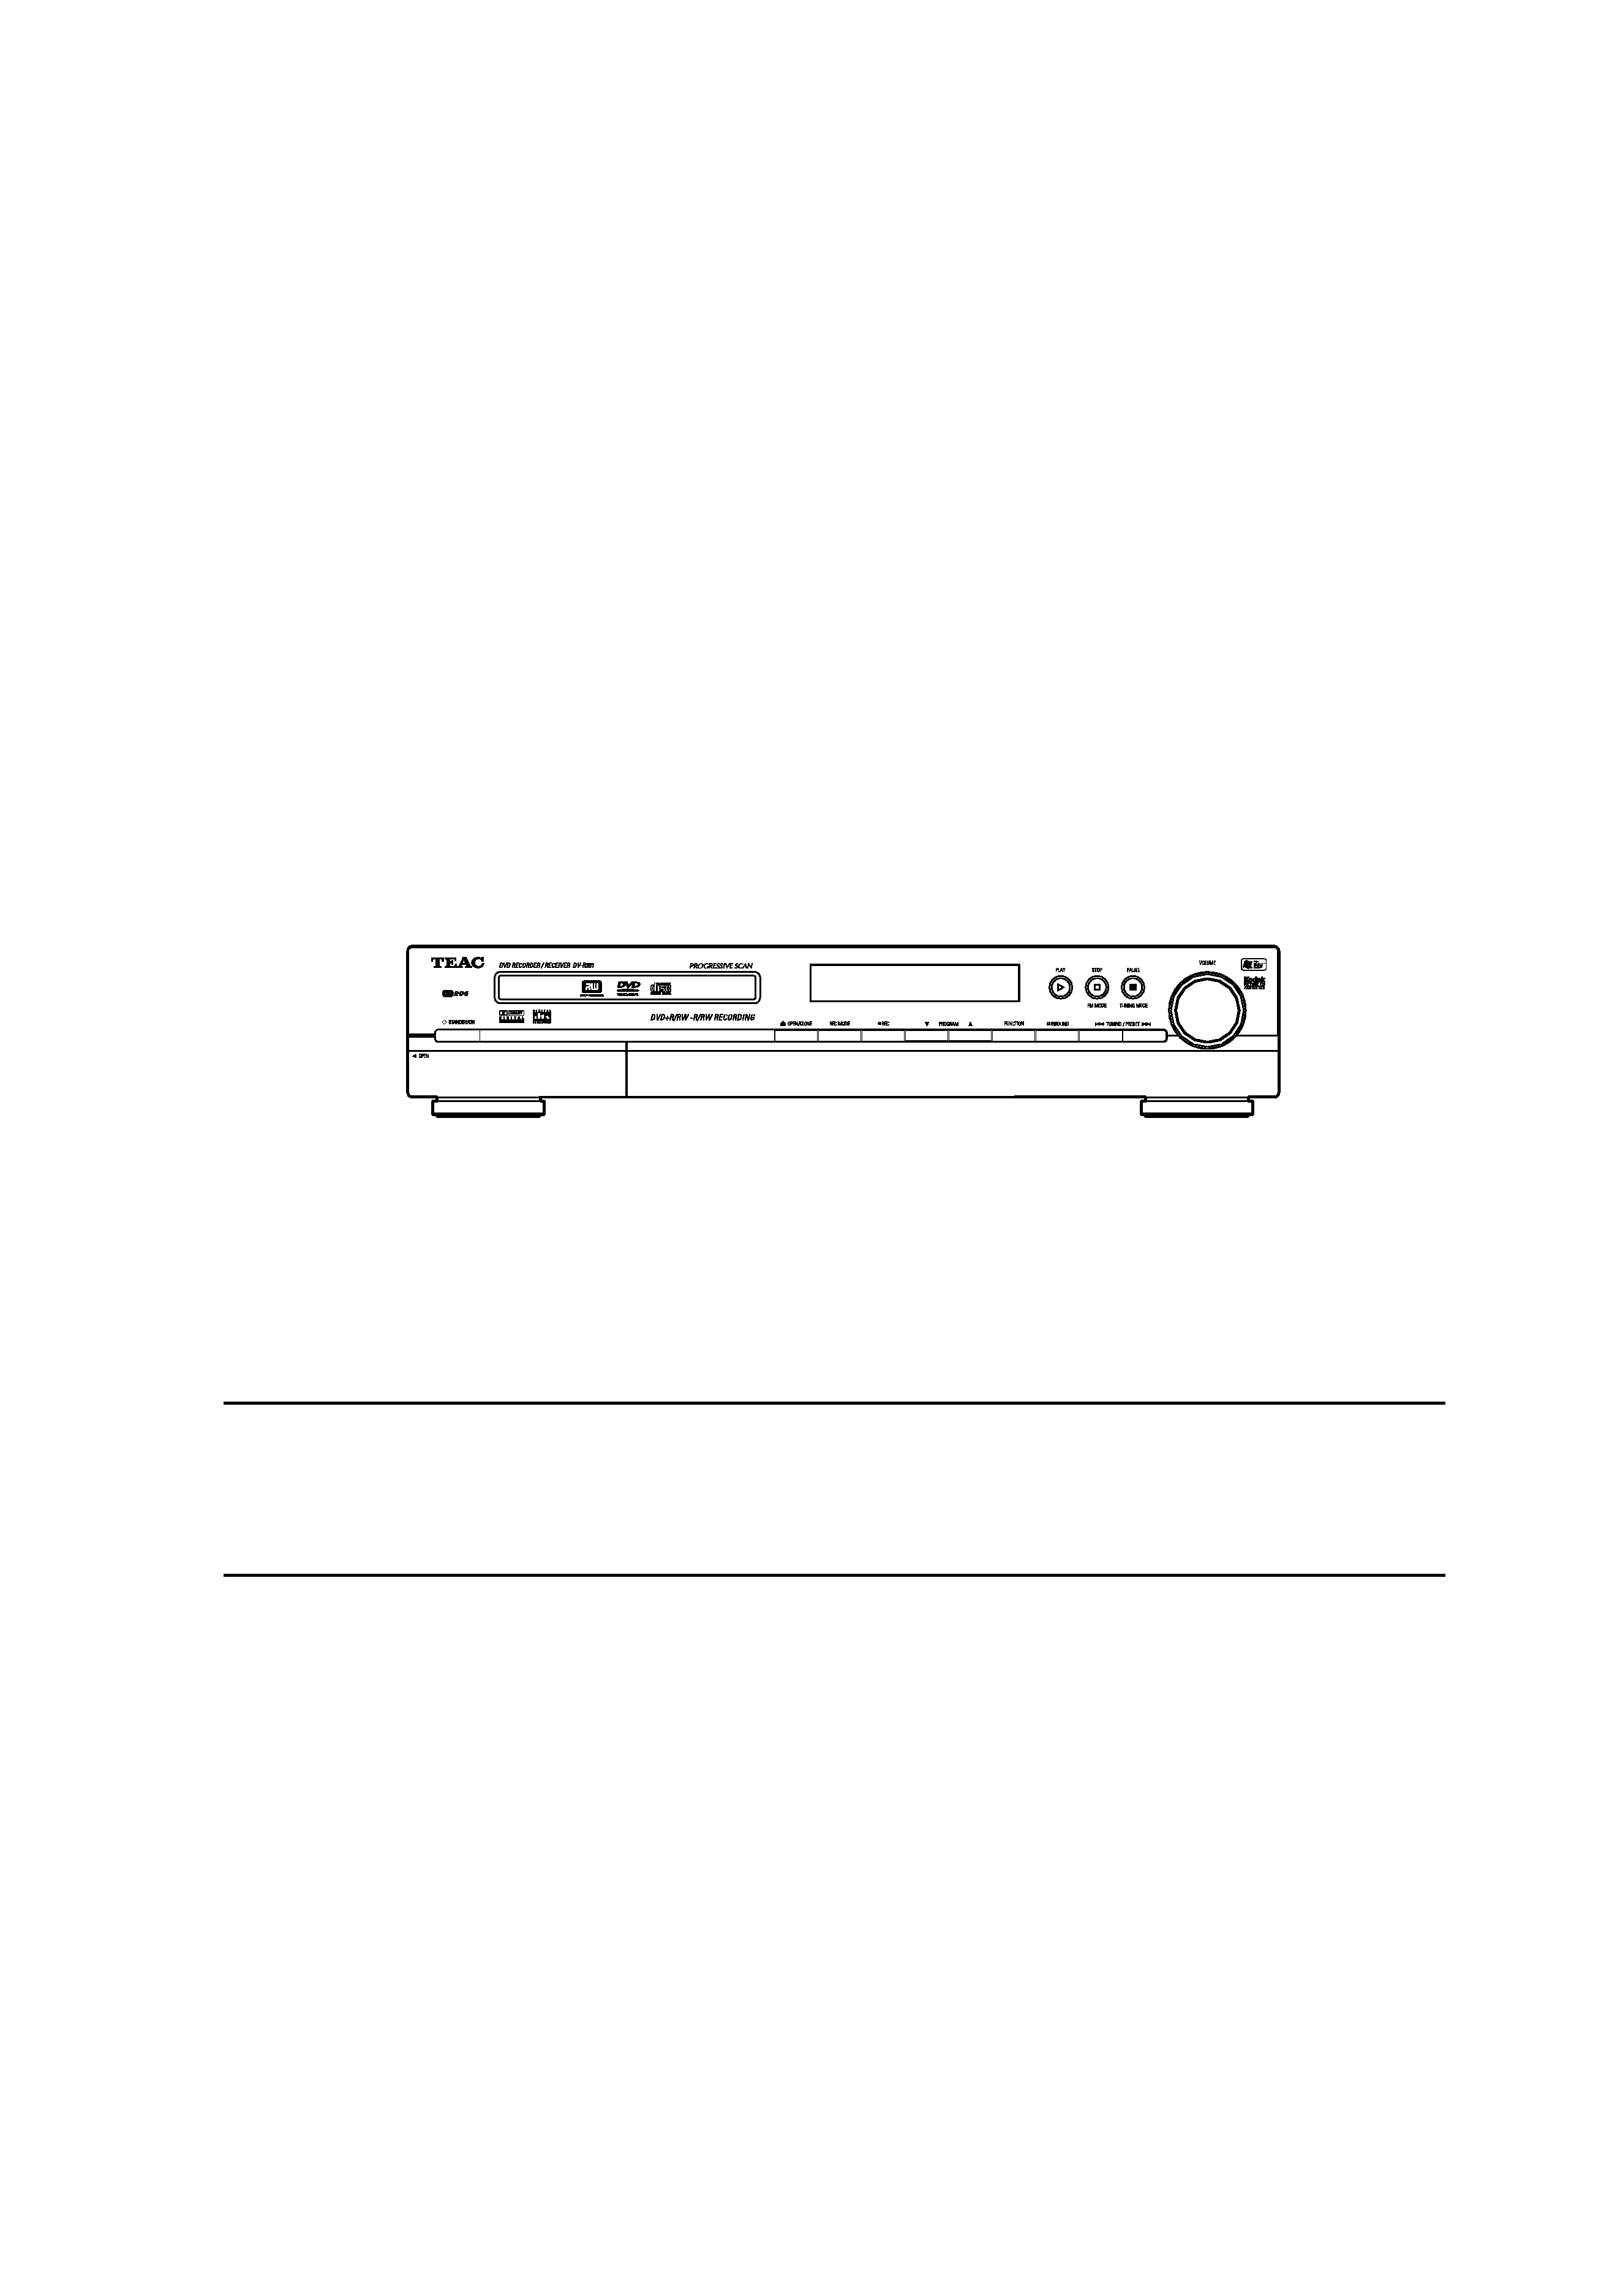
TEAC DVR301 Owner's Manual

Cover page of TEAC DVR301 Owner's Manual

Owner's Manual for TEAC DVR301, downloadable as a PDF file.

Manual details

  • Immediate download after payment.
  • Delivered as a PDF file.
  • The manual has 71 pages
  • File size: 4.74 MB
  • Available language versions: English
  • Different language versions may vary sligthly in file size and page count.

We guarantee that...

  • our manuals are complete,
  • our manuals are checked with antivirus,
  • We'll issue refund if the manual is damaged, incomplete or unreadable (our refund policy)

Sample pages

Thumbnail of page 1Thumbnail of page 2Thumbnail of page 3Thumbnail of page 4
Thumbnail of page 5Thumbnail of page 6Thumbnail of page 7Thumbnail of page 8
Thumbnail of page 9
background image
Z
USER MANUAL
DV-R301
DVD RW Receiver
IMPORTANT!
WARRANTY INFORMATION INSIDE. PLEASE READ
FOR INQUIRIES CALL
1800 656 700
OR
WWW.TEAC.COM.AU
background image
Z
USER MANUAL
DV-R301
DVD RW Receiver
IMPORTANT!
WARRANTY INFORMATION INSIDE. PLEASE READ
FOR INQUIRIES CALL
1800 656 700
OR
WWW.TEAC.COM.AU
background image
2
1. TEAC warrants to the original retail purchaser only, that this product is free from defects in material and work-
manship under normal domestic use and authorises free service during the warranty period at any TEAC
Authorised Centre only. TEAC warranty only applies to products purchased, used and serviced in Australia.
2. Subject to the terms herein, this warranty effectively covers the equipment as specified in the Warranty Periods
Table from the date of purchase.
3. All parts, except the external cabinet, are warranted as specified in Warranty Periods Table, and will be repaired
or replaced at the sole judgement of TEAC.
4. Normal customer maintenance as described in the owner's manual is not covered by this warranty (such as clean-
ing VCR heads etc.)
5. This warranty does not apply to equipment showing abuse, damage or that it may have been tampered with,
altered or repaired outside any TEAC Authorised Service Centre. If so, the warranty will be void.
*Your nearest Authorised TEAC Service Centre is listed in your Owners Manual
6. In the event that this unit or any defective parts must be returned to TEAC Service Centres, a copy of this warran-
ty certificate and of your purchase receipt must be enclosed to be a valid warranty. Such equipment or parts must
be sent freight prepaid to the nearest authorised TEAC Service Centre. After the repair, the unit will be available
for collection by the owner or it will be returned to the owner. The warranty does not cover freight or insurance.
In all cases of in-transit damages or loss, a claim must be filed against the carrier by the purchaser.
7. In home service will only be provided as part of this warranty if all the following conditions are met;
a) The product is a Colour Television of 51cm screen size or over.
b) The product is within the warranty period.
c) The product is located within the normal service area of the local TEAC Service Provider.
In any other situation or circumstance, where an in home service call is made, a service fee will be charged by the
Service Provider.
8. TEAC Total Care in home service and installation is available at competitive rates.
9. No one is authorised to assume any liability on behalf of TEAC or impose any obligation on it, in connection with
the sale of any equipment other than as stated in this warranty and outlined above.
10. In no event will TEAC be responsible or liable for indirect or consequential damages from interrupted operations
or other causes.
11. Warranty is not transferable to any subsequent purchaser if the product is sold during the warranty period,
Please read this warranty card.
Keep your purchase receipt to enable you to proceed quickly in the event of a Warranty Service.
Warranty Terms & Conditions
WARRANTY REGISTRATION
Z
TEAC PRODUCT
Televisions / Plasma 106 cm and above
LCD televisions 56cm and above
Televisions ­ 51cm and above
Televisions under 51 cm
Digital Set Top Boxes
VCR
DVD
DVD Recorder
Audio Systems
WARRANTY PERIOD
1 Year (In-Home Service Included)
1 Year (In-Home Service)
background image
3
Please keep this information for your own records.
Please refer to the owner's manual to ensure that you have followed the correct installation and operating procedures.
1. Read owner's manual carefully.
2. If you require Warranty Service, please contact the TEAC Service Centre.
3. Please have your purchase receipt as your proof of purchase and the following details completed for a valid
Warranty.
4. Please ensure that your product is packed appropriately upon return to the service centre.
If you have any other queries regarding service or warranty please contact the TEAC Service below:
Z
Z
WARRANTY PROCEDURES
TEAC Total Care Ph: 1800 656 700
www.teac.com.au
Owner's Name
Owner's Address
Postcode
Moder Name/No.
Serial No.
Dealer's Name
Dealer's Address
Postcode
background image
4
Important Safety Instructions
IMPORTANT(for U.K.Customers)
DO NOT cut off the mains plug from this equipment. If
the plug fitted is not suitable for the power points in
your home or the cable is too short to reach a power
point, then obtain an appropriate safety approved
extension lead or consult your dealer.
If nonetheless the mains plug is cut off, remove the
fuse and dispose of the plug immediately, to avoid a
possible shock hazard by inadvertent connection to
the mains supply.
If this product is not provided with a mains plug, or one
has to be fitted, then follow the instructions given
below:
IMPORTANT. DO NOT make any connection to the
larger terminal which is marked with the letter E or by
the safety earth symbol | or coloured GREEN or
GREEN-and-YELLOW.
The wires in the mains lead on this product are
coloured in accordance with the following code:
BLUE
: NEUTRAL
BROWN : LIVE
As these colours may not correspond with the
coloured markings identifying the terminals in your
plug proceed as follows:
The wire which is coloured BLUE must be connected
to the terminal which is marked with the letter N or
coloured BLACK.
The wire which is coloured BROWN must be connect-
ed to the terminal which is marked with the letter L or
coloured RED.
When replacing the fuse only a correctly rated
approved type should be used and be sure to re-fit the
fuse cover.
IF IN DOUBT -- CONSULT A COMPETENT ELECTRI-
CIAN.
CAUTION
The product shall not be exposed to dripping or
splashing and that no object filled with liquids, such
as vases, shall be placed on the product.
Do not install this equipment in a confined space
such as a book case or similar unit.
Resetting the machine to the default factory settings.
e
Important:
All the information stored(TV channels, time and
date, TIMER) will be lost.
e
Connect from the main power supply.
Press the SYSTEM INITIAL on the remote con-
trol to the default factory settings.
Reset initial installation.
CAUTION Regarding Placement
To maintain proper ventilation, be sure to leave a
space around the unit (from the largest outer dimen-
sions including projections) equal to, or greater
than, shown below.
Left and Right Panels : 10 cm
Rear Panel
: 10 cm
Top Panel
: 50 cm
This symbol means that the product is double
insulated and you do not need an earth con-
nection
This symbol means that this product keeps to
the European safety and electrical interfer-
ence directives
Y
CAUTION:
TV' s can be susceptible to phosphor burn under cer-
tain circumstances. Certain operating conditions,
such as the continuous display of a static image over
a prolonged period of time, can result in phosphor
burn if proper precautions are not taken. To protect
your investment of your TV, please adhere to the fol-
lowing guidelines and recommendations for minimiz-
ing the occurrence of image burn.
1. Avoid displaying static images (such as menu
icons)over a prolonged period of time.
2. Always power down the DVD Recoder and TV
when you are finished using them.
background image
5
Table of Contents
CONTENTS ..............................................................................5
BEFORE USE............................................................................6
NOTES ON DISCS ..................................................................7
REMOTE CONTROL UNIT......................................................8
FEATURES ...............................................................................9
CONNECTIONS.....................................................................10
CONTROL FUNCTIONS........................................................17
GETTING STARTED
- OSD LANGUAGE SETTING...............................................22
- SET INITIALIZE ..................................................................23
- CLOCK SETTING ................................................................23
- TV SETTING ........................................................................24
PLAYBACK
- PLAYBACK ..........................................................................27
- USING GUI AND ACTION BAR ........................................31
- PLAY MODE ........................................................................32
- PLAY VIDEO SETTING.......................................................35
- SETTING A RATING LEVEL AND PASSWORD..............38
RECORDING
- ABOUT RECORDING .........................................................39
- FORMAT AND FINALISING..............................................40
- RECORDING FROM TV ......................................................42
- RECORDING FROM EXTERNAL INPUT ..........................43
- TIMER RECORDING...........................................................44
- EDITING THE DISC ............................................................46
- EDITING IN VR MODE.......................................................48
- RECORDING OPTIONS......................................................49
FUNCTION
- SPEAKER CONFIGURATION ............................................50
- NIGHT MODE......................................................................52
- BASIC OPERATION ...........................................................53
- SURROUND MODE ............................................................54
TUNER
- TUNING ...............................................................................55
- PRESET TUNING................................................................56
USING THE SET UP OPTIONS............................................57
- GENERAL SETTING
- TV SETUP SETTING
- VIDEO SETTING
- LOCK SETTING
- RECORDING SETTING
- DISC SETUP SETTING
GLOSSARY ............................................................................60
PROGRAMMING THE REMOTE .........................................62
TROUBLESHOOTING ...........................................................67
SPECIFICATIONS .................................................................69
ACCESSORIES ......................................................................70

Reviews

There are no reviews of this manual yet.