TEAC A1D Owner's Manual

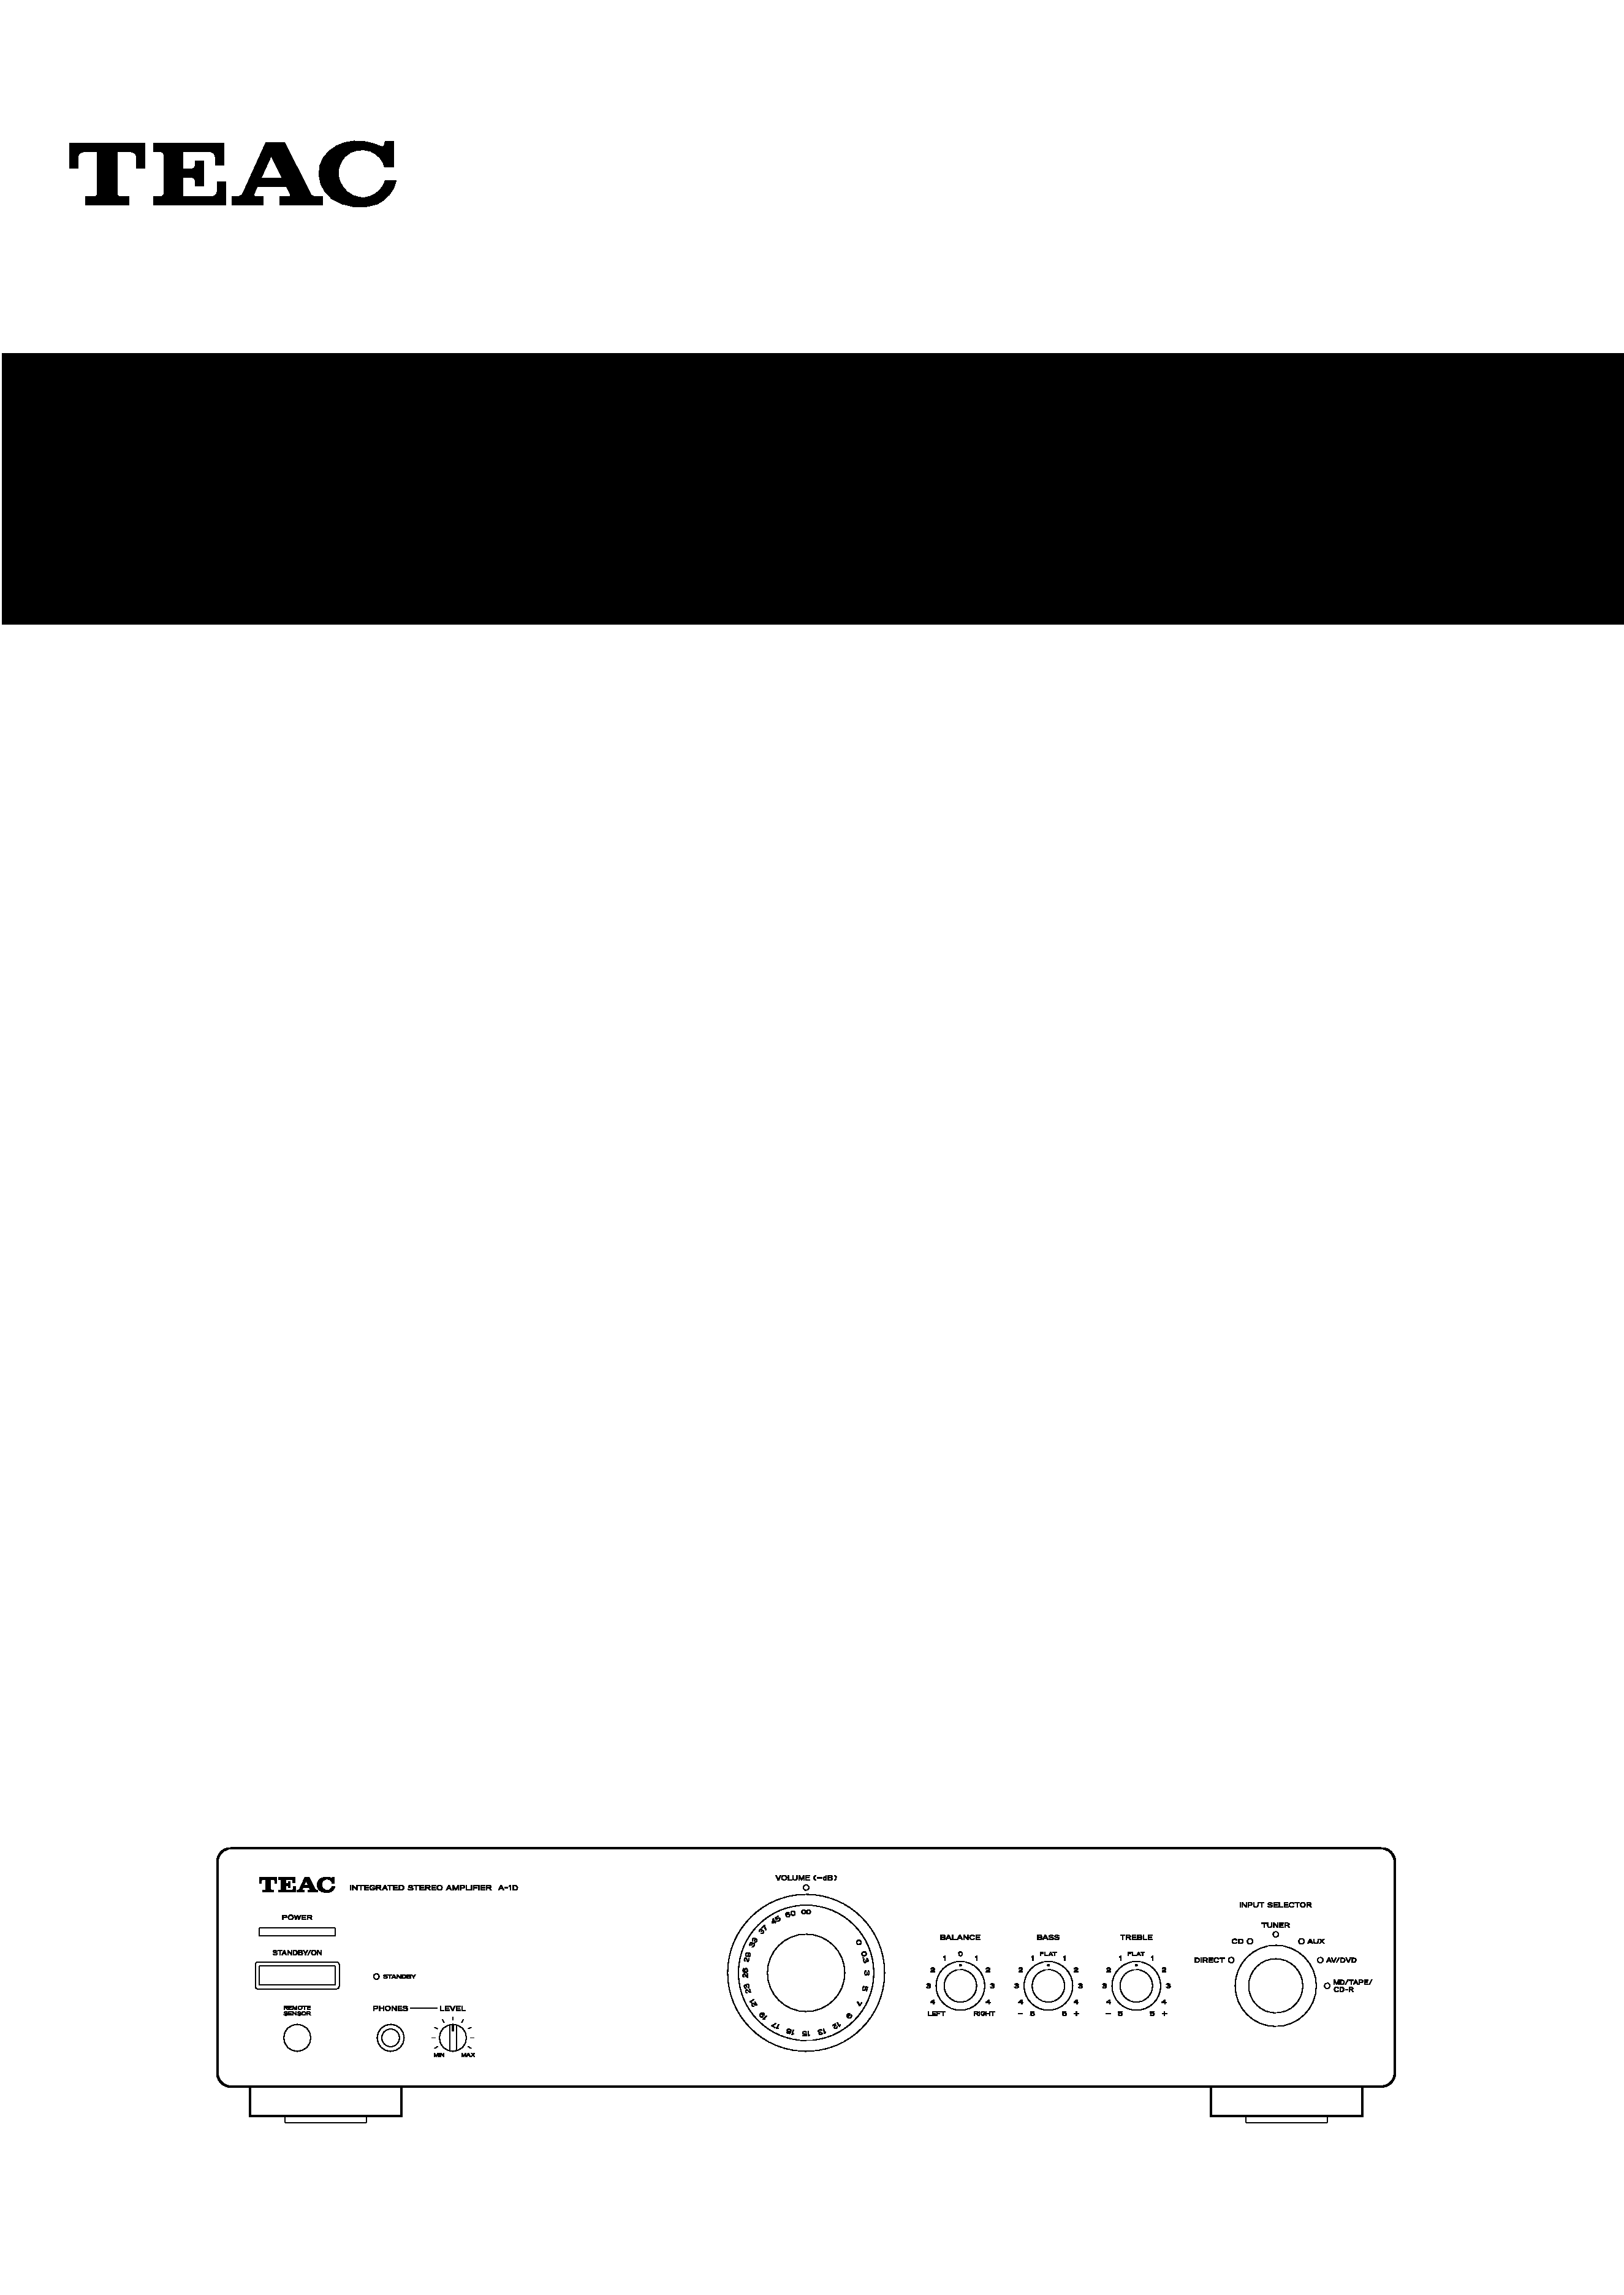
Cover page of TEAC A1D Owner's Manual

Owner's Manual for TEAC A1D, downloadable as a PDF file.

We also have service manual to this model.

Manual details

  • Immediate download after payment.
  • Delivered as a PDF file.
  • The manual has 32 pages
  • File size: 1.07 MB
  • Available language versions: French, English, Spanish, Dutch, German, Italian
  • Different language versions may vary sligthly in file size and page count.

We guarantee that...

  • our manuals are complete,
  • our manuals are checked with antivirus,
  • We'll issue refund if the manual is damaged, incomplete or unreadable (our refund policy)

Sample pages

Thumbnail of page 1Thumbnail of page 2Thumbnail of page 3Thumbnail of page 4
Thumbnail of page 5Thumbnail of page 6Thumbnail of page 7Thumbnail of page 8
Thumbnail of page 9
background image
OWNER'S MANUAL
MANUEL DU PROPRIETAIRE
MANUAL DEL USUARIO
BEDIENUNGSANLEITUNG
MANUALE DI ISTRUZIONI
HANDLEIDING
9A09147000
A-1D
Integrated Stereo Amplifier
background image
OWNER'S MANUAL
MANUEL DU PROPRIETAIRE
MANUAL DEL USUARIO
BEDIENUNGSANLEITUNG
MANUALE DI ISTRUZIONI
HANDLEIDING
9A09147000
A-1D
Integrated Stereo Amplifier
background image
ENGLISH
Contents
2
Thanks for buying a TEAC. Read this manual carefully to get the
best performance from this unit.
Before Use . . . . . . . . . . . . . . . . . . . . . . . . . . . . . . . . . . . . . . . . . . . . 2
Connections . . . . . . . . . . . . . . . . . . . . . . . . . . . . . . . . . . . . . . . . . . . 4
Remote Control Unit . . . . . . . . . . . . . . . . . . . . . . . . . . . . . . . . . . . . 8
Names of Each Control. . . . . . . . . . . . . . . . . . . . . . . . . . . . . . . . . 10
Basic Operation. . . . . . . . . . . . . . . . . . . . . . . . . . . . . . . . . . . . . . . 12
Troubleshooting. . . . . . . . . . . . . . . . . . . . . . . . . . . . . . . . . . . . . . . 16
Specifications . . . . . . . . . . . . . . . . . . . . . . . . . . . . . . . . . . . . . . . . 16
IMPORTANT(for U.K.Customers)
DO NOT cut off the mains plug from this equipment. If the plug
fitted is not suitable for the power points in your home or the
cable is too short to reach a power point, then obtain an
appropriate safety approved extension lead or consult your
dealer.
If nonetheless the mains plug is cut off, remove the fuse and
dispose of the plug immediately, to avoid a possible shock
hazard by inadvertent connection to the mains supply.
If this product is not provided with a mains plug, or one has to be
fitted, then follow the instructions given below:
IMPORTANT. DO NOT make any connection to the larger
terminal which is marked with the letter E or by the safety earth
symbol | or coloured GREEN or GREEN-and-YELLOW.
The wires in the mains lead on this product are coloured in
accordance with the following code:
BLUE
: NEUTRAL
BROWN : LIVE
As these colours may not correspond with the coloured
markings identifying the terminals in your plug proceed as
follows:
The wire which is coloured BLUE must be connected to the
terminal which is marked with the letter N or coloured BLACK.
The wire which is coloured BROWN must be connected to the
terminal which is marked with the letter L or coloured RED.
When replacing the fuse only a correctly rated approved type
should be used and be sure to re-fit the fuse cover.
IF IN DOUBT -- CONSULT A COMPETENT ELECTRICIAN.
CAUTION Regarding Placement
To maintain proper ventilation, be sure to leave a space
around the unit (from the largest outer dimensions including
projections) equal to, or greater than, shown below.
Left and Right Panels
: 10 cm
Rear Panel
: 10 cm
Top Panel
: 50 cm
Before Use
Read this before operation
< Choose the installation location of your unit carefully. Avoid
placing it in direct sunlight or close to a source of heat. Also
avoid locations subject to vibrations and excessive dust, heat,
cold or moisture.
< The ventilation holes should not be covered. Make sure there
is at least 50 cm of space above and at least 10 cm of space on
each side of the amplifier. Do not place a CD player or other
equipment on top of the amplifier.
< Do not open the cabinet as this might result in damage to the
circuitry or electrical shock. If a foreign object should get into
the set, contact your dealer.
< When removing the power plug from the wall outlet, always
pull directly on the plug, never yank the cord.
< Do not attempt to clean the unit with chemical solvents as this
might damage the finish. Use a clean, dry cloth.
< Keep this manual in a safe place for future reference.
CAUTION
The product shall not be exposed to dripping or splashing and
that no object filled with liquids, such as vases, shall be placed
on the product.
Do not install this equipment in a confined space such as a
book case or similar unit.
background image
FRANÇAIS
ESPAÑOL
Sommaire
Indice
3
ENGLISH
/
F
RANÇAIS
/
ESPAÑOL
Nous vous remercions pour l'achat d'un appareil TEAC. Lire ce
manuel avec attention pour obtenir les meilleures performances
possibles de cet appareil.
Avant Utilisation . . . . . . . . . . . . . . . . . . . . . . . . . . . . . . . . . . . . . . . 3
Connexions. . . . . . . . . . . . . . . . . . . . . . . . . . . . . . . . . . . . . . . . . . . . 5
Boîtier de télécommande. . . . . . . . . . . . . . . . . . . . . . . . . . . . . . . . 9
Nomenclature de chaque controle . . . . . . . . . . . . . . . . . . . . . . 11
Fonctionnement de base. . . . . . . . . . . . . . . . . . . . . . . . . . . . . . . . 13
Dépannage . . . . . . . . . . . . . . . . . . . . . . . . . . . . . . . . . . . . . . . . . . . 16
Caractéristiques . . . . . . . . . . . . . . . . . . . . . . . . . . . . . . . . . . . . . . 16
Avant Utilisation
Lire ceci avant de faire fonctionner l'appareil
< Choisir avec soin l'endroit où vous placerez votre appareil.
Eviter de le placer directement au soleil ou près d'une source
de chaleur. Eviter aussi les endroits sujets à des vibrations, à
de la poussière excessive, à la chaleur, au froid ou à
l'humidité.
< Les trous de ventilation ne doivent pas être couverts.
S'assurer qu'il y a un espace d'au moins 10 cm au dessus et à
côté de l'amplificateur/récepteur. Ne pas placer un lecteur CD
ou un autre appareil sur le dessus de l'amplificateur/
récepteur.
< Ne pas ouvrir le coffret car ceci risquerait de provoquer des
dommages aux circuits ou des chocs électriques. Si un objet
rentre dans l'appareil, contacter votre revendeur.
< Lors du débranchement du cordon d'alimentation de la prise
murale, toujours tirer sur la fiche et non sur le cordon.
< Ne pas essayer de nettoyer l'appareil avec des solvants
chimiques car ceci pourrait endommager le fini de l'appareil.
Utiliser un chiffon propre et sec.
< Garder soigneusement ce manuel d'instructions pour une
référence ultérieure.
Enhorabuena por la adquisición de un TEAC. Lea detenidamente
este manual a fin de obtener el mejor rendimiento de esta
unidad.
Previo al empleo . . . . . . . . . . . . . . . . . . . . . . . . . . . . . . . . . . . . . . . 3
Conexión . . . . . . . . . . . . . . . . . . . . . . . . . . . . . . . . . . . . . . . . . . . . . . 5
Mando a distancia . . . . . . . . . . . . . . . . . . . . . . . . . . . . . . . . . . . . . 9
Nombre de los controles . . . . . . . . . . . . . . . . . . . . . . . . . . . . . . . 11
Funcionamiento básico . . . . . . . . . . . . . . . . . . . . . . . . . . . . . . . . . 13
Solución de problemas. . . . . . . . . . . . . . . . . . . . . . . . . . . . . . . . . 17
Especificaciones . . . . . . . . . . . . . . . . . . . . . . . . . . . . . . . . . . . . . . 17
Previo al empleo
Lea lo siguiente antes de poner en funcionamiento el aparato
< Elija con cuidado el lugar de instalación para su aparato. No lo
coloque a la luz solar directa o cerca de fuentes que generen
calor. Evite también lugares expuestos a vibraciones y muy
polvorientos, calurosos, fríos o húmedos.
< Los orificios de ventilación no deben ser cubiertos. Asegúrese
de que haya un mínimo de 50 cm (20puladas) de espacio arriba
y un mínino de 10 cm (4 pulgadas) de espacio a los lados del
receptor. No coloque el reproductor de CD u otro
equipamiento sobre el receptor.
< No abra el gabinete ya que esto podría producir daños en los
circuitos o electrochoques. S i entrara algún objeto en el
interior del aparato, póngase en contacto con su
concesionario.
< Al desenchufar el cordón del tomacorriente, tire siempre de la
clavija, nunca del cordón.
< No utilice solventes químicos para limpiar el aparato ya que
podría dañar el acabado. Use un paño seco y limpio.
< Guarde este manual en un lugar seguro para usarlo como
referencia en el futuro.
ATTENTION
Ne pas exposer l'appareil à l'humidité ou aux projections
d'eau; ne pas poser d'objets contenant de l'eau, tels qu'un
vase, ou un liquide quelconque, sur l'appareil.
Ne pas installer l'appareil dans un endroit clos tel qu'une
bibliothèque ou un meuble fermé.
PRECAUCIÓN
El producto no deberá quedar expuesto a goteos o
salpicaduras, ni servir de base para objetos que contengan
líquido (jarrones, etc.).
No instale este equipo en espacios cerrados tales como
estantes de libros o similares.
background image
ENGLISH
Connections (1)
4
A
How to connect
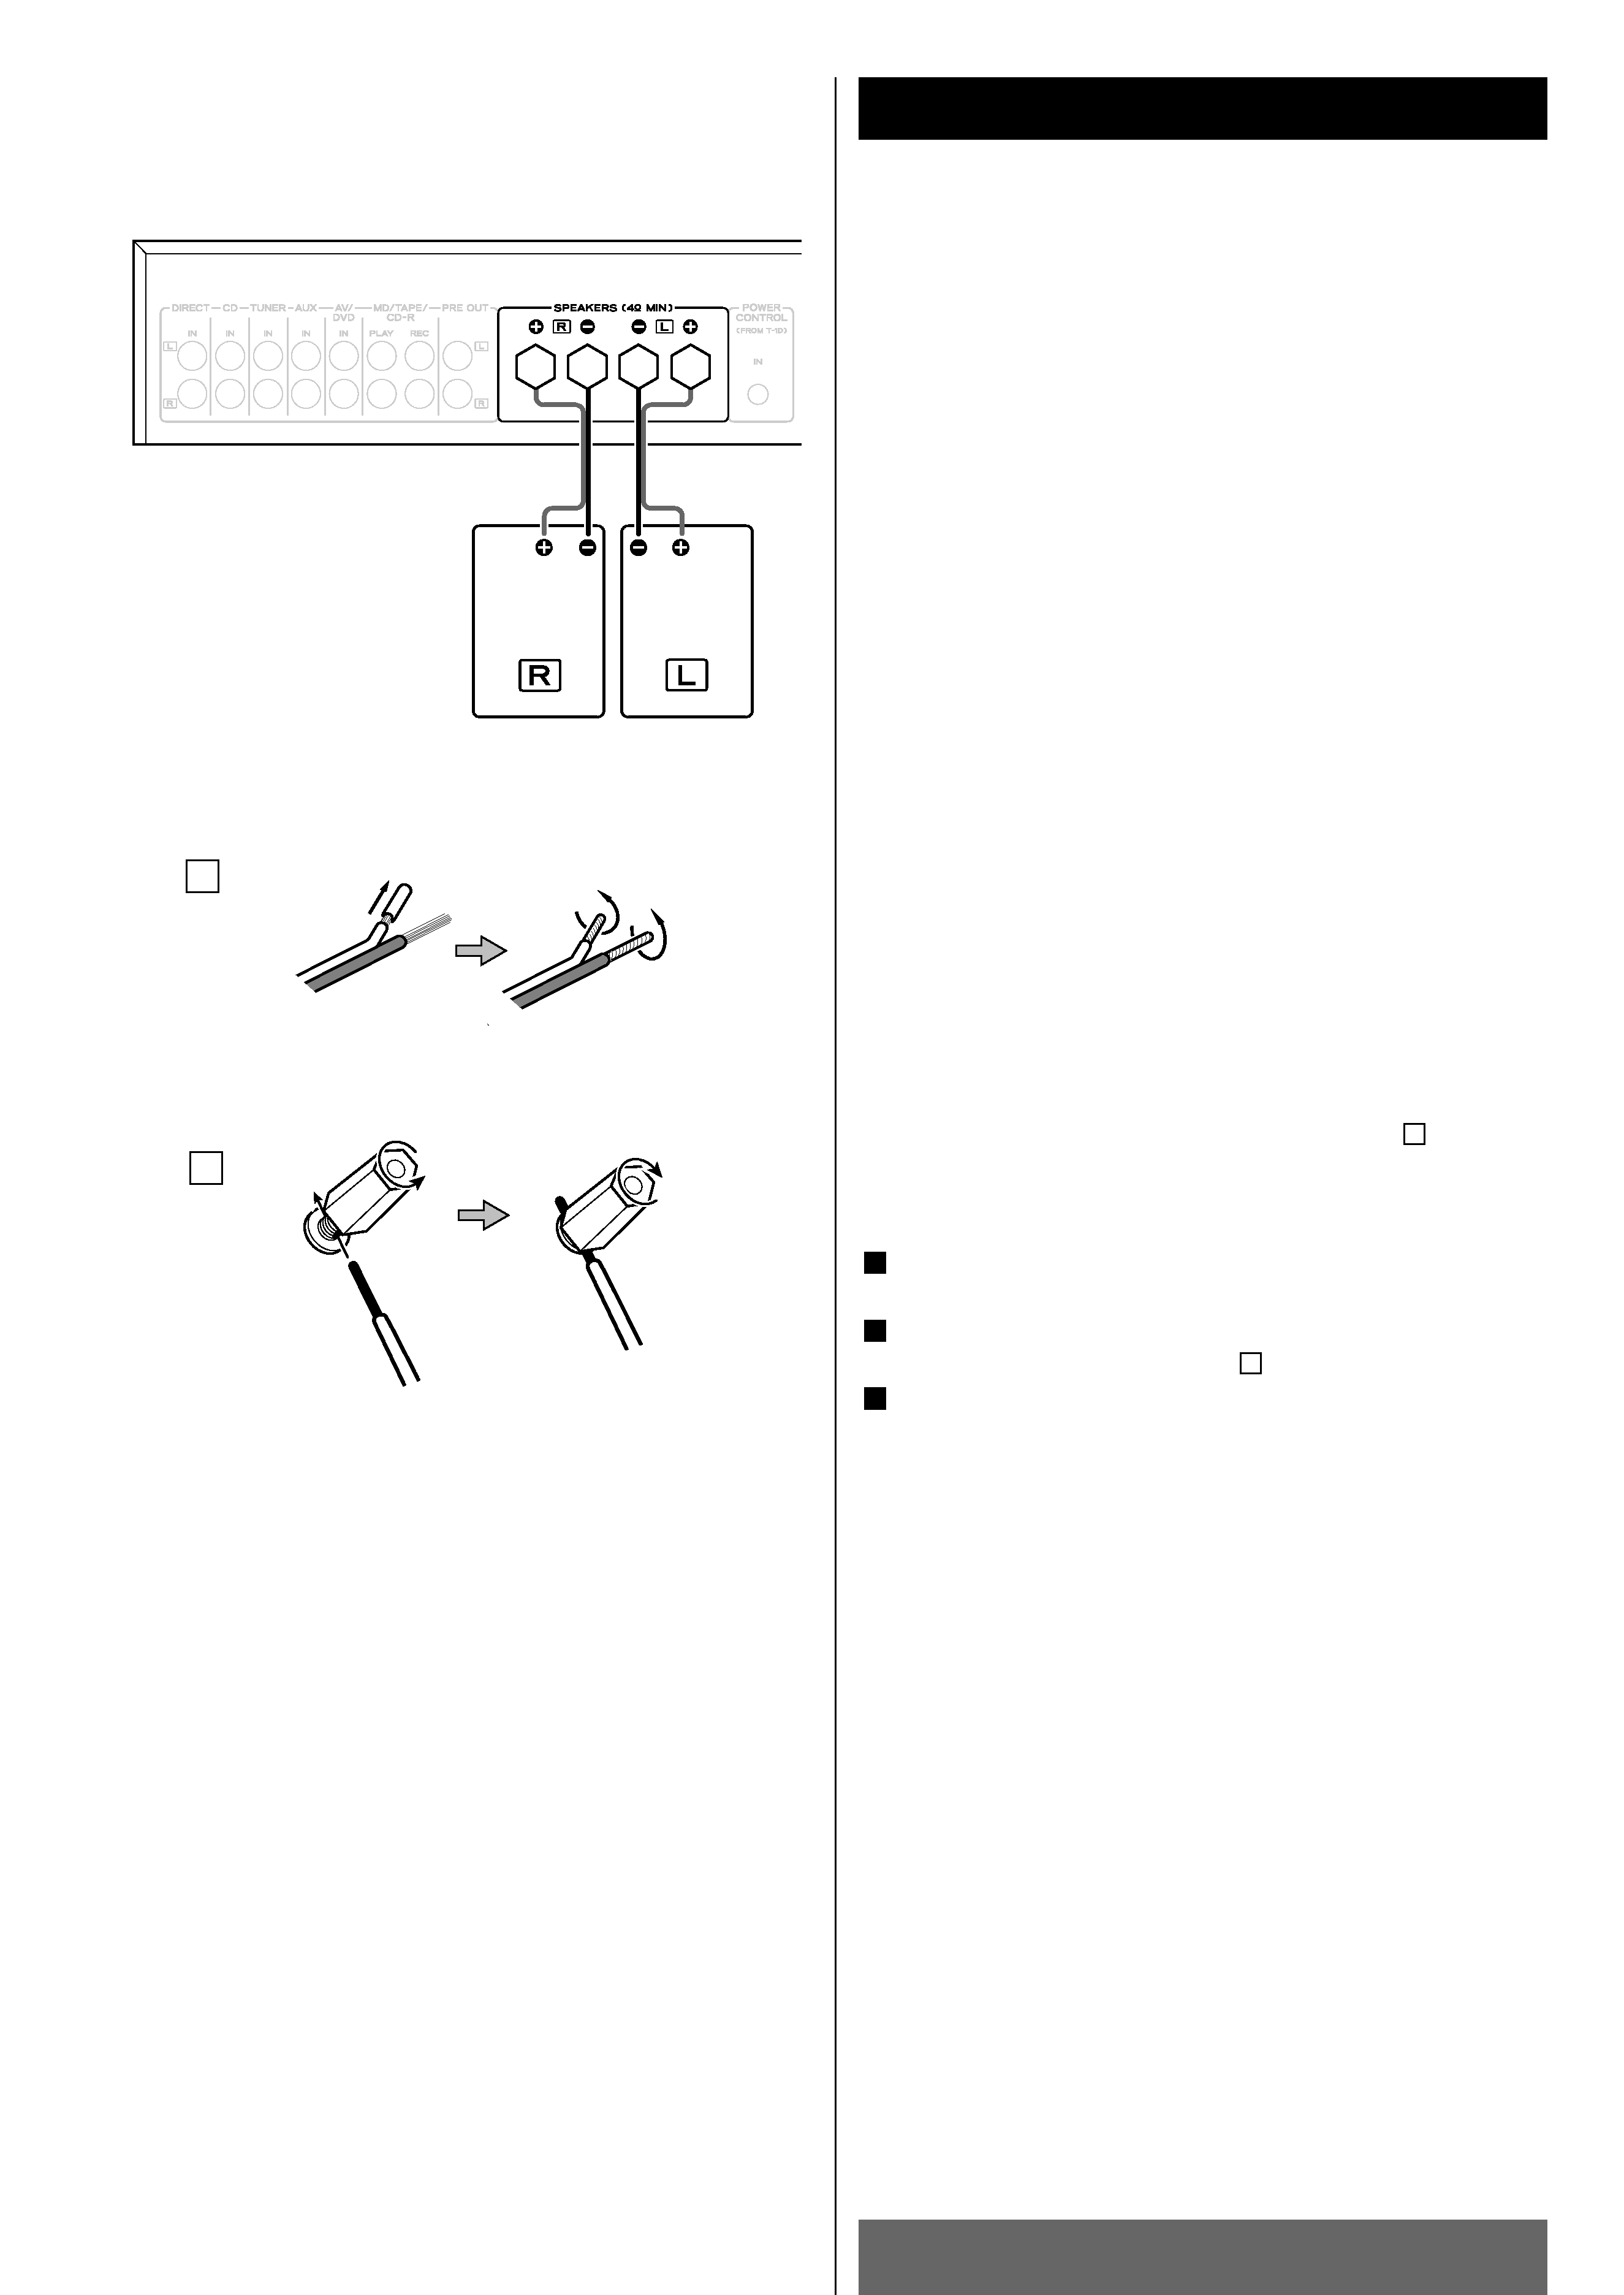
Turn the terminal cap counterclockwise to loosen it. The
speaker terminal caps cannot be fully removed from the base.
Insert the wire into the terminal fully and turn the terminal cap
clockwise to securely connect it :
Make sure it is fastened firm by pulling the cable lightly.
3
B
2
1
Speaker Connections
Caution:
To avoid damaging the speakers by inputting a sudden high-level
signal, be sure to switch the power off before connecting the
speakers.
< The amplifier's red speaker terminals are the + (positive)
terminals and the black terminals are the _ (negative)
terminals.
The + side of the speaker cable is marked to make it
distinguishable from the negative side of the cable. Connect
this marked side to the red + terminal and the unmarked side
to the black _ terminal.
< Prepare the speaker cords for connection by stripping off
approximately 10 mm or less (no more as this could cause a
short-circuit) of the outer insulation.
Twist the wires tightly together to avoid tangles : A
CAUTION
Turn off the power of all the equipment before making
connections.
Read instructions of each component you intend to use with this
unit.
< Be sure to insert each plug securely. To prevent hum and
noise, do not bundle the connection cords with the power cord
or speaker cord.
FRONT
FRONT
B
background image
FRANÇAIS
ESPAÑOL
Connexions (1)
Conexión (1)
5
ENGLISH
/
F
RANÇAIS
/
ESPAÑOL
Branchement des enceintes
Dévisser le bornier en tournant dans le sens inverse des
aiguilles d'une montre.
Il n'est pas possible de le retirer complètement.
Insérer le fil à fond dans la borne. Resserrez le bornier en le
tournant dans le sens des aiguilles d'une montre pour bien
bloquer le fil :
Assurez-vous que le fil est bien fixé en place en tirant
légèrement sur le fil.
3
B
2
1
Branchement des haut-parleurs
Attention:
Pour éviter d'endommager les haut-parleurs en entrant
soudainement un signal de niveau élevé, bien couper l'alimentation
avant de raccorder les haut-parleurs.
< Sur l'amplificateur les bornes rouges de haut-parleurs sont les
bornes + (positives), les noires sont les bornes _ (négatives).
L'extrémité + du câble de l'enceinte est marquée pour la
distinguer de l'extrémité négative. Branchez l'extrémité marquée
sur la borne rouge +, et l'extrémité non marquée sur la borne
noire _.
< Avant de brancher les cordons des enceintes, préparez-les en
dénudant le fil sur 10 mm maximum. (le dénuder davantage peut
provoquer un court-circuit.)
Torsadez les fils ensemble pour éviter qu'ils ne partent dans tous
les sens : A
ATTENTION
Mettre tous les éléments de votre chaîne hors tension avant de
procéder au raccordement de cet appareil.
Lire attentivement le mode d'emploi de chacun des éléments que
vous souhaitez utiliser avec cet appareil.
< Assurez vous que chaque fiche est bien enfoncée. Pour éviter
tout ronflement ou bruit parasite, ne pas regrouper les fils de
connexion avec le cordon d'alimentation ou avec les fils des
enceintes.
Conexiones de los altavoces
Precaución:
Evite dañar los altavoces con la entrada súbita de una señal de
alto nivel, asegúrese de desconectar la alimentación antes de
conectar los altavoces.
< Los terminales de altavoz rojos del amplificador corresponden
al positivo +, y los negros al negativo _.
El conductor positivo del cable de altavoz está identificado
para distinguirlo del negativo. Conecte este conductor
marcado al terminal positivo rojo +, y el conductor sin marcar
al terminal negro _.
< Prepare los cables de altavoz para la conexión desprendiendo
aproximada-mente 10 mm (como máximo, o de lo contrario se
podrían originar cortocircuitos) del aislante exterior.
Trence bien los conductores de manera que no queden
dispersos :
Procedimiento de conexión
Afloje los tapones de los terminales girándolos hacia la
izquierda.
Los tapones de los terminales de altavoz no se pueden extraer
por completo de la base.
Inserte el hilo por completo en el terminal y gire el tapón hacia
la derecha para asegurar la conexión :
Compruebe que el cable queda perfectamente asegurado
tirando ligeramente de él.
3
B
2
1
A
PRECAUCIÓN
Apague todos los componentes antes de realizar las conexiones.
Lea las instrucciones de todos los componentes que vaya a
utilizar con la unidad.
< Asegure firmemente cada uno de los conectores. Para evitar
zumbidos y ruido, no tienda los cables de conexión con los de
alimentación o altavoces.

Reviews

There are no reviews of this manual yet.