4
En
These Operating Instructions are written for the XR-NM1 stereo CD cassette deck receiver and S-NM5-LR speaker system.
Thank you for buying this Pioneer product.
Please read through these operating instructions so you will know how to operate your model properly. After you have finished
reading the instructions, put them away in a safe place for future reference.
In some countries or regions, the shape of the power plug and power outlet may sometimes differ from that shown in the explana-
tory drawings. However, the method of connecting and operating the unit is the same.
Location
Install the unit in a well-ventilated location where it will not be
exposed to high temperatures or humidity.
Do not install the unit in a location which is exposed to direct
rays of the sun, or near stoves or radiators. Excessive heat can
adversely affect the cabinet and internal components. Installa-
tion of the unit in a damp or dusty environment may also result
in a malfunction or an accident (avoid installation near cookers,
etc., where the unit may be exposed to oily smoke, steam or
heat).
Precautions regarding installation
¶ Placing and using the unit for long periods on heat-
generating sources will affect performance. Avoid placing the
unit on heat-generating sources.
¶ Install the unit as far away as possible from your TV.
Installation in close proximity to such equipment may cause
noise or degradation of the picture.
¶ Such noise may be particularly noticeable when an indoor
antenna is used. In such cases, make use of an outdoor
antenna, or turn off the power to the unit.
¶ Please place this unit on a level surface.
Contents
1 Before You Start
Checking what's in the box ................................ 5
Using this manual ............................................. 5
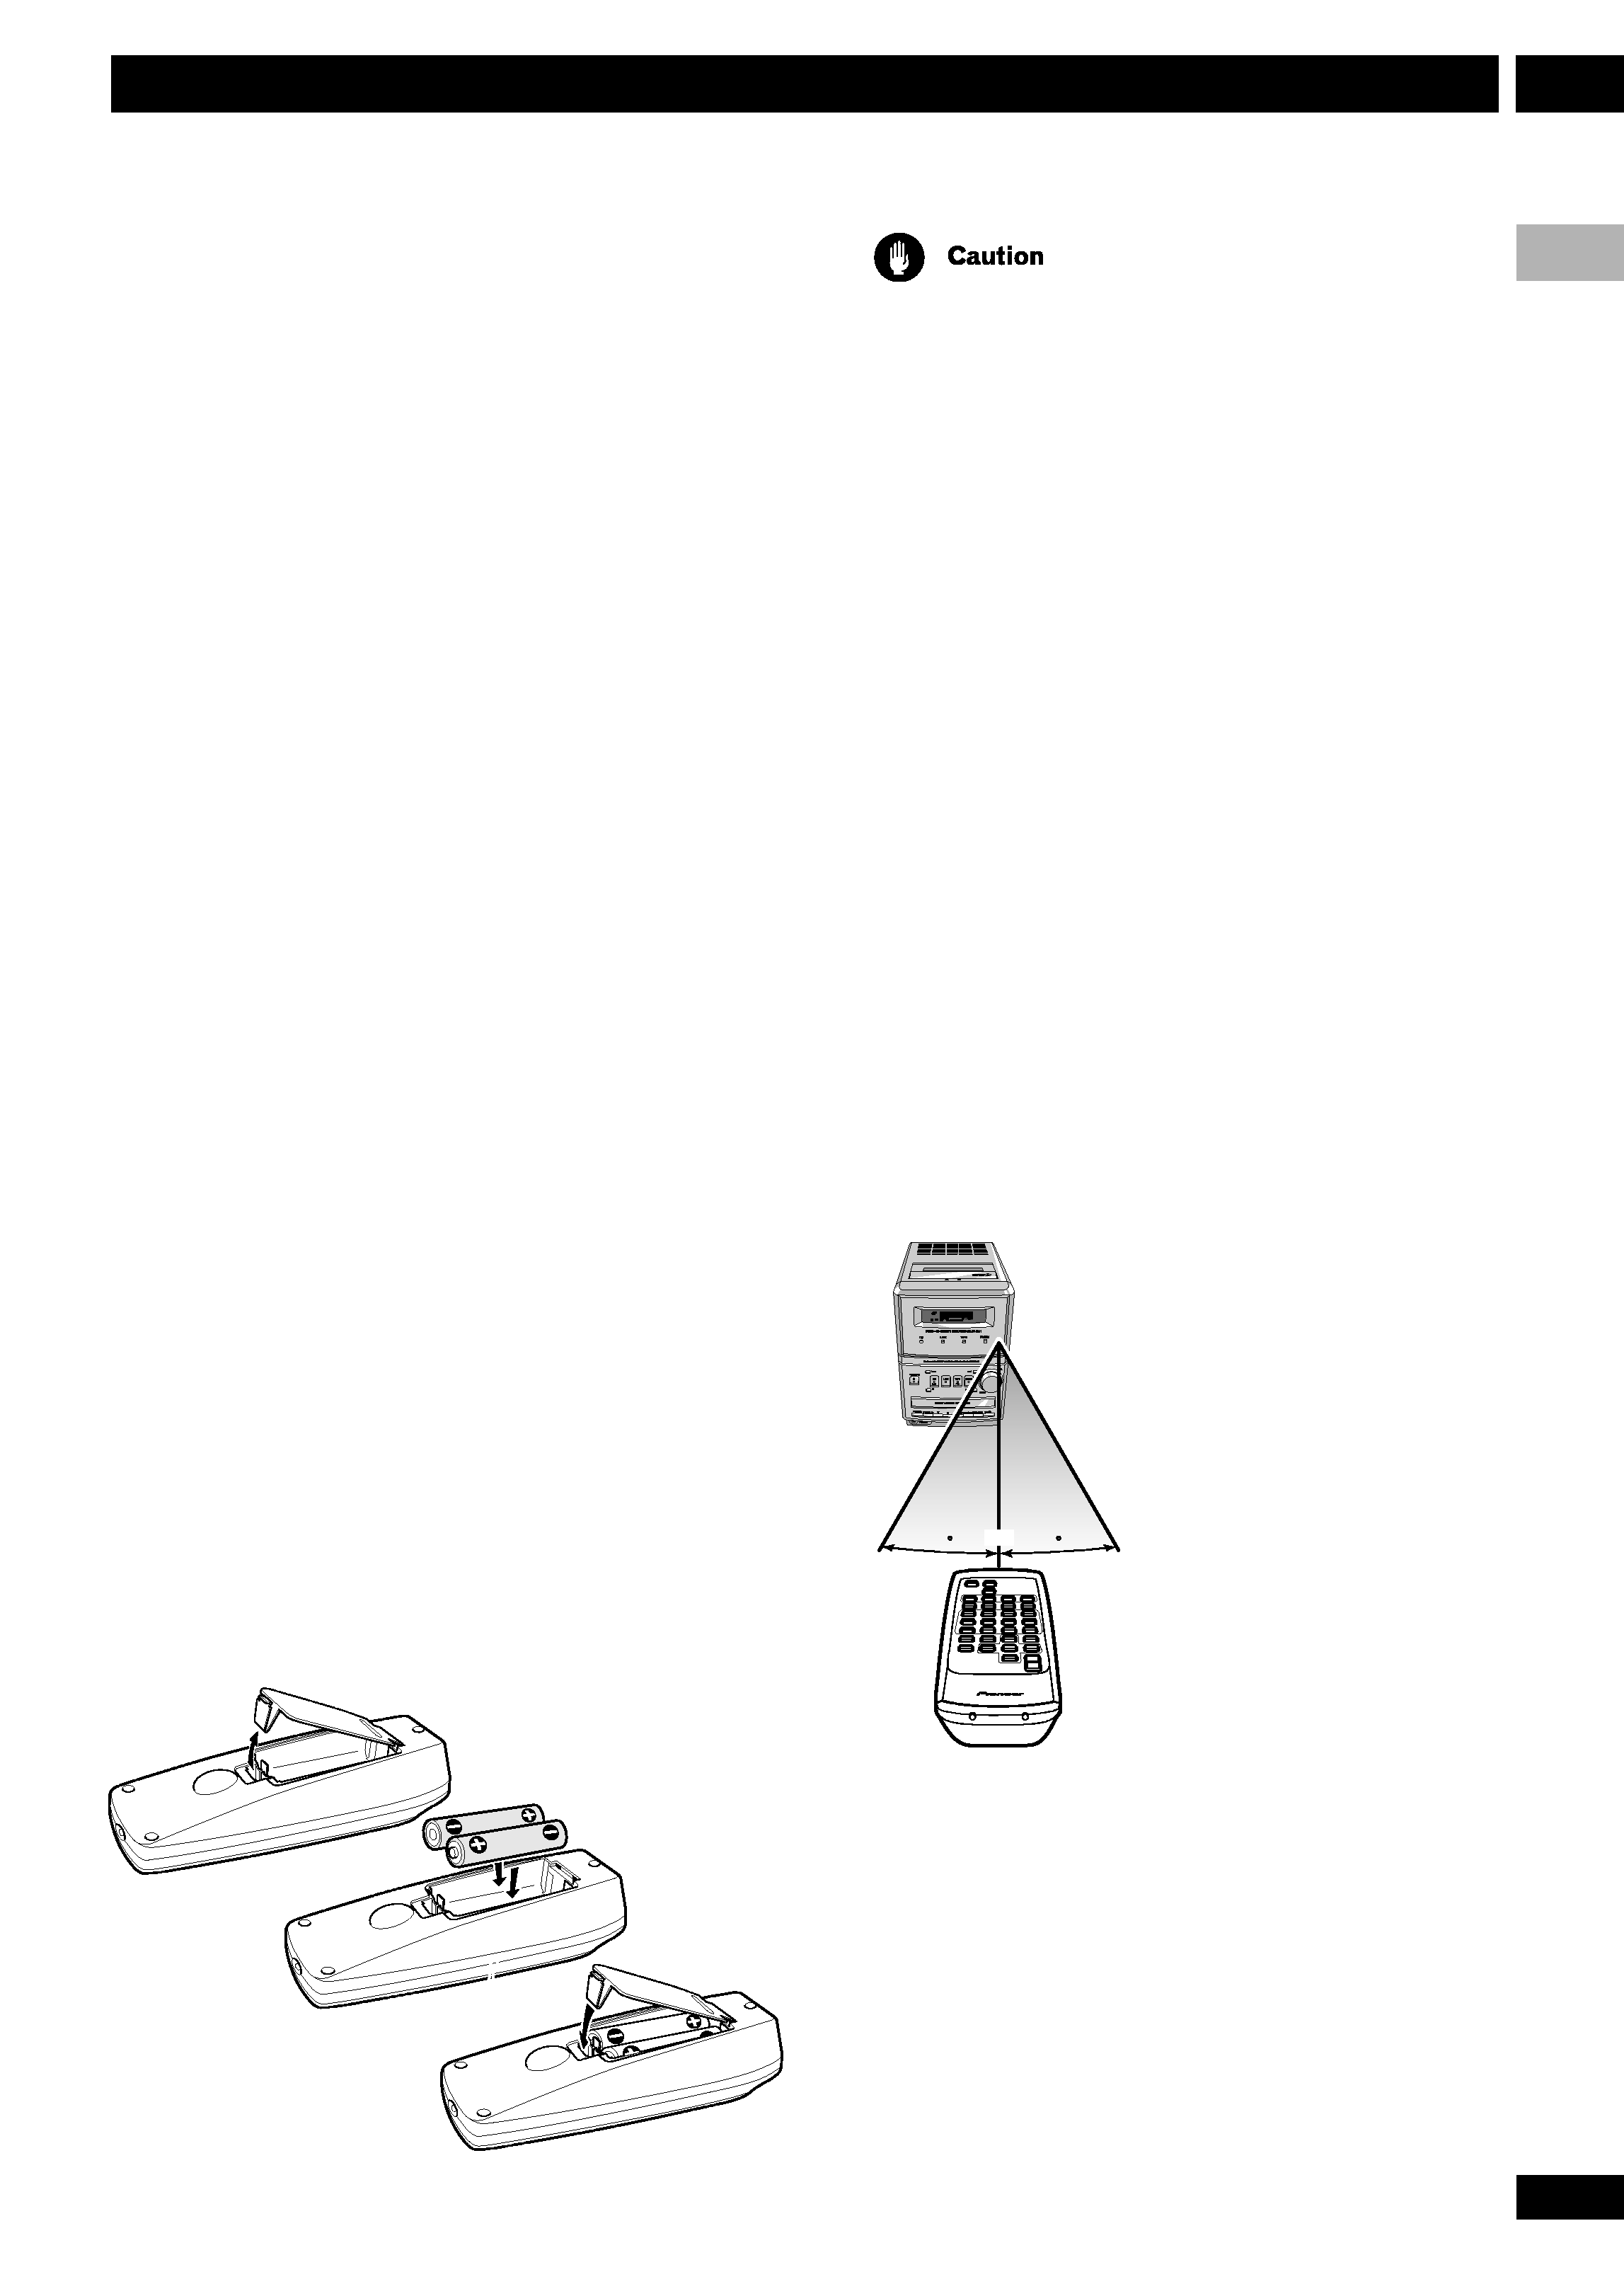
Putting the batteries in the remote .................... 5
Using the remote control .................................. 5
Finding a suitable location ................................ 6
Avoiding condensation problems ............................. 6
Proper ventilation for the unit ................................. 6
Discs compatible with this system ...................... 6
2 Connecting up
Connecting the system ...................................... 7
Connecting the speakers ................................... 8
Connecting the radio antennas ......................... 9
Connecting external antennas .................................. 10
Connecting other components .......................... 10
Connecting the power ....................................... 10
3 Controls and displays
Front panel ....................................................... 11
Remote control ................................................. 12
Display ............................................................. 13
4 Getting started
Switching on and setting the clock .................... 14
Changing the clock format ...................................... 14
Automatic power on buttons ............................. 14
Playing CDs ...................................................... 15
Basic playback controls ........................................... 15
Listening to the radio ........................................ 16
Improving FM stereo sound ...................................... 16
Playing tapes .................................................... 17
Setting the reverse mode ......................................... 18
Playing other connected components ................ 18
Using Sound Modes .......................................... 18
5 More CD playback features
Programming the track order ............................ 19
Checking the playlist order ...................................... 19
Adding tracks to the playlist .................................... 19
Deleting tracks from the playlist .............................. 19
Using repeat play .............................................. 20
Using random play ............................................ 20
Changing the display ......................................... 21
6 More tuner features
Manually saving station presets ......................... 22
Automatically selecting station presets .............. 22
Listening to station presets ............................... 23
Naming station presets ..................................... 23
Editing a station preset name ............................ 24
7 Making tape recordings
Introduction to tape recordings ........................ 25
Automatically recording from a CD ................... 26
Recording from any point on a CD .................... 27
Recording over unwanted material ..................... 27
Recording from the tuner or an
auxiliary component ......................................... 28
Improving AM tape recordings ................................. 28
Reducing the auxiliary input level ............................. 28
8 Using the timer
Using the wake up timer .................................... 29
Using the sleep timer ........................................ 30
Using the record timer ...................................... 31
Activating/deactivating the timers ........................... 32
9 Additional information
Demo display .................................................... 33
Changing the brightness level ............................ 33
Changing the frequency step ............................. 33
Taking care of your system ................................ 34
Disc lens cleaner ...................................................... 34
Taking care of your discs ................................... 34
Storing discs ............................................................ 34
Discs to avoid .......................................................... 34
Using cassette tapes .......................................... 35
Tapes you should avoid ............................................ 35
Protecting your recordings ...................................... 35
Understanding error messages .......................... 35
Troubleshooting ................................................ 36
Specifications ................................................... 38