Black plate (4,1)
<CRD3740-A>4
About this manual
This unit features a number of sophisticated
functions ensuring superior reception and op-
eration. All the functions have been designed
for the easiest possible use, but many are not
self-explanatory. This operation manual will
help you benefit fully from this productspo-
tential and to maximize your listening enjoy-
ment.
We recommend that you familiarize yourself
with the functions and their operation by read-
ing through the manual before you begin
using this unit. It is especially important that
you read and observe precautions on this
page and in other sections.
Precautions
CAUTION:
USE OFCONTROL OR ADJUSTMENT OR
PERFORMANCE OF PROCEDURES
OTHER THAN THOSE SPECIFIED HEREIN
MAY RESULT IN HAZARDOUS RADIATION
EXPOSURE.
CAUTION:
THE USE OFOPTICAL INSTRUMENTS
WITH THIS PRODUCT WILL INCREASE
EYE HAZARD.
! Keep this manual handy as a reference for
operating procedures and precautions.
! Always keep the volume low enough so you
can hear sounds outside of the car.
! Protect this product from moisture.
! If the battery is disconnected or dis-
charged, the preset memory will be erased
and must be reprogrammed.
! If this unit does not operate properly, con-
tact your dealer or nearest authorized Pio-
neer Service Station.
Playback of MDs featuring
long recordings
This unit is MDLP compatible, so you can play-
back MDs featuring long recordings.
! MDLP is a data compression system that
lets you record on regular MDs for 2 or 4
times the length of time previously possi-
ble.
Use and care of the remote
control
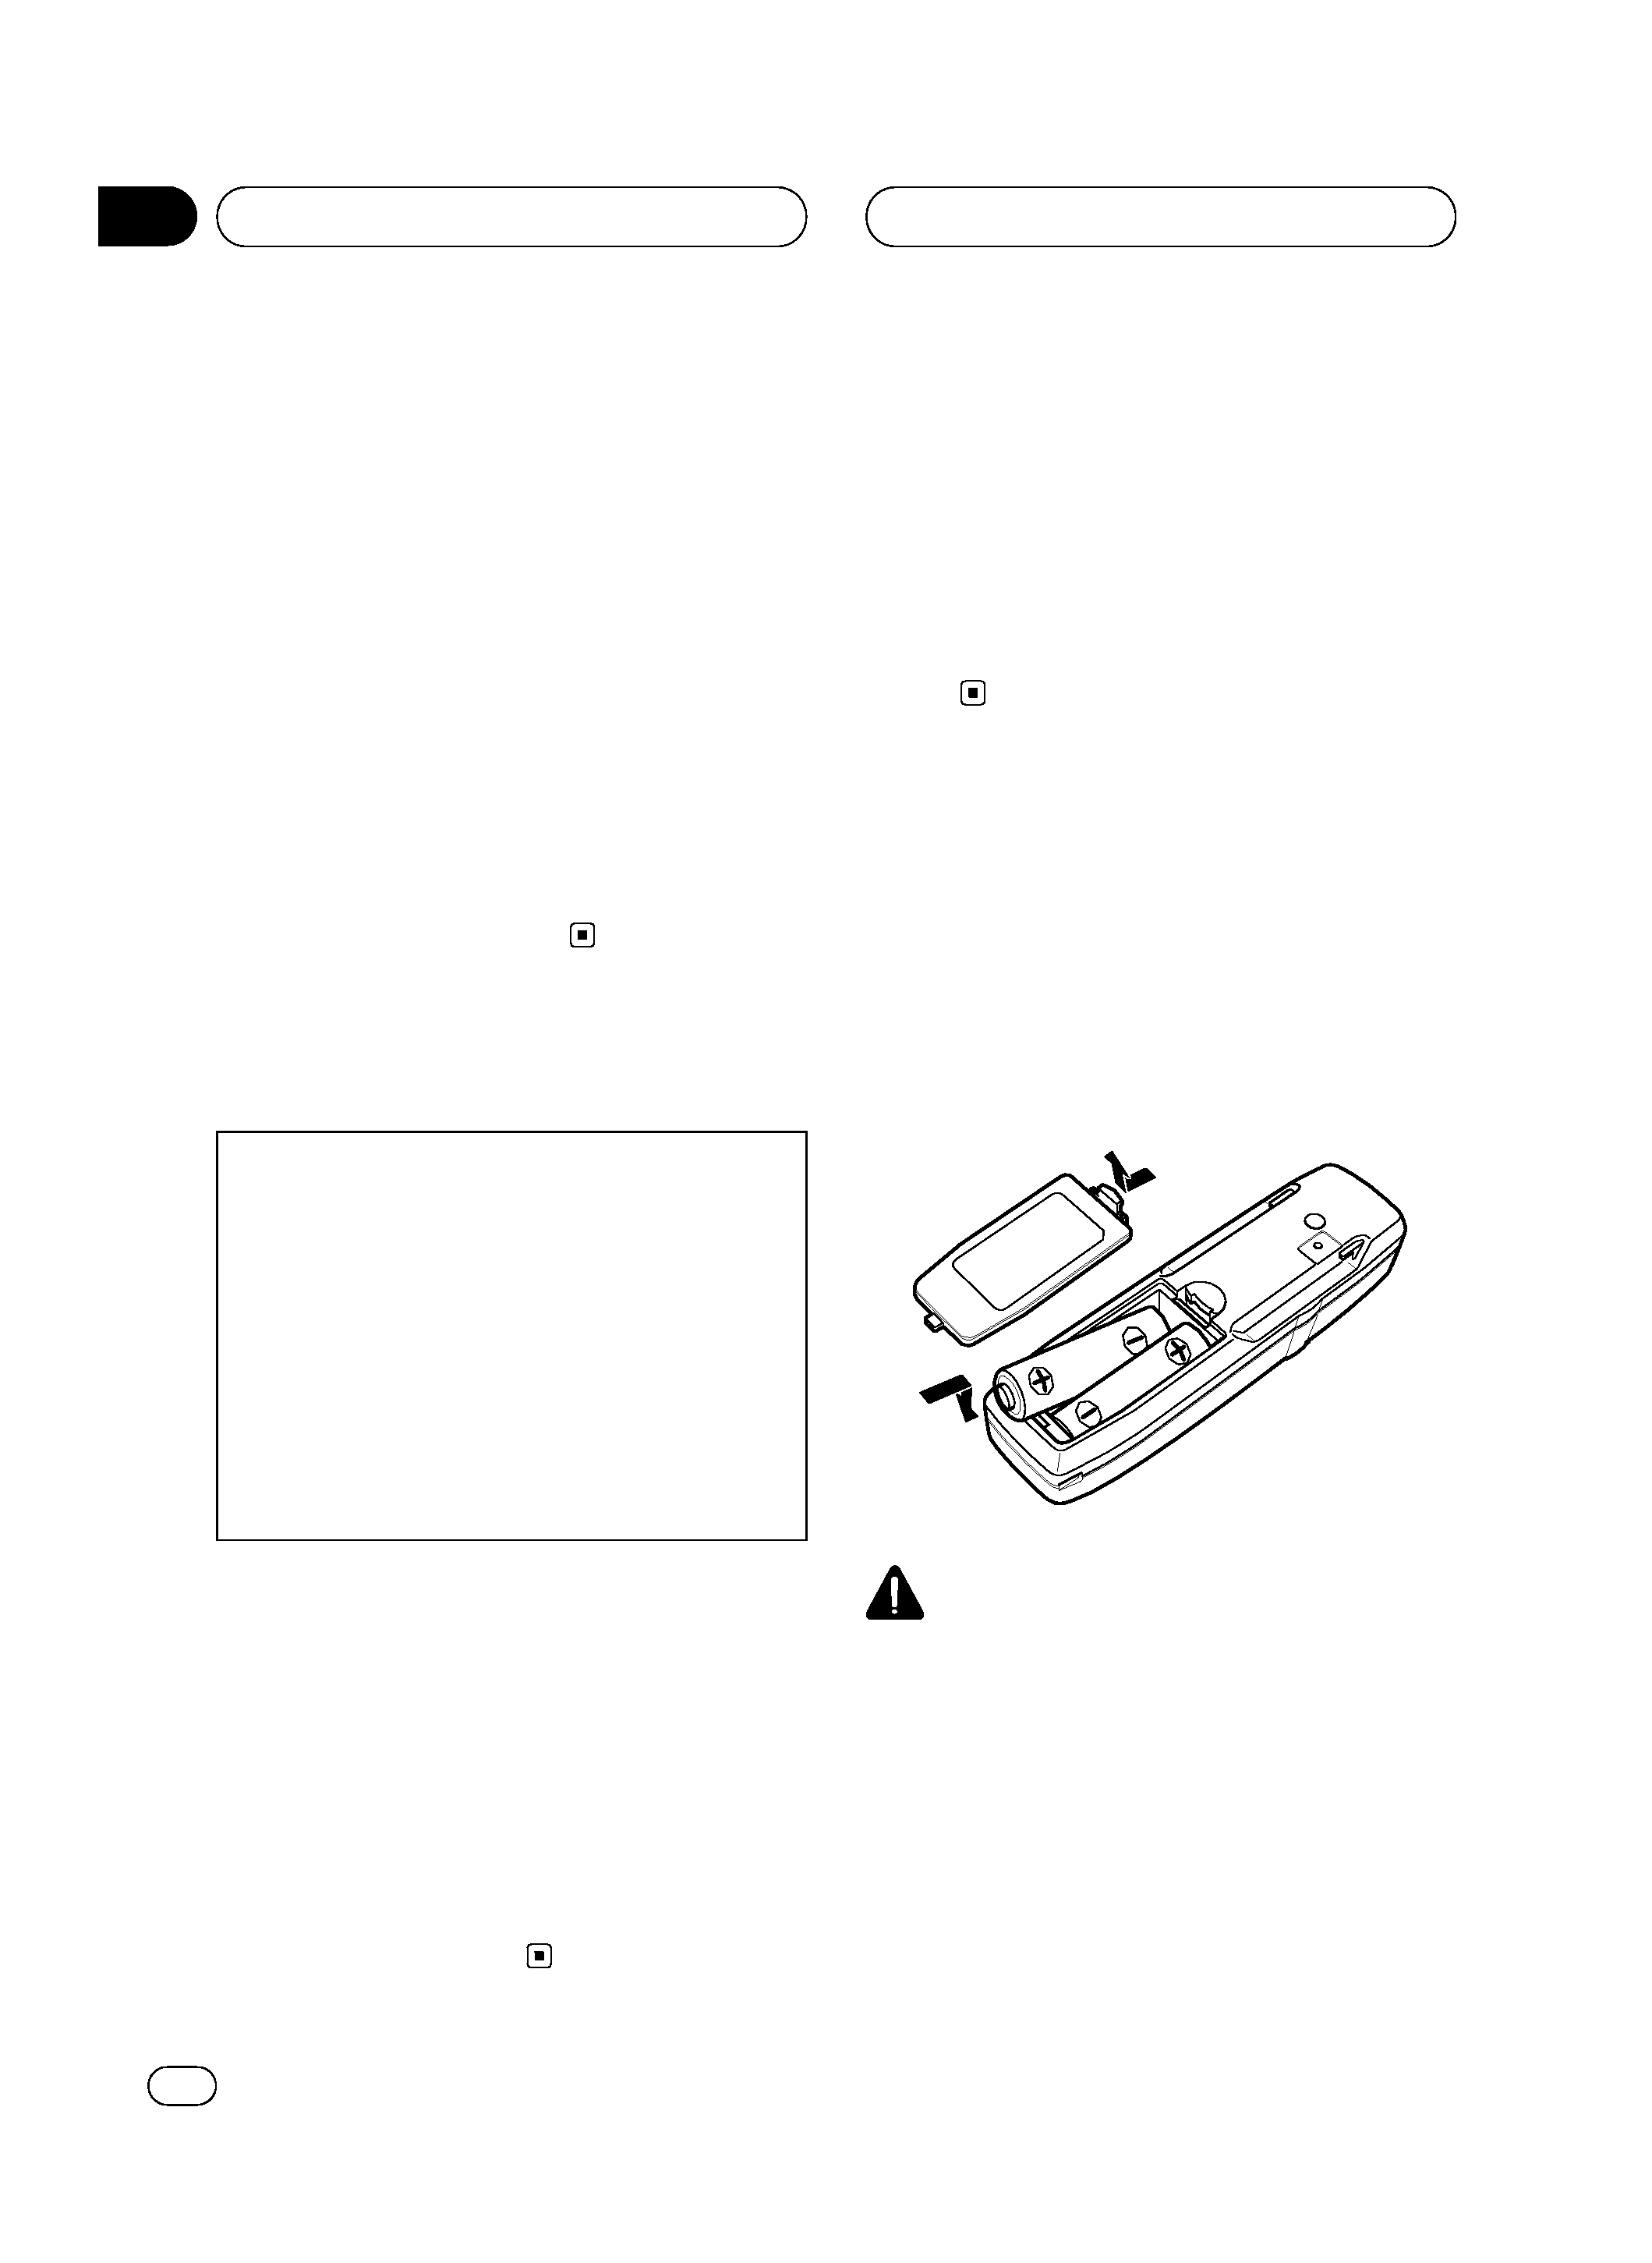
Installing the batteries
Remove the cover on the back of the remote
control and insert the batteries with the plus
(+) and minus () poles pointing in the proper
direction.
CAUTION
! Use only AAA or IEC R03 1.5 V batteries.
! Remove the batteries if the remote control is
not used for a month or longer.
! Do not attempt to recharge the supplied bat-
teries.
! Do not mix new and used batteries.
! If the event of battery leakage, wipe the remote
control completely clean and install new bat-
teries.
Before You Start
En
4
Section
01
HHHHHHHHHHHHHH