RD-VH7/X-VH7 (EN)
3
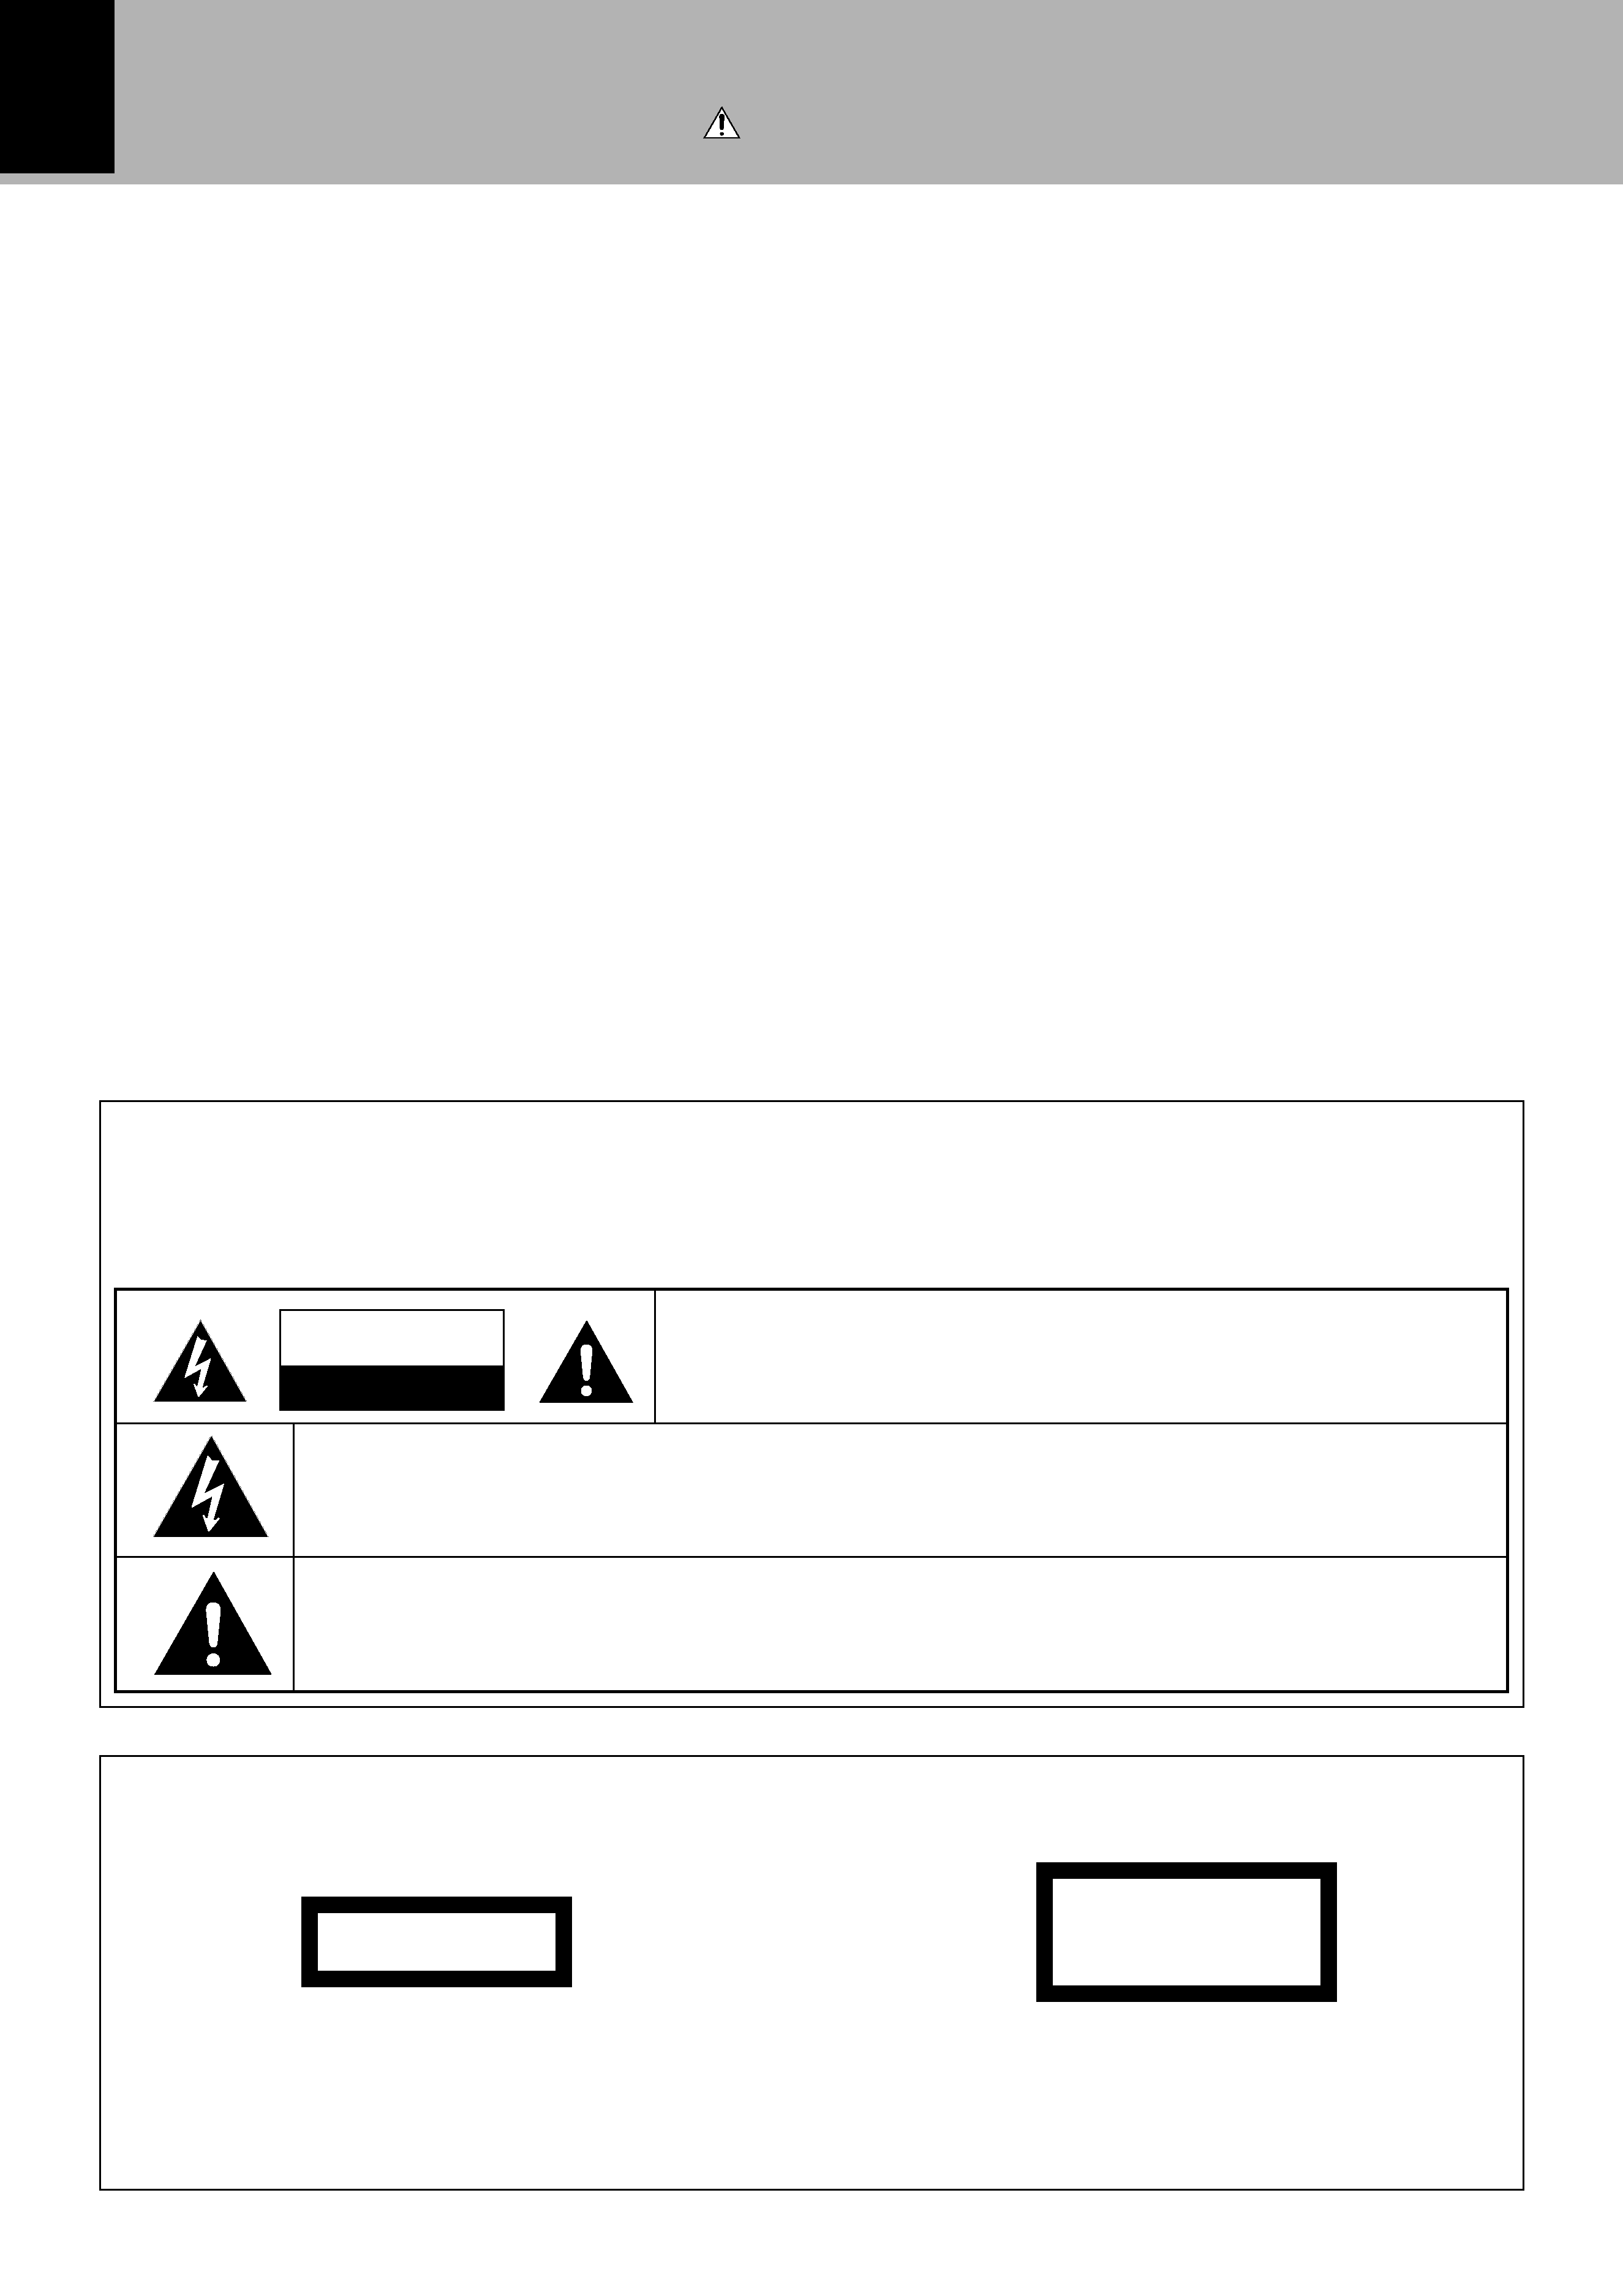
Before applying power
Contents
Before applying power ....................................... 2
Introduction ........................................................... 6
Special features ................................................................
7
IMPORTANT SAFEGUARDS ................................ 8
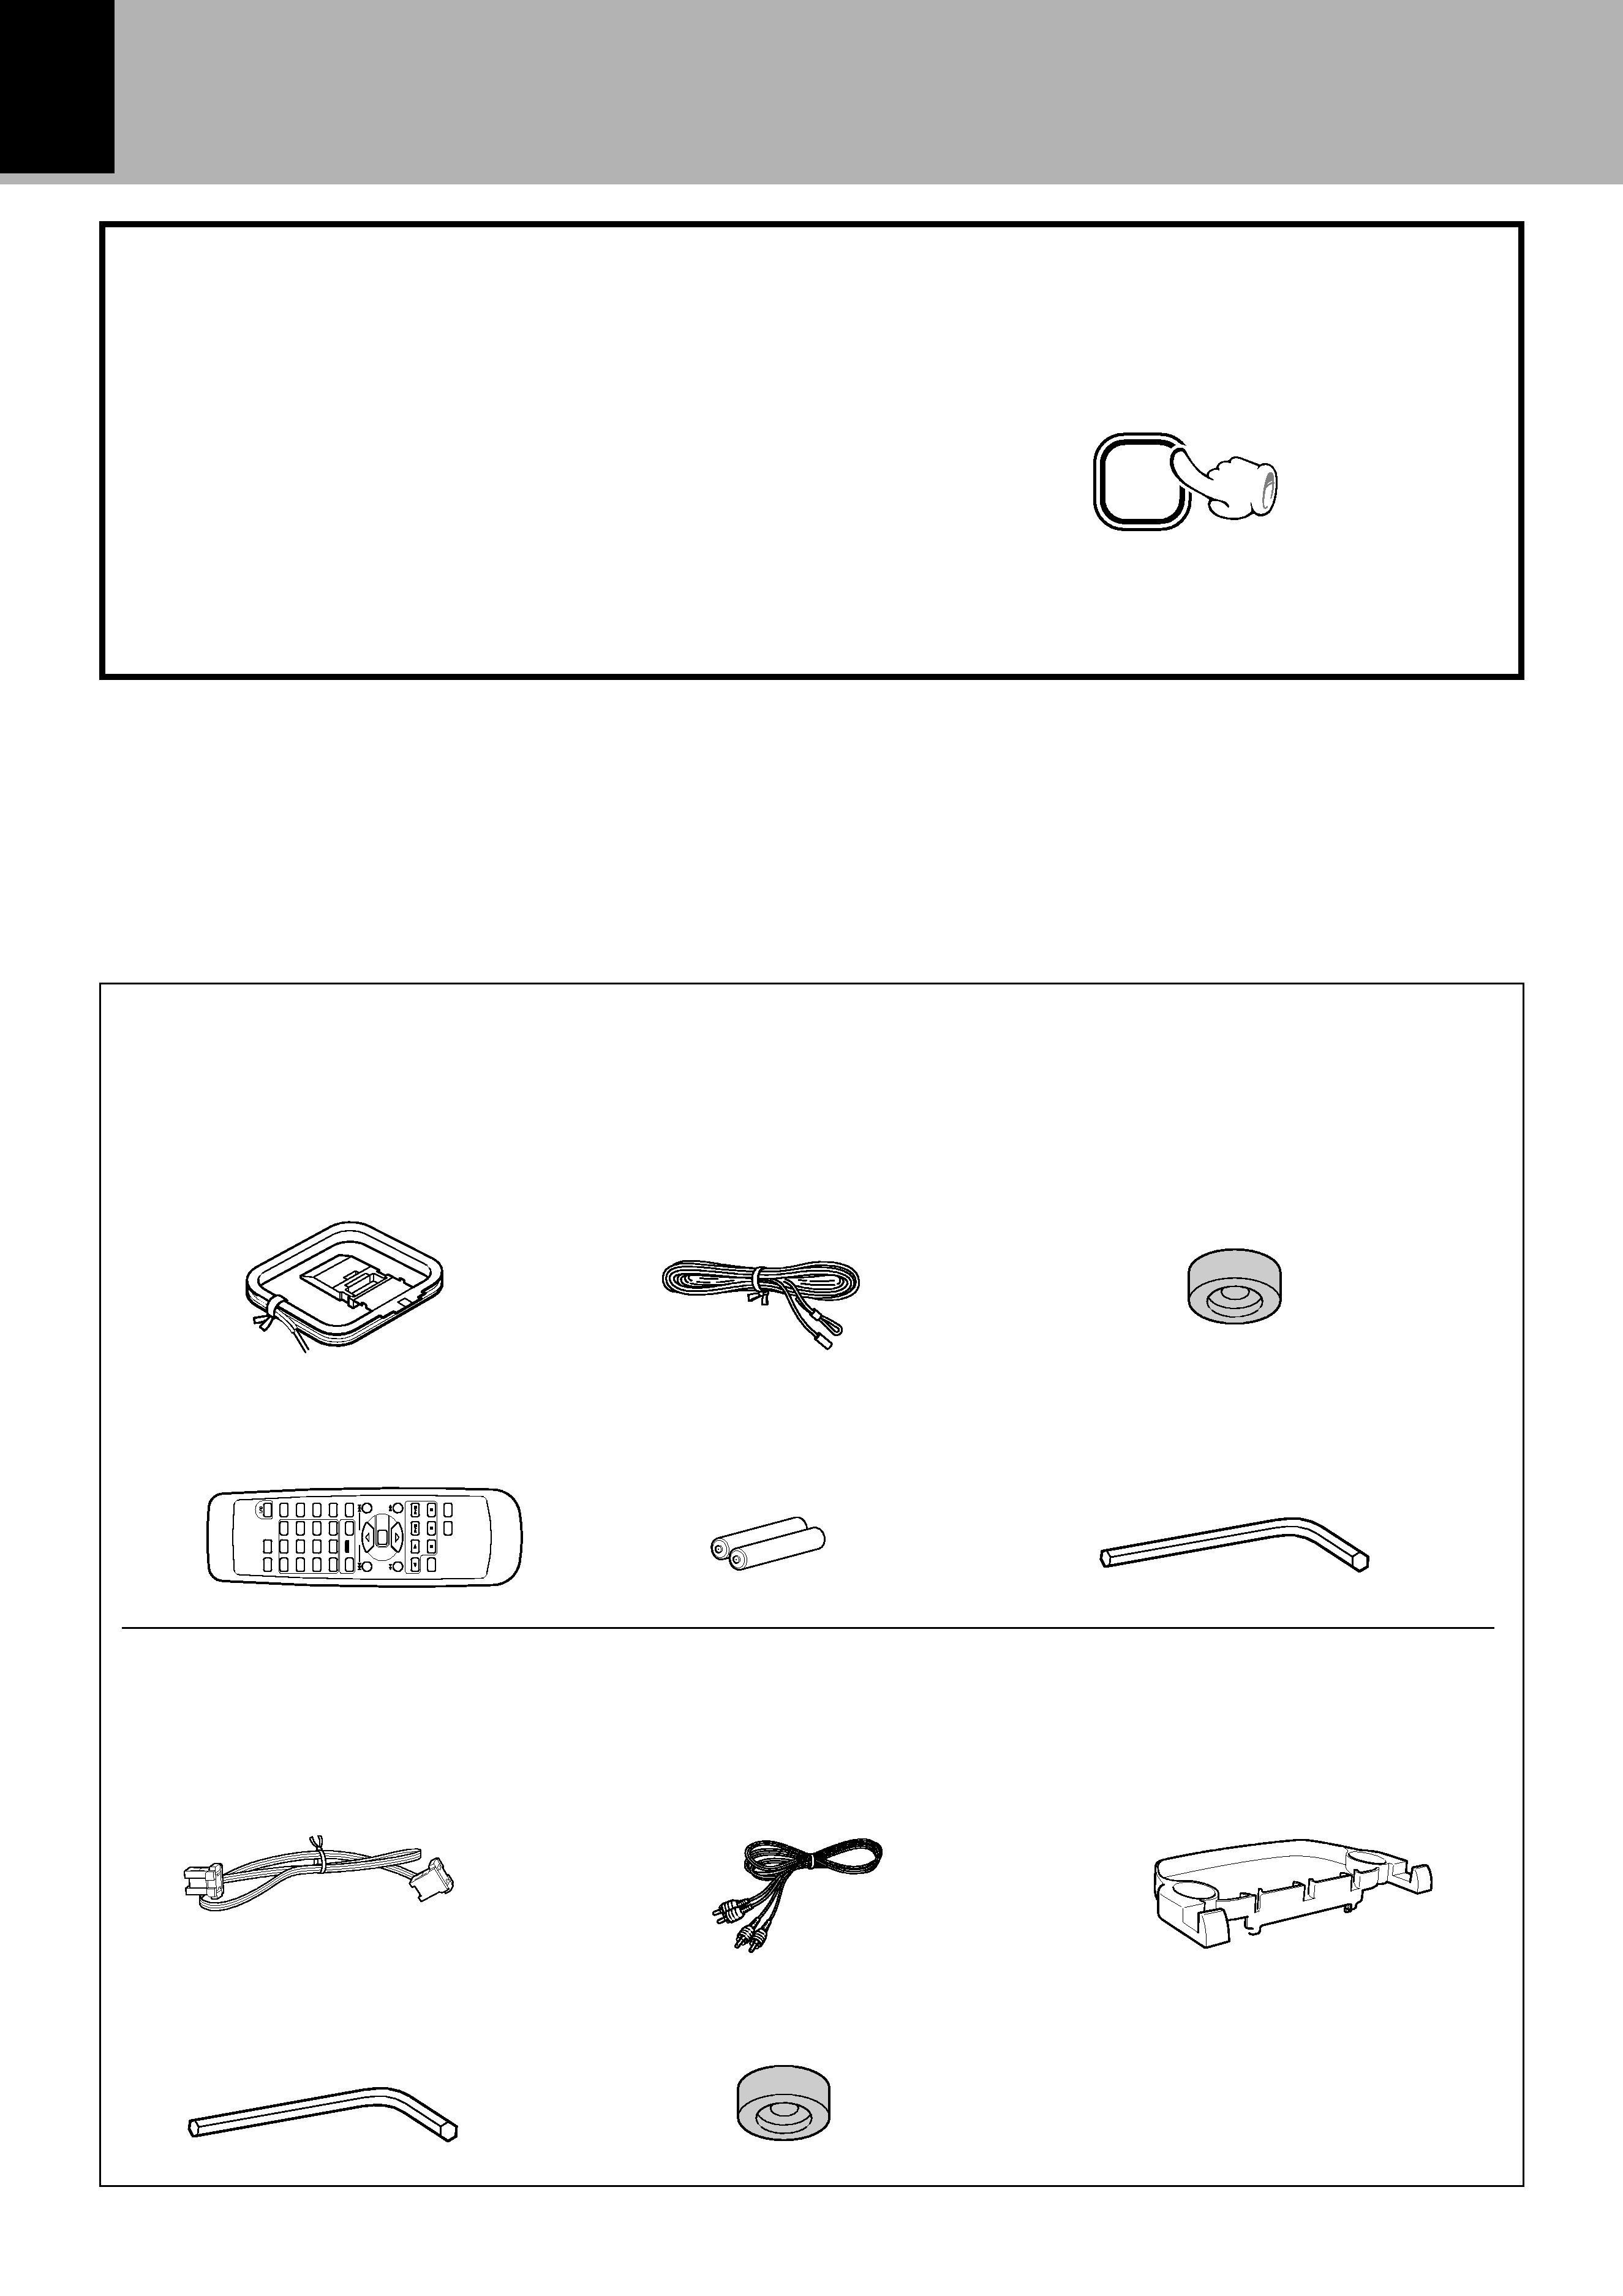
System configuration, Installation .................. 10
System configuration ....................................................
10
Installation ......................................................................
11
System connection ............................................ 12
Connection of antenna ..................................................
12
Connection of audio cord .............................................
13
Connection of system control cord ............................
14
Connection of speakers ................................................
15
Controls and indicators ..................................... 16
Main Unit .........................................................................
16
Remote control Unit .......................................................
18
Operation of remote control unit ..................... 20
Clock adjustment ............................................... 21
Hearing sound ..................................................... 22
Playback of CD ................................................... 26
Recording a HDCD disc ................................................
29
Listening in the desired sequence
(program playback)
........................................... 30
Repeated playback
.............................................. 32
Playing tracks in a random order
(random playback)
............................................. 33
Caution : Read the pages marked
carefully to ensure safe operation.
SAFETY
PREPARATION
BASIC OPERATIONS
CD OPERATIONS
TUNER OPERATIONS
CASSETTE DECK OPERATIONS
TIMER OPERATIONS
REFERENCE INFORMATION
Receiving broadcast station... ........................ 34
Selecting a preset station (Preset call) ....................
34
Manual tuning and preset operation ........................
35
Using R.D.S. (Radio Data System)
(For U.K. and Europe ) ..................................... 36
Searching for a desired program type
(PTY search) ................................................................
37
To be able to listen to the desired information at any
time (EON reservation) ..............................................
38
Playback of tape ................................................. 40
DPSS (Direct Program Search System) .....................
42
Recording onto cassette tape .......................... 44
Recording CD tracks in the desired sequence
(Program recording)
.......................................... 47
Recording only desired tracks
(ONE TOUCH EDIT.....single track recording)
...... 48
One-touch recording of an entire CD
(ONE TOUCH EDIT.....recording of all tracks) ........
49
Timer operation .................................................. 50
O.T.T. Timer .....................................................................
50
Program timer playback (AI timer playback)
and timer recording ....................................................
51
Sleep timer ......................................................................
54
Important Items ................................................... 55
Handling of discs and tapes ........................................
55
Precautions and Notes .................................................
57
In case of difficulty ............................................ 58
Specifications ..................................................... 62