If applicable, remove the console lid to allow access to
the two screws that secure the rear portion of the
console. Remove the two screws and reassemble the
console lid. Open the cup holder and find and remove
the four screws attaching the rear portion of the console.
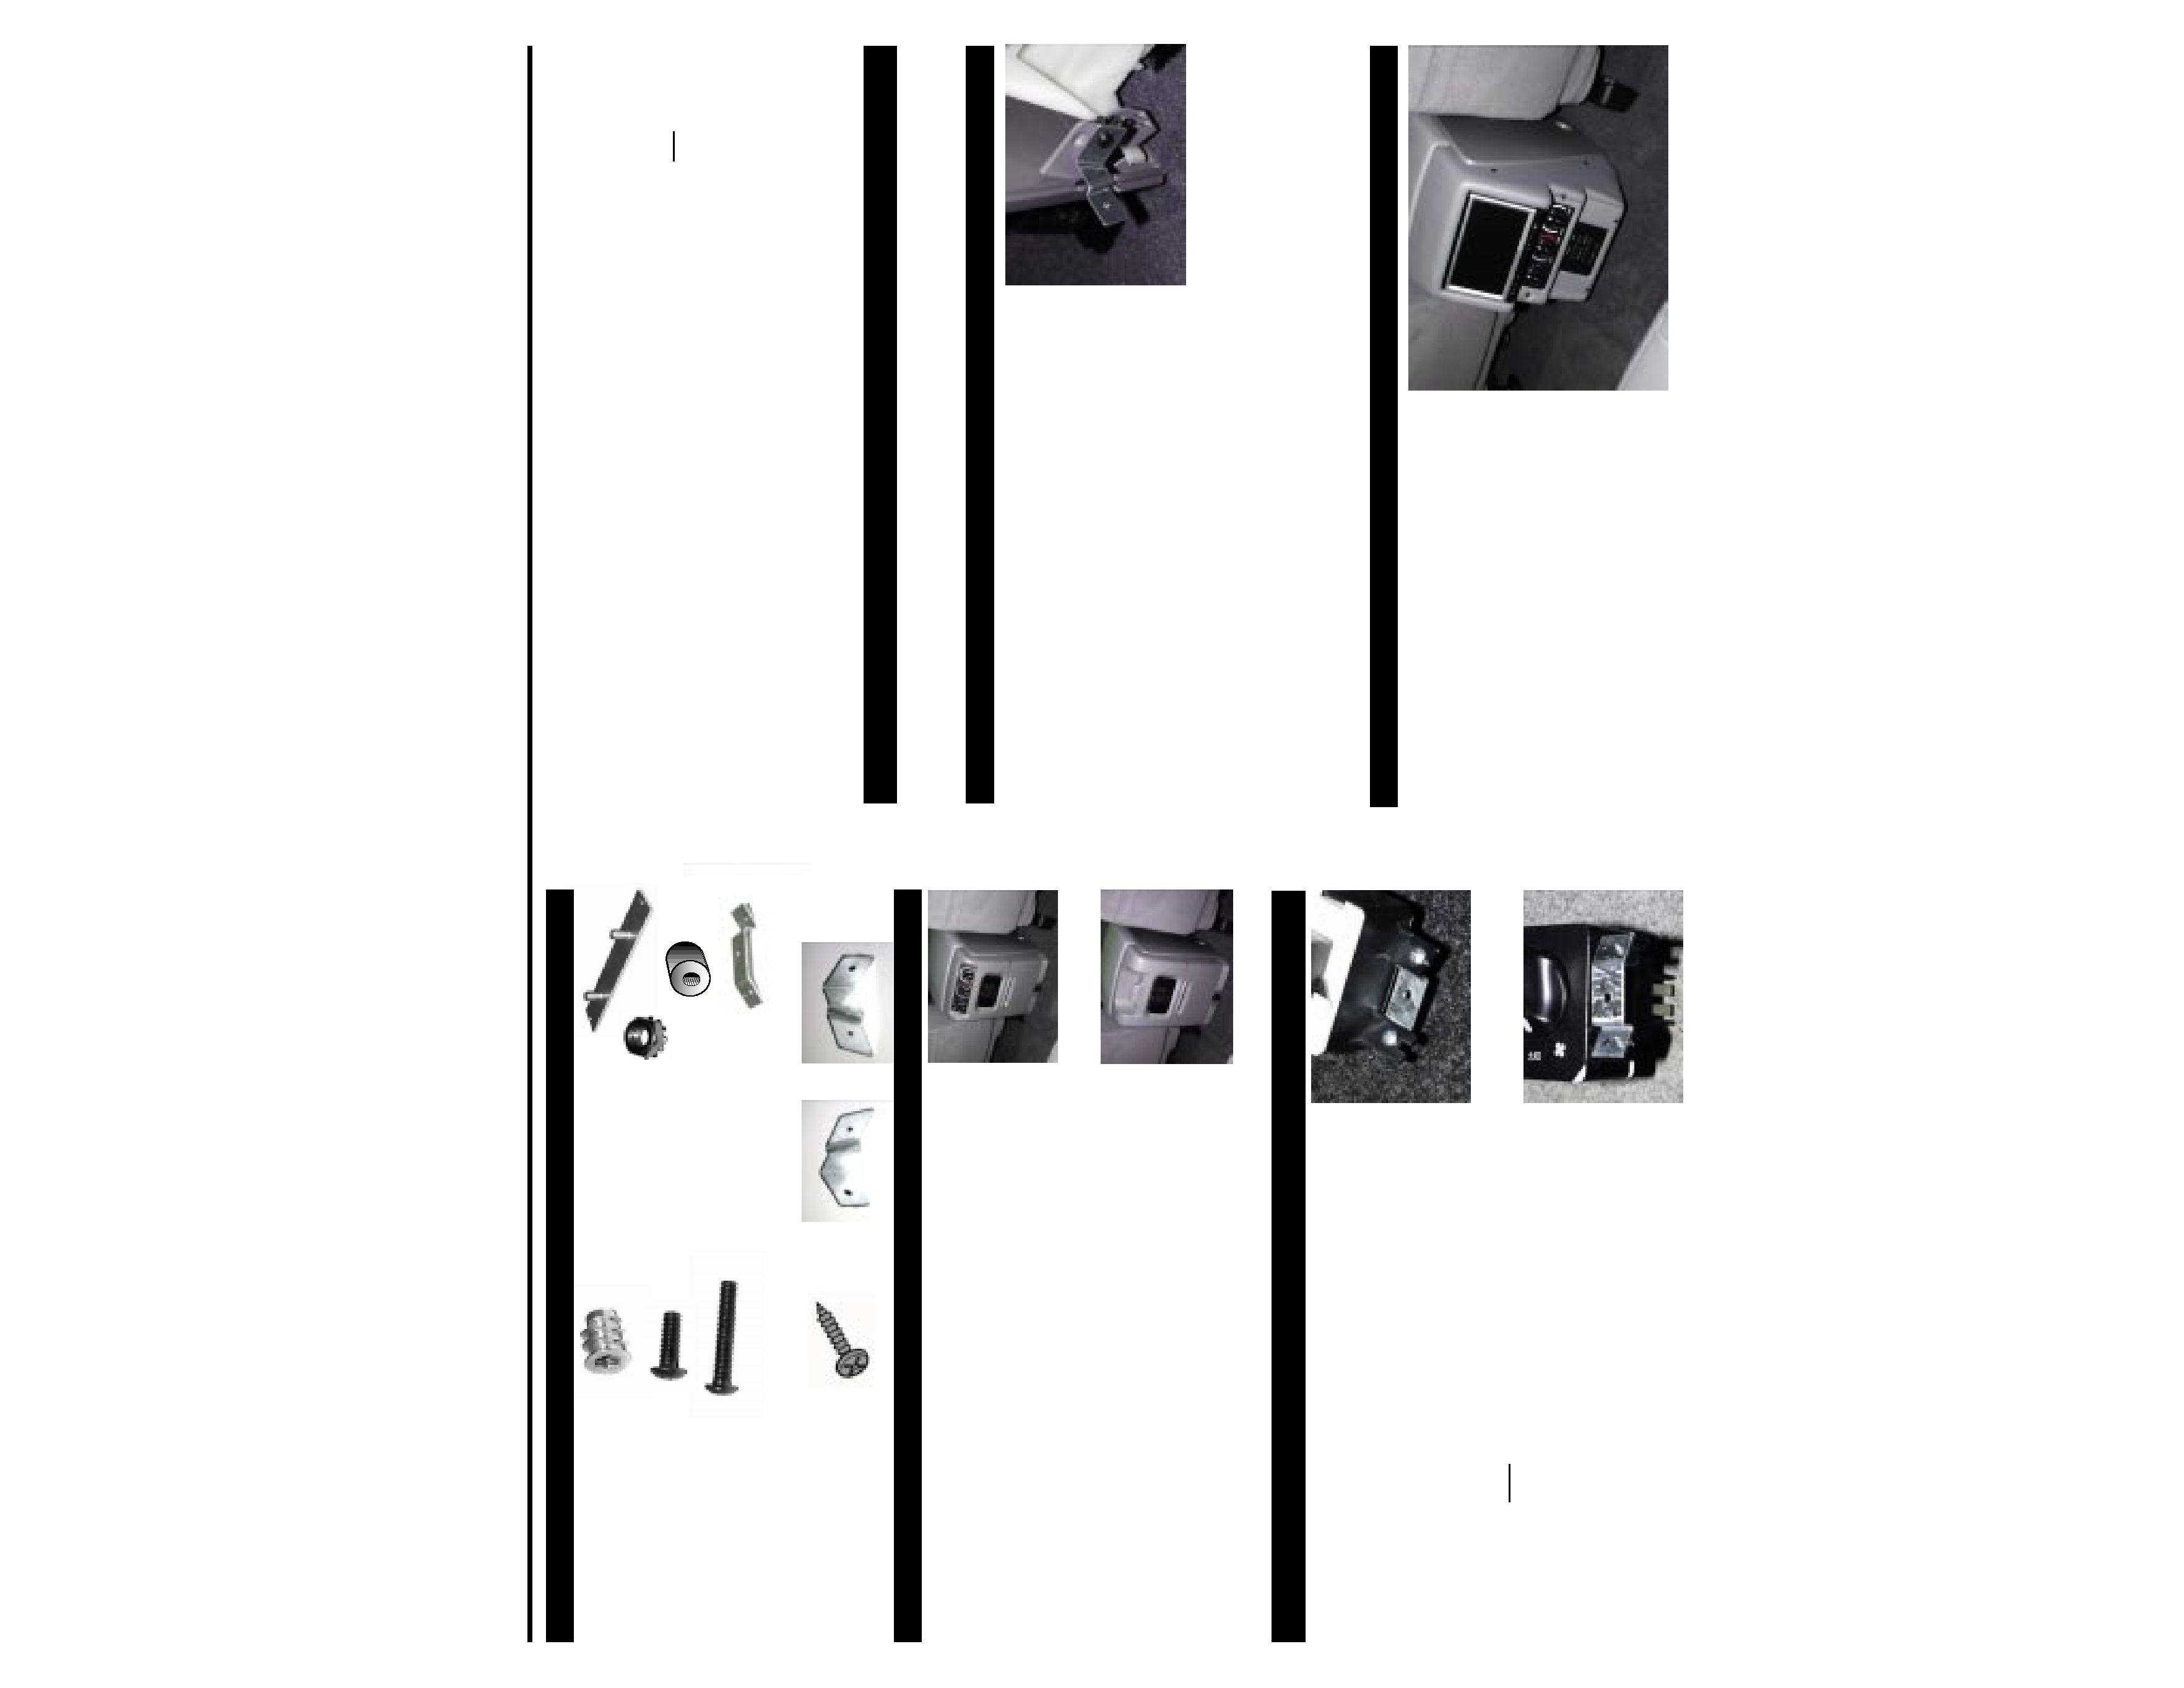
Pull firmly on the rear portion of the console to
release the snap clips. Disconnect the wiring to the
HVAC controls, rear radio controls, and the 12 volt
power port.
Remove the four screws attaching the radio controls
and the four screws attaching the rear air controls
(if equipped) to the back of the console. Save for
reinstallation in the video console.
4 - 8-32 Insert (KMSI832)
2 - #8 x 1/2" (KMSB832.5)
Black Machine Screw
2 - #8 x 1" (KMSB8321)
Black Machine Screw
1 - Monitor Bracket
(KMB701)
2 - 1/4-20 Star Nut
(KSN1420)
2 - 5/16" Nylon Spacer
(KNS8516)
Installation
2 - Air Controls Bracket
(KMBFAC1)
Notice that the brackets are drilled universally and will have two unused holes
when mounted. Mount the rear air controls to the video console with two of
the supplied #8x1/2" sheet metal screws, through the holes in the video
console and into the metal brackets.
The color matched filler plate is used in the event the console was not
equipped with rear air controls. Install the filler plate from the inside and
secure with the (2) supplied #8 x 1/2" sheet metal screws.
To reinstall the rear radio control unit enlarge the four holes in the mounting
tabs to 3/16". Install the four supplied metal inserts into the mounting tabs.
Install the radio control unit into the video console with the (2) supplied 1/2"
machine screws at the top and the (2) supplied 1" machine screws and the
5/16" white nylon spacers at the bottom.
Prepare the monitor for installation by sliding the
small studded bracket into the back panel of the
monitor. Run the monitor data cable through the
rectangular-shaped hole in the video console and
connect to the monitor. Slide the monitor into the
console and secure using the (2) supplied star nuts.
(Do not overtighten)
For consoles with rear air controls, install the air
controls mounting brackets onto the rear air control.
(see pictures at right) With the brackets installed
correctly the middle of the bracket should be flush with
the face of the air control. Secure the bracket
through the holes in the air control and into the metal
bracket using the supplied #6x1/4" sheet metal screws.
Install the supplied mounting brackets to the
factory console(refer to picture at right). Secure
the mounting brackets to the mounting tab using
the supplied #8 x 1/2" sheet metal screws through
the bracket and into the factory speed clip. Notice
that the mounting brackets are mirror images of
each other and therefore have to be installed on
their respective sides of the console.
Make all electrical connections, including rear radio
controls and the rear air controls (if equipped). Slide the video console
onto the back of the factory console, making sure that it is as far down as
possible. Mark and pre-drill a 3/32" hole in the console using pre-drilled hole in
the upper part of the video housing as a guide. Secure the video housing to
the console using the (4) supplied #8 x 1/2" sheet metal screws.
8 - #8 x 1/2" BlackSMS
(KSMSB8.5)
4 - #6 x 1/4" Zinc SMS
(KSMSZ6.25)
Route all wires and cable at this time. Install wiring and cables according to the
instructions provided with electronic equipment.
Reinstall all previously removed factory
components and panels.
Turn on and test everything.
(If the system doesn't work properly,
recheck all connections and fuses.)
The install of the video system is now
complete.
Rev 10-01-01
Expedition & Navigator
Expedition XLT Console
SK-EXNL2 Installed
Mounting Bracket
Installation of Video Console
Wiring and Connections
Prepare Video Console
Final Steps
Remove Factory Console
Accessories
2 - Mounting Bracket (pr.) (KMBEXNL2)
Air Control
Mounting Bracket