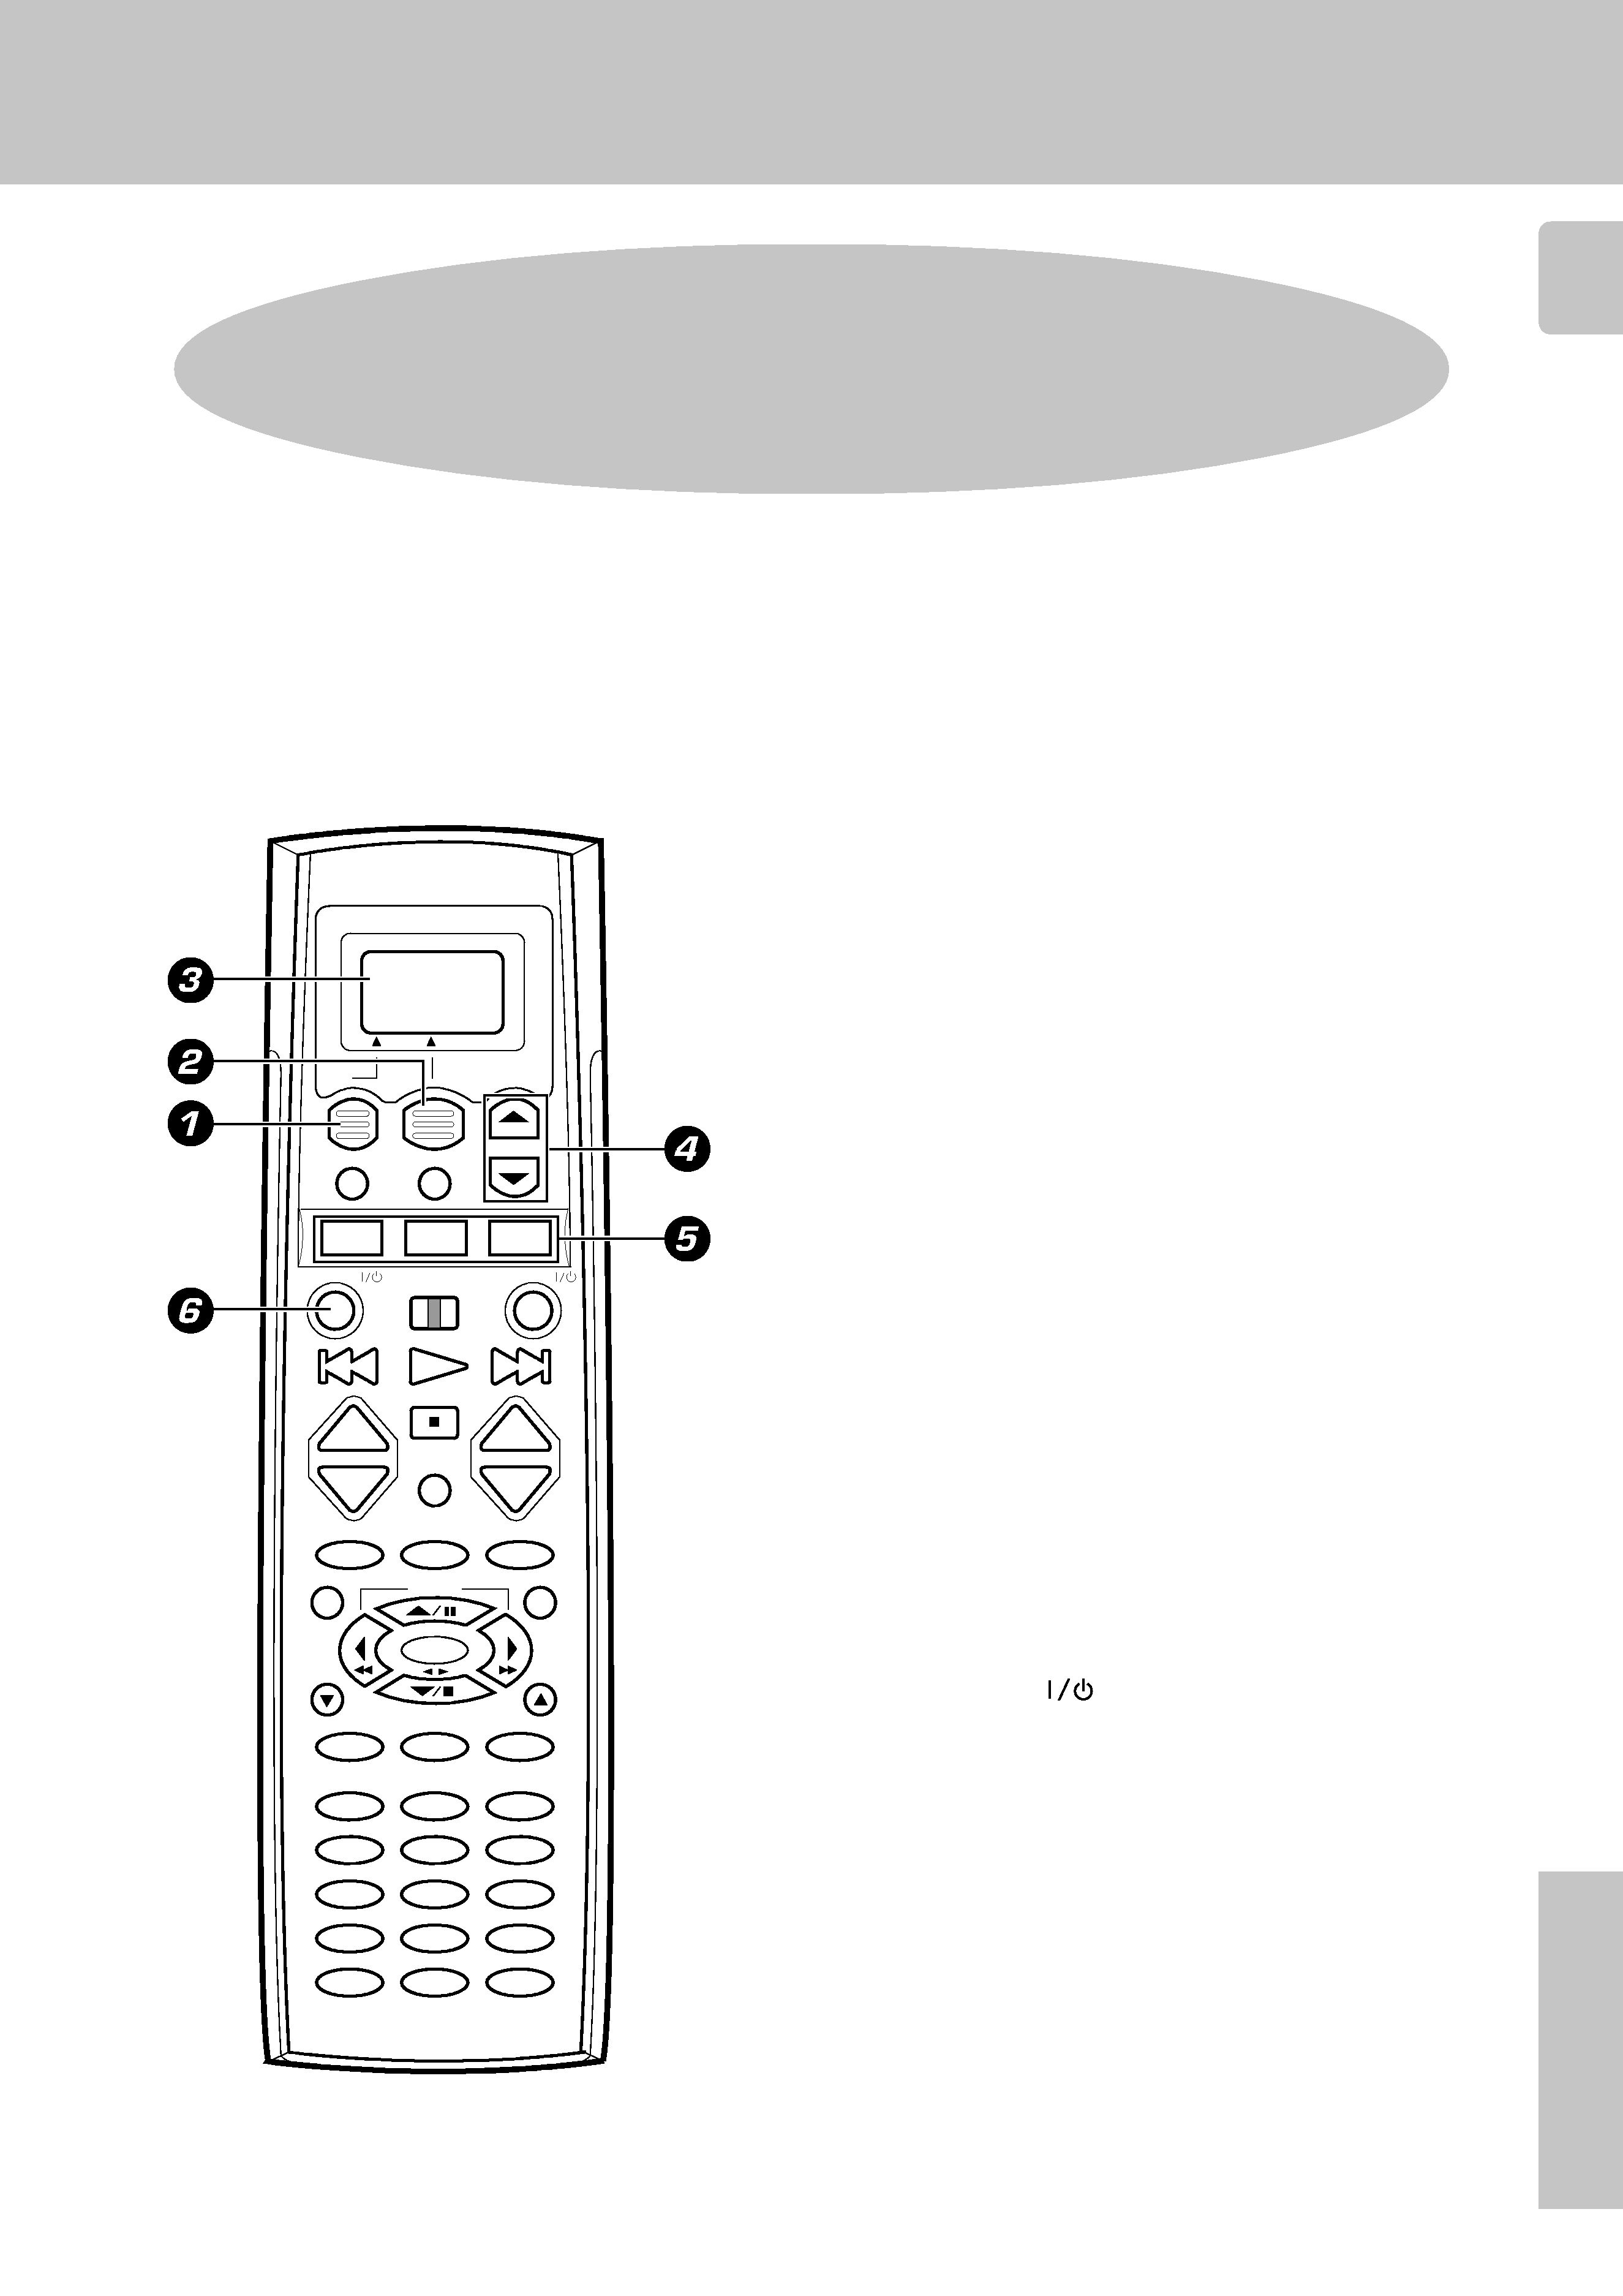
KENWOOD RC-R0808 Owner's Manual

Cover page of KENWOOD RC-R0808 Owner's Manual

Owner's Manual for KENWOOD RC-R0808, downloadable as a PDF file.

Manual details

  • Immediate download after payment.
  • Delivered as a PDF file.
  • The manual has 14 pages
  • File size: 0.34 MB
  • Available language versions: English
  • Different language versions may vary sligthly in file size and page count.

We guarantee that...

  • our manuals are complete,
  • our manuals are checked with antivirus,
  • We'll issue refund if the manual is damaged, incomplete or unreadable (our refund policy)

Sample pages

Thumbnail of page 1Thumbnail of page 2Thumbnail of page 3Thumbnail of page 4
Thumbnail of page 5Thumbnail of page 6Thumbnail of page 7Thumbnail of page 8
Thumbnail of page 9
background image
1
Remote
Control
Quick start guide ................................................ 1
Getting the most from your remote control ................. 3
Remote operation of other components .................... 11
In case of difficulty ............................................ 14
Remote Control Instruction Manual
Preset Remote Control Quick Start Guide
B60-4611-00 (EN)
+
­
+
­
SHIFT
MACRO
MUSIC
SOUND
BASS BOOST
MUTE
CH.
CH.
VOL.
VOL.
TUNING
BAND
ENTER
AUTO/MONO
F.SHIFT
REC
LEARN
RANDOM
REPEAT
INPUT SEL.
2
13
5
46
8
79
0
+10
+100
11
10
12
DISPLAY
TV SELECT
SELECT
THEME
AUDIO
FAVORITE
EXIT
INFO.
LAST CHANNEL
OSD
/PAGE
RETURN
/PAGE
DIMMER
TITLE/GUIDE
MENU
LISTEN M.
SUB.W.
MOVIE
TV
AV. POWER
SYS. POWER
REMOTE CONTROL UNIT
RC-R0808
This quick start guide explains how to setup the remote
control to operate audio and video components other
than the receiver.
In order to make full use of the functions of the remote
control, be sure to read the section of this manual
entitled "Getting the most from your remote control".
It contains a detailed explanation of how to operate the
remote control and make the necessary settings.
The quick start guide describes the operation of the
following keys:
1 Display operation 1 key
Use this key to go back to the previous display or initial
display.
2 Display operation 2 key
Gets you into and out of the preset code registration
mode.
3 Display
The information for setup is displayed.
4 5/keys
Use these keys to select the source or setup code.
5 MOVIE, MUSIC, and TV keys
Use these keys to select the input you want to register.
6 AV.POWER
key
Once you have entered the setup code for another
component, you can press this key to turn power to that
component on or off. This lets you confirm that you
entered the code properly.
background image
2
Remote
Control
Register the setup codes for your audio and video components
Automatic input naming
In the initial factory setting, the remote control already has provisional component names registered for each input. Before you register setup codes, pressing
the input keys of the remote control causes the display to change from the factory preset input names of the receiver (VIDEO1, VIDEO2, etc.) to the input
names registered in the remote control (VCR1, VCR2, etc.). Once you have registered the appropriate setup codes for your components, pressing the input
keys of the remote control causes the display to change to the actually connected component names (LD, DVD, etc.) for which you have registered setup
codes.
VCR
Video1:
Menu
AV.POWER
Step 1
Press the
display operation 1 key re-
peatedly until "Menu" appears in the dis-
play.
Step 2
Press the
display operation 2 [Menu]
key repeatedly until "01.IR" appears in
the display.
For step 1 through step 9, make sure you
start the next step within 8 seconds of
completing the previous one. If more than
8 seconds elapses between any two steps,
press the display operation key so that
the display appears.
Step 3
Press the
5/ keys to select "01.IR",
then press the
display operation 2
[Enter] key.
Step 4
Press the
5/ keys to select the input
that you want to register, then press the
display operation 2 [Enter] key.
Step 5
Press the
5/ keys to select the com-
ponent that you want to register, then
press the
display operation 2 [Enter]
key.
Step 6
Press the
5/ keys to select the maker
of the component that you want to reg-
ister, then press the
display operation
2 [Enter] key.
Step 7
Press the
5/ keys to select the setup
code.
Step 8
Press the
AV.POWER
key to see if
you can turn the component on and off.
If your component has a mechanical
POWER switch that cannot be operated
by remote control unit, press the
dis-
play operation 2 [Enter] key and dis-
play operation 1 [Home] key, and se-
lect the component by pressing the
MUSIC, MOVIE, or TV key, then press
the PLAY (
<) key or TUNING (2 3) key
to test it.
If the component does not respond when you try to
control it, return to step 7 and enter the next setup
code on the list. Repeat this procedure until you find
the code that matches the component. When the
component does not respond, select "Nothing."
Step 9
Press the
display operation 2 [Enter]
key to store the code.
Repeat steps
3 through 9 to enter the codes for each
component you want to control.
Press the
display operation 1 key repeatedly until "Menu"
appears in the display.
If you accidentally exit the registration mode by pressing the
wrong key, you will not lose any setup codes you have
already saved.
>02.Surround
>01.IR
Back Enter
>Aiwa
>Kenwood
Back Enter
>02:Nothing
>01:0056
Back Enter
>04.Video2
>03.Video1
Back Enter
>02.Surround
>01.IR
Home Enter
>06.Cable
>05.VCR
Back Enter
>02.Surround
>01.IR
Home Enter
background image
3
Remote
Control
The remote control supplied with this receiver is also
capable of controlling components from a variety of manu-
facturers once you register the appropriate setup codes
into the remote control unit.
Refer to "Remote operation of other components" for de-
tails about the operations available for each component.
!
1
How to use the display operation keys
Press the display operation 1 key repeatedly until
"Menu" appears in the display.
Getting the most from your remote control
2Press the display operation 2 [Menu] key repeatedly until
"01.IR" appears in the display.
· At this time all inputs become available regardless of any earlier
registration.
Low battery warning
Replace all four batteries with new ones when you notice a shortening
of the distance from which the remote control will operate. The remote
control is designed to retain setup codes in memory while you change
batteries.
For step
1 through step @, make sure you start the next step
within 8 seconds of completing the previous one. If more than
8 seconds elapses between any two steps, press the display
operation keys so that the display appears.
Registering setup codes for other components
To register the setup code, use the
display operation 1 key, display
operation 2 key, or
5/ keys.
The
display operation 1 key and display operation 2 key work as the
function key displayed in the display above.
The display goes off automatically when you do not operate for more than
8 seconds. In this case, press the
display operation 1 key, display
operation 2 key, or
5/ keys.
When the display goes off
Press the
display operation 1 key repeatedly until "Menu" appears in the
display.
The display returns to the initial display.
When you are confused about what's being displayed
VCR
Video1:
Menu
· The setup display appears.
Press the
5/ keys to select "01.IR," then press the
display operation 2 [Enter] key.
· The input selecting display appears.
Press the
5/ keys to select the input that you want to
register.
· Each time you press the
5/ key, the input changes as follows:
01:
CD/DVD
02:
MD/Tape
03:
Video1
04:
Video2
05:
Video3
06:
DVD
07:
TV1
08:
TV2
09:
Cable
10:
Phono
Continued to next page
3
4
>06.Cable
>05.VCR
Back Enter
The display operation 1 key
·
[Back]
Go back to the previous display.
·
[Home]
Go back to the initial display.
·
[Clr]
Erase the internal memory.
The display operation 2 key
·
[Enter]
Enter the selected item.
·
[Menu]
Display the menu.
·
[Setup]
Go to the setup display.
·
[Exit]
Exit from the current operation.
·
[Sel]
Select the item.
5/
Display operation 1
Display operation 2
Display
+
­
+
­
5/
Display operation 1
Display operation 2
Display
+
­
+
­
>04.Video2
>03.Video1
Back Enter
>02.Surround
>01.IR
Home Enter
· Example: To select the source connected the VIDEO1 jack, select
"Video1".
background image
4
Remote
Control
Getting the most from your remote control
Press the display operation 2 [Enter] key.
· The source selecting display appears.
· When you select "Phono" in step
4, go to step 0.
5
VCR
Video1:
Menu
Press the
5/ keys to select the source you want to
register.
6
· Each time you press the
5/ key, the input changes as follows:
01:
CD
02:
Tape
03:
MD
04:
CD-R
05:
VCR
06:
Cable
07:
Satellit
08:
TV
09:
LD
10:
DVD
11:
DSS (U.S.A only)
12:
No type
13:
Delete
· Select "No type" when the desired source does not appear in the
display.
· The selected input does not appears when you select "Delete."
Press the display operation 2 [Enter] key.
· The maker selecting display appears.
7
Press the
5/ keys to select the maker you want to
register.
8
· Press the
5/ keys until the desired maker appears in the display.
When the desired maker does not appear, select "Nothing."
Press the display operation 2 [Enter] key.
· The setup code selecting display appears.
9
Press the
5/ keys to select the setup code.
0
Press the AV.POWER
key, and check to see that the
component you want to control turns on.
If the component does not react, and there is more than one
setup code, enter another setup code and try again.
·
< or TUNING key can also be used instead of the AV. POWER
key.
· If the component is already on, pressing the
AV. POWER
key
will turn it off.
!
Repeat steps
3 to @ to register additional components
until all components have been registered.
Press the display operation 2 [Enter] key.
· The display returns to the setup display.
@
To returns to the initial display, press [Back] repeat-
edly until "Menu" appears in the display.
· Once registered, the display on the receiver shows the component
type instead of the default input name.
Example: if you register a VCR at the VIDEO 1 jacks, "Video1" and
"VCR" appear in the display.
· Any VIDEO or TV (TV1, TV2, CABLE) inputs that have not been
programmed with a setup code or Non-IR code are deleted from the
cyclic list.
Note
Although each setup code is designed to work with a number of different
models, certain codes may not work with some models. (Also, certain
codes may only operate some of the functions available on a given
model.)
Press the
display operation 1 [Back] key repeatedly until the display
you want to re-operate appears.
When you mistake
>06.Cable
>05.VCR
Back Enter
>Aiwa
>Kenwood
Back Enter
>02:Nothing
>01:0056
Back Enter
For Europe and U.K
>Admidral
>Kenwood
Back Enter
For other countries
>02.Surround
>01.IR
Home Enter
background image
5
Remote
Control
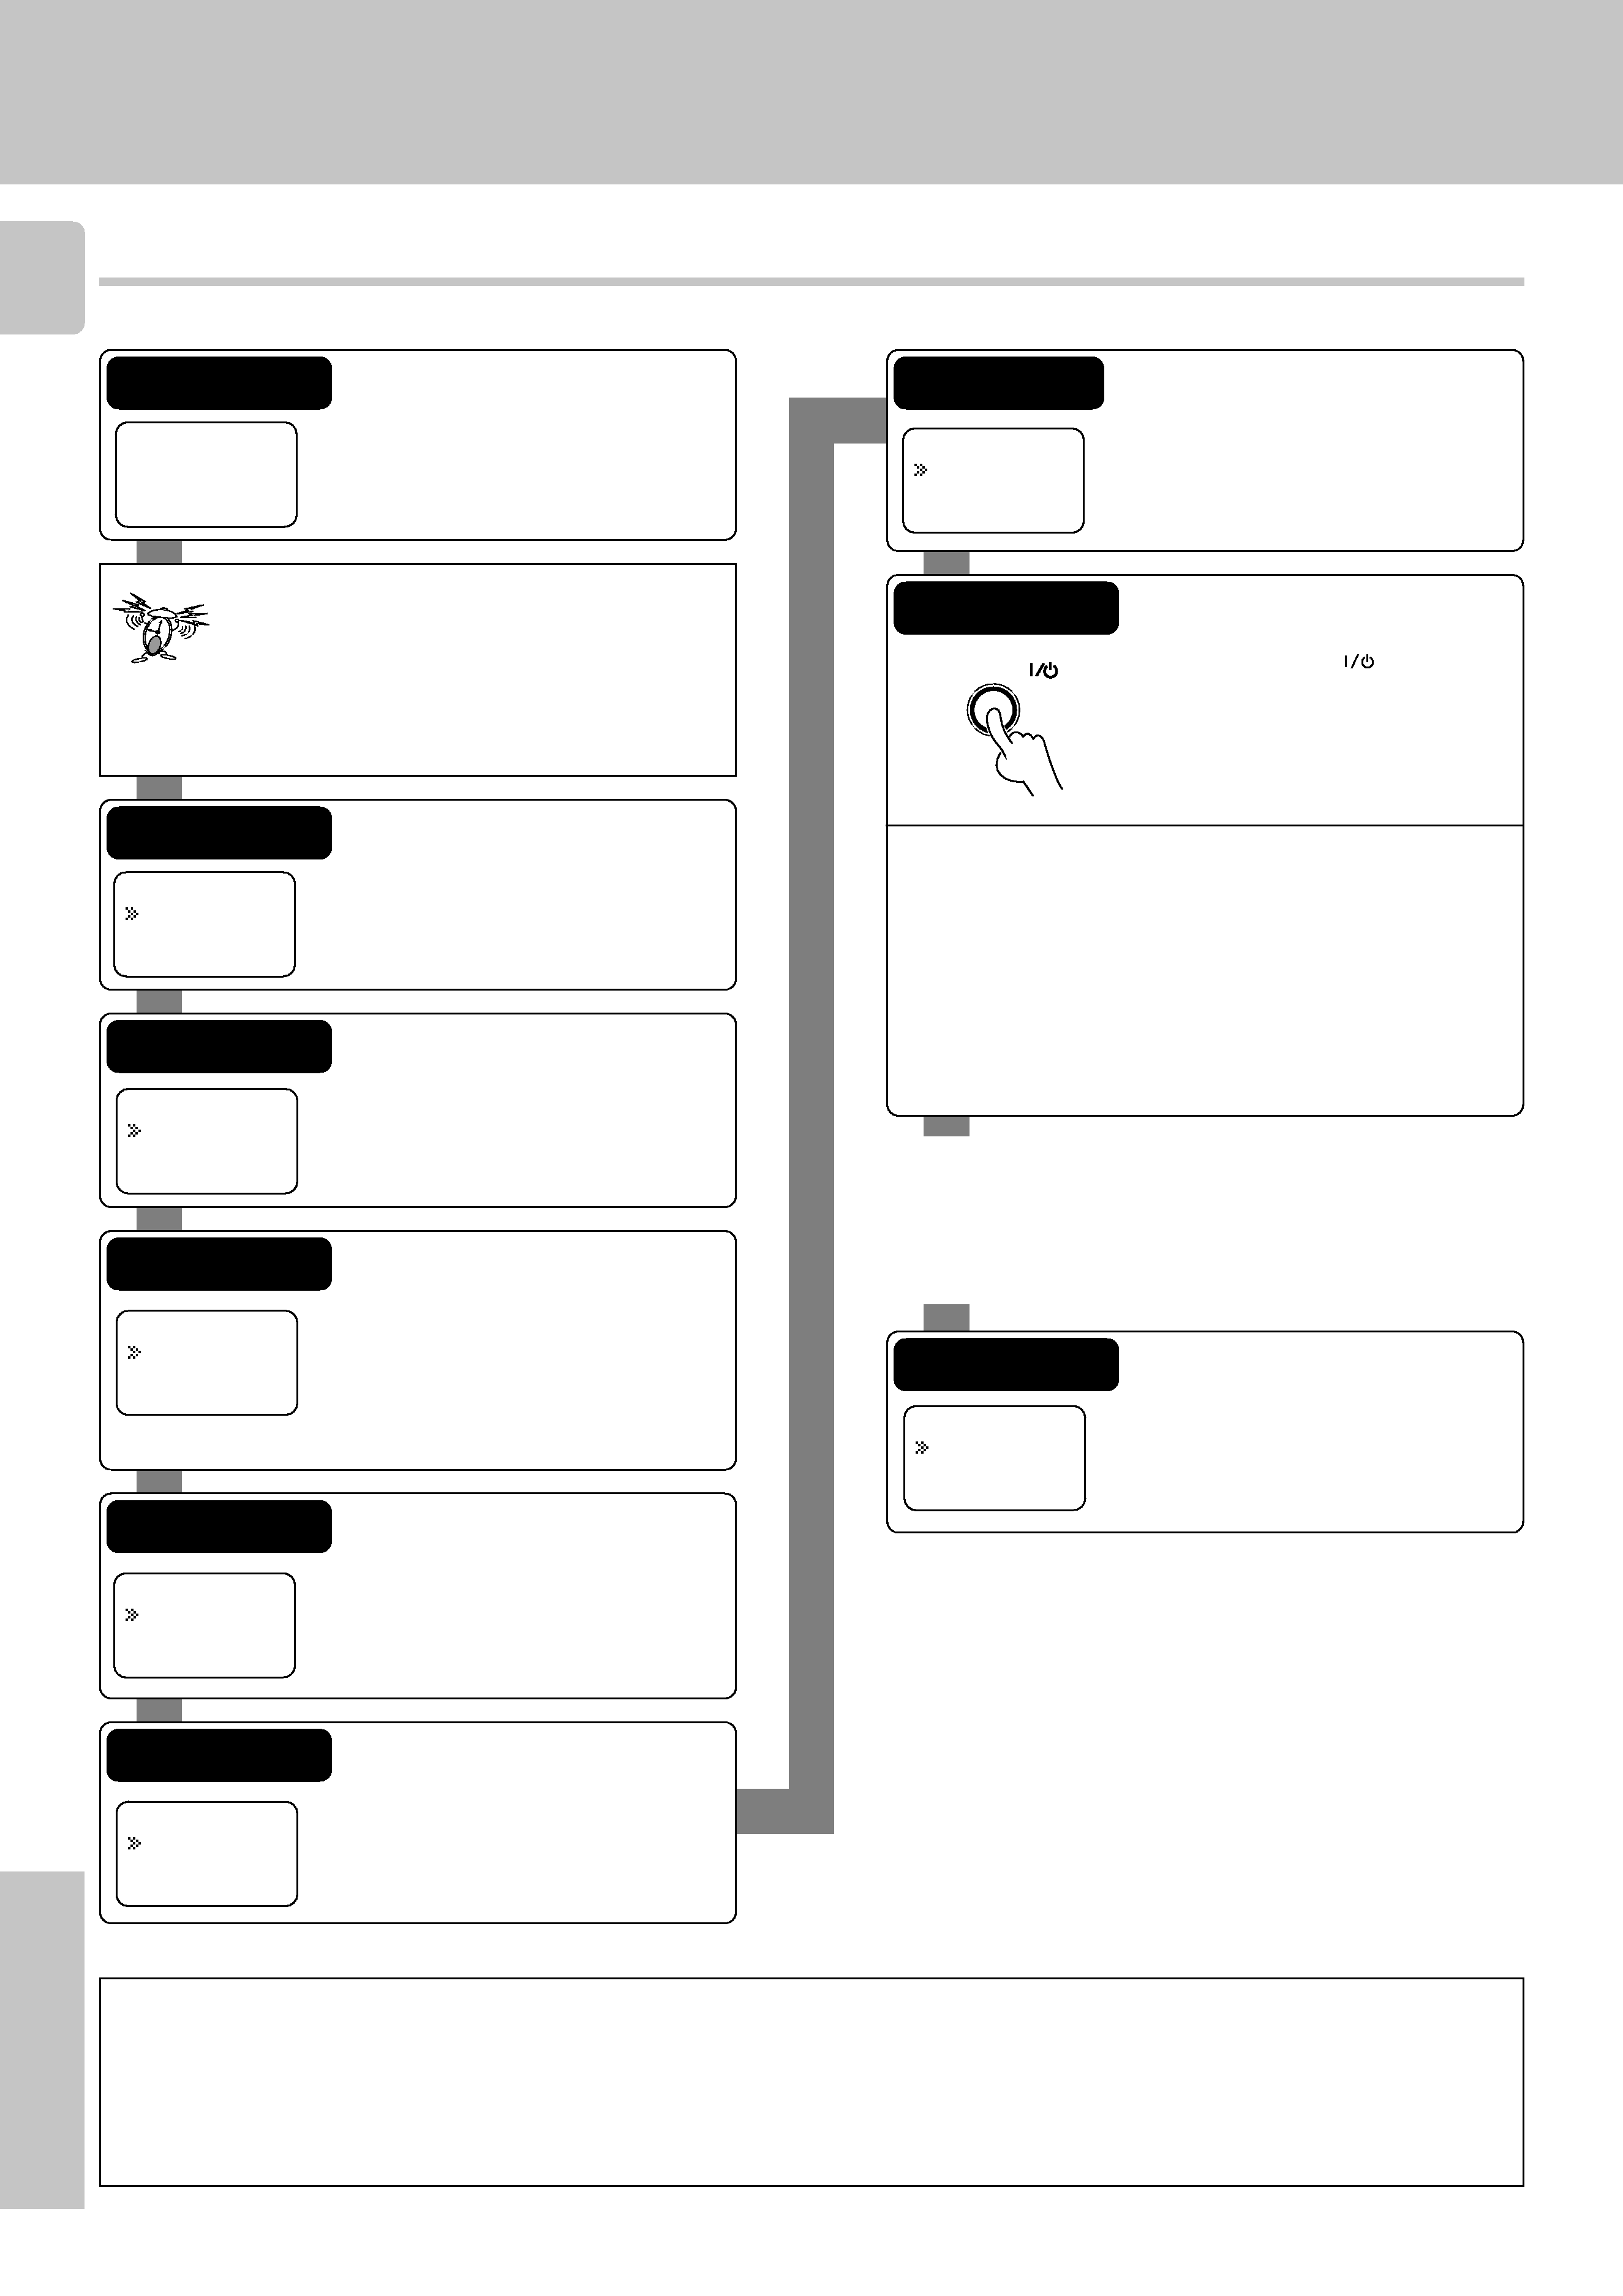
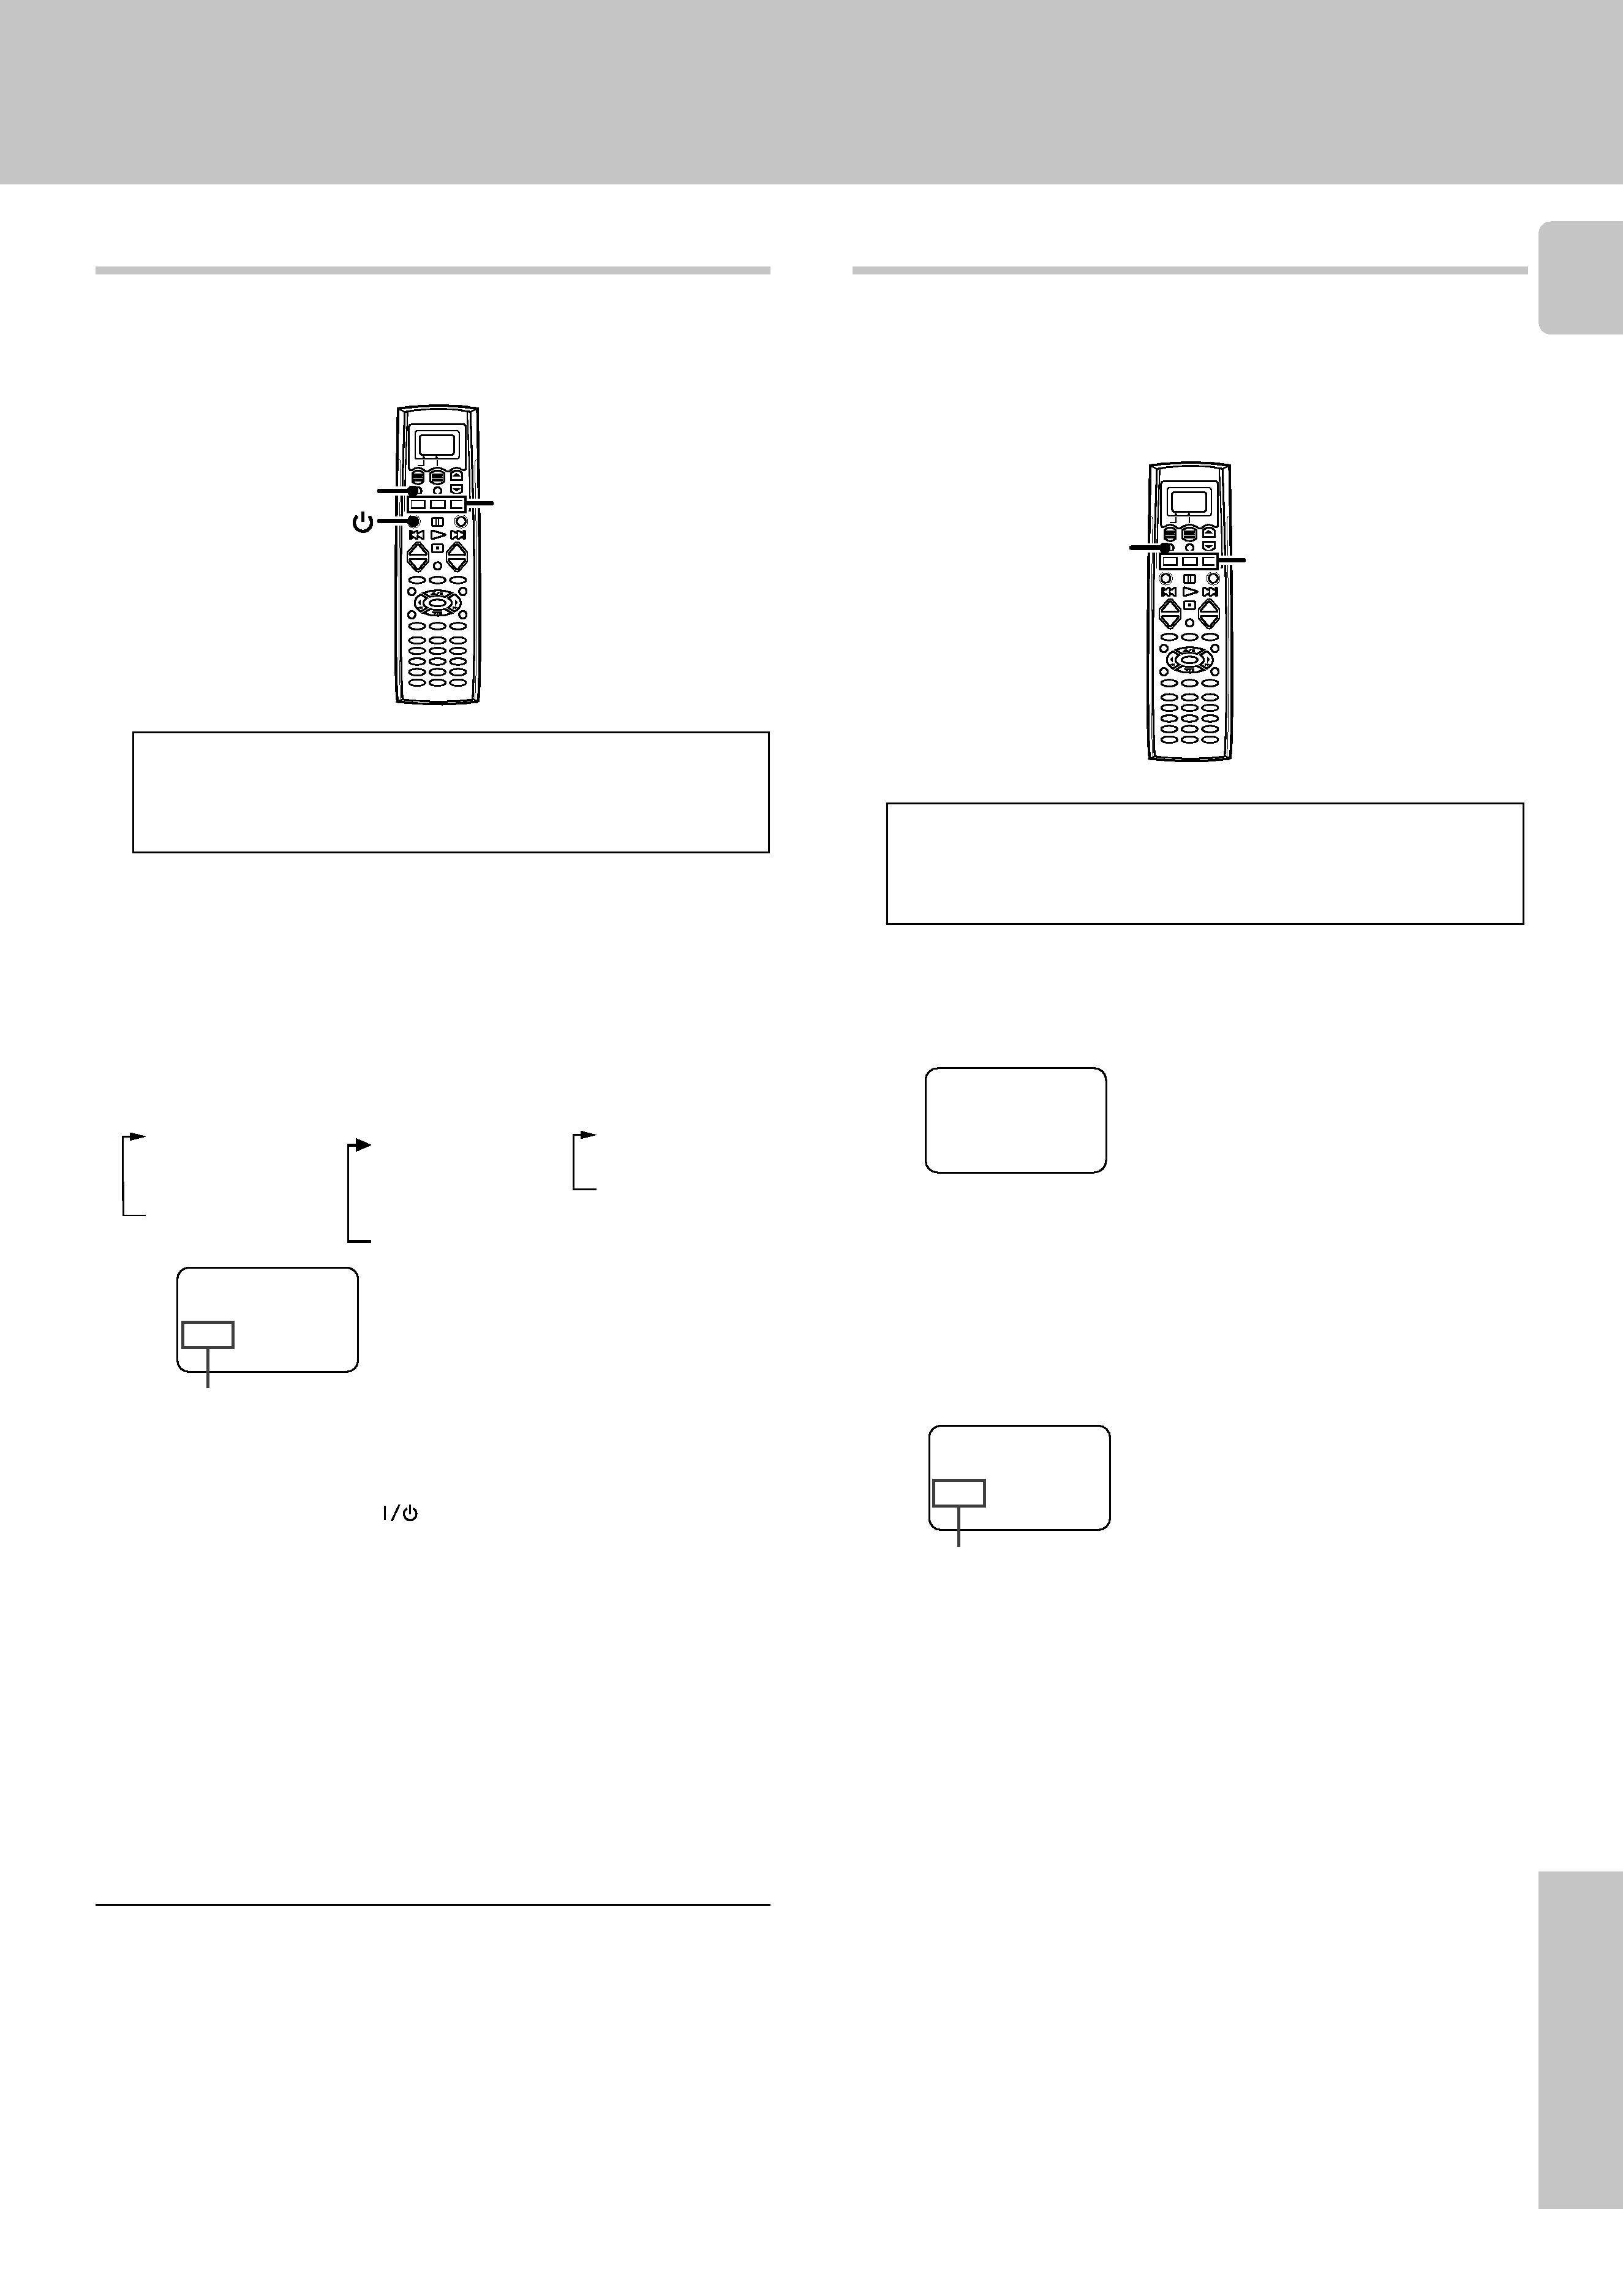
This operation lets you operate the registered components.
KENWOOD audio components with system control turn on and off
automatically with the receiver via the system control connections.
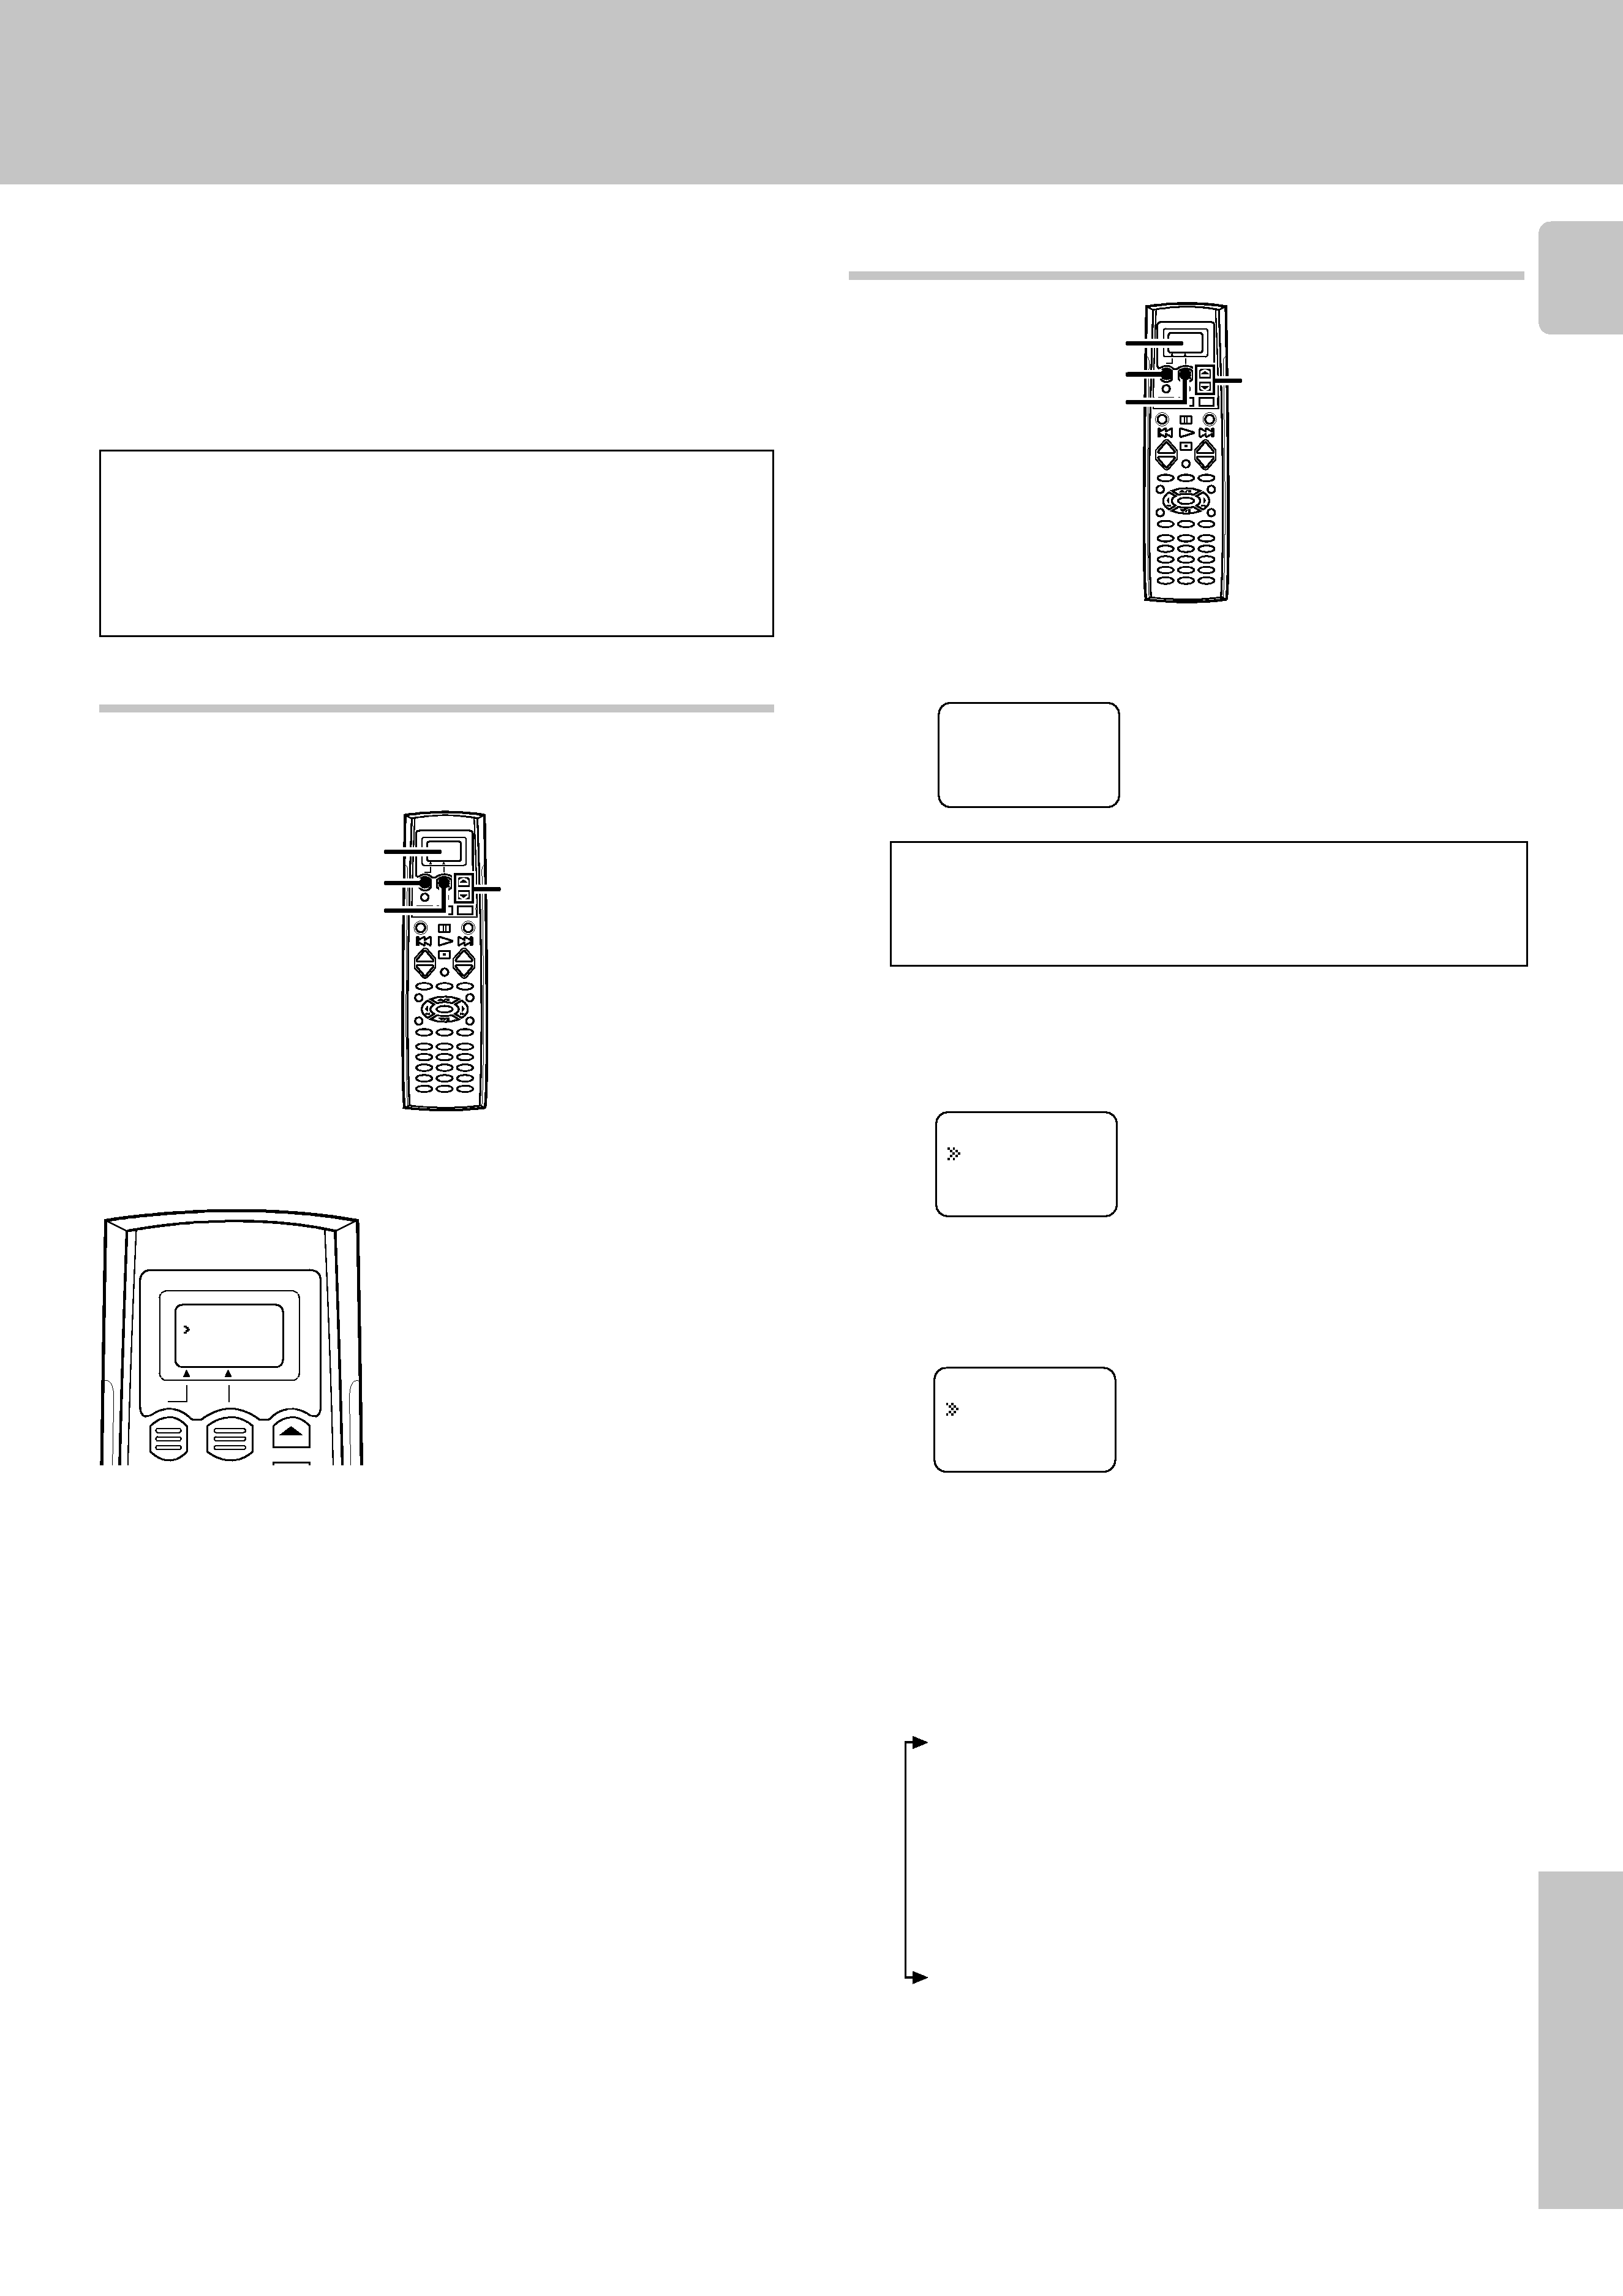
Use the MUSIC, MOVIE, or TV key to select the component
you desire.
· Pressing the
MUSIC or MOVIE key also changes the input selector
on the receiver. If you do not want to change the current input, press
the
SHIFT key before step
1.
Note
Be sure to point the remote control at the remote sensor on the receiver
when you want to operate KENWOOD components connected by
system control cords. Otherwise, point the remote control at the compo-
nent you want to operate.
MOVIE key
1 Video1
2 Video2
3 Video3
4 DVD 6CH
5 AV AUX
MUSIC key
1 CD/DVD
2 TAPE or MD
3 Tuner
4 PHONO
TV key
1 TV1
2 TV2
3 CABLE
Press the AV. POWER
key.
· The selected component turns on or off.
· See "Remote operation of other components" at the end of this
manual for a list of keys available with each component.
RC!
The remote control mode remains in the set at the component
selected in step
1 mode until you select another component.
1
2
3 Press the operation keys you desire.
Getting the most from your remote control
VCR
Video1:
Menu
Select source
·"Shift" appears in the display.
1
2
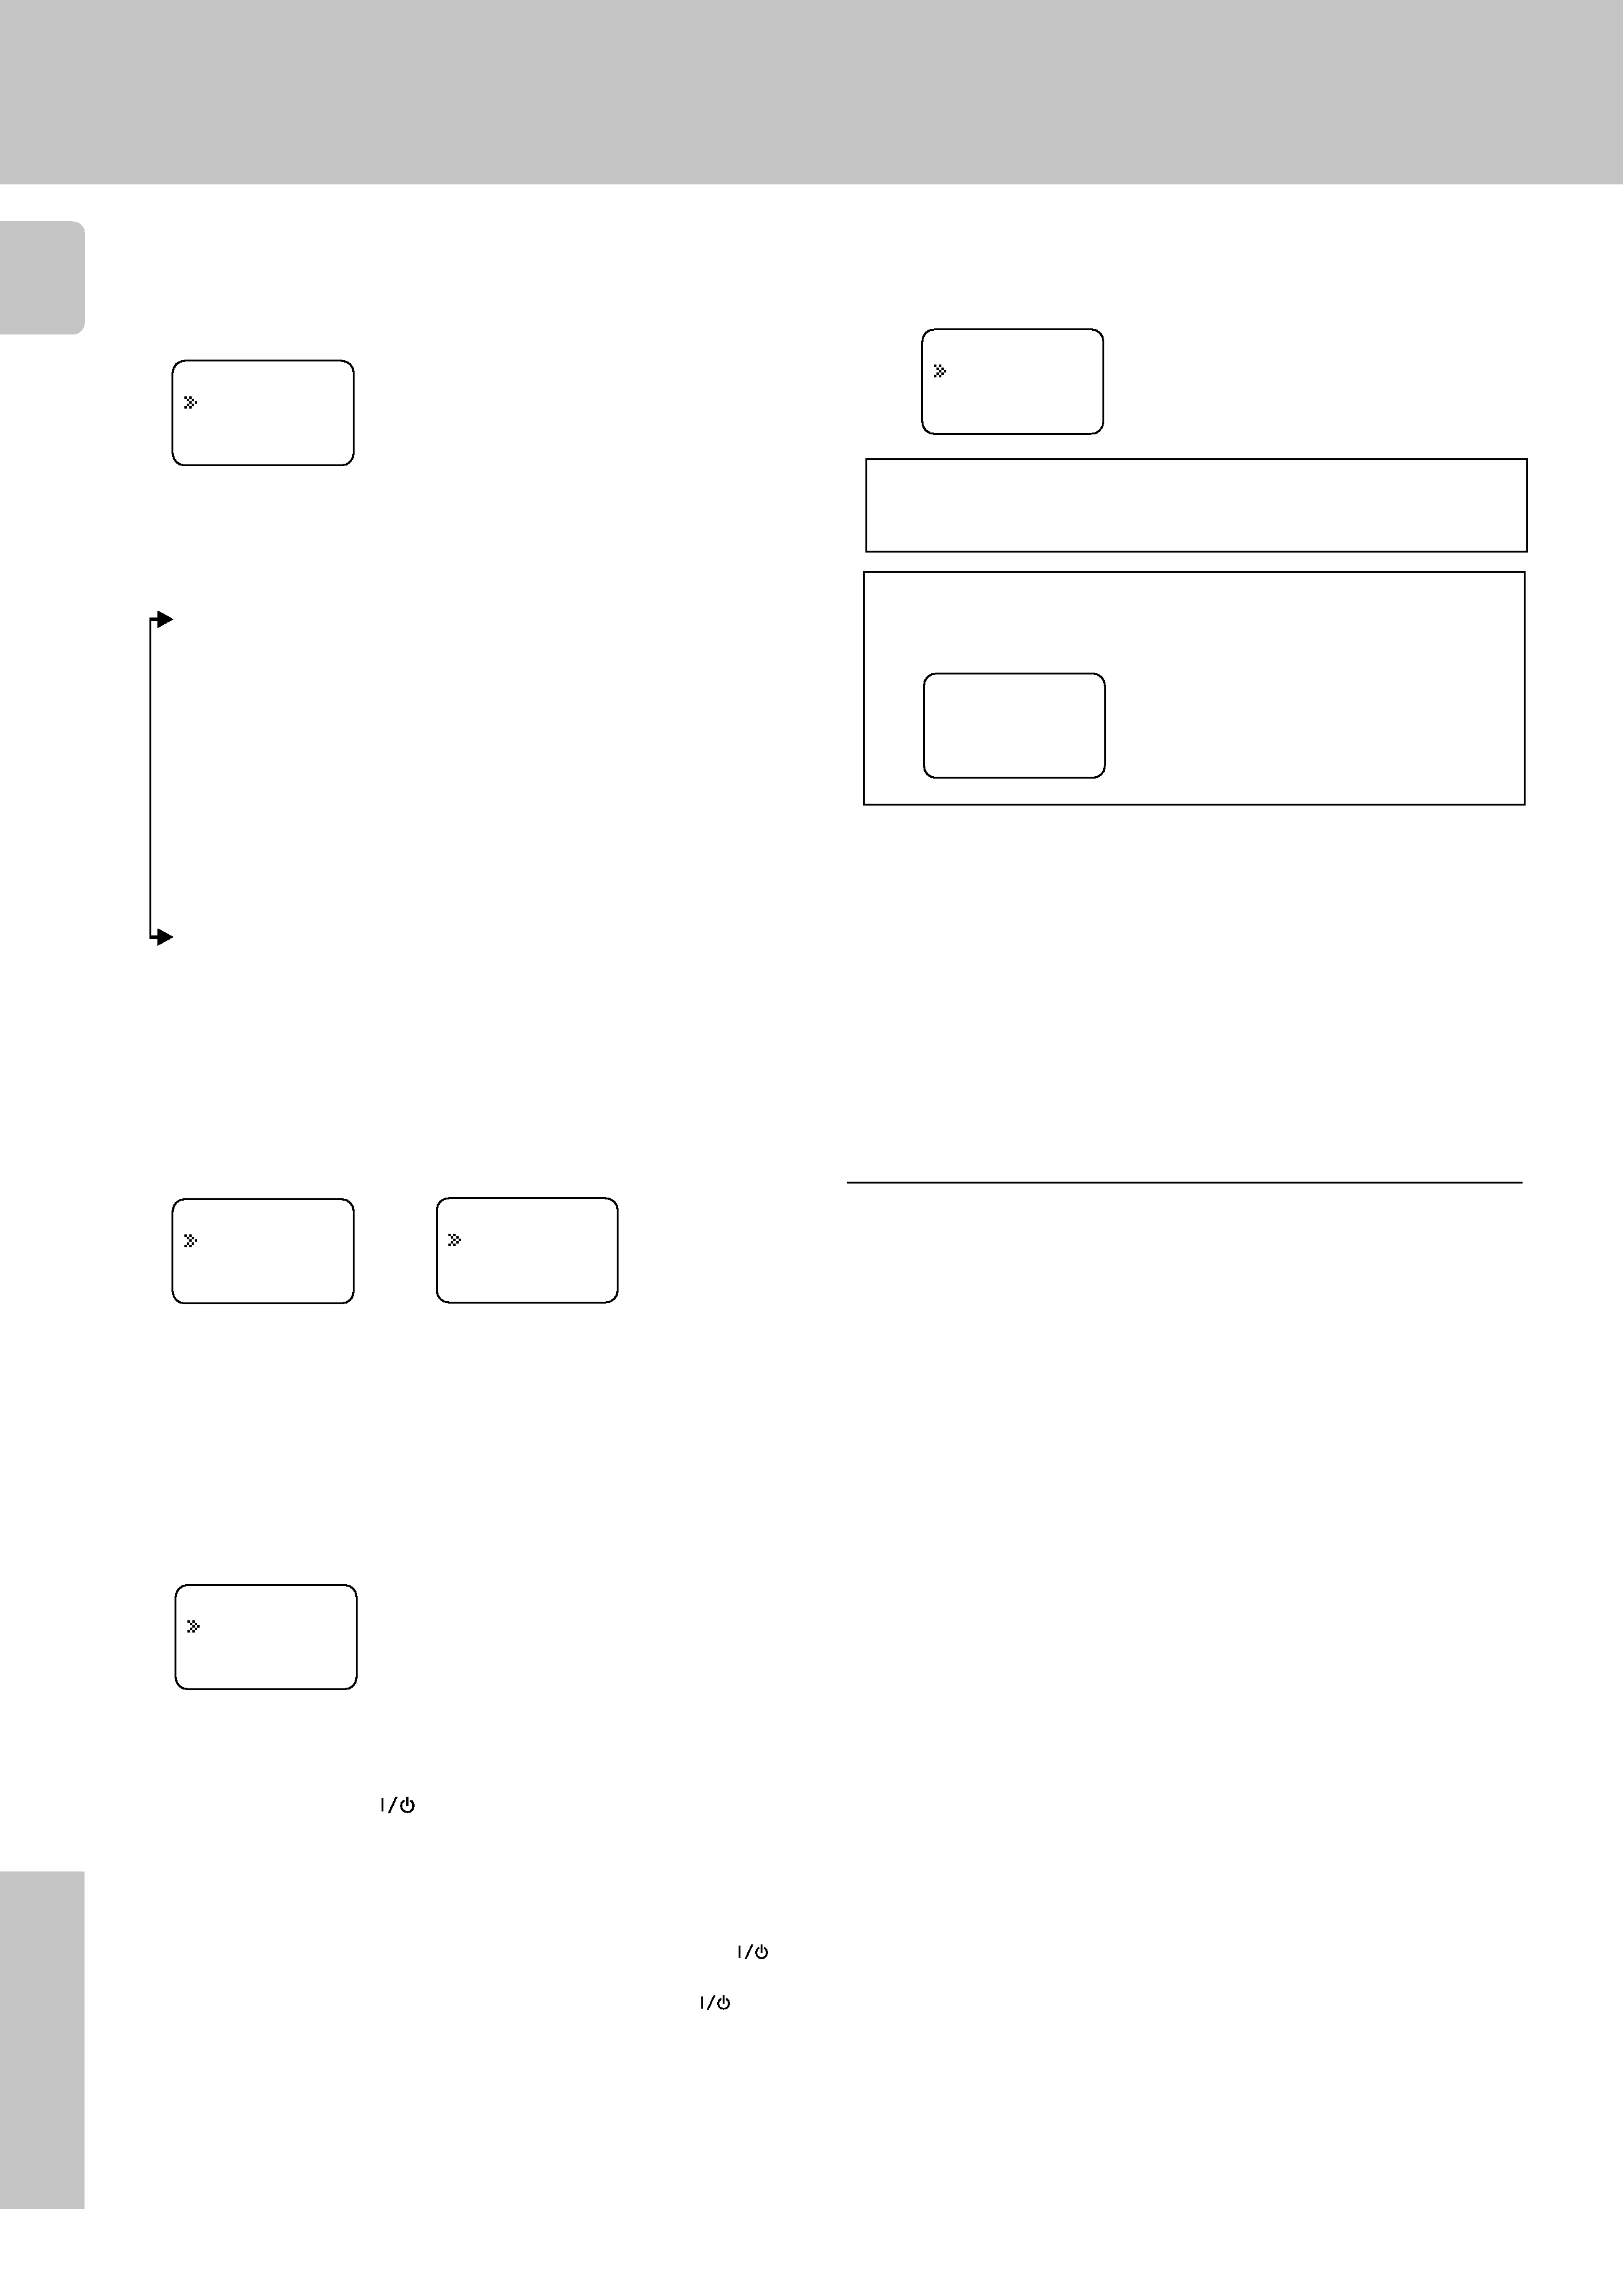
Press the SHIFT key.
Press the MUSIC, MOVIE, or TV key repeatedly to display
the remote control mode for the component you want to
control.
3Execute the desired operations.
· See "Remote operation of other components" for a list of keys
available with each component.
RC!
The operation mode remains set at the component specified in
step
2.
To return control to the original component, press SHIFT and
then press the MUSIC or MOVIE key to return to the original
control mode.
· Pressing any other keys after the
SHIFT key cancels the shift function
and sends the normal code associated with the respective key.
· The input selector does not change during this operation.
· If you press
MUSIC or MOVIE key more than 3 seconds after
pressing the
SHIFT key, the input selector changes together with the
operation mode.
The component to be controlled
This operation lets you change the remote control operation mode without
changing the input selector.
You may find this useful when you want to control one component while
using another. (For example, if you want to rewind the tape deck while
listening to a CD.)
VCR
Shift
Menu
DVD
Shift
Menu
· To operate a TV, start form step
2.
Press the MUSIC, MOVIE, or TV key until the desired source
appears.
MUSIC, MOVIE,
TV
+
­
+
­
SHIFT
During opration, make sure you start the next step within
8seconds of completing the previous one. If more than 8
seconds elapses between any two steps, press the display
operation key so that the display appears.
During opration, make sure you start the next step within 8
seconds of completing the previous one. If more than 8
seconds elapses between any two steps, press the display
operation key so that the display appears.
AV.POWER I /
MUSIC, MOVIE,
TV
+
­
+
­
SHIFT
· You cannot select the source that is not registered.
Operating other components
Changing (confirming) the operation mode

Reviews

There are no reviews of this manual yet.