-- 3 --
The marking of products using lasers
(Except for some areas)
The label is attached to the chassis/case and
says that the component uses laser beams
that have been classified as Class 1. It means
that the unit is utilizing laser beams that are
of a weaker class. There is no danger of
hazardous radiation outside the unit.
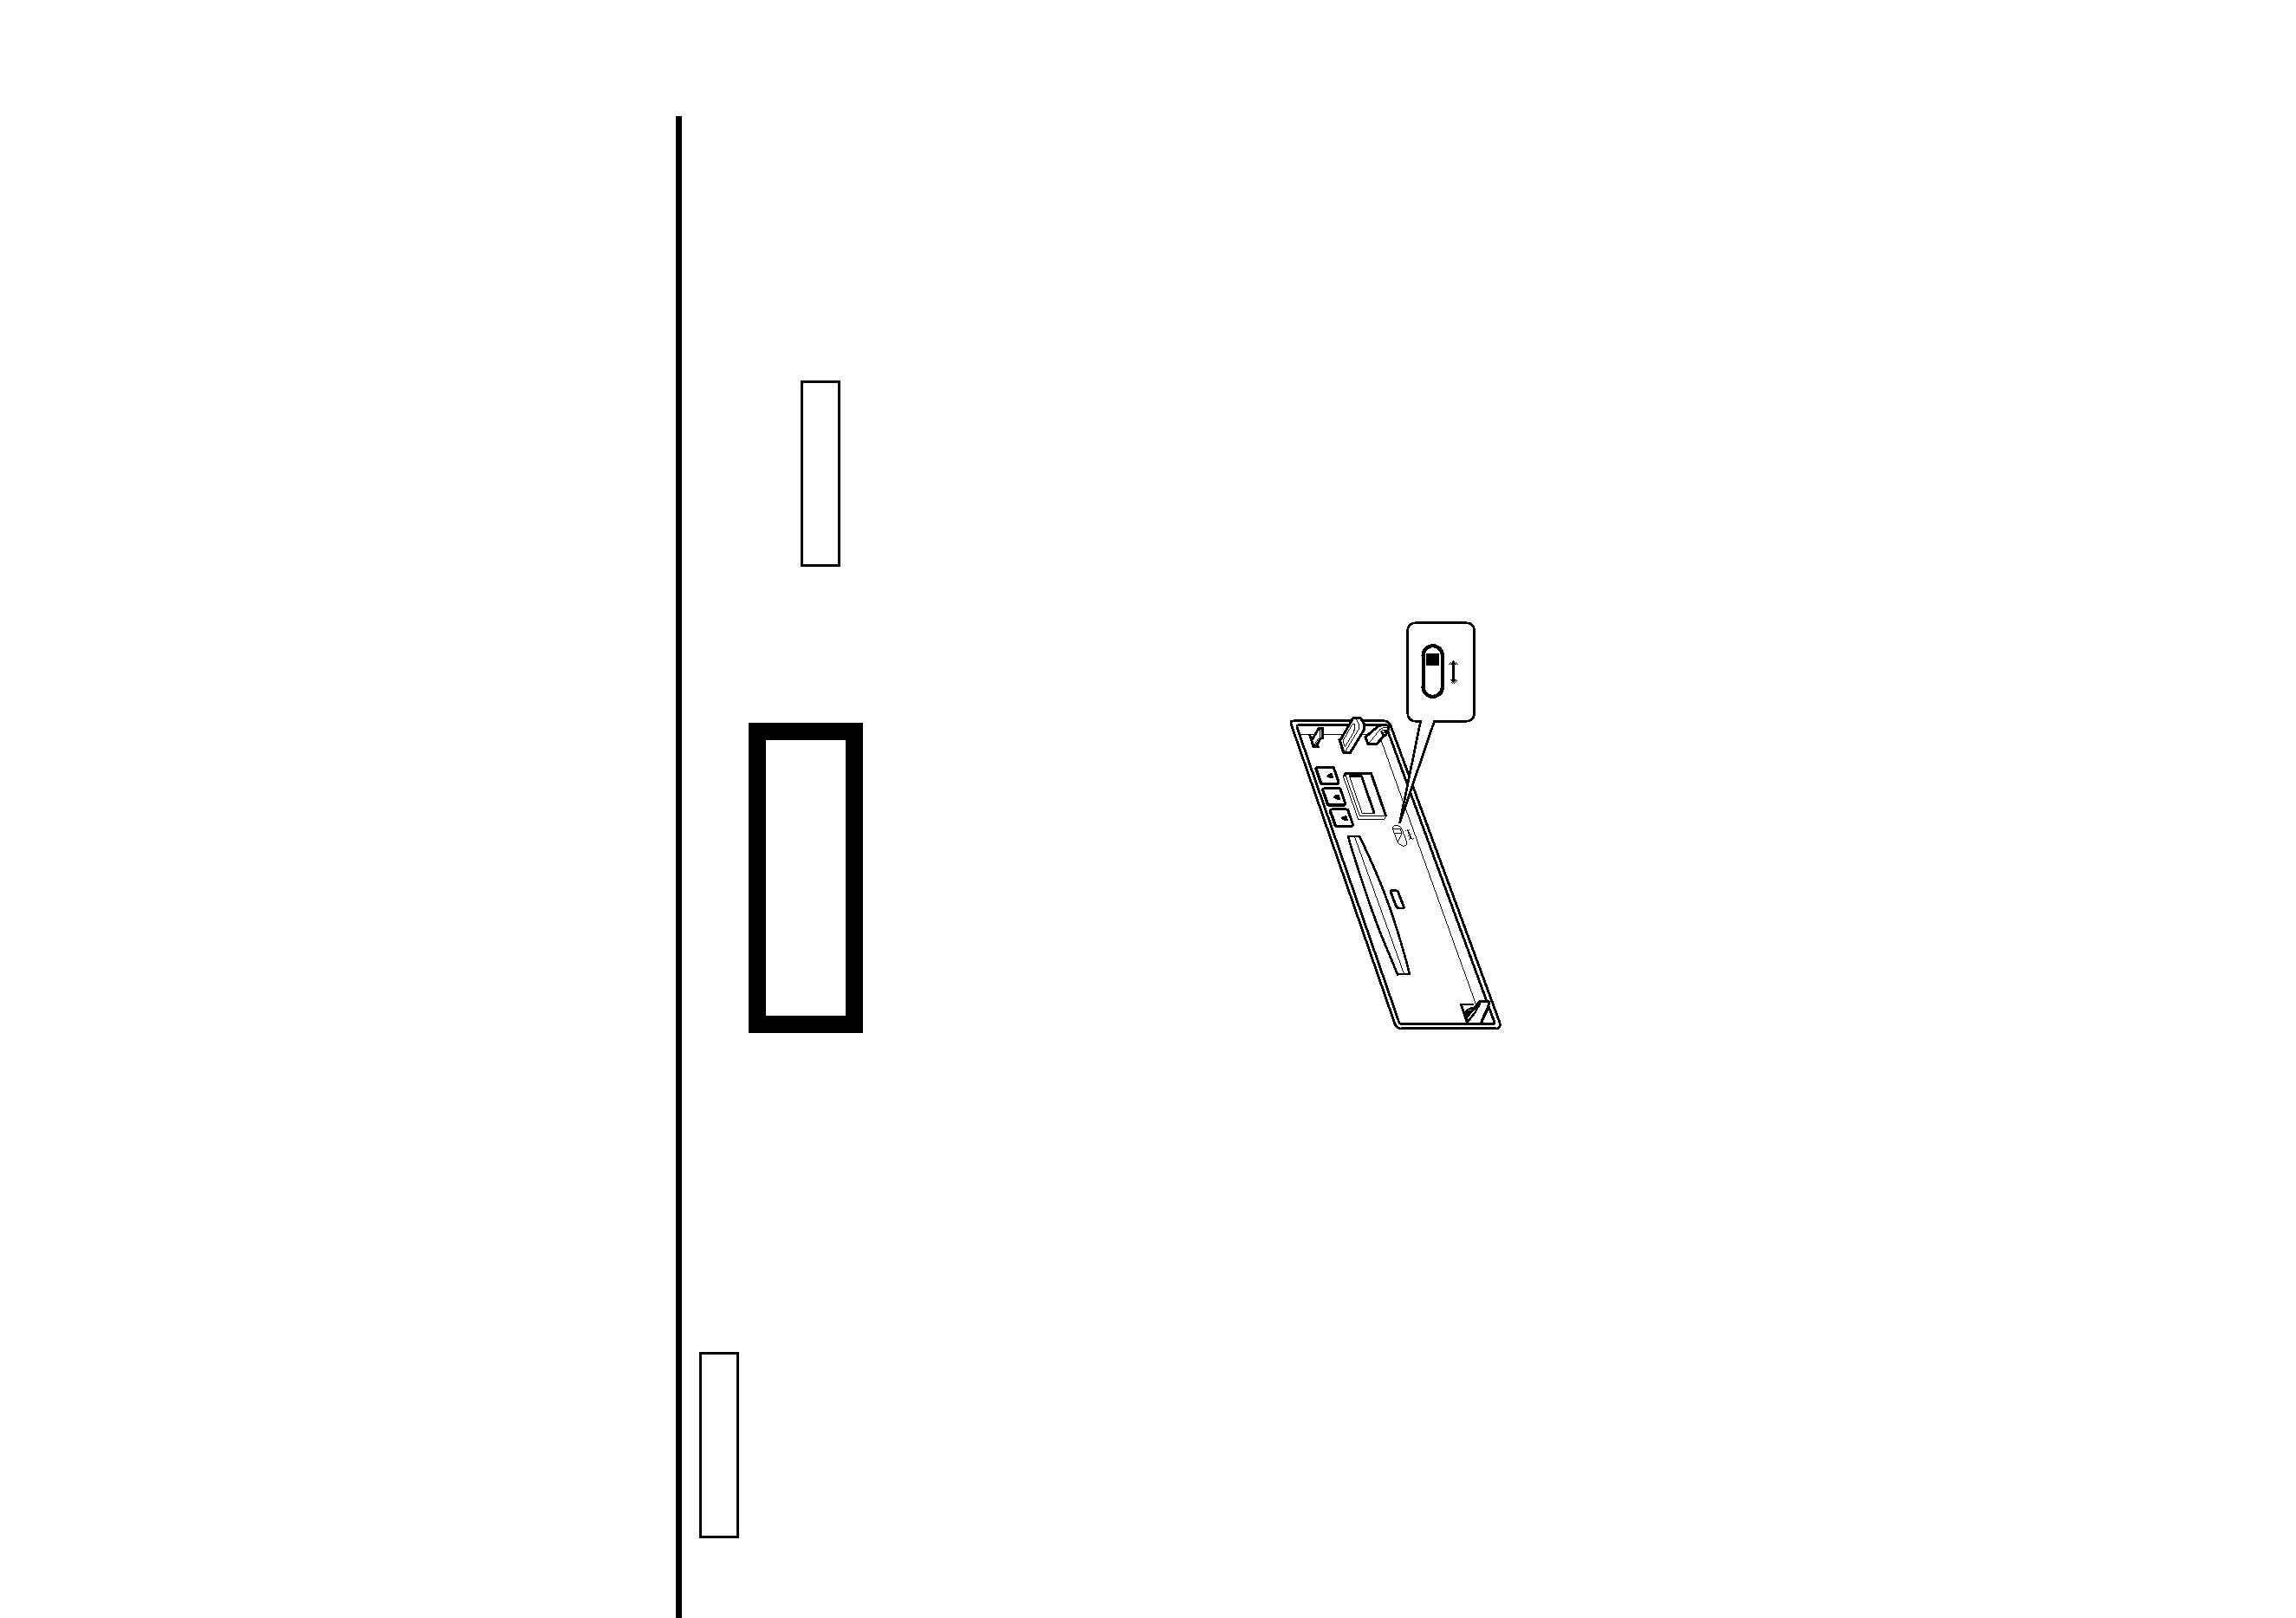
Setting of the O-N switch will be required
depending on the centre unit that is to be
connected.
The operations you perform and the
resultant operation of the unit will differ
depending on the setting of the O-N
switch. Please see the appropriate
description of operations for the "O" or
"N" switch setting.
CLASS 1
LASER PRODUCT
1
2
3
ON
O
N
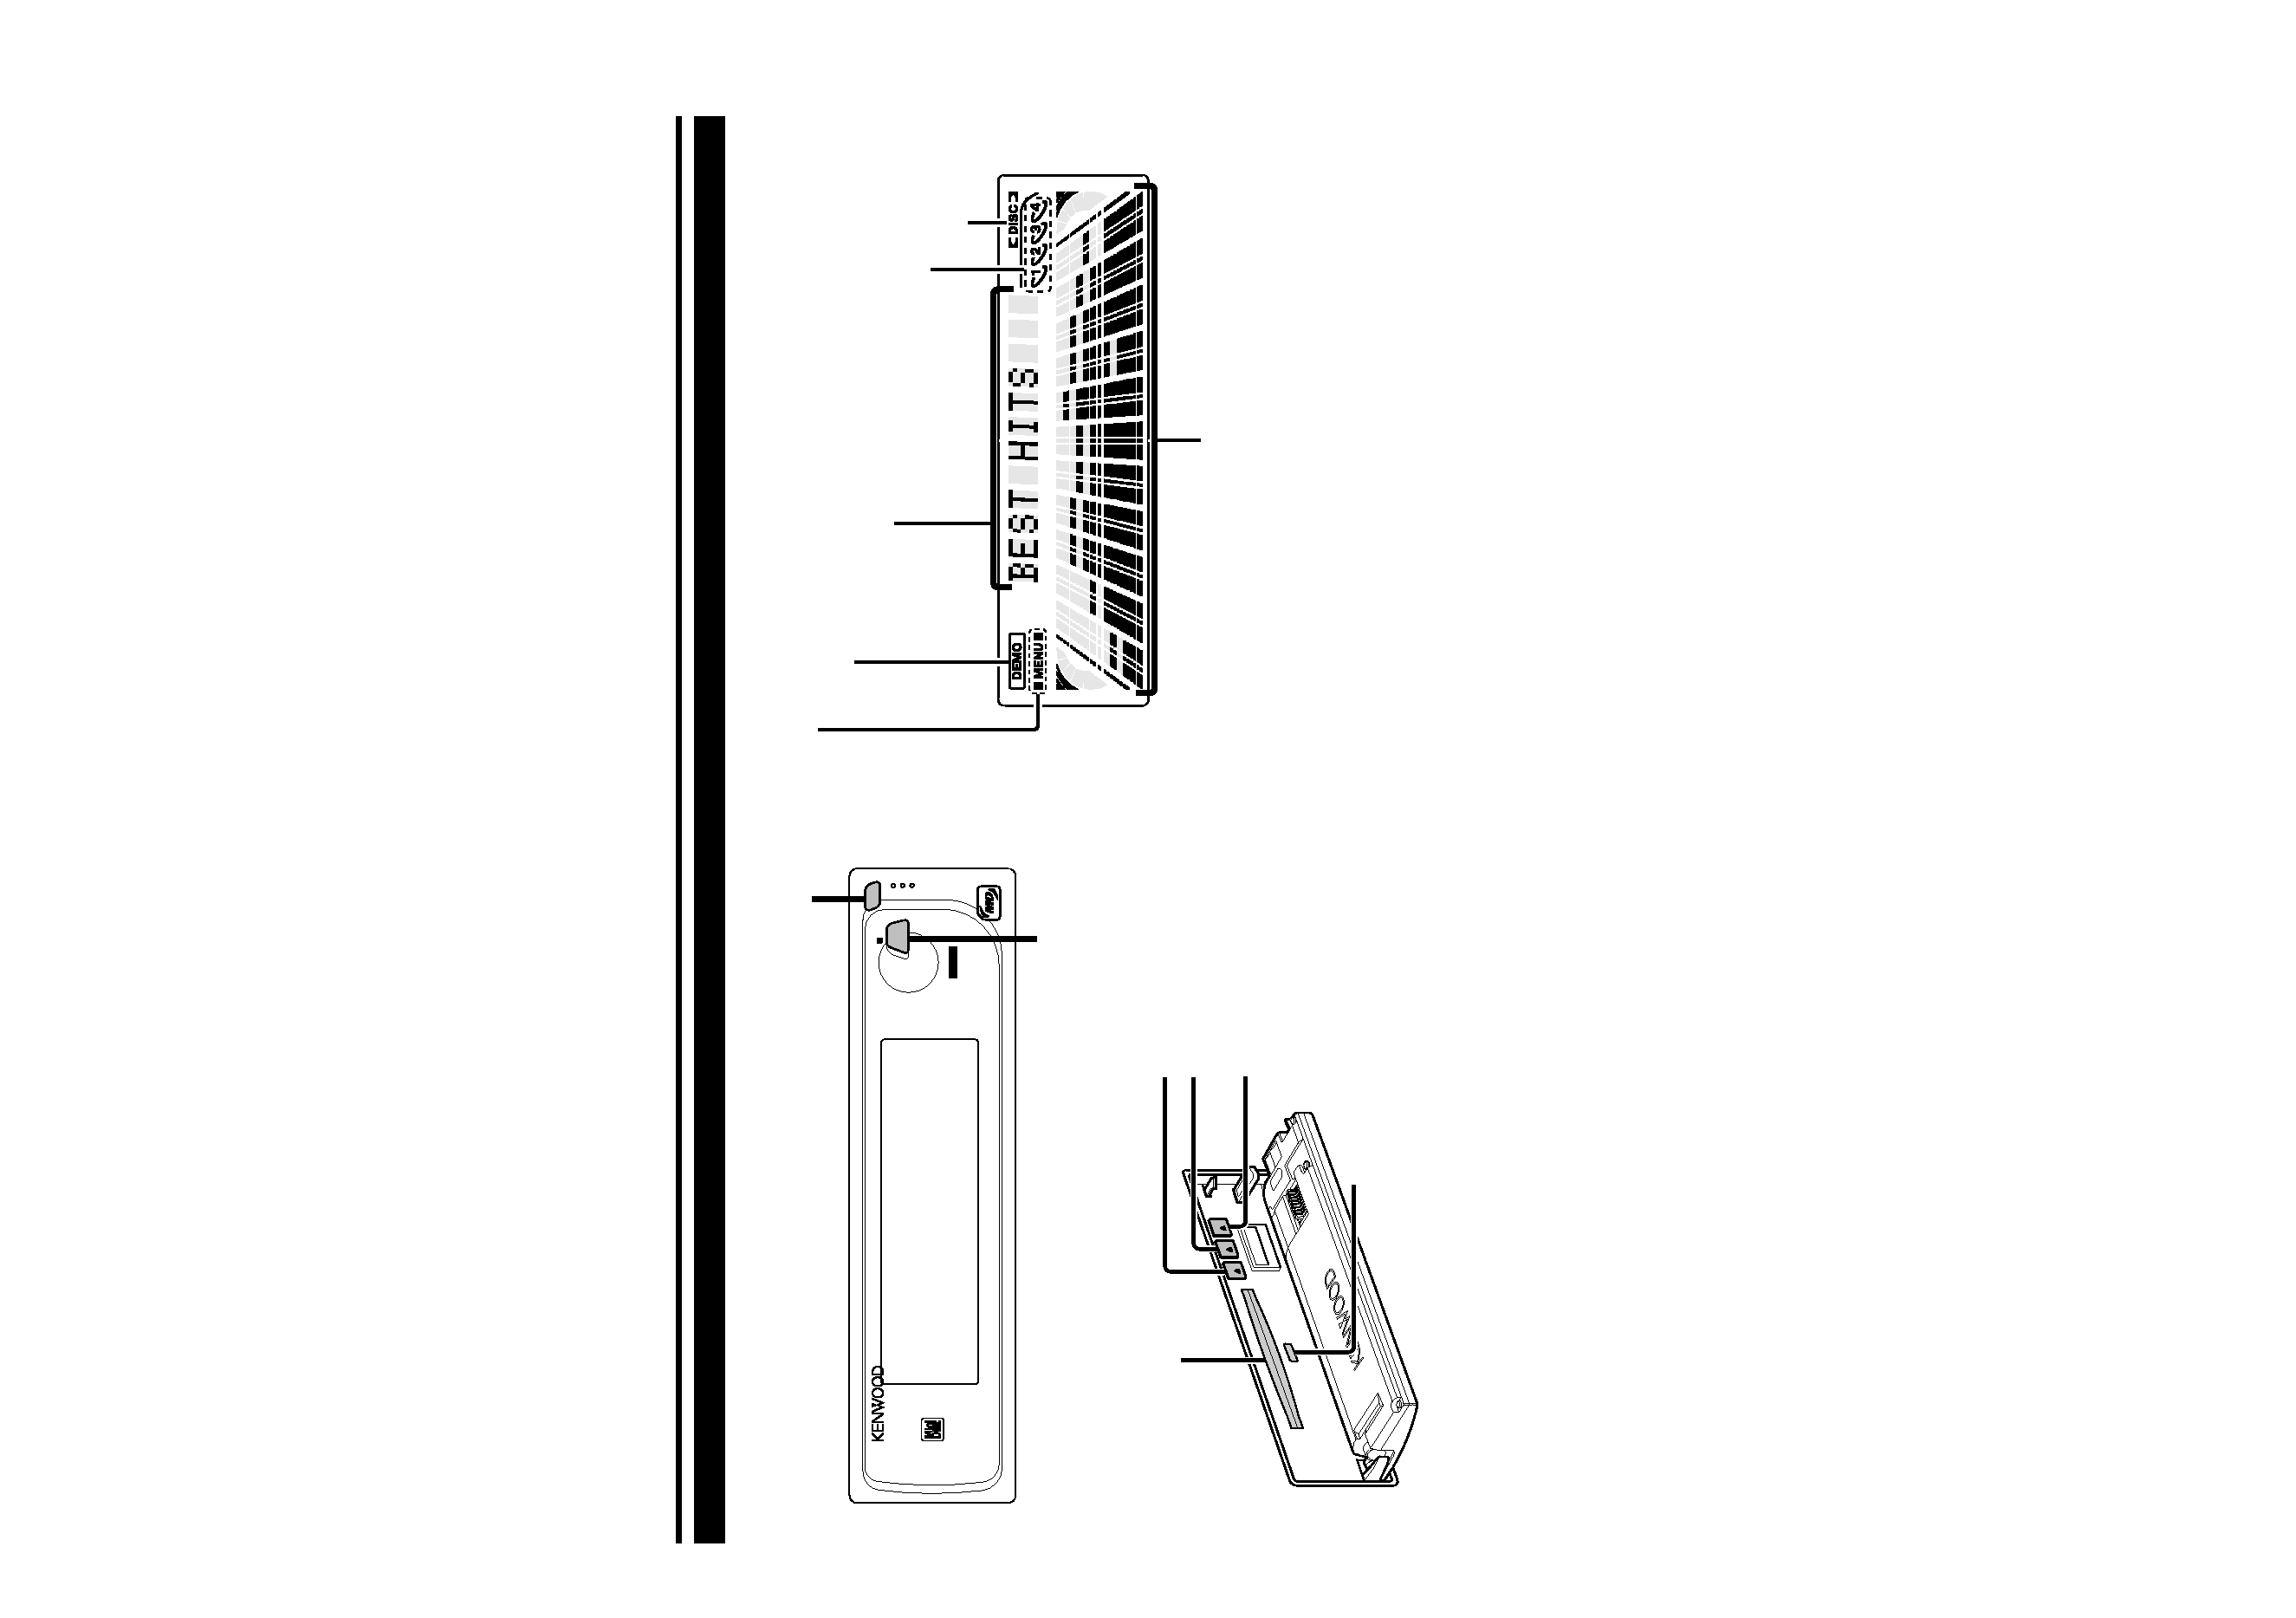
Cleaning the Unit
If the front panel gets dirty, turn off the
power and wipe the panel with a dry silicon
cloth or soft cloth.
Do not wipe the panel with a hard cloth or a
cloth dampened by volatile solvents such as
paint thinner and alcohol. They can scratch
the surface of the panel and/or cause the
indicator letters to peel off.
Cleaning the Faceplate Terminals
If the terminals on the unit or faceplate get
dirty, wipe them with a dry, soft cloth.
Lens Fogging
Right after you turn on the car heater in cold
weather, dew or condensation may form on
the lens in the MD player of the unit. Called
lens fogging, MDs may be impossible to play.
In such a situation, remove the disc and wait
for the condensation to evaporate. If the unit
still does not operate normally after a while,
consult your Kenwood dealer.
2CAUTION
To prevent damage to the machine,
take the following precautions:
· Make sure to ground the unit to a negative
12V DC power supply.
· Do not open the top or bottom covers of the
unit.
· Do not install the unit in a spot exposed to
direct sunlight or excessive heat or humidity.
Also avoid places with too much dust or the
possibility of water splashing.
· Do not set the removed faceplate or the
faceplate case in areas exposed to direct
sunlight, excessive heat or humidity. Also
avoid places with too much dust or the
possibility of water splashing.
· To prevent deterioration, do not touch the
terminals of the unit or faceplate with your
fingers.
· Do not subject the faceplate to excessive
shock, as it is a piece of precision equipment.
· Do not place any object between the
faceplate and the unit.
· During installation, do not use any screws
except for the ones provided. The use of
improper screws might result in damage to
the main unit.
2CAUTION