@
$
%
÷
÷
÷
÷
#
÷
÷
÷
÷
÷
÷
÷
÷
÷
÷
÷
÷
÷
÷
÷
÷
÷
÷
÷
÷
÷
÷
÷
÷
÷
÷
÷
÷
÷
÷
÷
÷
÷
÷
÷
÷
÷
÷
÷
÷
÷
÷
÷
÷
÷
÷
÷
^
÷
÷
÷
÷
(
1
2
Ò
DPC-X321/X527/X627(JA)
Operating instructions
Please refer to the illustrations in the Japanese instruction when operating this unit. The numbers which appear at the end of each title are corresponded on each language.
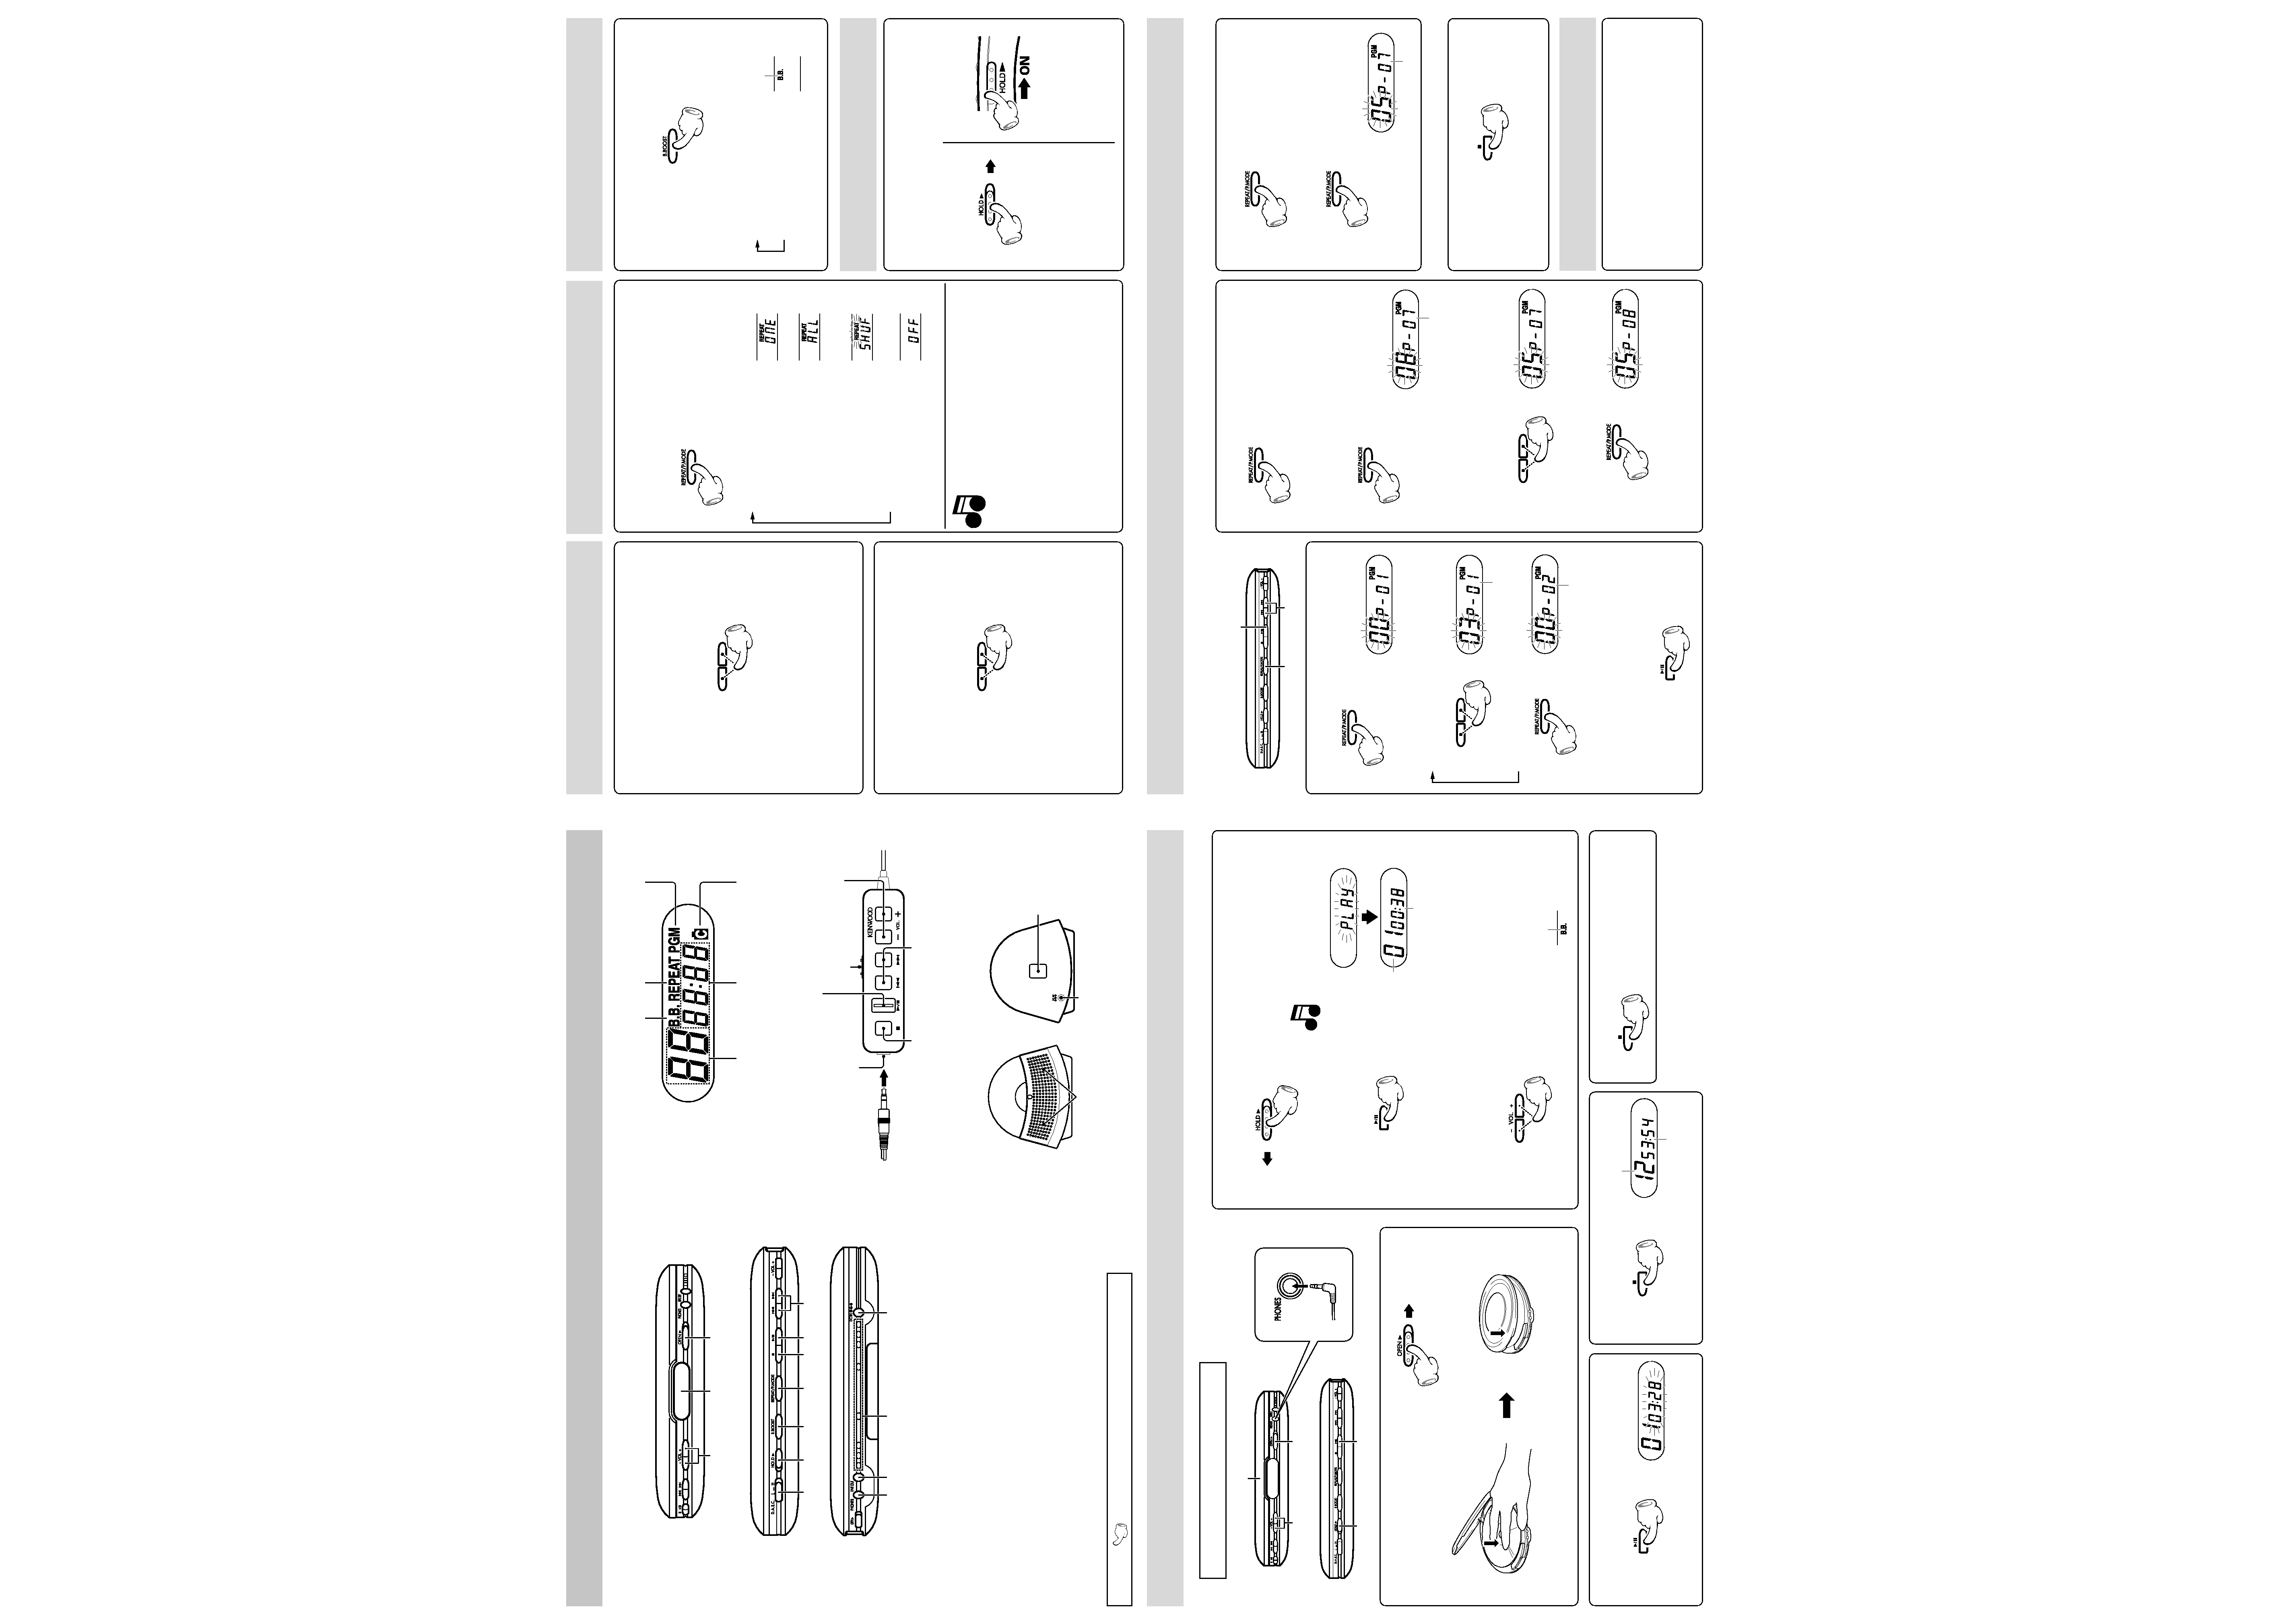
Skipping to or searching a desired track
Selection by track skip 5
÷ The same number of tracks as the times the key is
pressed can be skipped.
÷ When the 4 key is pressed once during playback,
the played position returns to the beginning of the
current track being played.
Fast forward, fast reverse 6
÷ Hold the 4 key or the ¢ key pressed during
playback.
÷ Playback resumes from the position where the key
is released.
Repeat playback/Shuffle playback 7
Pressing the REPEAT/P.MODE key in the
play or stop mode allows you to enjoy
various playback features.
Press the REPEAT/P.MODE key.
÷ Each press switches the repeat modes as follows.
1 One-track repeat
The track being played or selected track will
be played repeatedly.
2 All-track repeat
All tracks on the disc will be played repeatedly.
3 Shuffle play
All tracks on the disc will be played in a random
order.
4 Cancelled position
Returns to the normal play mode.
÷ If a key is pressed just before the end of a track and
the track does not change, press the REPEAT/
P.MODE key again when the track being played back
is over.
÷ If Shuffle Play is selected while playback is in
progress, Shuffle Play operation will commence when
the track being played back is over.
÷ If Shuffle Play is selected during stop, shuffle play
will start when the PLAY (
6) key is pressed.
÷ Up to 99 tracks can be played back in Shuffle Play
operation.
÷ The program of tracks is also valid in repeat playback.
Playback from the first track 1
Connect hedphones
÷ Accepts the supplied headphones, or other optional
headphones with a mini plug.
1 Open the top cover.
2 Insert a disc and close the top cover.
÷ Secure the disc by pushing a position near the center
hole until it clicks.
÷ Press down on the central front portion of the lid until
it clicks.
3 Make sure the HOLD switch has
been released.
÷ For the Hold function, read "Hold function !".
÷ Set the HOLD switch to OFF.
4 Start playback.
÷ The power comes ON and playback begins.
5 Adjust the volume.
To increase volume.
To decrease volume.
To pause playback temporarily 2
÷ When the 6 key is pressed during playback, it
pauses temporarily. Pressing the key again resumes
playback.
To stop playback 3
÷ The total number of tracks and the total playing time
of them will be displayed.
To turn power OFF 4
÷ After stopping playback, press the 7 key again.
Auto power-OFF function
÷ If no operation key has been pressed for 2 minutes
while the unit is in the stop mode, the power is turned
OFF automatically to prevent battery power
consumption.
Programming tracks in desired order 8
Desired tracks can be played in the desired
order.
1 Press the REPEAT/P.MODE key for
at least 1 second during Stop status.
2 Select the desired track numbers in
the order you want to play them.
1Select a track ...
2And enter it.
Repeat steps
1 and 2 and enter the Track
Nos. into the program in order.
÷ When 24 tracks have been programmed, "FULL" will
be displayed.
3 Start playback.
To change a programmed content 9
1 Press the REPEAT/P.MODE key for
at least 1 second during Stop status.
2 Call the programmed order to be
changed.
÷ Press the REPEAT/P.MODE key repeatedly until the
programmed order you want to change is displayed.
3 Select track number you want to
change.
1Select a track ...
2And enter it.
To check the programmed contents 0
1 Press the REPEAT/P.MODE key for
at least 1 second during Stop status.
2 Press the REPEAT/P.MODE key.
÷ Each press of the key displays the next track number
in the programmed order.
To clear the program -
Press the
7 key during Stop status.
÷ The "PGM" indicator is turned off when the program
is cleared.
÷ Program mode can be canceled even if the top cover
is open.
Control tone (beep) setting =
The control tone generated when a key is
pressed can be muted as follows. This
operation should be performed in play or
stop mode.
1 Press and hold the B.BOOST key for
more than 2 seconds.
2 While "bP on" is displayed, press
the
4 or ¢ key.
Compensation of low frequencies ~
The low frequencies sound, which is felt
in headphone, can be boosted.
÷ Each press of the key switches the mode as follows
1 Bass Boost OFF
Normal tone reproduction.
2 Bass Boost ON
Low frequencies are boosted.
Hold function !
The operation keys of the main unit are
deactivated.
This position prevents undesired operation
when the unit is put in a bag, etc.
÷ When the HOLD switch on the unit is switched ON,
the unit's keys are protected.
÷ When the HOLD switch on the remote control is
switched to HOLD, the remote control keys are
protected.
÷ Always ensure that the headphone plug is fully
inserted before turning the power ON.
Notes for remote control
(DPC-X627/X527 only)
Sound skip guard function (D.A.S.C.) &
When the D.A.S.C. function is operating,
about a 10-second [Max. 12 seconds
(Apporox.)] or 40-second [Max. 48 seconds
(Apporox.)] portion of signals is always
stored in memory. Consequently, when
the unit receives an impact, playback will
continue without interruption even if the
signal from the light pickup is interrupted.
÷ Depending on the extent of the impact, the data in
the memory may be used up, so the playback skip
protection may momentarily be ineffective.
÷ When the D.A.S.C. function is activated, the disc may
stop or start to rotate.
Setting the D.A.S.C. (DPC-X627/X527 only)
÷ Slide the D.A.S.C. switch to select the desired
setting.
1 D.A.S.C. H position: 40 sec
[Max. 48 seconds (Apporox.)]
2 D.A.S.C. L position : 10 sec
[Max. 12 seconds (Apporox.)]
The D.A.S.C. function (D.A.S.C. H) is permanently
activated with the DPC-X321.
÷ When the player is used in a place free of vibration, it
is recommended to release the D.A.S.C. to extend
the play time by reducing the battery power.
÷ The reproduced sound is interrupted during switching.
Power sources *
This unit can be powered with three kinds
of supplies including the batteries,
household power line and car battery.
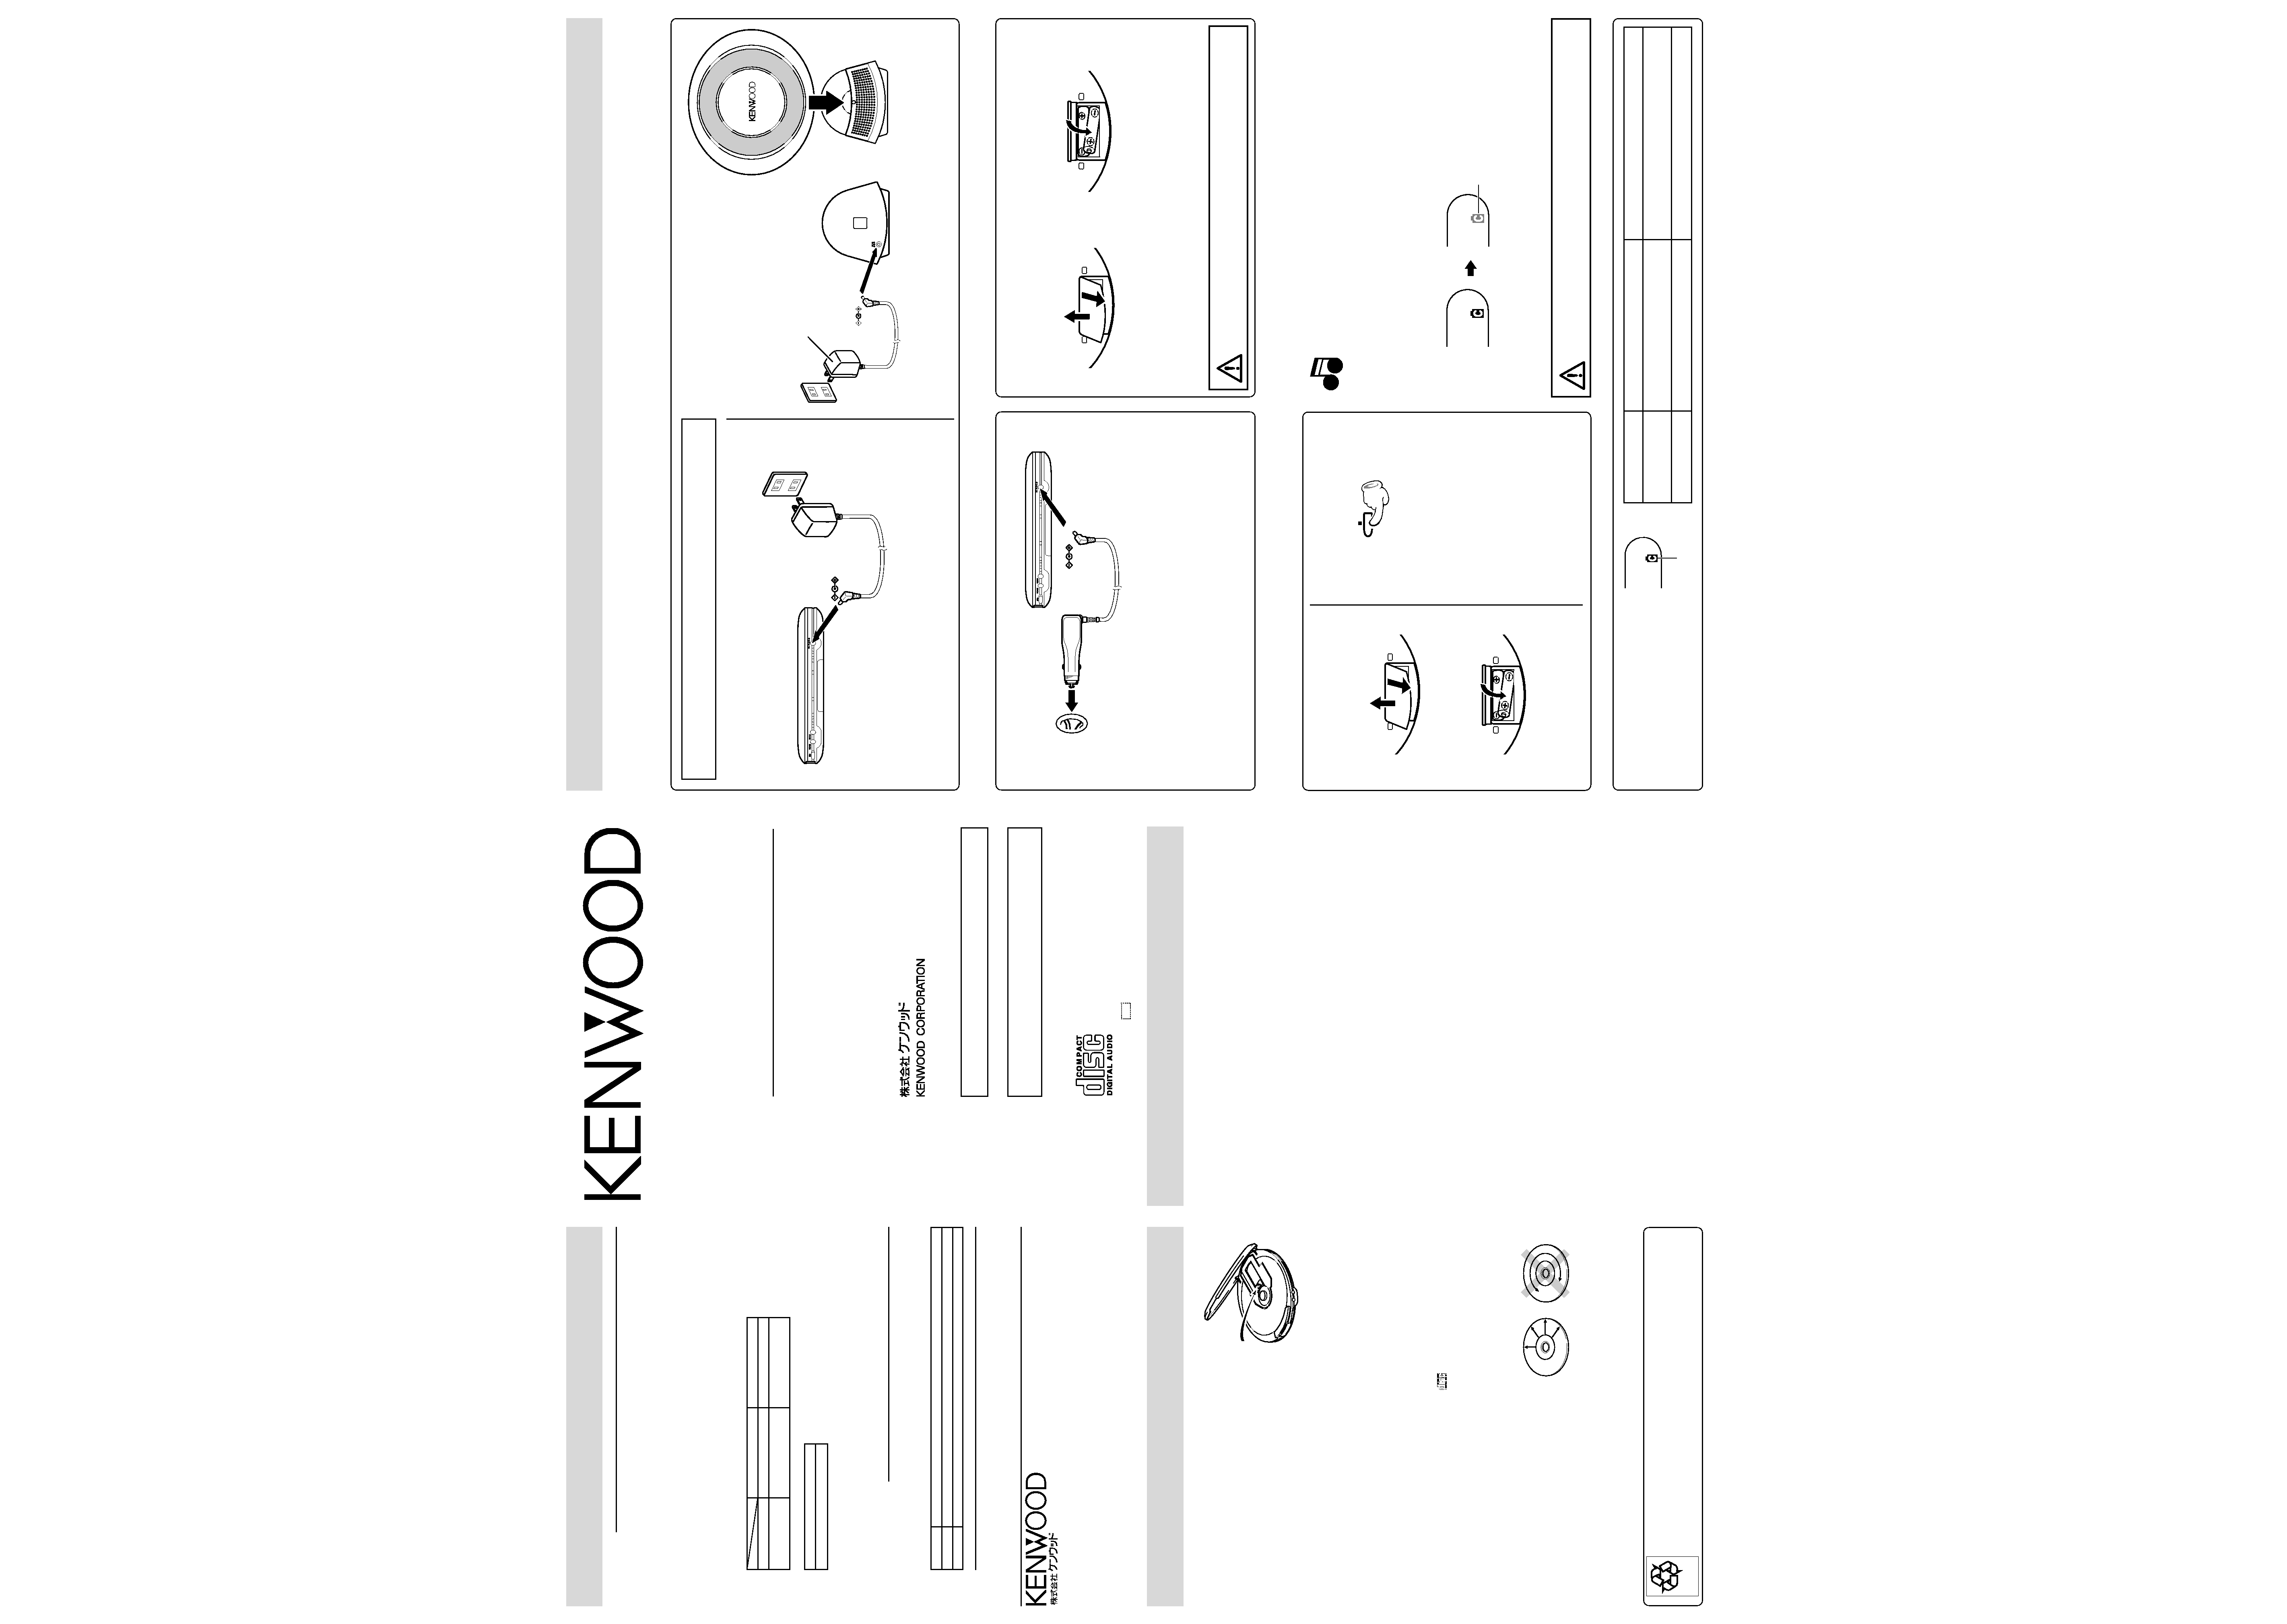
Using the AC adaptor (
Using the AC adaptor.
Connect to AC power outlet.
÷ Use the enclosed AC adaptor (W08-0692-08) for this
product.
Preparation of the recharger stand
(DPC-X627 only)
1 Connect the AC adaptor to the DC IN
jack of the recharger stand.
2 Connect the AC adaptor to the
household wall outlet.
3 Place the main unit on the recharger
stand so that the panel with the battery
compartment cover faces downward.
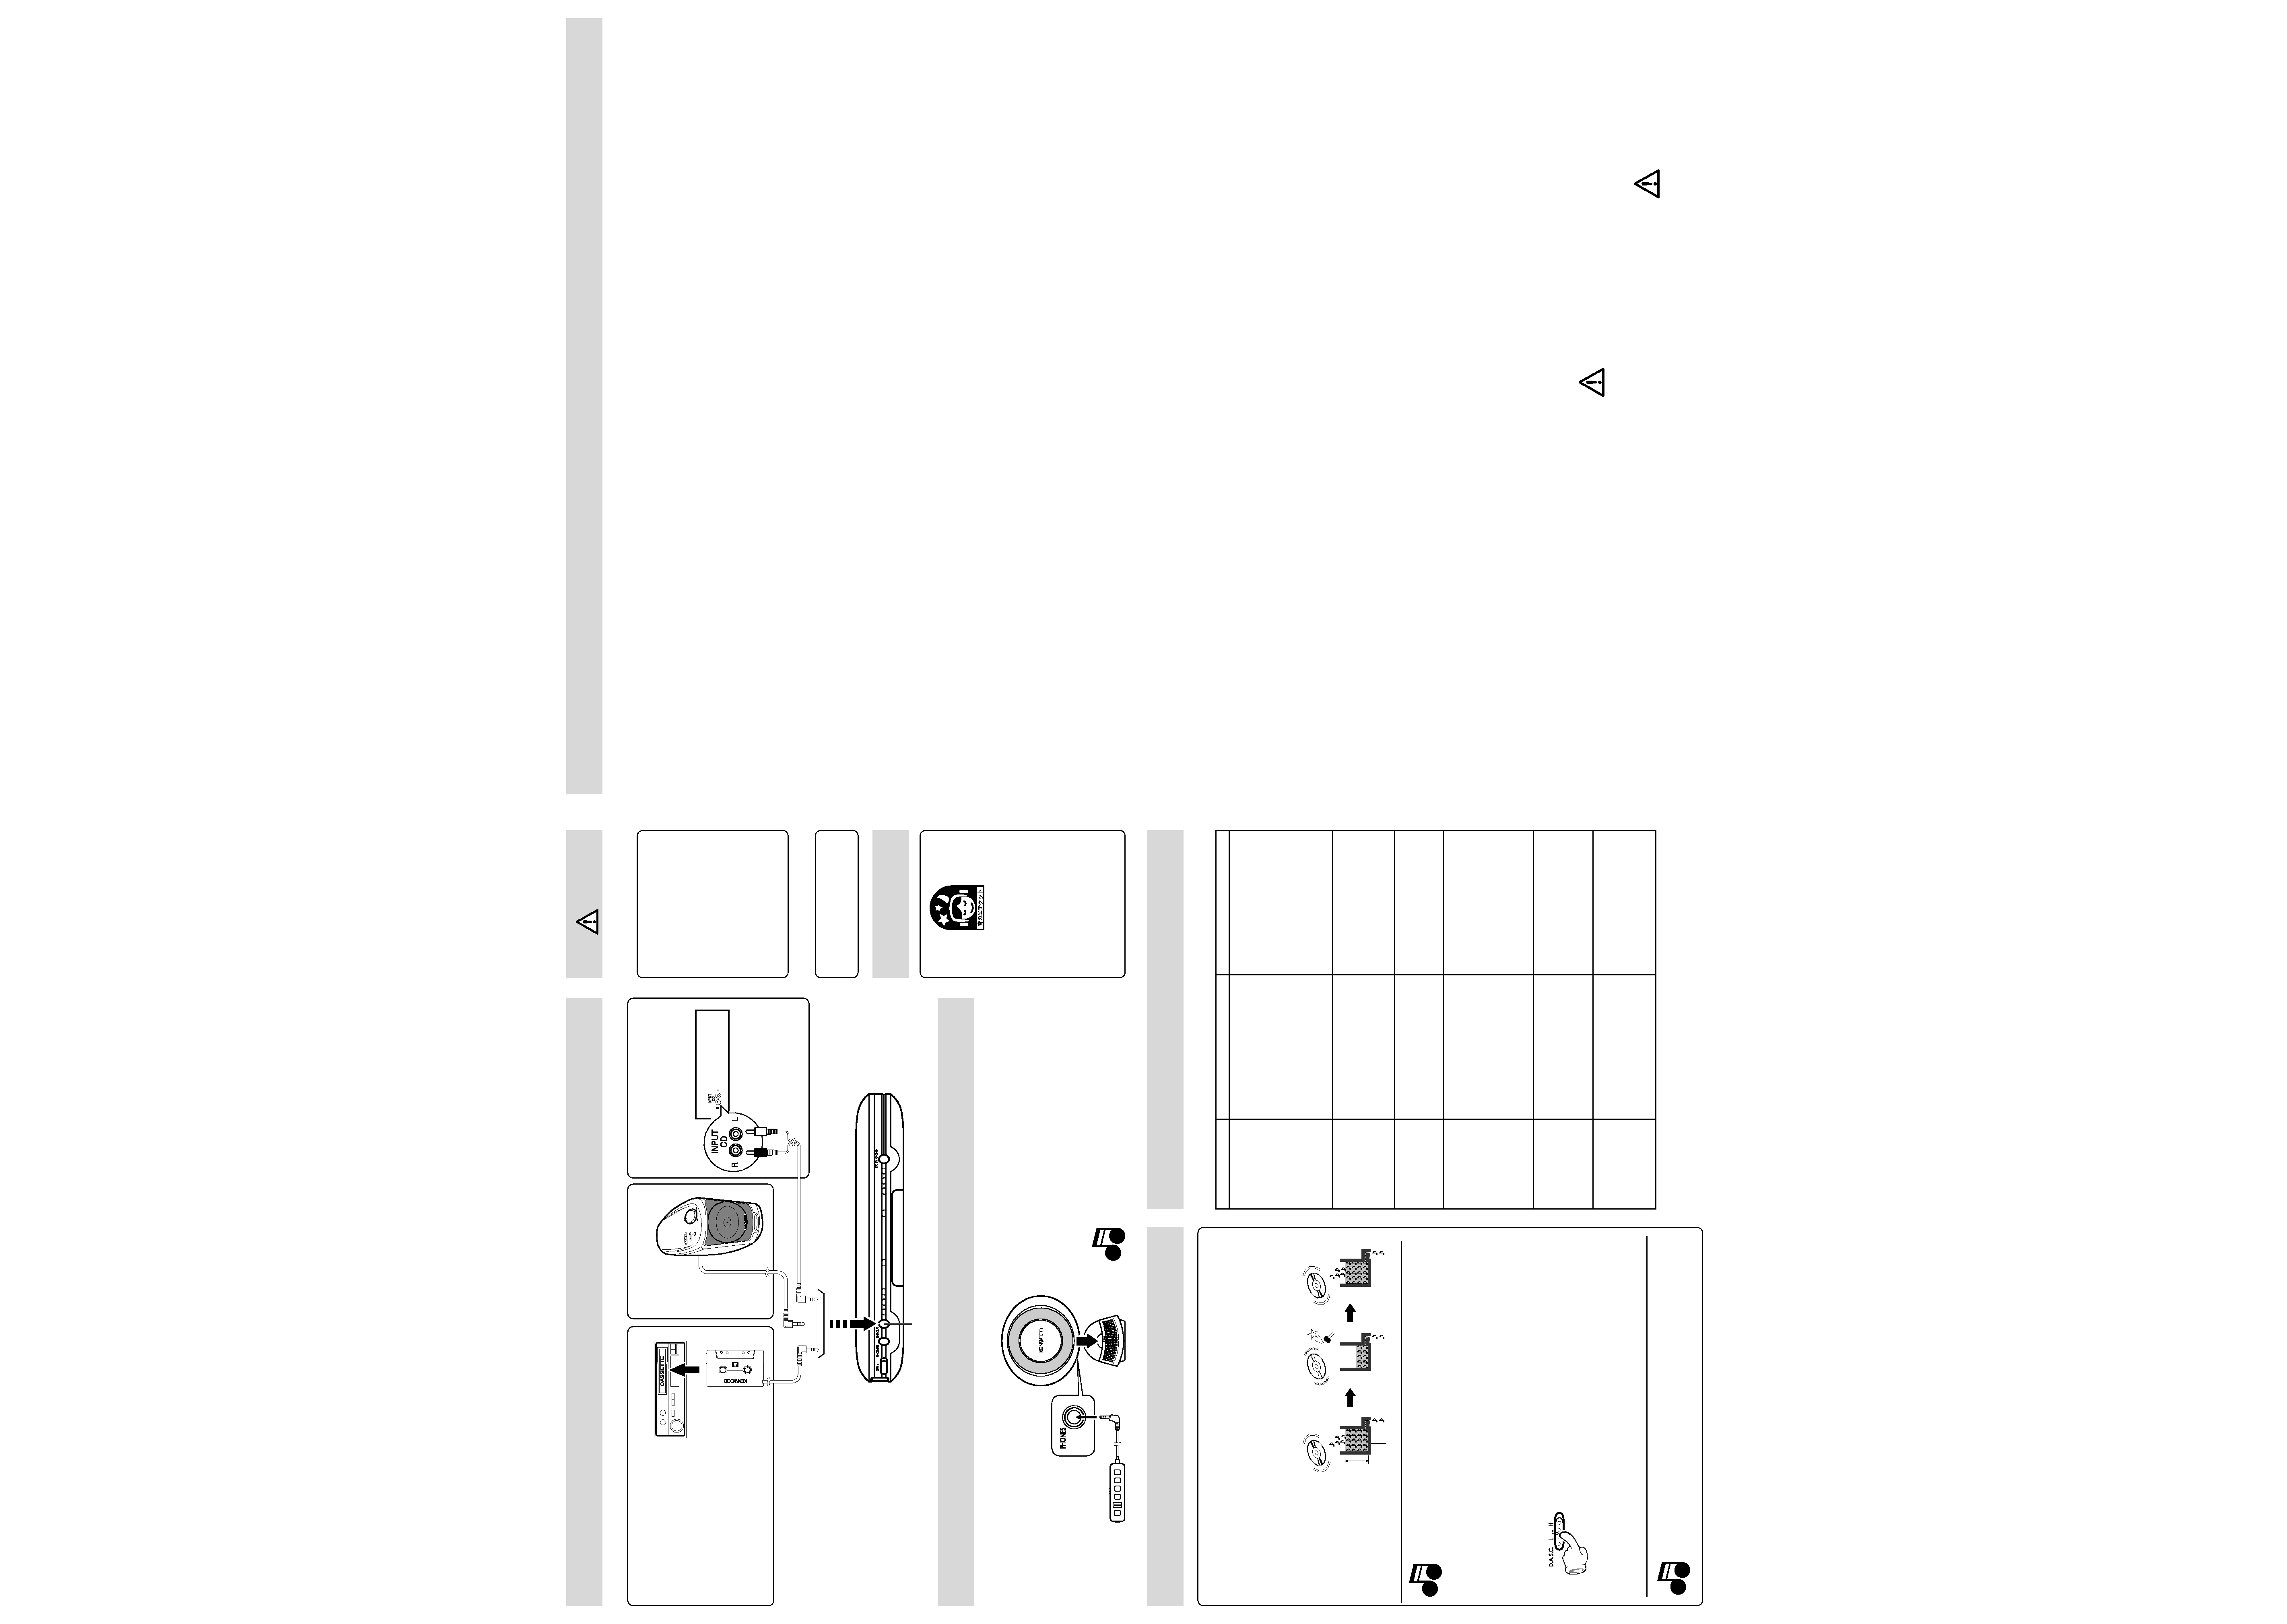
Connections @
Ensure that the power of the all of the
components are off before connecting the
cords.
Listening through car audio #
÷ If sound is not produced, change the tape playing
direction of the car stereo.
(Sound is not produced if the car stereo is set to play
tape side B.)
÷ Audio reproduction may be impossible with some car
stereo.
Listening through speakers $
Speakers with built-in amplifier
Listening through an amplifier with CD
input jack %
÷ Connect the cable to the amplifier's CD input jacks.
÷ This connection may be impossible with some
amplifiers.
Listening through the speakers
on the recharger stand ^
(DPC-X627 only)
1 Turn the main unit OFF.
2 Place the main unit on the recharger
stand so that the panel with the battery
compartment cover faces downward.
Move up the lock lever of the recharger
stand to clamp it and the main unit.
(The listening operation is not available
if they are not clamped.)
÷ When the remote is connected to the main unit, the
listening operation can be controlled from the remote.
÷ The speakers will not output audio unless the main
unit is clamped on the recharger stand.
÷ The control tone (beep) is not mixed in the audio
from these speakers. The Bass Boost function
cannot be used with the audio from these speakers.
÷ If the main unit is placed on the recharger stand
immediately after the main unit is removed from it,
the main unit may malfunction (beginning or ending
playback unintentionally). After the main unit is
removed from the recharger stand, wait for at least
3 seconds before placing the main unit again.
Note:
÷ Before using the recharger stand, be sure to read
"Using the AC adaptor (".(DPC-X627 only)
Using the car battery adaptor )
Optional car battery adaptor DC-C3A.
Notes:
÷ When the unit is not used, unplug the car battery
adapter. (Otherwise, the car battery may run out, with
some car models.)
÷ The plug may not match the cigar lighter socket of
some car models.
÷ If the unit cannot be operated with the car battery
adapter connected, suspect the possibility of a
blown fuse. The fuse can be replaced by turning
the electrode on the tip of the adapter plug. When
replacing the fuse, be sure to use a fuse with a
rating of 1 A.
When operating the unit with
2 alkaline batteries _
1 Open the battery cover.
2 Insert 2 alkaline batteries and close
the cover.
÷ Make sure the positive (+) and negative (-) poles are
properly aligned.
÷ Use commercially available AAA (R03) batteries. The
unit may not operate normally if manganese batteries
are used.
÷ Replace both batteries at the same time.
Never use a rechargeable
battery and non-rechargeable
battery together.
Rechargeable battery
operation +
Always use the specially provided
rechargeable battery
or a separately
purchased NB-3A70. Never use a battery
other than a battery authorized by Kenwood.
Loading the batteries
1 Open the battery cover.
2 Insert 2 rechargeable batteries and
close the cover.
÷ Make sure the positive (+) and negative (-) poles are
properly aligned.
Charging the rechargeable batteries
1 Switch the power OFF.
2 Plug in the AC adaptor.
Before using the recharger stand, be sure to read
"Using the AC adaptor (".(DPC-X627 only)
3 Removing the AC adapter.
After the batteries have been charged,
remove the AC adapter.
Notes:
÷ Recharging is not possible during playback. Be
sure to switch the power OFF before starting
recharging.
÷ When using a rechargeable battery which is new or
which has not been used for more than 2 months,
the operating period may be shorter than nomal. This
is due to the properties of the battery and not a
malfunction.
÷ Be sure to close the top cover of the unit before
proceeding to recharging.
÷ Recharging completes in about 6 hours. Do not
attempt to recharge the batteries after this period.
÷ After recharging, use the battery on the unit unitl it is
exhausted. The original performance of the battery
perfomance can be recovered by repeating this cycle
a few times.
÷ Rechargeable batteries can be recharged . When the
playable time per recharge reduces, please newly
purchase the optional (NB-3A70) rechargeable
batteries.
Never use an alkaline battery
and non-alkaline battery
together.
Move up the lock lever of the recharger
stand to clamp it and the main unit.
(The listening operation is not available
if they are not clamped.)
÷ Keep the recharging terminals and battery terminals
always clean.
÷ Install the recharger stand on a level surface.
÷ When disconnecting the AC adaptor connection,
always begin with unplugging the plug from the wall
outlet.
÷ Disconnect the AC adapter from the wall outlet when
the recharger stand is not used.
&
÷
÷
÷
D


