TEAC RH300MK2 Owner's Manual

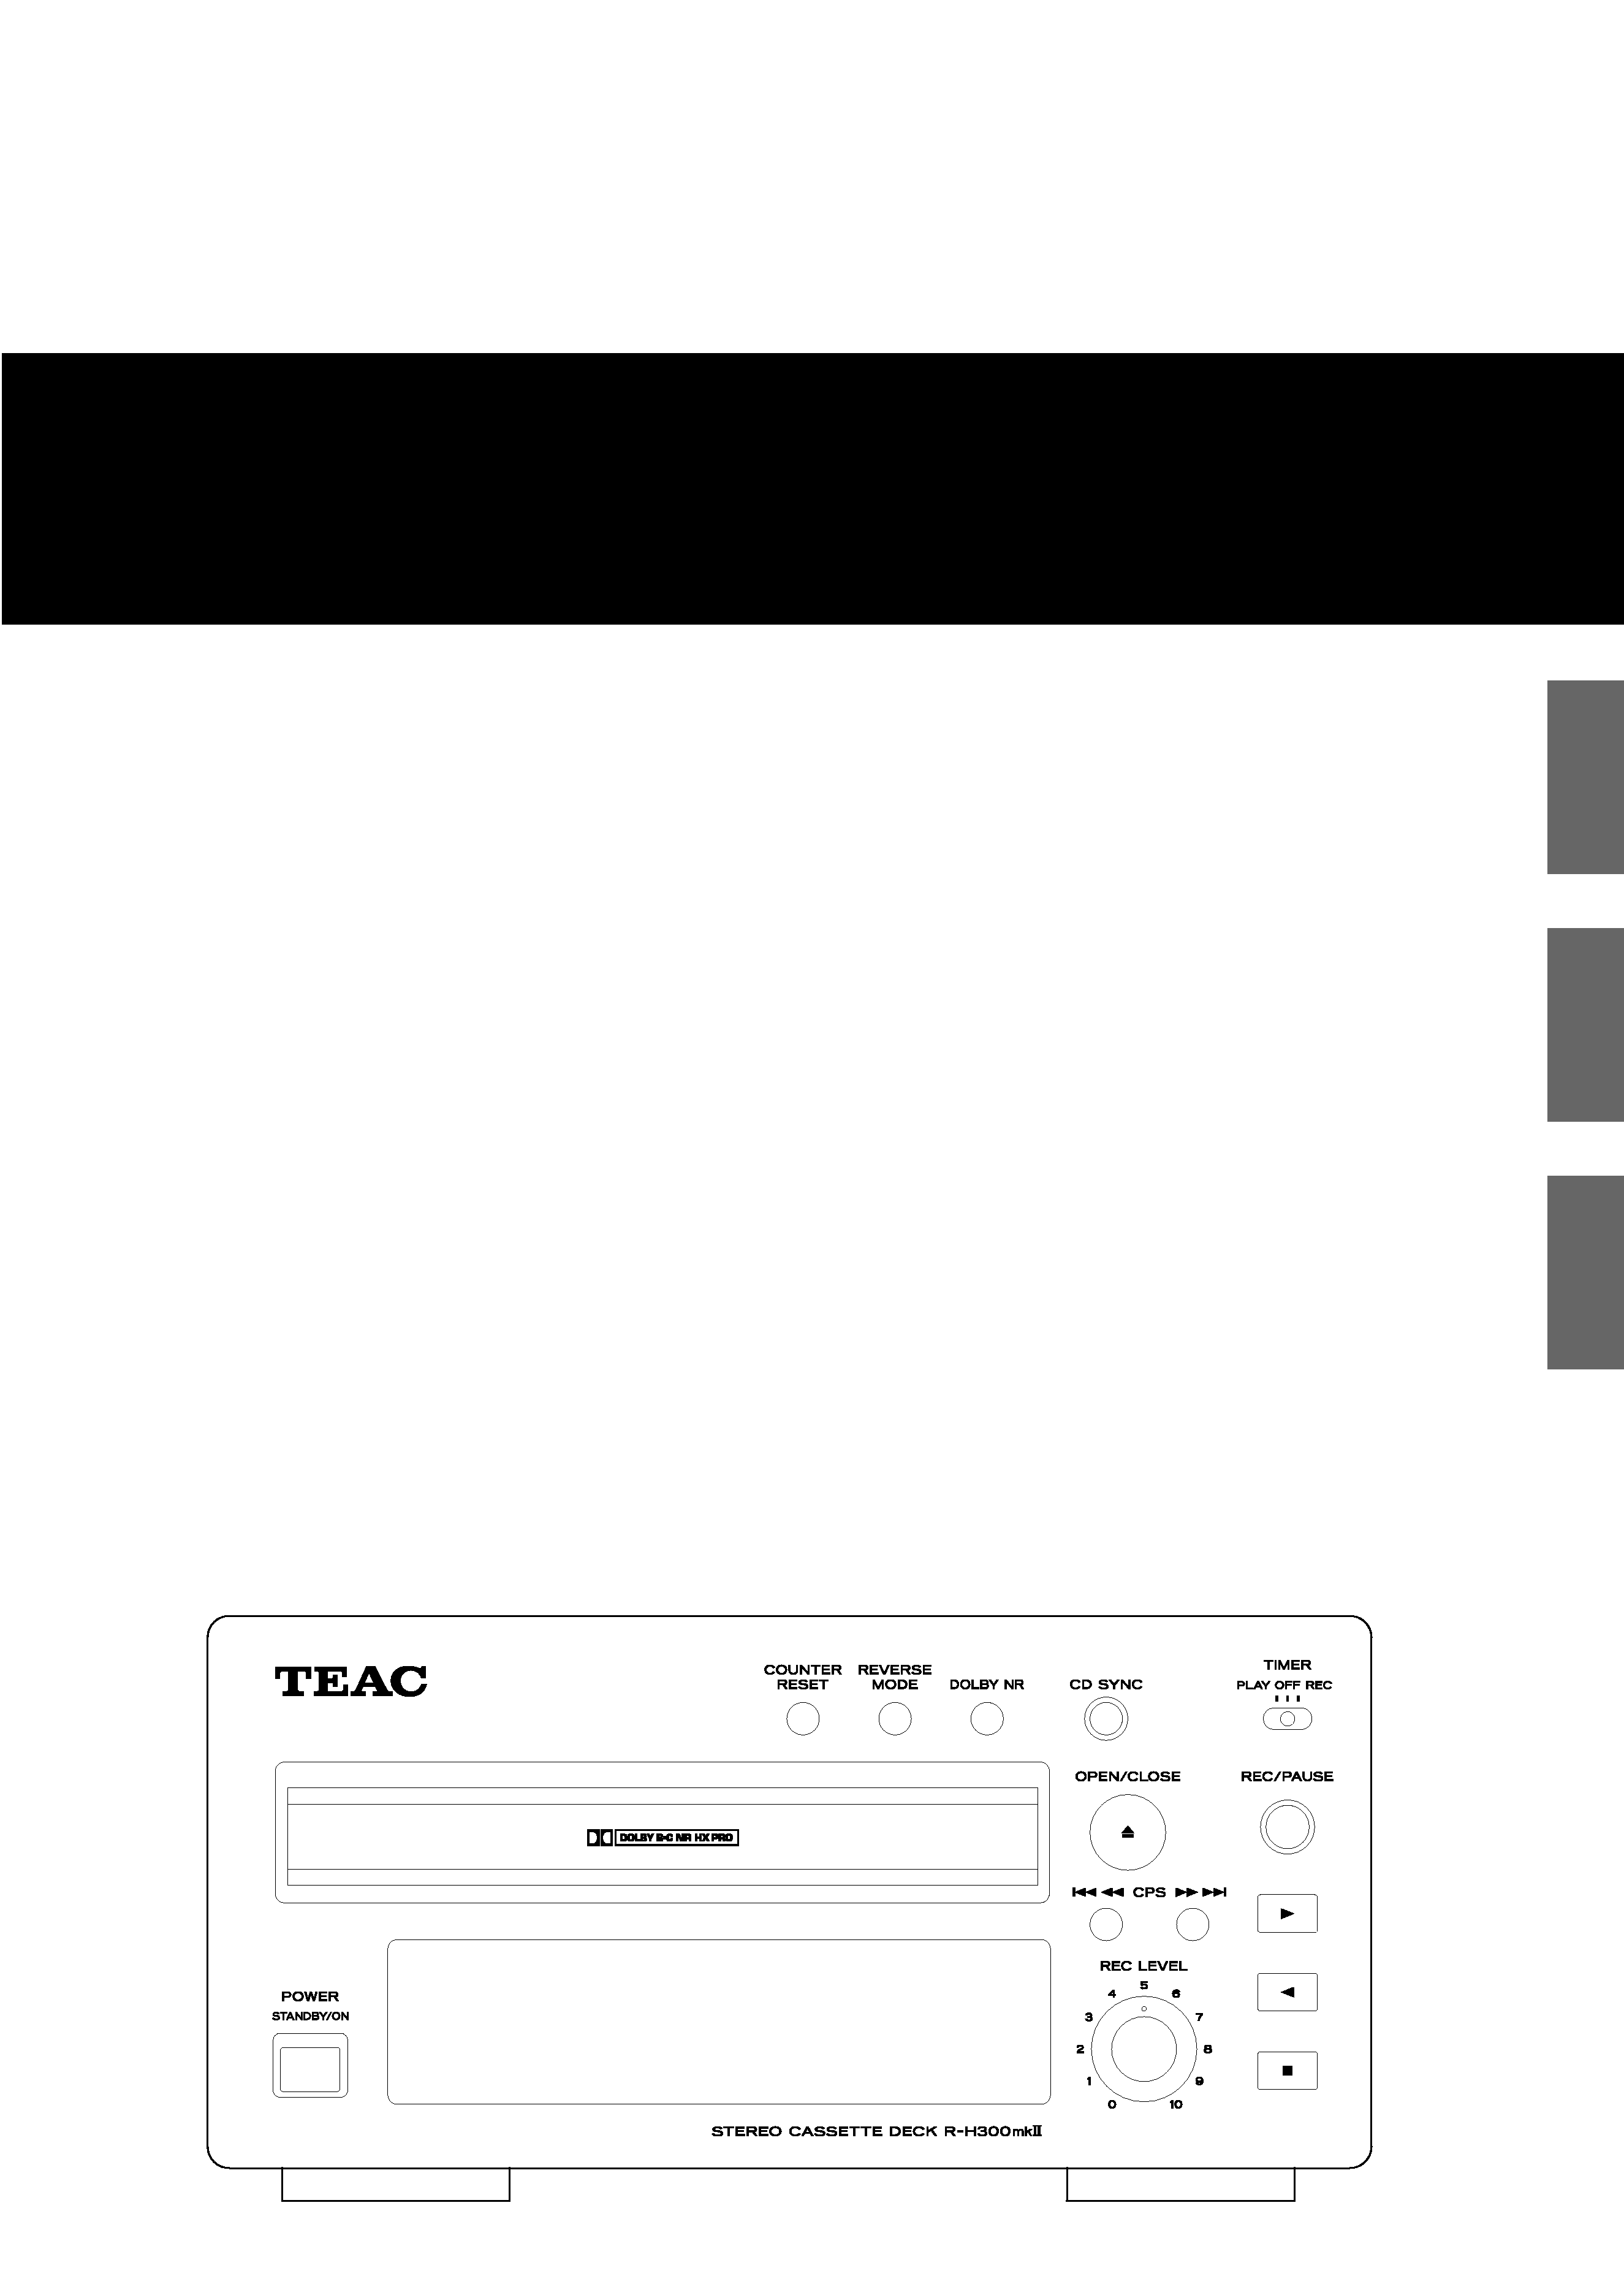
Cover page of TEAC RH300MK2 Owner's Manual

Owner's Manual for TEAC RH300MK2, downloadable as a PDF file.

Manual details

  • Immediate download after payment.
  • Delivered as a PDF file.
  • The manual has 36 pages
  • File size: 0.87 MB
  • Available language versions: French, English, Spanish, Dutch, German, Italian
  • Different language versions may vary sligthly in file size and page count.

We guarantee that...

  • our manuals are complete,
  • our manuals are checked with antivirus,
  • We'll issue refund if the manual is damaged, incomplete or unreadable (our refund policy)

Sample pages

Thumbnail of page 1Thumbnail of page 2Thumbnail of page 3Thumbnail of page 4
Thumbnail of page 5Thumbnail of page 6Thumbnail of page 7Thumbnail of page 8
Thumbnail of page 9
background image
9A10001000
OWNER'S MANUAL
MANUEL DU PROPRIÉTAIRE
MANUAL DEL USUARIO
Stereo Cassette Deck
Z
R-H300mk@
ENGLISH
FRANÇAIS
ESPAÑOL
background image
9A10001000
OWNER'S MANUAL
MANUEL DU PROPRIÉTAIRE
MANUAL DEL USUARIO
Stereo Cassette Deck
Z
R-H300mk@
ENGLISH
FRANÇAIS
ESPAÑOL
background image
2
CAUTION
<
DO NOT REMOVE THE EXTERNAL CASES OR CABINETS TO
EXPOSE THE ELECTRONICS. NO USER SERVICEABLE PARTS
ARE WITHIN!
<
IF YOU ARE EXPERIENCING PROBLEMS WITH THIS PRODUCT,
CONTACT TEAC FOR A SERVICE REFERRAL. DO NOT USE THE
PRODUCT UNTIL IT HAS BEEN REPAIRED.
IMPORTANT SAFETY INSTRUCTIONS
1) Read these instructions.
2) Keep these instructions.
3) Heed all warnings.
4) Follow all instructions.
5) Do not use this apparatus near water.
6) Clean only with dry cloth.
7) Do not block any ventilation openings. Install in accordance with
the manufacturer's instructions.
8) Do not install near any heat sources such as radiators, heat
registers, stoves, or other apparatus (including amplifiers) that
produce heat.
9) Do not defeat the safety purpose of the polarized or grounding-
type plug. A polarized plug has two blades with one wider than
the other. A grounding type plug has two blades and a third
grounding prong. The wide blade or the third prong are provided
for your safety. If the provided plug does not fit into your outlet,
consult an electrician for replacement of the obsolete outlet.
10) Protect the power cord from being walked on or pinched
particularly at plugs, convenience receptacles, and the point
where they exit from the apparatus.
11) Only use attachments/accessories specified by the manufacturer.
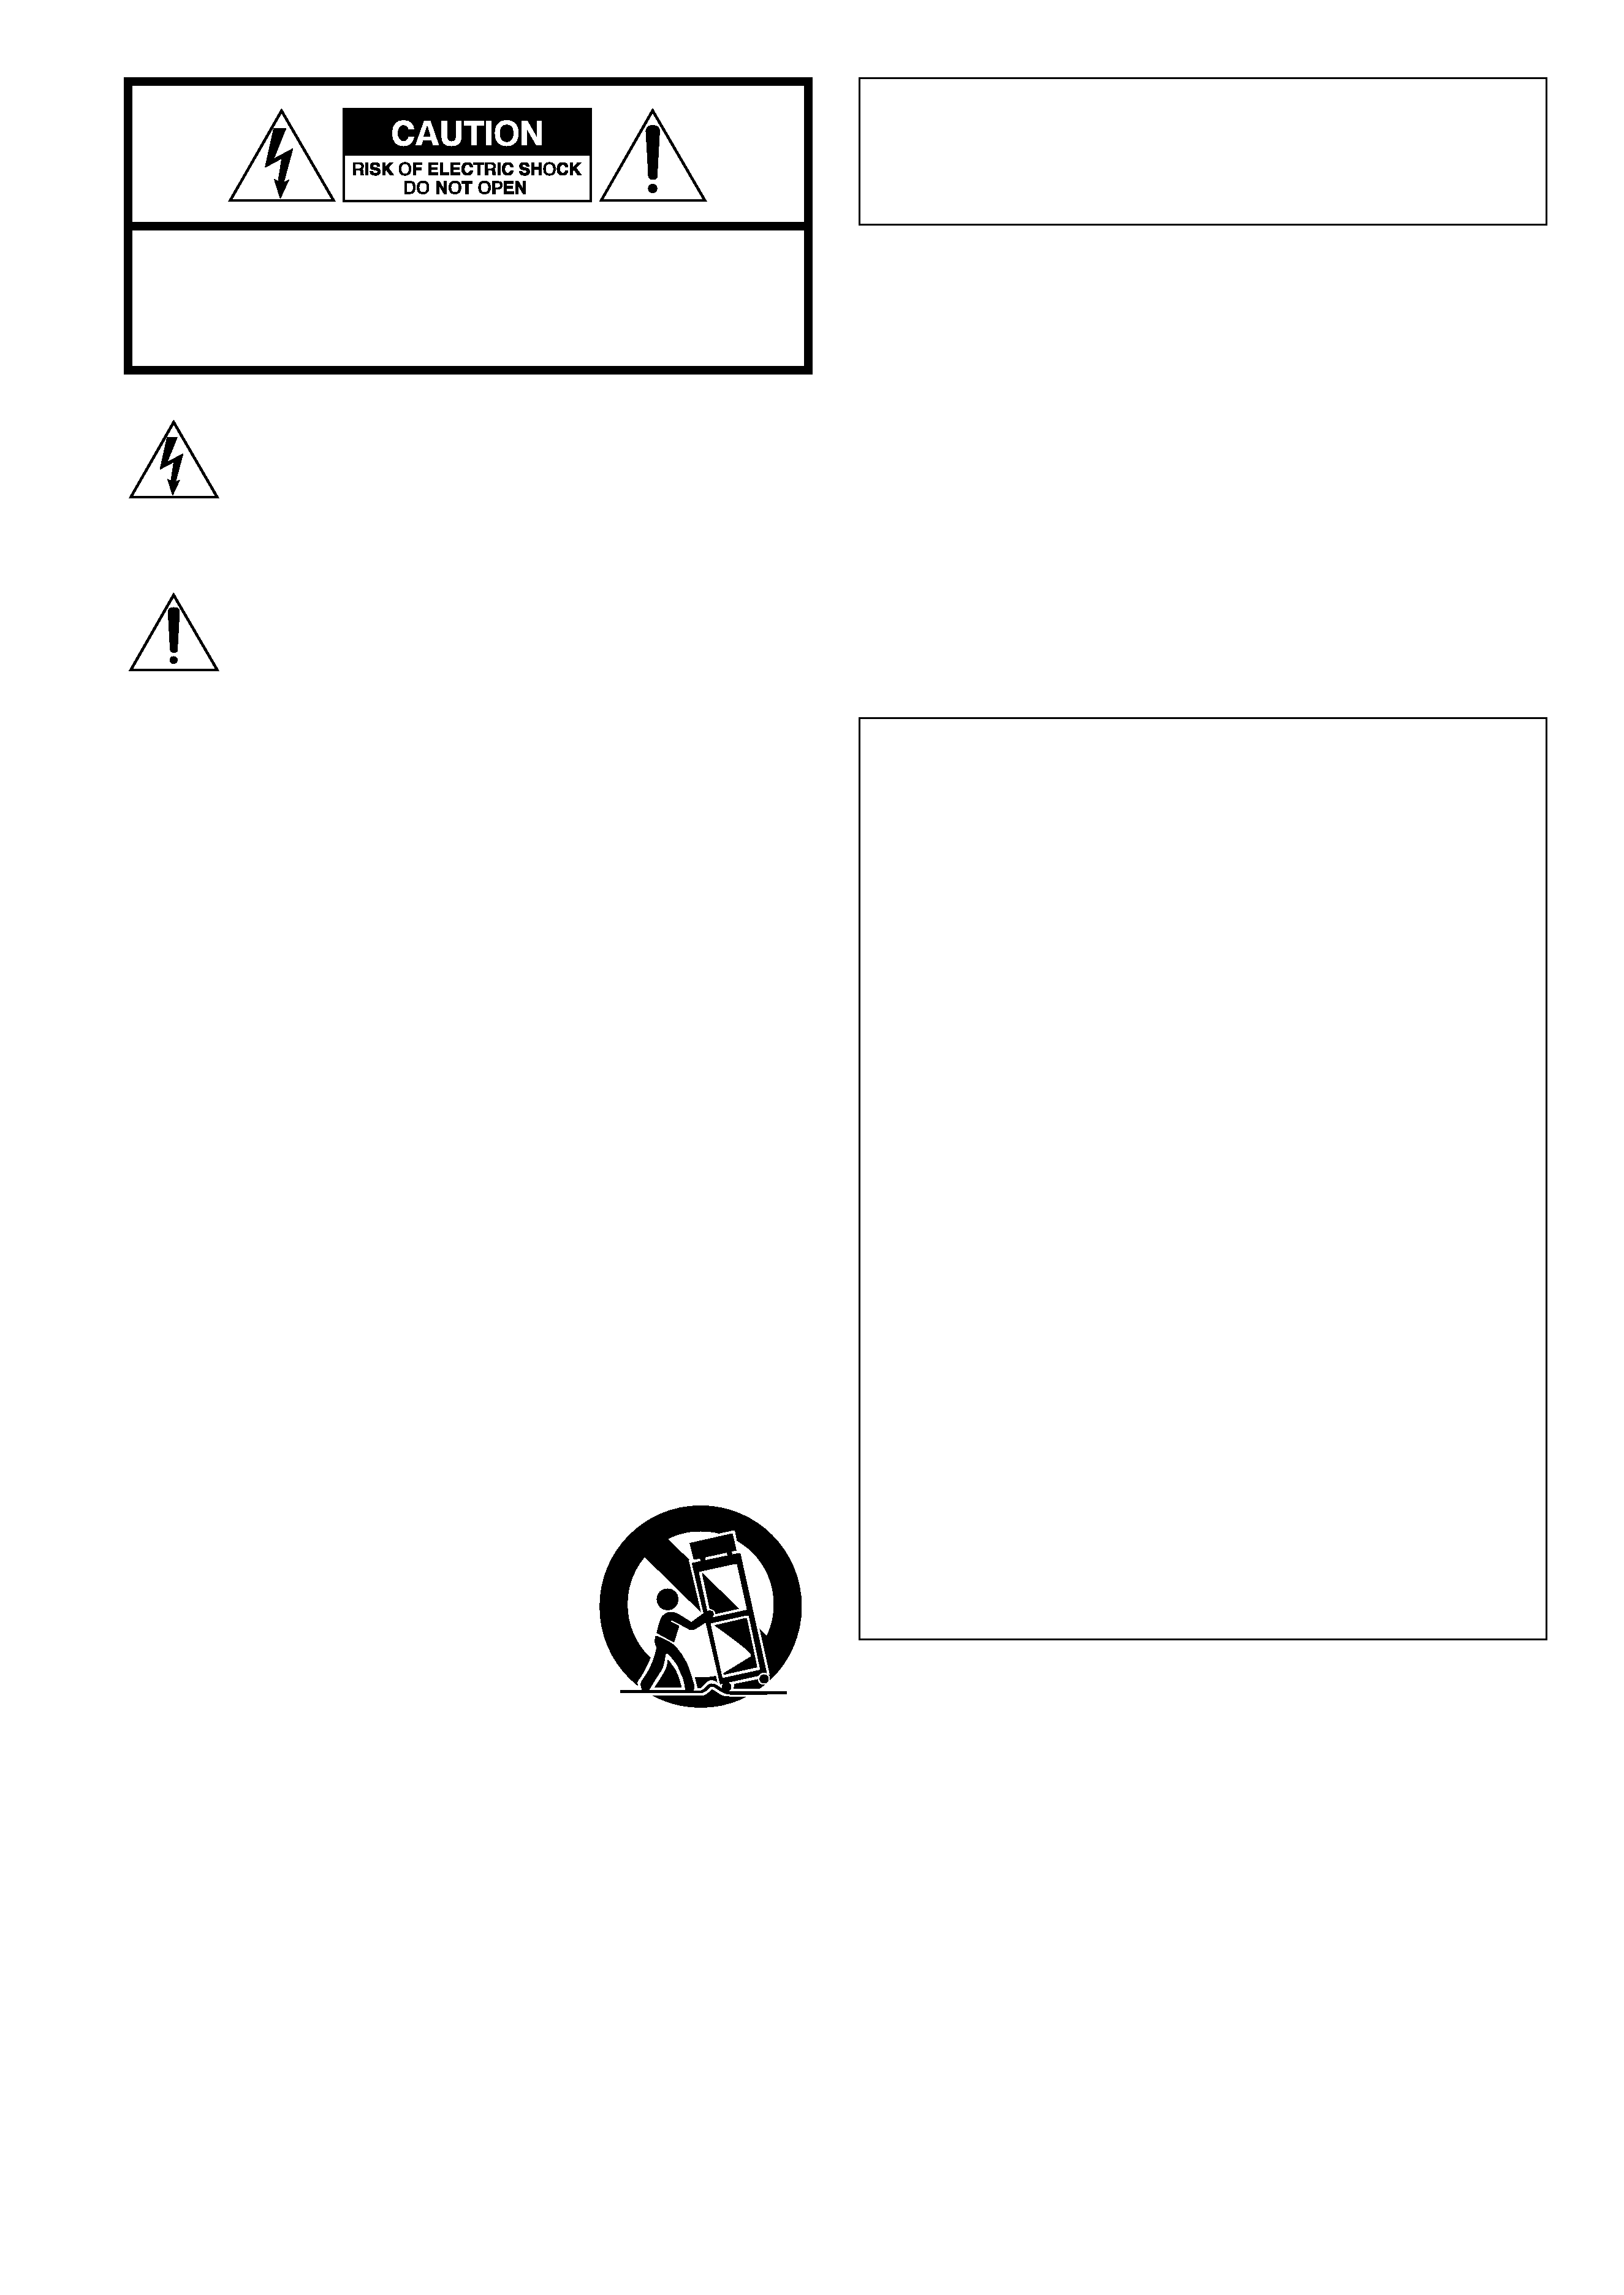
12) Use only with the cart, stand, tripod,
bracket, or table specified by the
manufacturer, or sold with the apparatus.
When a cart is used, use caution when
moving the cart/apparatus combination
to avoid injury from tip-over.
13) Unplug this apparatus during lightning
storms or when unused for long periods
of time.
14) Refer all servicing to qualified service personnel. Servicing is
required when the apparatus has been damaged in any way,
such as power-supply cord or plug is damaged, liquid has been
spilled or objects have fallen into the apparatus, the apparatus
has been exposed to rain or moisture, does not operate normally,
or has been dropped.
<
Do not expose this apparatus to dripps or splashes.
<
Do not place any objects filled with liquids, such as vases, on the
apparatus.
<
Do not install this apparatus in a confined space such as a book
case or similar unit.
<
The apparatus draws nominal non-operating power from the AC
outlet with its POWER switch in the off position.
CAUTION: TO REDUCE THE RISK OF ELECTRIC SHOCK,
DO NOT REMOVE COVER (OR BACK). NO USER-
SERVICEABLE PARTS INSIDE. REFER SERVICING TO
QUALIFIED SERVICE PERSONNEL.
The lightning flash with arrowhead symbol, within an
equilateral triangle, is intended to alert the user to the
presence of uninsulated "dangerous voltage" within the
product's enclosure that may be of sufficient magnitude
to constitute a risk of electric shock to persons.
The exclamation point within an equilateral triangle is
intended to alert the user to the presence of important
operating and maintenance (servicing) instructions in the
literature accompanying the appliance.
WARNING : TO PREVENT FIRE OR SHOCK
HAZARD, DO NOT EXPOSE THIS APPLIANCE
TO RAIN OR MOISTURE.
This equipment has been tested and found to comply with the
limits for a Class B digital device, pursuant to Part 15 of the
FCC Rules. These limits are designed to provide reasonable
protection against harmful interference in a residential
installation. This equipment generates, uses, and can radiate
radio frequency energy and, if not installed and used in
accordance with the instructions, may cause harmful
interference to radio communications. However, there is no
guarantee that interference will not occur in a particular
installation. If this equipment does cause harmful interference
to radio or television reception, which can be determined by
turning the equipment off and on, the user is encouraged to
try to correct the interference by one or more of the following
measures:
· Reorient or relocate the equipment and/or the receiving
antenna.
· Increase the separation between the equipment and
receiver.
· Connect the equipment into an outlet on a circuit different
from that to which the receiver is connected.
· Consult the dealer or an experienced radio/TV technician
for help.
CAUTION
Changes or modifications to this equipments not expressly
approved by TEAC CORPORATION for compliance will void the
user's warranty.
For U.S.A.
background image
3
ENGLISH
IMPORTANT (for U.K.Customers)
DO NOT cut off the mains plug from this equipment. If the plug
fitted is not suitable for the power points in your home or the
cable is too short to reach a power point, then obtain an
appropriate safety approved extension lead or consult your
dealer.
If nonetheless the mains plug is cut off, remove the fuse and
dispose of the plug immediately, to avoid a possible shock
hazard by inadvertent connection to the mains supply.
If this product is not provided with a mains plug, or one has to
be fitted, then follow the instructions given below:
IMPORTANT. DO NOT make any connection to the larger
terminal which is marked with the letter E or by the safety earth
symbol | or coloured GREEN or GREEN-and-YELLOW.
The wires in the mains lead on this product are coloured in
accordance with the following code:
BLUE
: NEUTRAL
BROWN : LIVE
As these colours may not correspond with the coloured
markings identifying the terminals in your plug proceed as
follows:
The wire which is coloured BLUE must be connected to the
terminal which is marked with the letter N or coloured BLACK.
The wire which is coloured BROWN must be connected to the
terminal which is marked with the letter L or coloured RED.
When replacing the fuse only a correctly rated approved type
should be used and be sure to re-fit the fuse cover.
IF IN DOUBT -- CONSULT A COMPETENT ELECTRICIAN.
Contents
CAUTION
The product shall not be exposed to dripping or splashing and
that no object filled with liquids, such as vases, shall be placed
on the product.
Do not install this equipment in a confined space such as a
book case or similar unit.
Thank you for choosing TEAC. Read this manual carefully
to get the best performance from this unit.
Before Use
Read this before operation
<
As the unit may become warm during operation, always leave
sufficient space around the unit for ventilation.
<
The voltage supplied to the unit should match the voltage as
printed on the rear panel. If you are in any doubt regarding
this matter, consult an electrician.
<
Choose the installation location of your unit carefully. Avoid
placing it in direct sunlight or close to a source of heat. Also
avoid locations subject to vibrations and excessive dust, heat,
cold or moisture.
<
Do not place the unit on the amplifier/receiver.
<
Do not open the cabinet as this might result in damage to the
circuitry or electrical shock. If a foreign object should get into
the unit, contact your dealer or service company.
<
When removing the power plug from the wall outlet, always
pull directly on the plug, never yank the cord.
<
Do not attempt to clean the unit with chemical solvents as
this might damage the finish. Use a clean, dry cloth.
<
Keep this manual in a safe place for future reference.
Contents . . . . . . . . . . . . . . . . . . . . . . . . . . . . . . . . . . . . . . . . . 3
Before Use . . . . . . . . . . . . . . . . . . . . . . . . . . . . . . . . . . . . . . . . 3
Cassette Tape . . . . . . . . . . . . . . . . . . . . . . . . . . . . . . . . . . . . . . 4
Connection. . . . . . . . . . . . . . . . . . . . . . . . . . . . . . . . . . . . . . . . 5
Names of Each Control . . . . . . . . . . . . . . . . . . . . . . . . . . . . . . . 6
Playback . . . . . . . . . . . . . . . . . . . . . . . . . . . . . . . . . . . . . . . . . . 7
Recording . . . . . . . . . . . . . . . . . . . . . . . . . . . . . . . . . . . . . . . . . 9
CD Synchronous Recording. . . . . . . . . . . . . . . . . . . . . . . . . . . 10
Timer Playback . . . . . . . . . . . . . . . . . . . . . . . . . . . . . . . . . . . . 11
Timer Recording . . . . . . . . . . . . . . . . . . . . . . . . . . . . . . . . . . . 11
Troubleshooting . . . . . . . . . . . . . . . . . . . . . . . . . . . . . . . . . . . 12
Specificatioins . . . . . . . . . . . . . . . . . . . . . . . . . . . . . . . . . . . . . 12
background image
4
Cassette Tape
Manufactured under license from Dolby Laboratories.
HX Pro headroom extension originated by Bang and Olufsen.
"Dolby", "HX Pro", and the double-D symbol are trademarks
of Dolby Laboratories.
Dolby NR
Dolby NR (Noise Reduction) is an encode/decode process used
when tapes are recorded and played back.
When music is being recorded on the tape, soft, high-frequency
passages (that tape hiss affects) are made louder than normal so
that they become louder than the tape's noise. When the tape is
played back, they are lowered back down to their original levels.
Noise is reduced in the process.
Dolby B NR is the original Dolby system designed for consumer
tape recording. Dolby C NR was developed later to provide twice
the tape hiss reduction (20 dB) of Dolby B NR, and better
cassette performance.
Dolby HX Pro headroom extension
Dolby HX Pro headroom extension makes it possible to record
loud musical passages with fewer high-frequency losses and less
distortion.
As no encoding of the signal takes place, no playback decoding
circuitry is required to realize the benefits of Dolby HX Pro.
Tape Handling
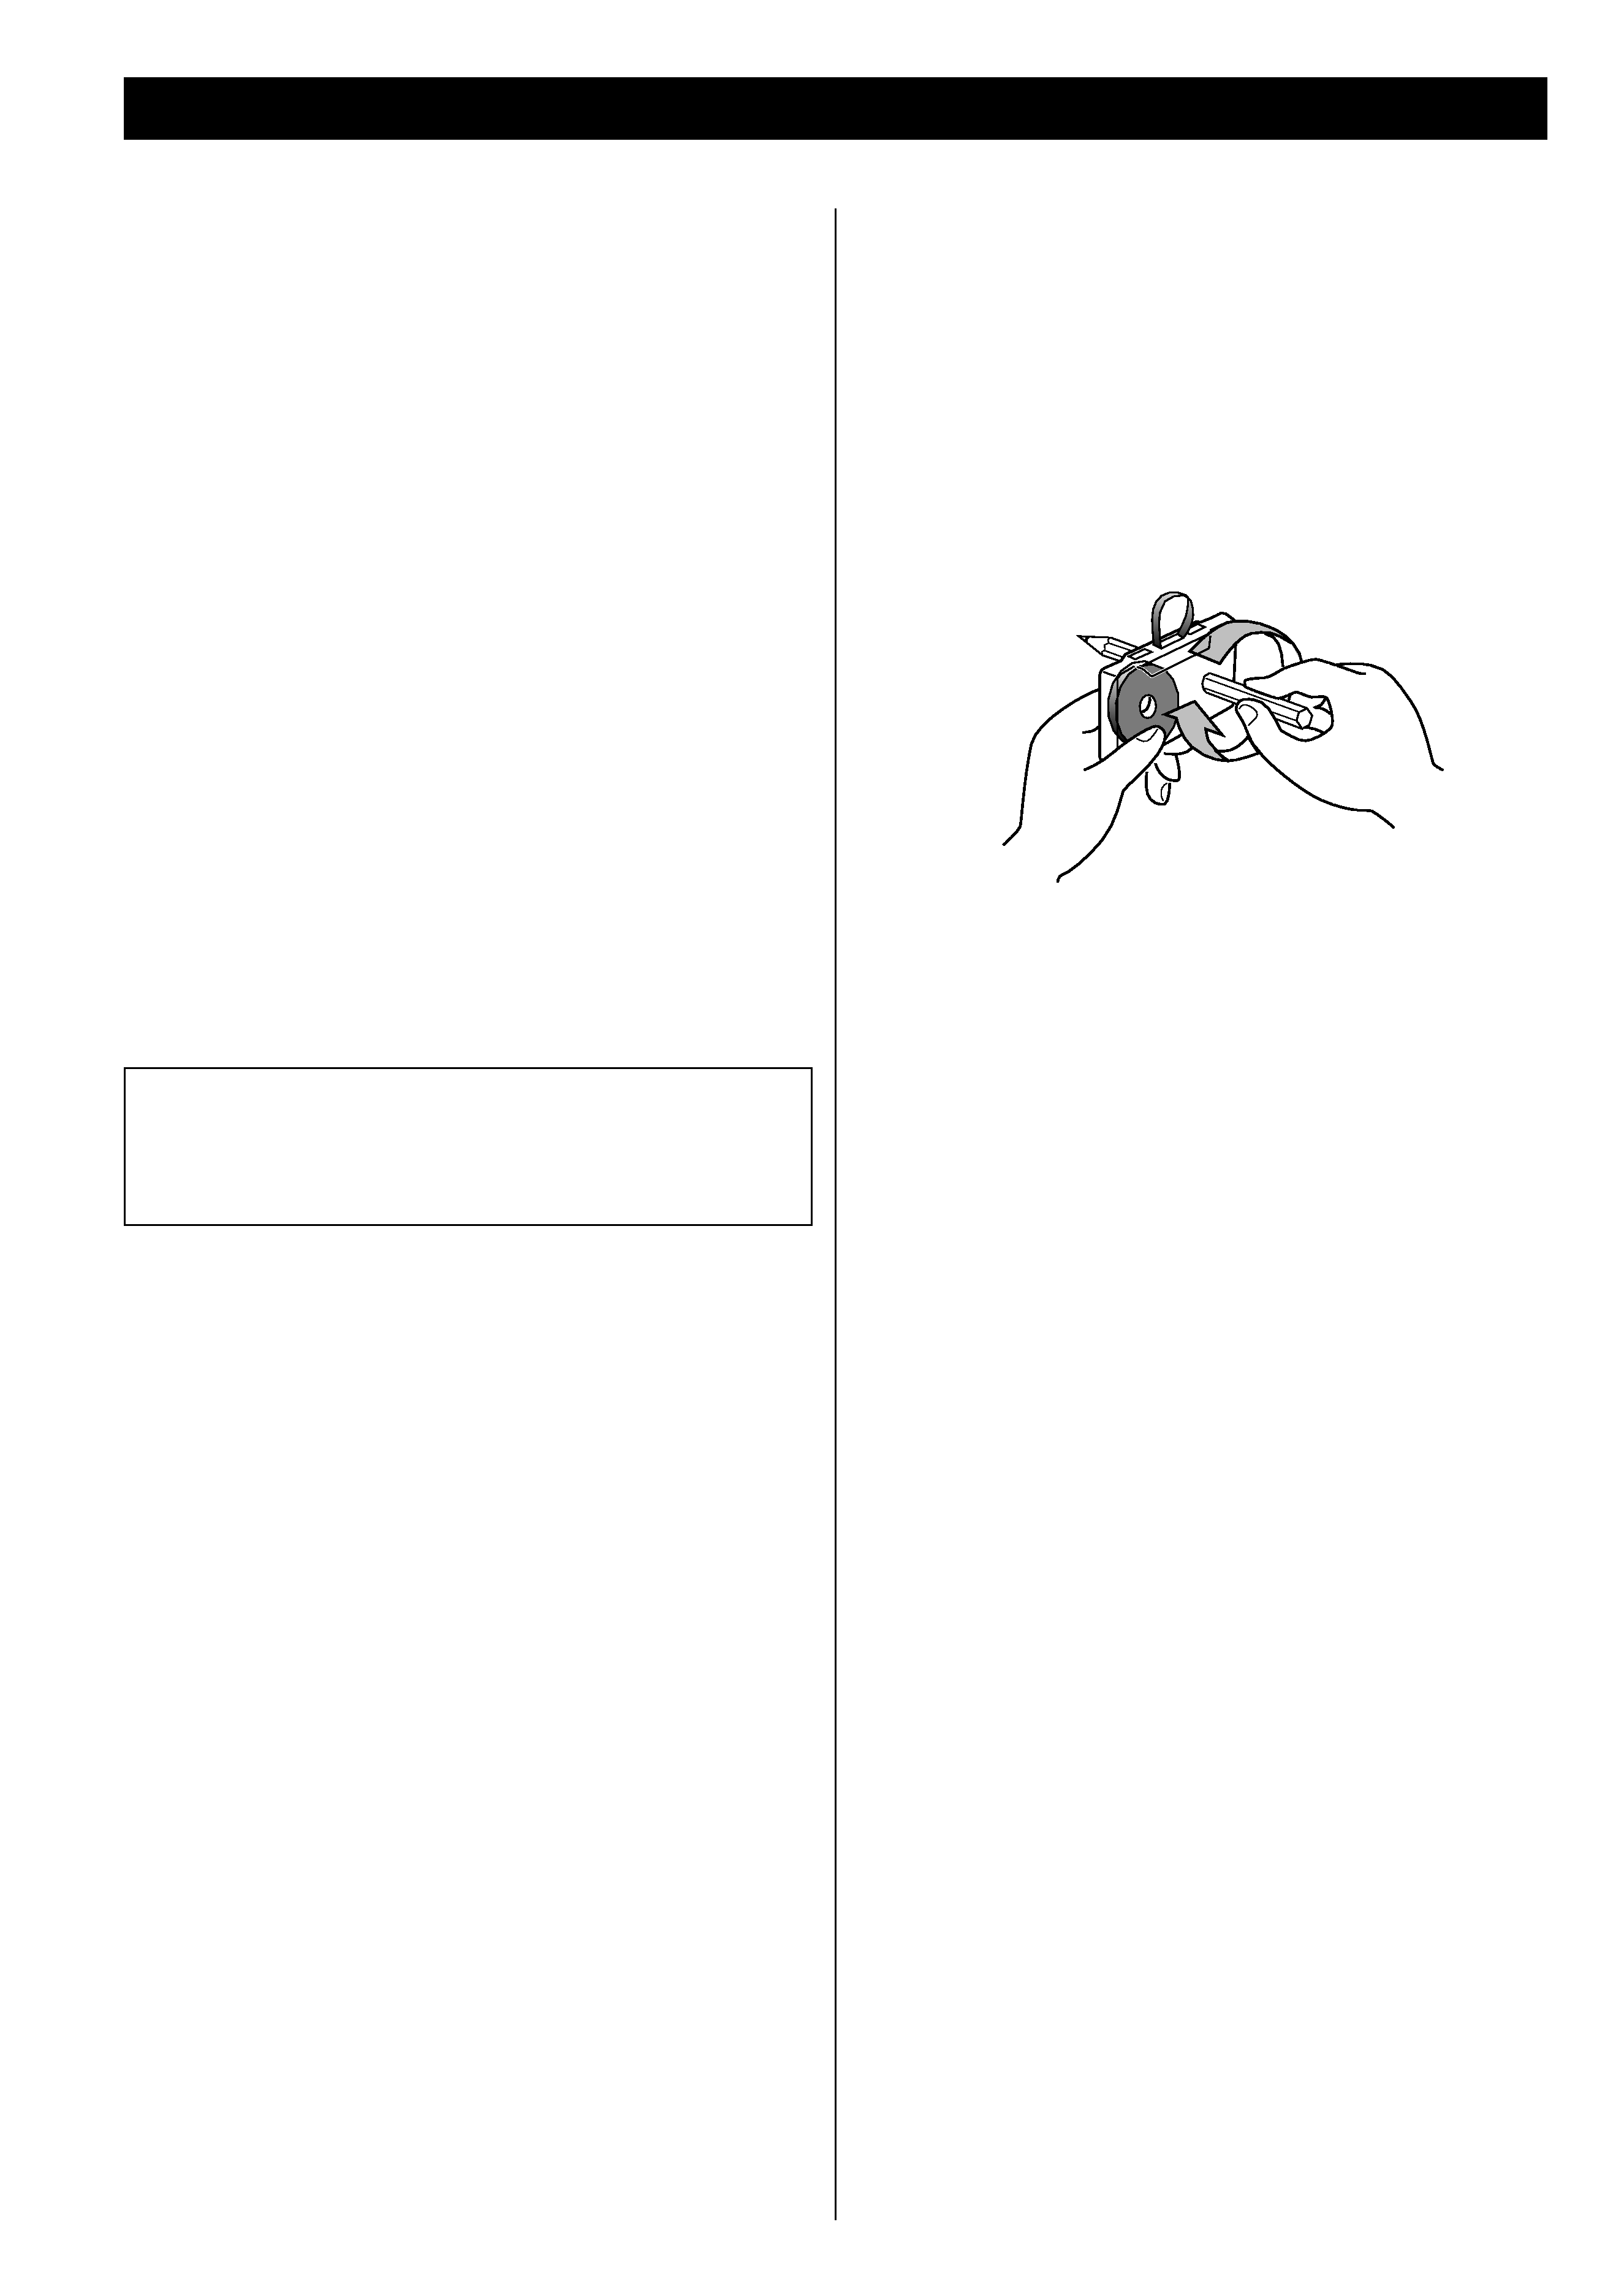
Use your finger or a pencil to turn the cassette's hub and take
up any slack tape.
<
Avoid touching the tape. Fingerprints attract dust and dirt.
<
Avoid dropping or subjecting cassettes to excessive shocks.
<
As C-120 tapes are physically weak and could become
entangled in the transport mechanism, do not use them.
Do not store tapes in the following places:
<
On top of heaters, exposed to direct sunlight or in any other
places with high temperatures.
<
Near speakers, on TV sets or amplifiers or where they would
be exposed to strong magnetic fields.
<
Where humidity is high and in dirty, dusty places.
Head Maintenance
The head and tape path should be cleaned and demagnetized
periodically. Please use cassette type head cleaning tape and
demagnetizer. For details of its use, read its instructions.
Tape Selection
This unit is equipped with the automatic tape select function.
You can use Normal, Chrome and Metal tapes for playback
and recording.
background image
5
ENGLISH
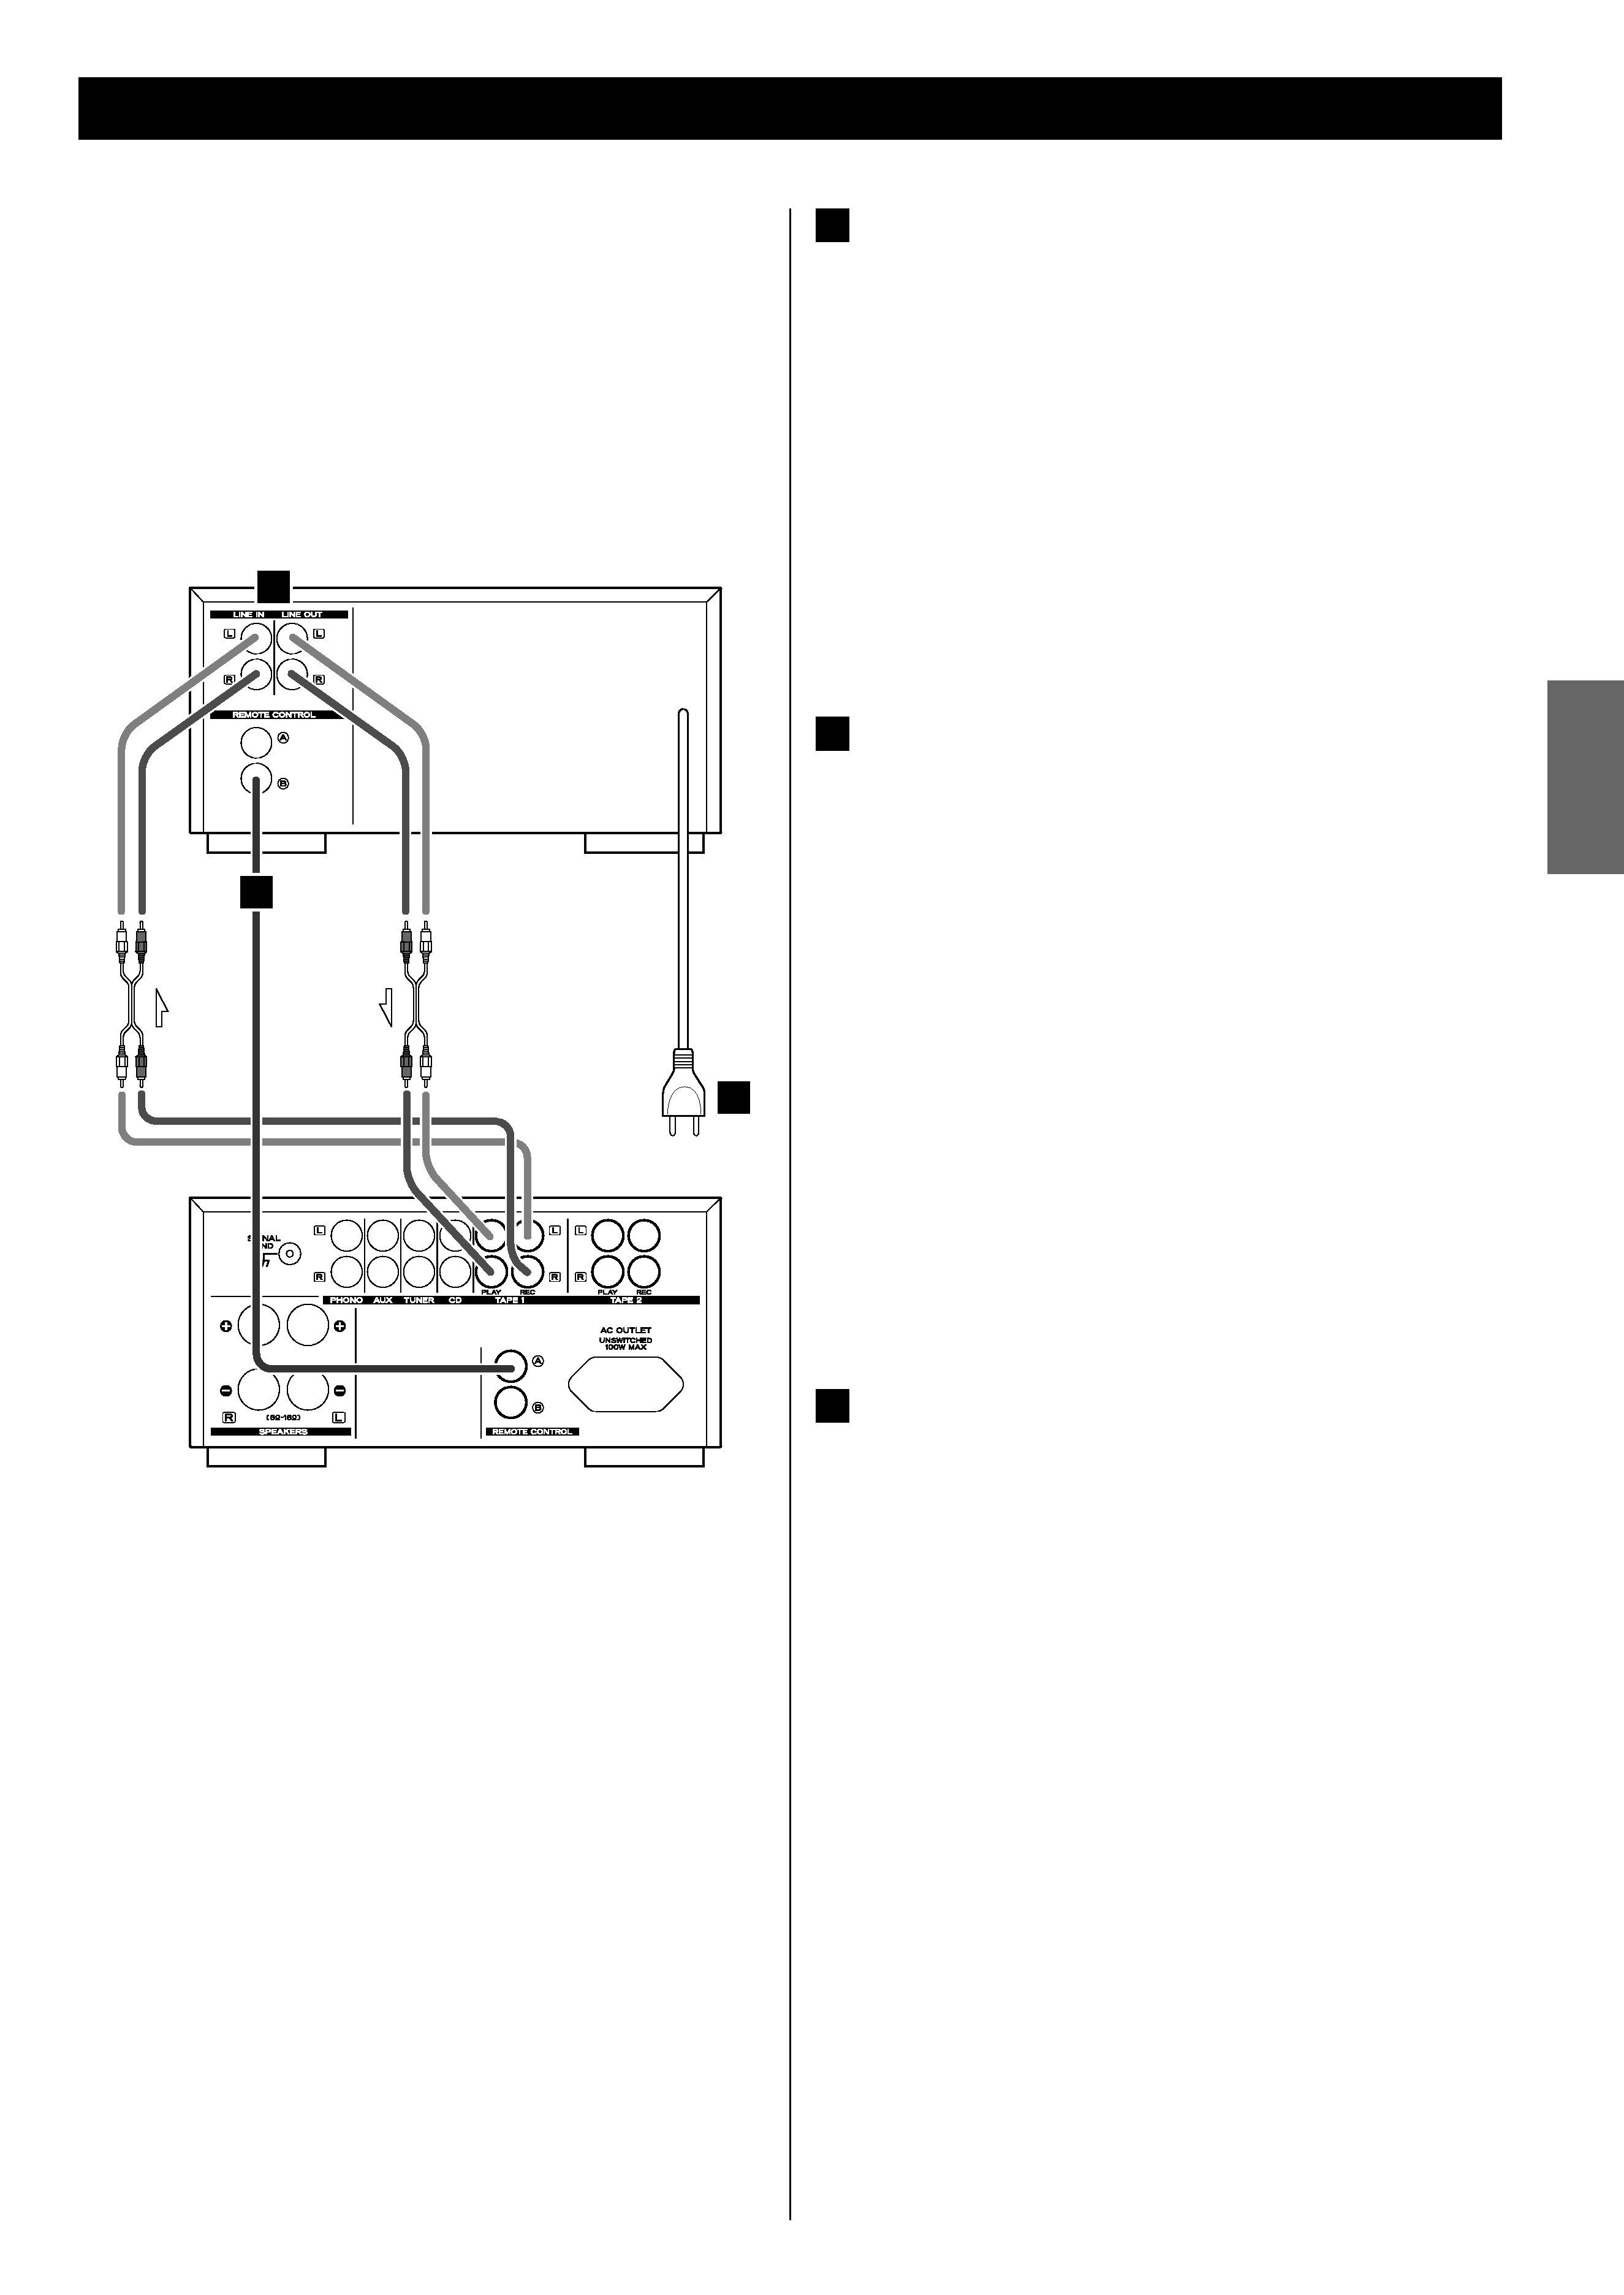
LINE IN/OUT jacks
Analog 2-channel audio signal is input or output from these
jacks. Connect these jacks to the TAPE (1 or 2) jacks of the
amplifier (A-H300mk@) with RCA cables.
R-H300mk@ A-H300mk@
LINE OUT q TAPE PLAY
LINE IN
q
TAPE REC
Make sure to connect :
white plug q white jack (L: left channel)
red plug q red jack (R: right channel)
REMOTE CONTROL jacks
If you have TEAC A-H300mk@, convenient system control
operations are available:
· When you press the PLAY button, the input selector of the
A-H300mk@ is set to "TAPE" automatically.
· You can use the system remote control unit RC-957
(provided with A-H300mk@) to operate this unit.
Connect the REMOTE CONTROL jack (A or B) to the
REMOTE CONTROL jack of A-H300mk@, T-H300(DAB)mk@
or PD-H300mk@ with the provided remote control
connection cord.
Read the owner's manual of A-H300mk@ for details.
Note:
The remote control unit is not provided with this unit.
AC Power Cord
After all other connections have been completed, connect
the plug to the AC wall socket.
Be sure to connect the power cord to an AC outlet which
supplies the correct voltage.
Hold the power plug when plugging or unplugging the
power cord.
C
B
A
CAUTION:
<
Switch off the power to all equipment before making
connections.
<
Read the instructions of each component you intend to use
with this unit.
<
Be sure to insert each plug securely. To prevent hum and
noise, avoid bundling the signal interconnection cables
together with the AC power cord or speaker cables.
Connection
R-H300mk@
A
B
C
Amplifier (A-H300mk@)

Reviews

There are no reviews of this manual yet.