SENNHEISER SK5212 Owner's Manual

Cover page of SENNHEISER SK5212 Owner's Manual

Owner's Manual for SENNHEISER SK5212, downloadable as a PDF file.

Manual details

  • Immediate download after payment.
  • Delivered as a PDF file.
  • The manual has 33 pages
  • File size: 0.88 MB
  • Available language versions: English
  • Different language versions may vary sligthly in file size and page count.

We guarantee that...

  • our manuals are complete,
  • our manuals are checked with antivirus,
  • We'll issue refund if the manual is damaged, incomplete or unreadable (our refund policy)

Sample pages

Thumbnail of page 1Thumbnail of page 2Thumbnail of page 3Thumbnail of page 4
Thumbnail of page 5Thumbnail of page 6Thumbnail of page 7Thumbnail of page 8
Thumbnail of page 9
background image
SK 5212
Instructions for use
background image
SK 5212
Instructions for use
background image
1
Contents
Safety instructions .... ............ ............ ............ ........... ............ ............ ............ ......... 3
Delivery includes ....... ............ ............ ............ ........... ............ ............ ............ ......... 3
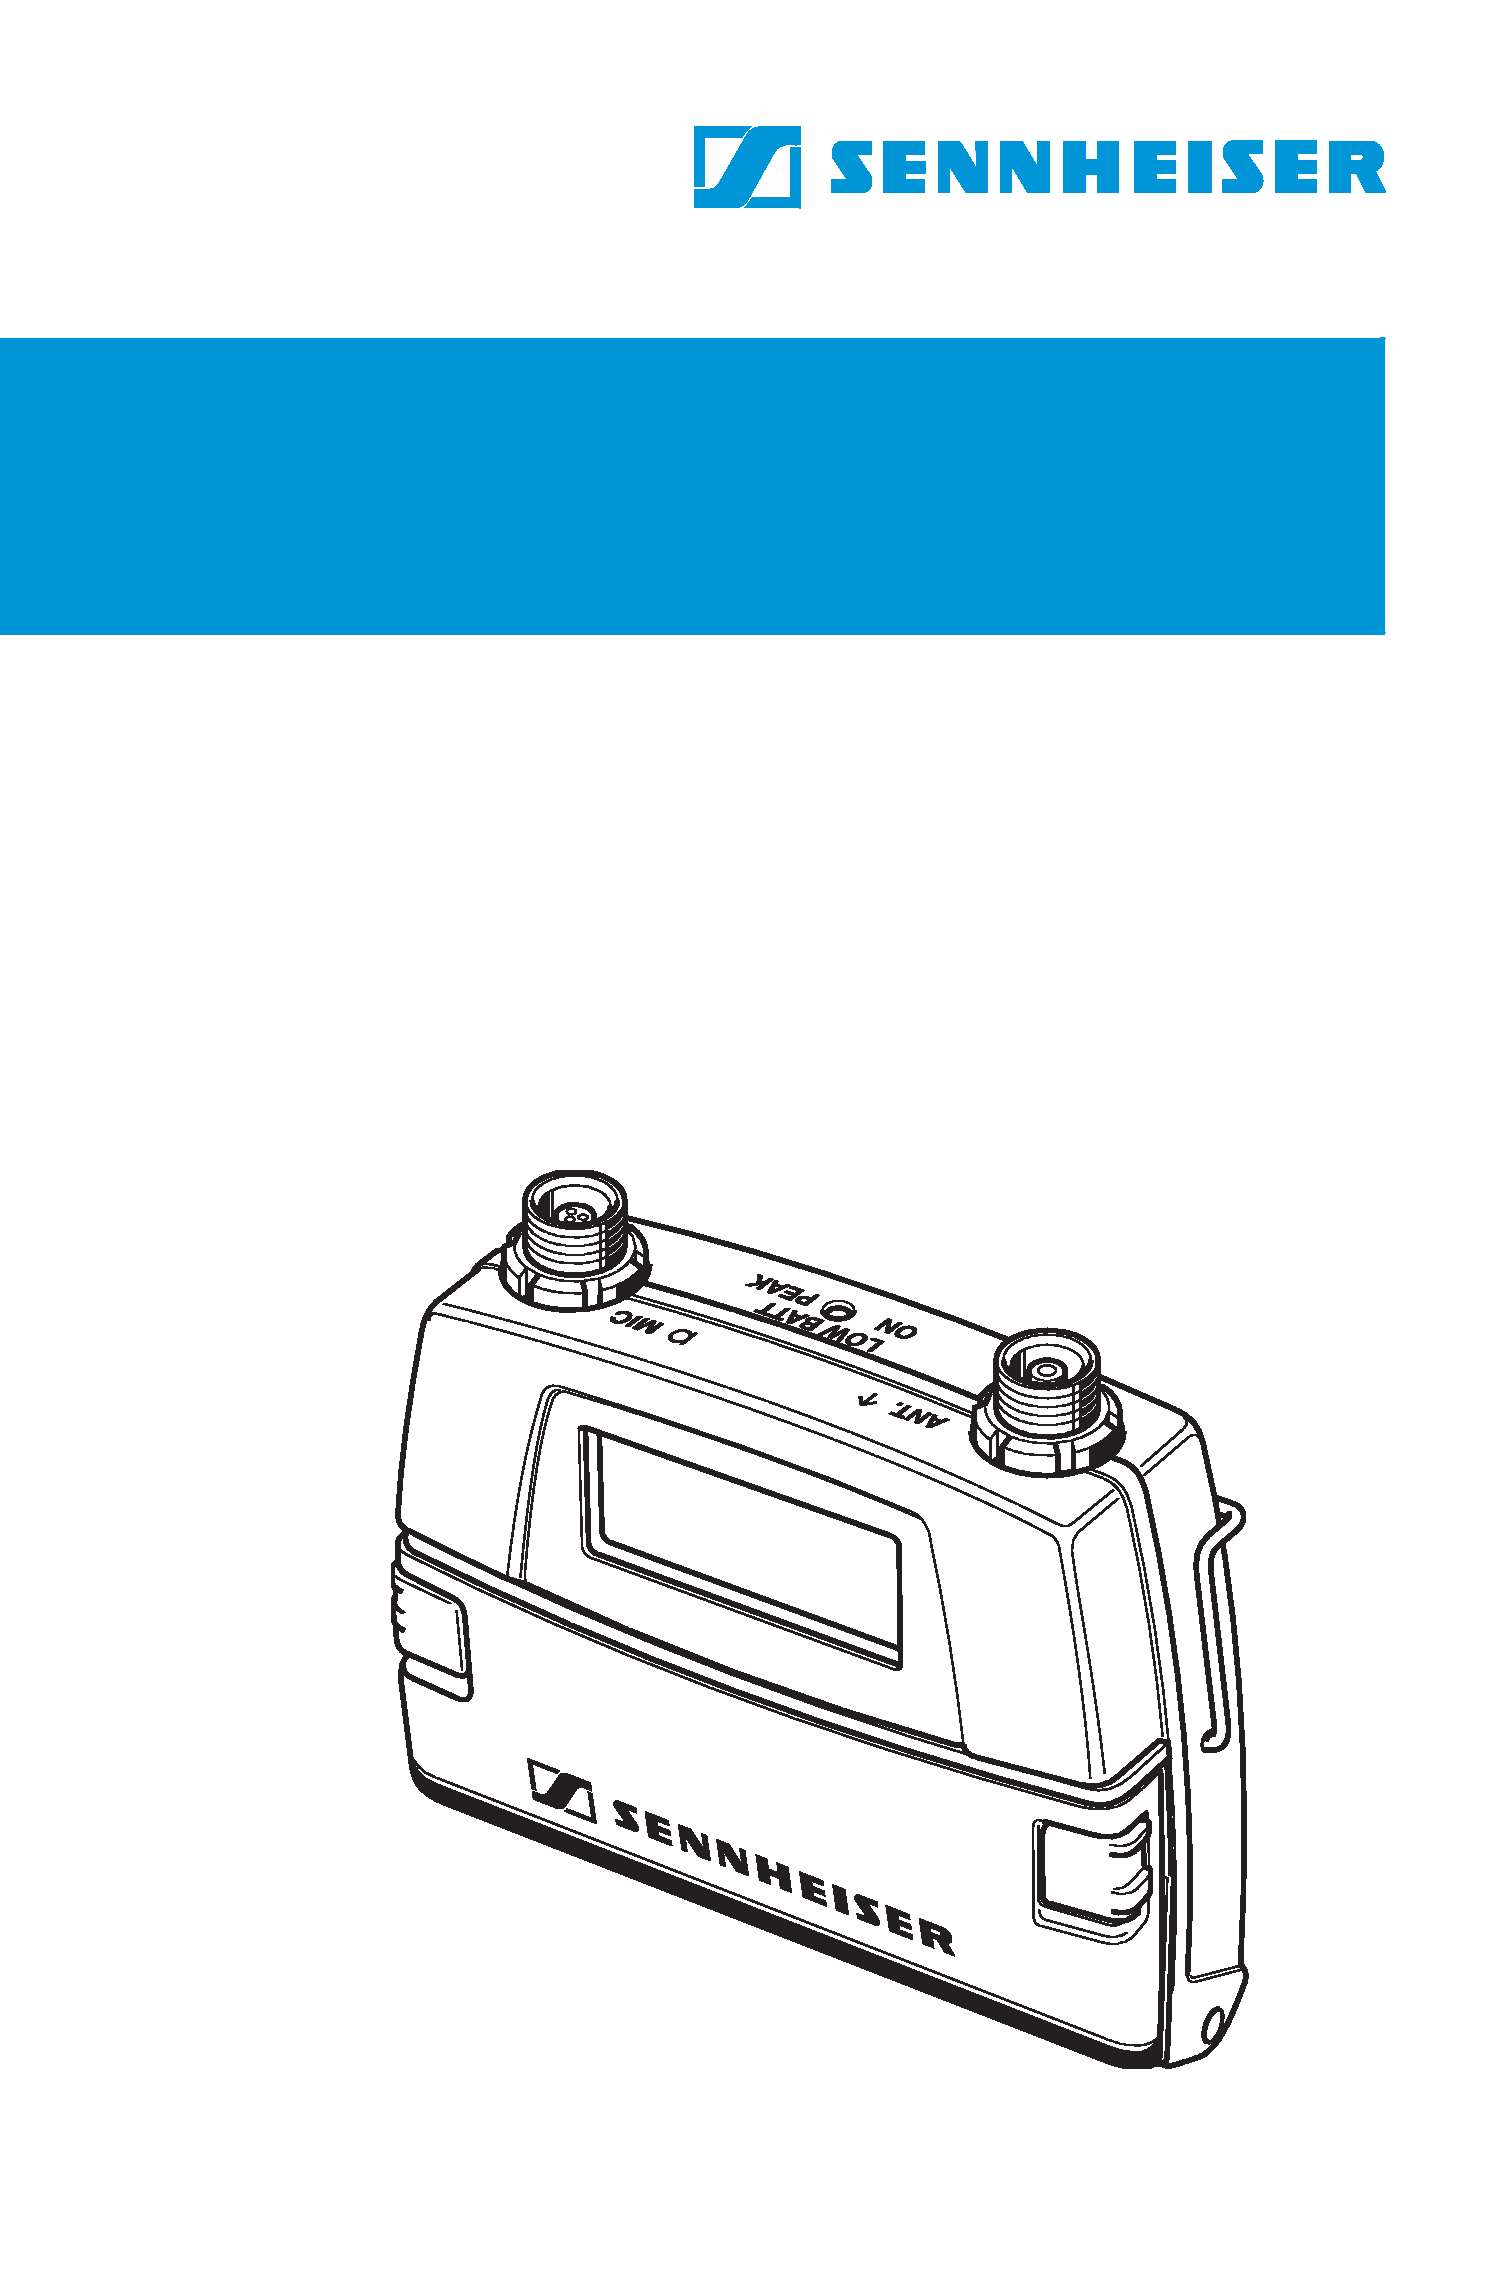
The SK 521 2 bodypack transmitter .......... ........... ............ ............ ............ ......... 4
The operating controls ......... ............ ............ ........... ............ ............ ............ ......... 5
Indications and displays ...... ............ ............ ........... ............ ............ ............ ......... 6
The LC displ ay panel ...... ............ ............ ........... ............ ............ ............ ......... 6
Preparing the transmitter for use .. ............ ........... ............ ............ ............ ......... 8
Inser ting and changing the batter y ... ........... ............ ............ ............ ......... 8
Connecting the microphone ..... ............ ........... ............ ............ ............ ......... 9
Connecting the antenna ............ ............ ........... ............ ............ ............ ......... 9
Attaching the transmitter to clothing .......... ............ ............ ............ ....... 10
Using the transmitter ........... ............ ............ ........... ............ ............ ............ ....... 10
Switching the transmitter on/off ....... ........... ............ ............ ............ ....... 10
Doing a frequency check ........... ............ ........... ............ ............ ............ ....... 11
The operating menu . ............ ............ ............ ........... ............ ............ ............ ....... 12
The buttons ......... ............ ............ ............ ........... ............ ............ ............ ....... 12
The automatic lock mode (autolock function) ........ ............ ............ ....... 13
Working with the operating menu ..... ........... ............ ............ ............ ....... 15
Over view of the operating menu ........ ........... ............ ............ ............ ....... 19
Adjustment tips for the operating menu . ........... ............ ............ ............ ....... 21
Selecting a channel ­ CHAN ...... ............ ........... ............ ............ ............ ....... 21
Selecting the frequencies to be stor ed in the channel bank "VAR"
­ TUNE ....... ........... ............ ............ ............ ........... ............ ............ ............ ....... 21
Entering a name ­ NAME .......... ............ ........... ............ ............ ............ ....... 23
Adjusting the microphone sensitivity ­ ATTEN ....... ............ ............ ....... 24
Adjusting the bass r oll -of f frequency ­ LOWCUT ... ............ ............ ....... 24
Selecting the standard display ­ VIEW ......... ............ ............ ............ ....... 24
Loading the factory pre-set default settings ­ RESET ....... ............ ....... 25
Activating/deactivating the automatic lock mode ­ LOCK ........... ....... 25
Adjusting the output power ­ POW ER .......... ............ ............ ............ ....... 26
Exiting the operating menu ­ EXIT ..... ........... ............ ............ ............ ....... 26
Maintenance and care .......... ............ ............ ........... ............ ............ ............ ....... 26
If problems occur... .... ............ ............ ............ ........... ............ ............ ............ ....... 27
Err or checklist ...... ............ ............ ............ ........... ............ ............ ............ ....... 27
Information on the compander system .... ........... ............ ............ ............ ....... 28
background image
2
Accessor ies ............ ........... ............ ............ ............ ........... ............ ............ ............ . 28
Specifications ....... ........... ............ ............ ............ ........... ............ ............ ............ . 29
Pin assignment of microphone socket .... ........... ............ ............ ............ . 30
Audio sensitivity ...... ............ ............ ............ ........... ............ ............ ............ . 30
Manufactur er decl arations ....... ............ ............ ........... ............ ............ ............ . 31
Warr anty regulations .......... ............ ............ ........... ............ ............ ............ . 31
CE Declaration of Conformity ......... ............ ........... ............ ............ ............ . 31
Batteries ......... ........... ............ ............ ............ ........... ............ ............ ............ . 31
WEEE Declaration ..... ............ ............ ............ ........... ............ ............ ............ . 31
Thank you for choosing Sennheiser!
We have designed this product to give you reliable operation over many
years. Over half a century of accumulated expertise in the design and
manufacture of high-qual ity electro-acoustic equipment have made Senn-
heiser a world-leading company in this field.
P lease tak e a few moments t o read the se instructio ns care fully , as we want yo u
t o enjo y yo ur new Sennheiser products quickly a nd to the fulle st.
background image
3
Safety instructions
! Please read these instructions carefully and completely before using the
unit.
! Make these instructions easily accessible to all users at all times. Always
include these instructions when passing the unit on to third parties.
! Never open electronic units!If units are opened by customers in breachof
this instruction, the warranty becomes null and void.
! Water entering the housing of the unit can cause a short-circuit and
damage the electr onics. Protect the unit from damp and wet. Only use a
slightly damp cloth to cl ean the unit.
Intended use of the unit
Intended use includes
! having read these instructions especially the chapter "Safety
instructions" .
! using the unit within the operating conditions as described in these
instructions.
Improper use of the un it
Improper use is when you use the unit other than described in these
instructions or when you use the unit under operating conditions different
from those described in these instructions.
Delivery includes
! 1 SK 5212 bodypack transmitter
! 1 battery
! 1 antenna
! 1 belt clip
! 1 instructions for use
background image
4
The SK 5212 bodypack transmitter
The SK 5212 is a prof essional Mikroport bodypack transmitter that is easy
to use and is easily adaptable to a wide variety of applications.
The SK 5212 bodypack transmitter has the following f eatures:
! Extremely compact diecast metal housing
! Very rugged casing
! Special protection against the ingress of moisture
! Backlit LC display
! Menu-assisted operation
! Specially suitable for multi-channel applications
! 36 MHz switching bandwidth
! Transmission frequencies tunable in steps of 5 kHz
! 50 mW output power, adjustable to 10 mW
! Constant output power until the battery is completely discharged
! Audio sensitivity adjustable in steps of 1dB, sensitivity range of 70 dB
! HiDyn plusTM noise reduction system
! Signal-to-noise ratio > 110 dB(A)
! Switchable low-cut filter
! Battery status display, battery status also transmitted to the receiver
! Reliable, easy-to-use clip attachment
The channel bank system
The transmitter has two channel banks. The channels of the channel bank
" FIX" (f ixed bank) have been factory pre-set to customer -specific
transmission frequencies. These fr equencies cannot be changed.
The channel bank "VAR" (var iable bank) al lows you to freely select and
stor e frequencies.
Suitab le receivers
! EM 1046 system
! EM 3532, EM 3031, EM 3032
! EK 3041

Reviews

There are no reviews of this manual yet.