CAUTION: THE STANDBY/ON BUTTON IS
SECONDARY CONNECTED AND THEREFORE
DOES NOT SEPARATE THE UNIT FROM MAINS
POWER IN STANDBY POSITION. therefore install
the unit suitable places easy to disconnect the
MAINS plug in case of the accident. The MAINS
plug of unit should be unplugged from the wall
socket when left unused for a long period of
time.
H017B_En
WARNING: BEFORE PLUGGING IN THE UNIT
FOR THE FIRST TIME, READ THE FOLLOWING
SECTION CAREFULLY. THE VOLTAGE OF THE
AVAILABLE POWER SUPPLY DIFFERS
ACCORDING TO COUNTRY OR REGION. BE SURE
THAT THE POWER SUPPLY VOLTAGE OF THE
AREA WHERE THIS UNIT WILL BE USED MEETS
THE REQUIRED VOLTAGE (E.G., 230V OR 120V)
WRITTEN ON THE REAR PANEL.
H041A_En
Operating Environment H045_En
Operating environment temperature and
humidity:
+5ºC +35ºC (+41ºF +95ºF); less than 85%RH
(cooling vents not blocked)
Do not install in the following locations
÷ Location exposed to direct sunlight or strong
÷ artificial light
÷ Location exposed to high humidity, or poorly
ventilated location
NOTE: This equipment has been tested and
found to comply with the limits for a Class B
digital device, pursuant to Part 15 of the FCC
Rules. These limits are designed to provide
reasonable protection against harmful
interference in a residential installation. This
equipment generates, uses, and can radiate
radio frequency energy and, if not installed
and used in accordance with the instructions,
may cause harmful interference to radio
communications. However, there is no
guarantee that interference will not occur in a
particular installation. If this equipment does
cause harmful interference to radio or
television reception, which can be determined
by turning the equipment off and on, the user
is encouraged to try to correct the interference
by one or more of the following measures:
Reorient or relocate the receiving antenna.
Increase the separation between the
equipment and receiver.
Connect the equipment into an outlet on a
circuit different from that to which the
receiver is connected.
Consult the dealer or an experienced radio/
TV technician for help.
H010_En
Information to User
Alteration or modifications carried out without
appropriate authorization may invalidate the
user's right to operate the equipment. H011_En
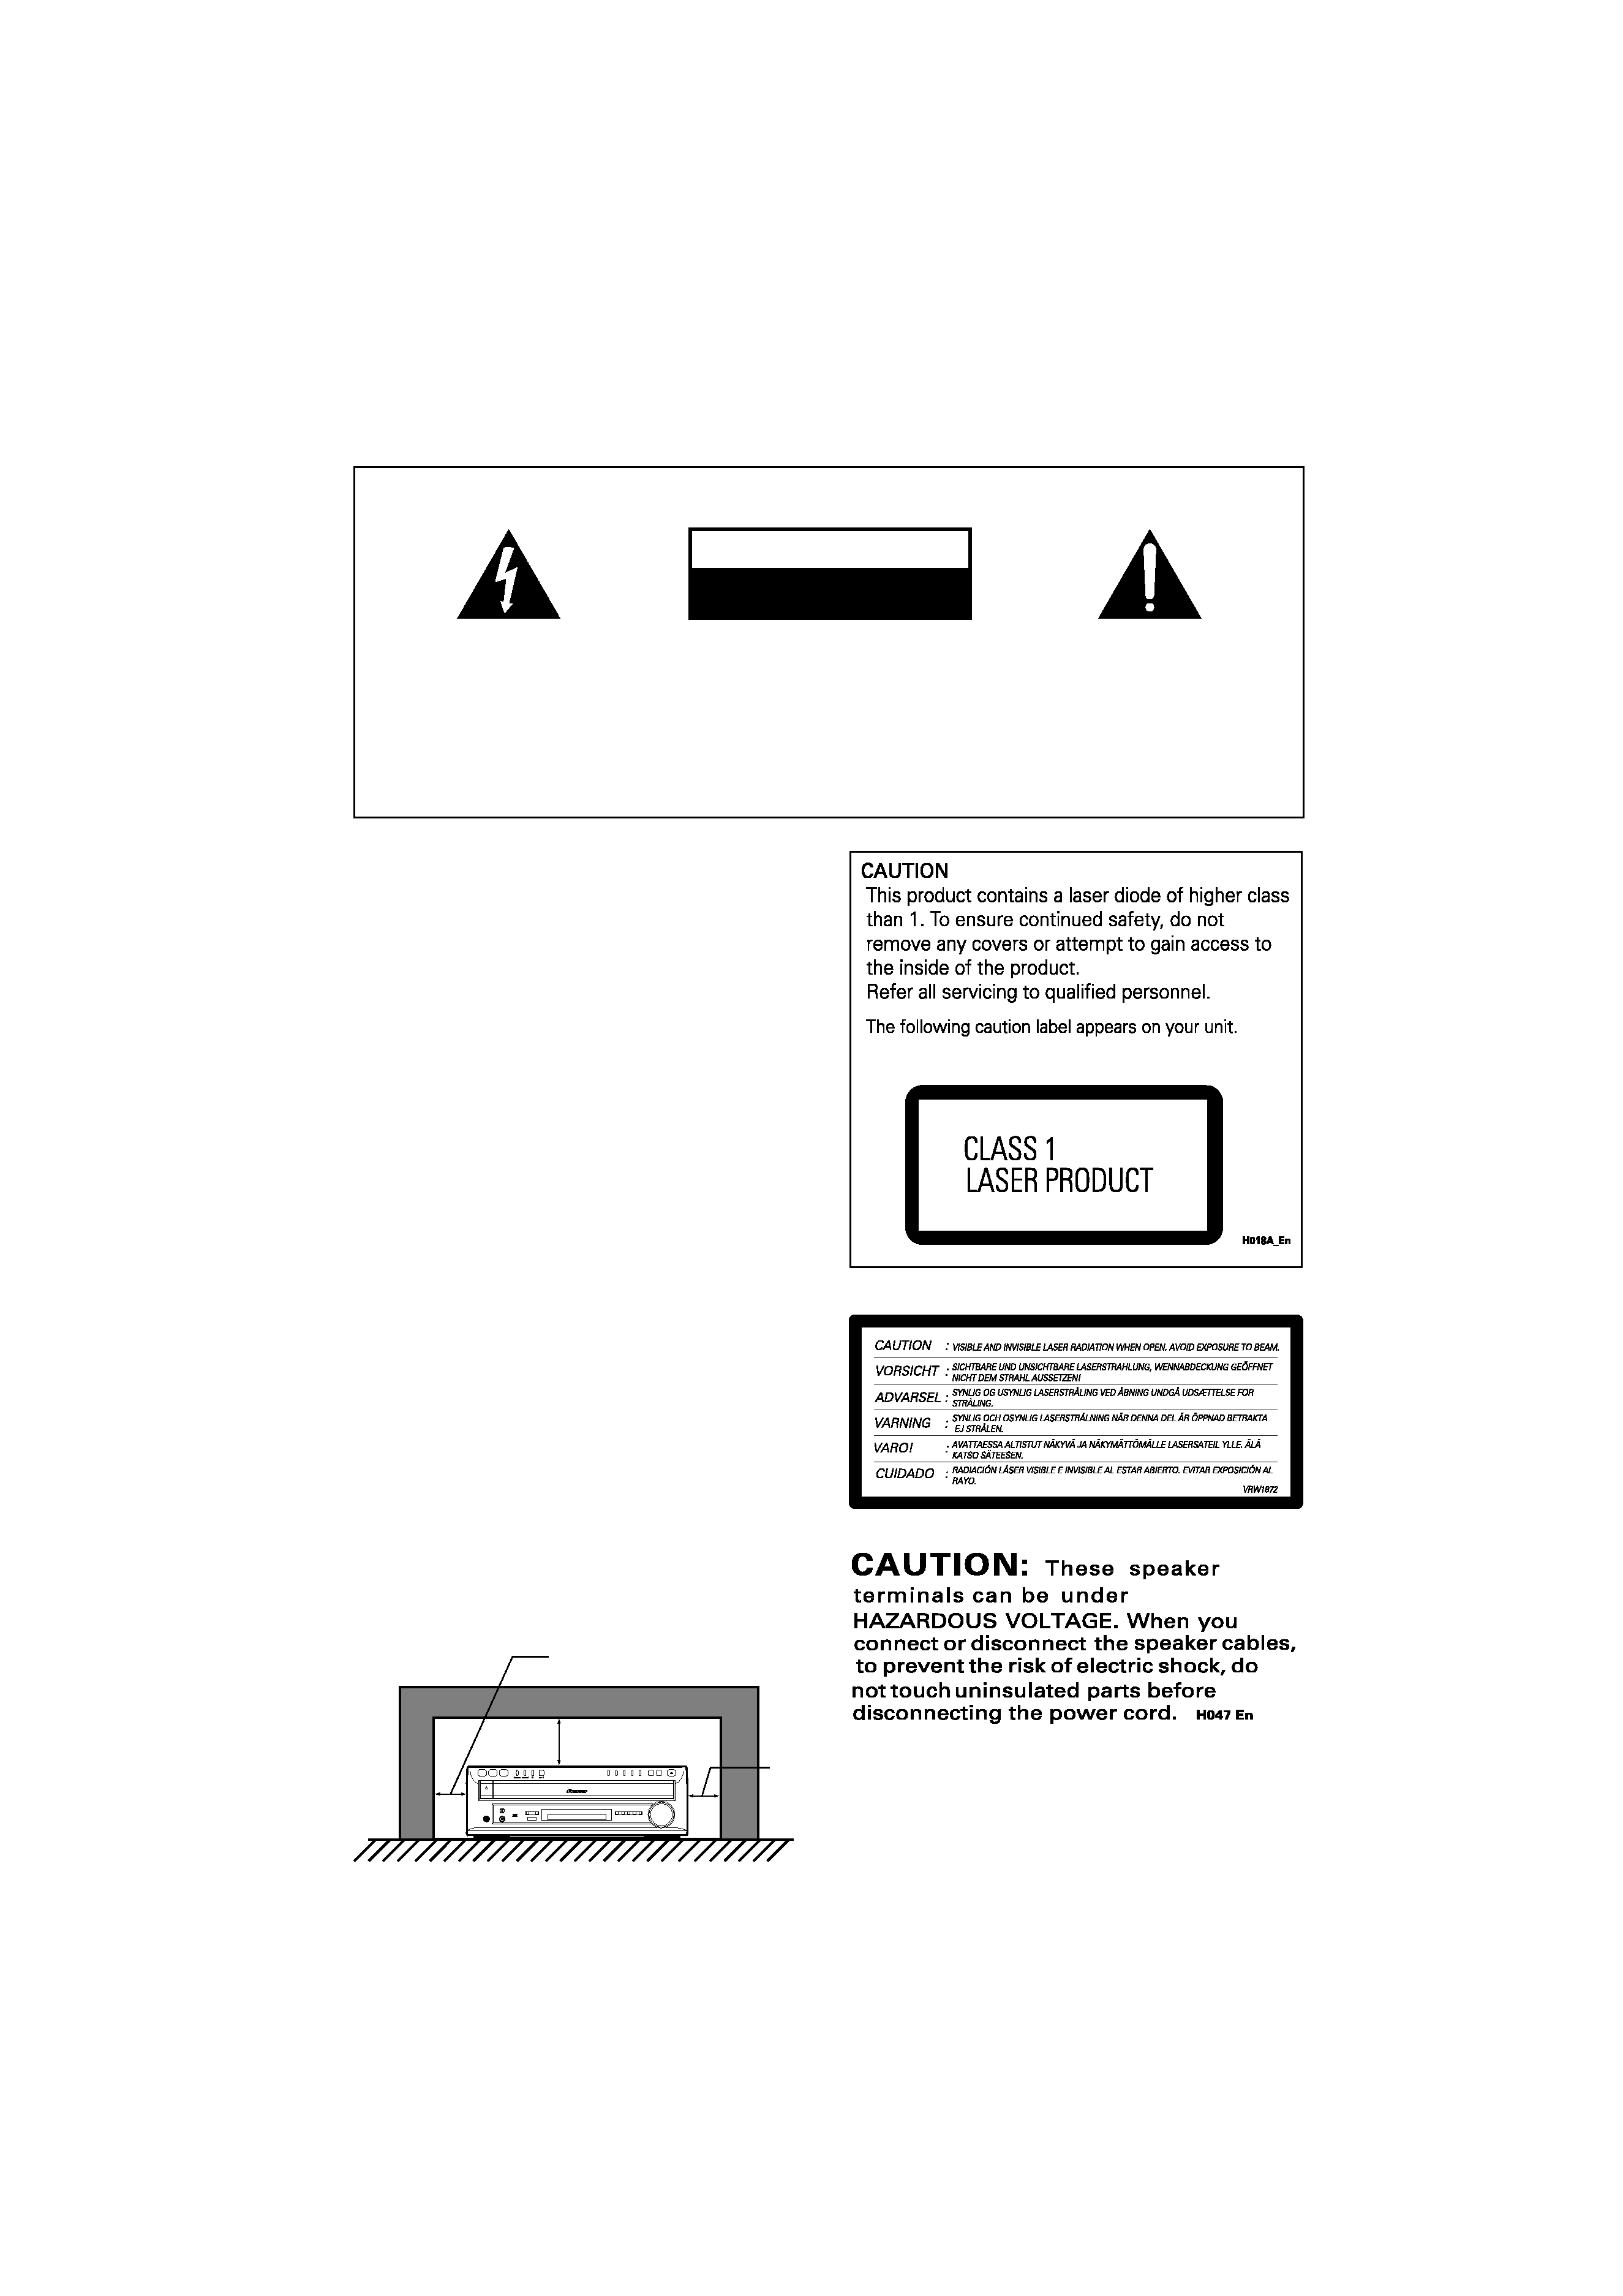
CAUTION
· Use of controls or adjustments or
performance of procedures other than those
specified herein may result in hazardous
radiation exposure.
· The use of optical instruments with this
product will increase eye hazard.
H013_En
LINE VOLTAGE SELECTOR SWITCH
Mains voltages in Saudi Arabia are 127 V and
220 V only. Never use this model with the 110 V
setting in Saudi Arabia.
The line voltage selector switch is located on
the rear panel. Check that it is set properly
before plugging the power cord into the outlet.
If the voltage is not properly set or if you move
to an area where the voltage requirements
differ, adjust the selector switch as follows:
· Be sure to disconnect the power cord from
its outlet before making this adjustment.
· Use a medium-sized (flat blade) screwdriver.
Insert the tip of the screwdriver into the
groove of the selector switch and turn it so
that the power voltage marking of your area
is selected.
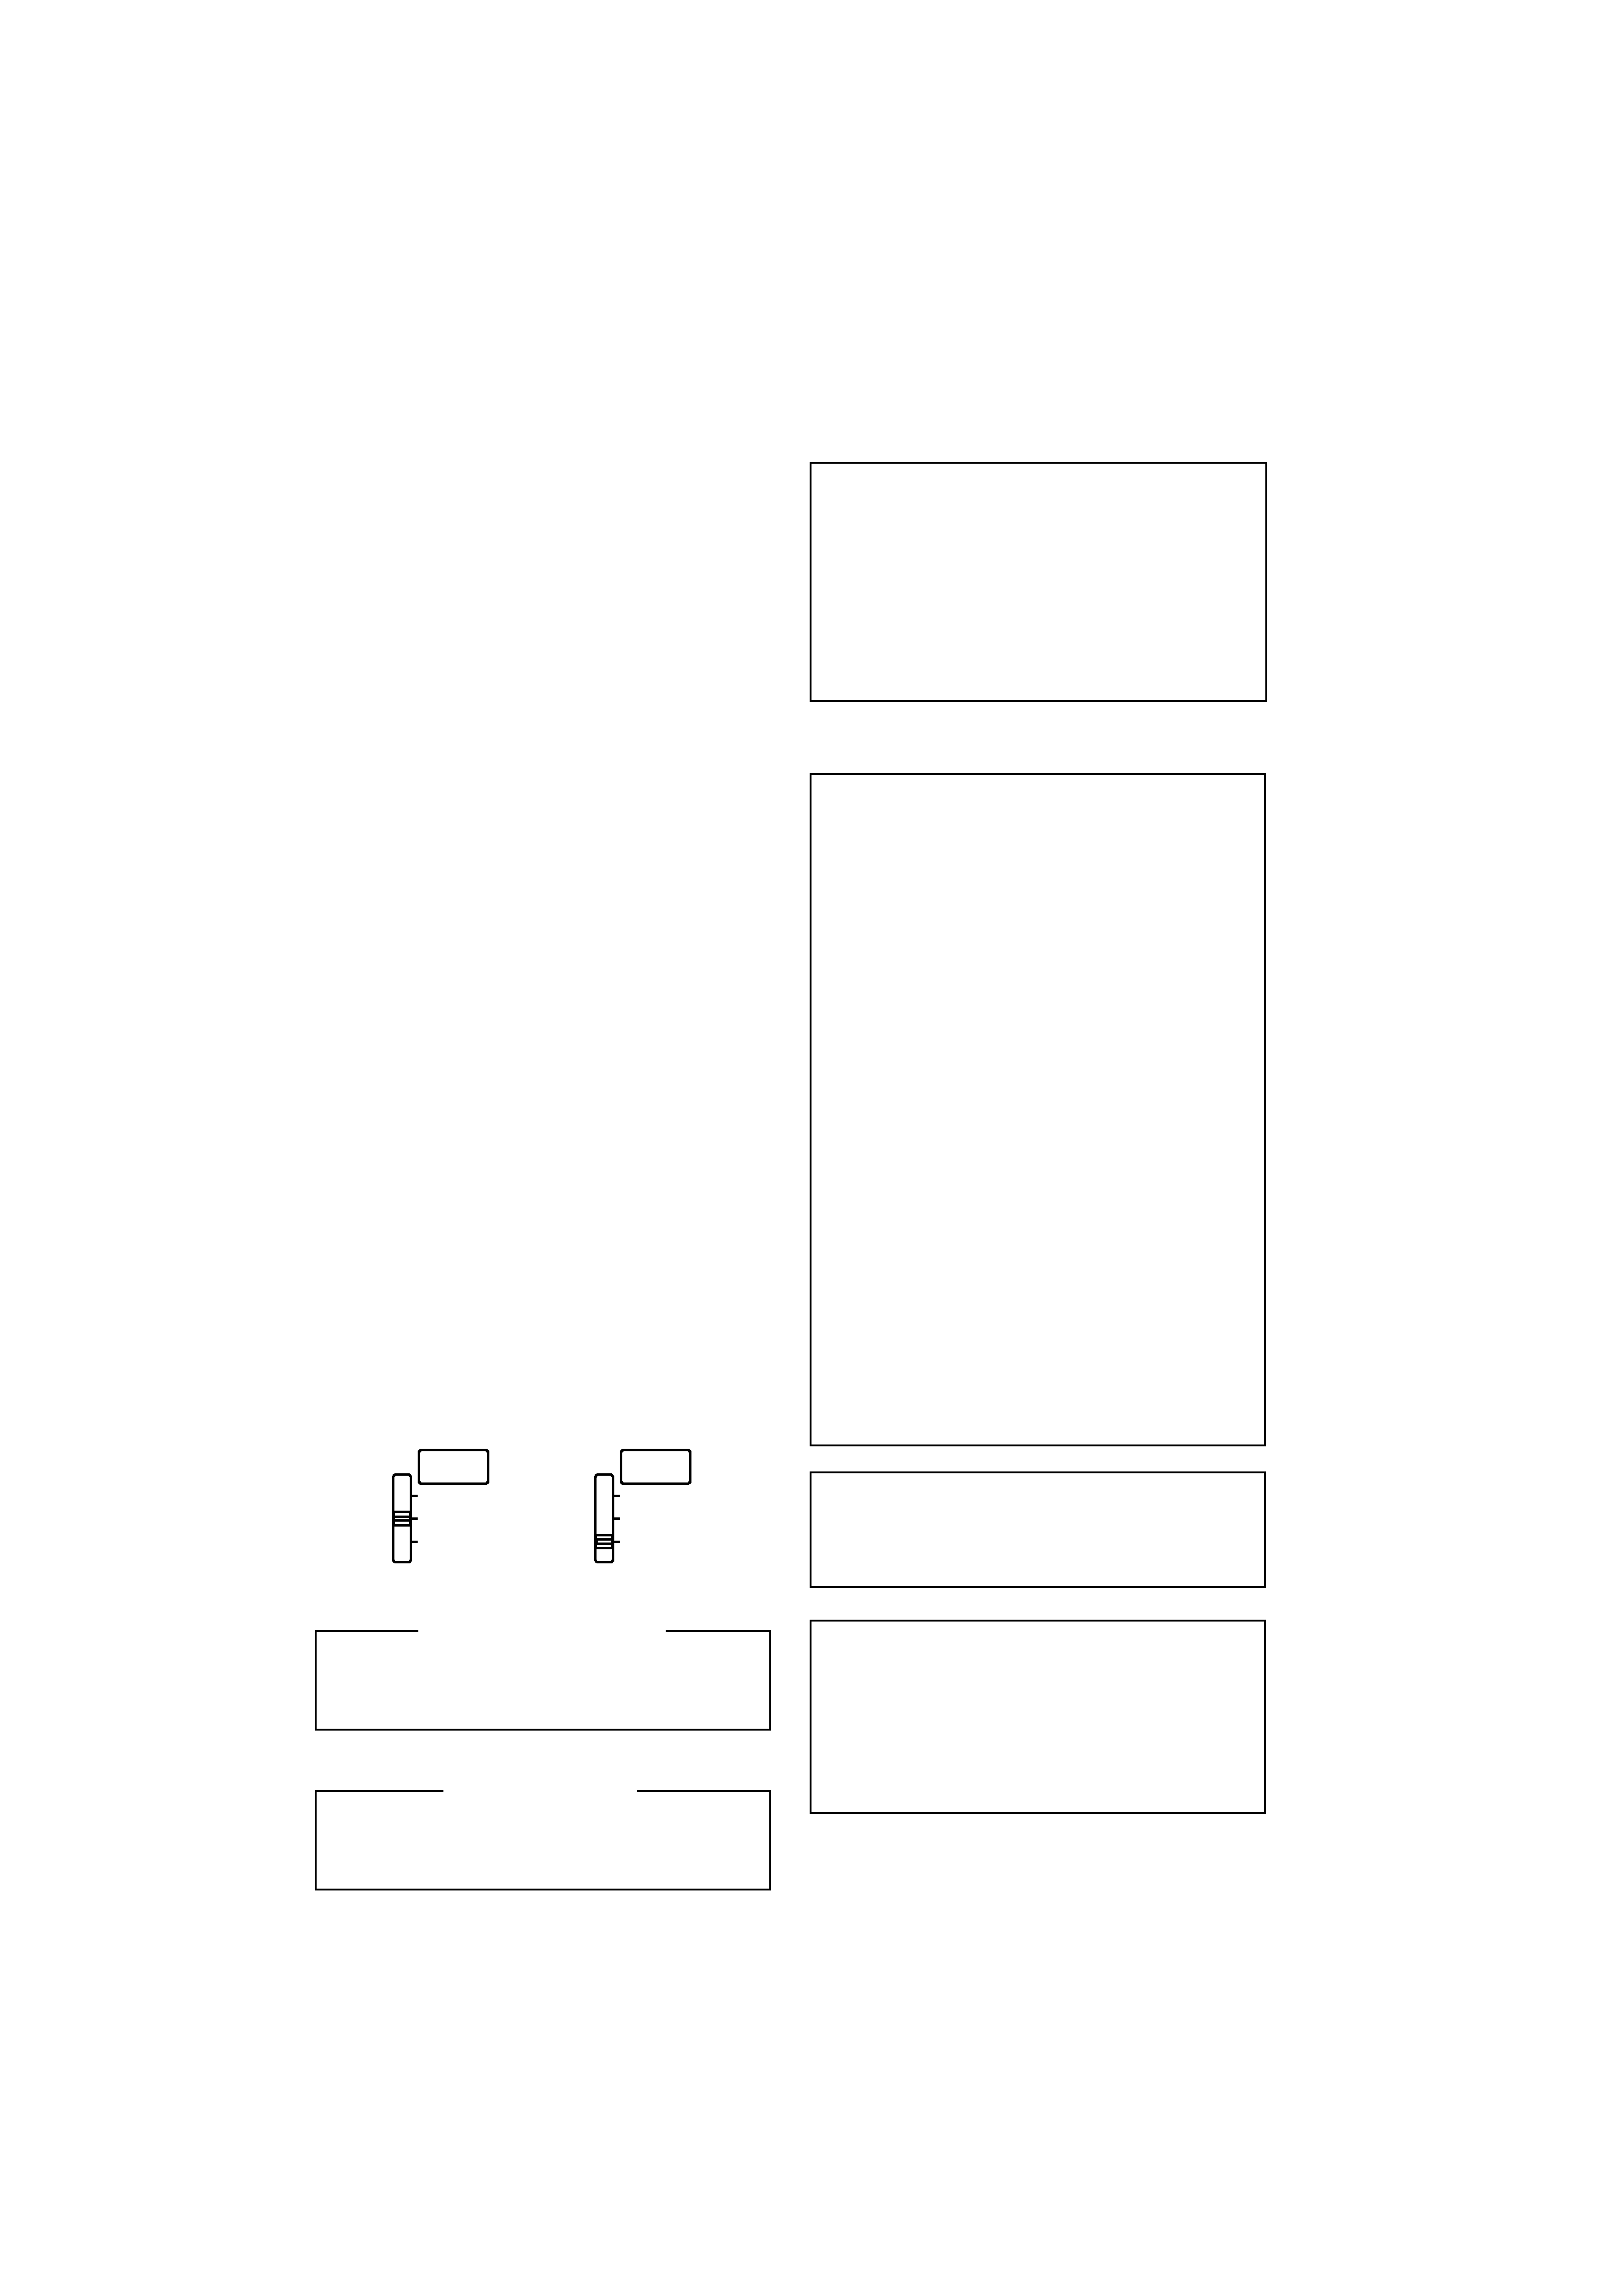
CAUTION 220 230 V
Power source voltage is factory adjusted 220 -
230 volts. If your area is different, change the
voltage selector's settings.
VOLTAGE
SELECTOR
220-
230V
240V
120-
127V
VOLTAGE
SELECTOR
220-
230V
240V
120-
127V
For Australian and
New Zealand models only
CAUTION 240 V
Power source voltage is factory adjusted 240
volts. If your area is different, change the
voltage selector's settings.
For Australian and New Zealand models:
The following does not apply to the Asian
and Oceanic models:
XV-HDT7.book 3