PIONEER VSX-D511-S/NTXJI Owner's Manual

Cover page of PIONEER VSX-D511-S/NTXJI Owner's Manual

Owner's Manual for PIONEER VSX-D511-S/NTXJI, downloadable as a PDF file.

We also have service manual to this model.

Manual details

  • Immediate download after payment.
  • Delivered as a PDF file.
  • The manual has 68 pages
  • File size: 3.2 MB
  • Available language versions: English, Spanish, Chinese Simplified
  • Different language versions may vary sligthly in file size and page count.

We guarantee that...

  • our manuals are complete,
  • our manuals are checked with antivirus,
  • We'll issue refund if the manual is damaged, incomplete or unreadable (our refund policy)

Sample pages

Thumbnail of page 1Thumbnail of page 2Thumbnail of page 3Thumbnail of page 4
Thumbnail of page 5Thumbnail of page 6Thumbnail of page 7Thumbnail of page 8
Thumbnail of page 9
background image
VSX-D511
VSX-D511-S
AUDIO/VIDEO
MULTI-CHANNEL RECEIVER
RECEPTOR AUDIO/VÍDEO
MULTICANAL
Operating Instructions
Manual de instrucciones
background image
VSX-D511
VSX-D511-S
AUDIO/VIDEO
MULTI-CHANNEL RECEIVER
RECEPTOR AUDIO/VÍDEO
MULTICANAL
Operating Instructions
Manual de instrucciones
background image
2
En/Sp/ChH
El triángulo equilátero con el símbolo de un relámpago
en su interior tiene por objeto alertar al usuario de la
presencia de "voltaje peligroso" sin aislar en el interior
del producto, el cual podría alcanzar la suficiente
magnitud como para constituir un riesgo de descarga
eléctrica para las personas.
PRECAUCIÓN:
PARA EVITAR EL RIESGO DE DESCARGA ELÉCTRICA,
NO RETIRAR LA TAPA (NI LA CUBIERTA POSTERIOR).
EL INTERIOR NO CONTIENE PIEZAS UTILIZABLES POR
EL USUARIO. TODA REPARACIÓN DEBERÁ SER
EFECTUADA POR PERSONAL TÉCNICO CUALIFICADO.
El triángulo equilátero con un signo de admiración en su
interior tiene por objeto alertar al usuario de la existencia
de importantes instrucciones de funcionamiento y
mantenimiento (asistencia) en el manual que acompaña
al aparato.
background image
3
En/Sp/ChH
English
Español
H017BChH
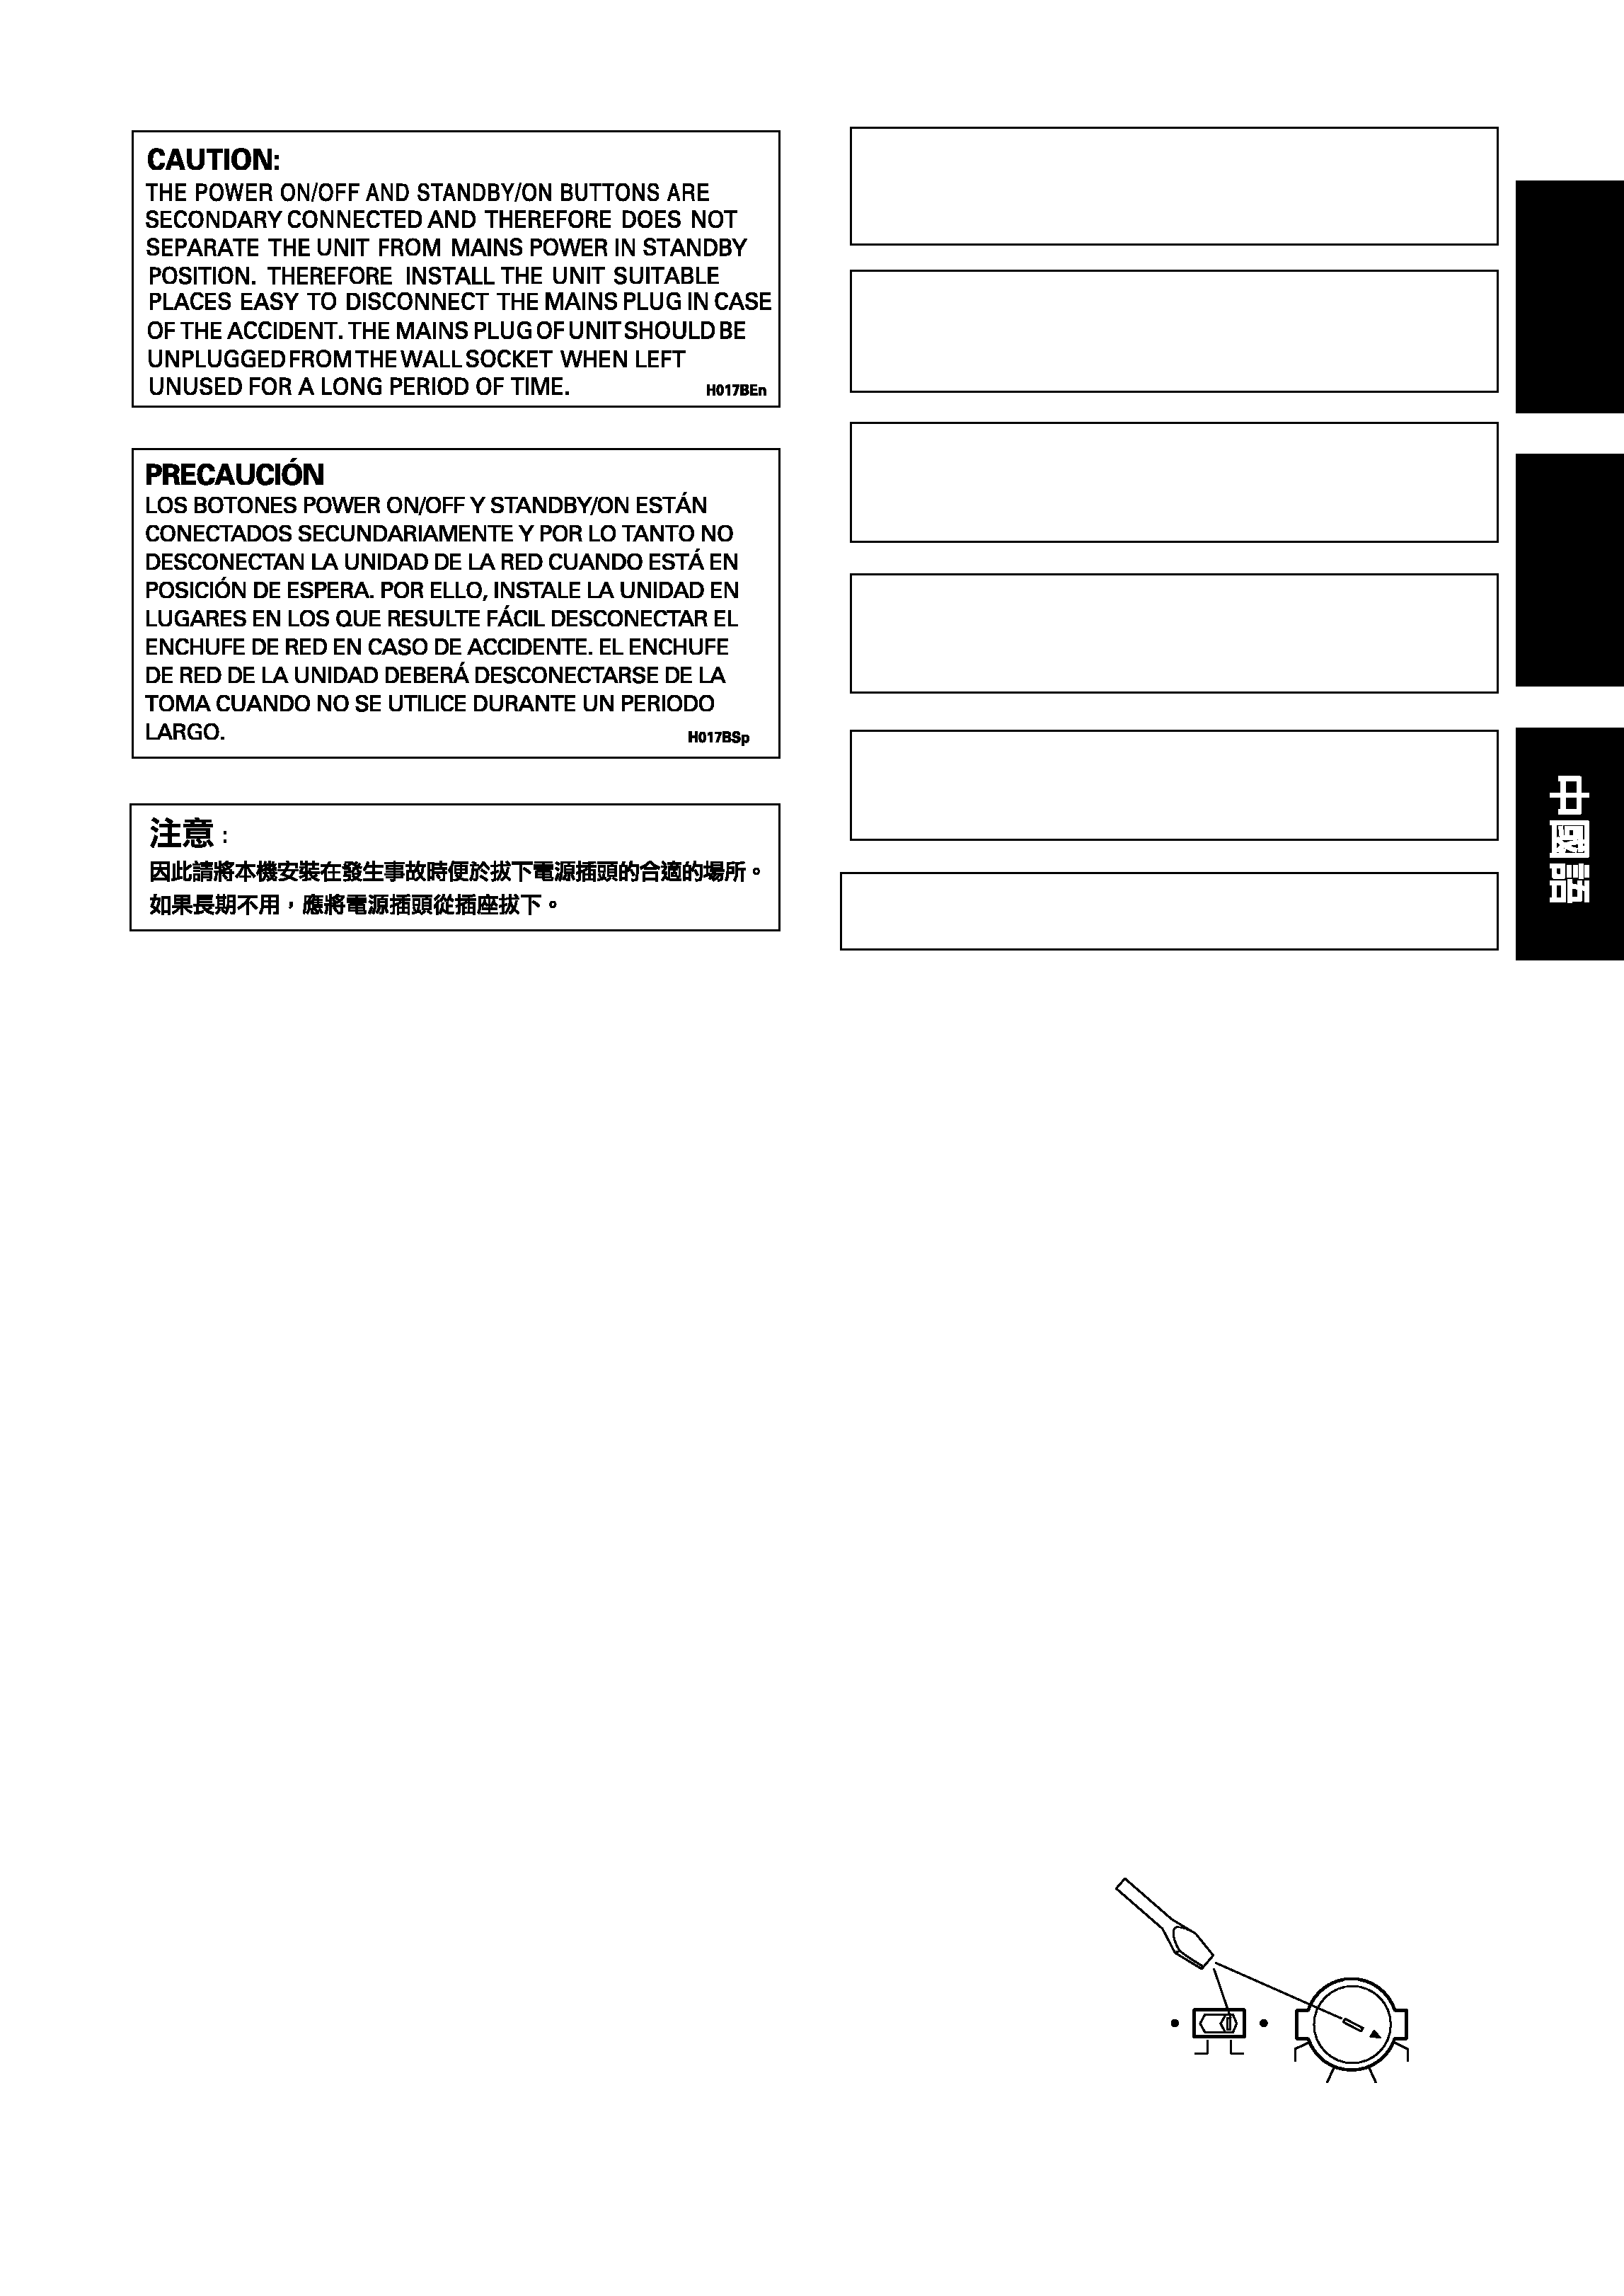
TWO VOLTAGE SELECTOR
SWITCHES (multi-
voltage model only)
Only multi-voltage model is
provided with these switches.
Mains voltages in Saudi Arabia are
127 V and 220 V only. Never use
this model with the 110 V setting
in Saudi Arabia.
The line voltage selector switches are
on the rear panel. Check that they are
set properly before plugging the
power cord into the household wall
socket. If the voltage is not properly
set or if you move to an area where
the voltage requirements differ, adjust
the selector switches as follows.
1. Use a medium-size screwdriver.
2. First, insert the screwdriver in the
groove of the voltage selector at the
right, and adjust so that the tip of the
groove points to the voltage value of
your area.
3. Next, insert the screwdriver in the
groove of the voltage selector at the
left and adjust until the voltage is the
same as at the right.
220V
240V
110V 120V-127V
TWO VOLTAGE SELECTORS
110V
120-127V
220V
240V
Medium-size screwdriver
"DTS" and "DTS Digital Surround" are trademarks of Digital
Theater Systems, Inc. Manufactured under license from
Digital Theater Systems, Inc.
Manufactured under license from Dolby Laboratories. "Dolby",
"Pro Logic" and the double-D symbol are trademarks of Dolby
Laboratories.
"DTS" y "DTS Digital Surround" son marcas comerciales
de Digital Theater Systems Inc. Fabricado bajo licencia
de Digital Theater Systems Inc.
Fabricado bajo licencia de Dolby Laboratories. "Dolby", "Pro
Logic" y el símbolo con una doble D son marcas comerciales
de Dolby Laboratories.
Destornillador de tamaño medio
DOS CONMUTADORES
SELECTORES DE TENSIÓN
(sólo el modelo
multivoltaje)
La tensión de la red en Arabia
Saudita es de 127 V y 220 V. Nunca
utilice este modelo en Arabia
Saudita con el ajuste para 110 V.
Los conmutadores selectores de la
tensión de línea se encuentran en el
panel trasero. Compruebe que éstos
se encuentren en las posiciones
correctas antes de conectar el cable de
alimentación a una toma de corriente.
Si la tensión está mal ajustada o usted
se desplaza a un área donde los
requerimientos de tensión son
diferentes, ajuste los conmutadores
selectores como se indica a
continuación.
1. Utilice un destornillador de
tamaño medio.
2. Inserte primero el destornillador
en la ranura del selector de tensión de
la derecha y ajústelo de forma que la
punta de la ranura indique hacia el
valor de la tensión utilizada en su
área.
3. A continuación, inserte el
destornillador en la ranura del
selector de tensión de la izquierda y
ajústelo hasta que la tensión sea la
misma que la del selector de tensión
de la derecha.
background image
01
4
En
1
Before you start
Checking what's in the box ............................................. 7
Installing the receiver ....................................................... 7
Making cable connections .............................................. 7
Loading the batteries ....................................................... 8
Operating range of remote control unit ......................... 8
2
5 minute guide
Introduction to home theater .......................................... 9
Listening to Surround Sound ........................................ 10
Using the Quick Setup ................................................... 14
3
Connecting up
Audio/Video cords .................................................... 16
S-video cables ........................................................... 16
Digital audio cords/Optical cables ......................... 16
Connecting digital components ................................... 17
Connecting audio components .................................... 18
Connecting DVD 5.1 channel components ................. 18
Connecting video components ..................................... 19
Connecting antennas ..................................................... 21
FM wire antenna ....................................................... 21
AM loop antenna ...................................................... 21
Antenna snap connectors ....................................... 21
Using external antennas ................................................ 22
To improve FM reception .......................................... 22
To improve AM reception ......................................... 22
Connecting the speakers ............................................... 23
Speaker terminals .................................................... 23
Hints on speaker placement ......................................... 25
POWER-CORD CAUTION ........................................ 27
Operating other Pioneer components .......................... 27
4
Controls and displays
Front Panel ...................................................................... 28
Display ............................................................................. 30
Remote Control .............................................................. 33
5
Playing sources
Introduction to Sound Modes ....................................... 37
Stereo/Direct ............................................................. 37
Standard modes ....................................................... 37
Advanced Surround modes ..................................... 38
Choosing the input signal ............................................. 39
Using Stereo/Direct ....................................................... 40
Listening to multi-channel playback ............................ 41
Using Advanced Surround ............................................ 42
Using Loudness and Midnight listening ...................... 42
Using the tone controls ................................................. 43
Playing other sources .................................................... 44
Selecting the multi-channel analog inputs .................. 45
6
Setting up your receiver
Choosing your receiver setup ........................................ 46
Speaker setting ......................................................... 48
Subwoofer setting .................................................... 49
Crossover frequency setting .................................... 49
LFE attenuator setting .............................................. 50
Front speaker distance setting ................................ 50
Center speaker distance setting ............................. 51
Surround speaker distance setting ......................... 51
Contents
Dynamic range control setting ................................ 52
Dual mono setting .................................................... 52
Coaxial digital input setting ..................................... 53
Optical digital input setting ..................................... 53
Setting the relative volume level
of each channel .............................................................. 54
7
Using the tuner
Listening to the radio ..................................................... 56
Improving FM stereo sound ..................................... 57
Saving station presets .................................................... 57
Naming station presets ................................................. 58
Listening to station presets ........................................... 59
Changing the frequency step ........................................ 60
8
Making a recording
Making an audio or a video recording .......................... 61
Monitoring your recording ....................................... 62
9
Additional information
Troubleshooting .............................................................. 63
Specifications ................................................................. 66
Cleaning the unit ............................................................ 66
background image
01
5
Sp
English
Español
1
Antes de empezar
Comprobación de los accesorios suministrados .......... 7
Instalación del receptor ................................................... 7
Conexión de los cables .................................................... 7
Cómo cargar las pilas ...................................................... 8
Campo operativo del mando a distancia ....................... 8
2
Guía en 5 minutos
Introducción al home theater .......................................... 9
Cómo escuchar sonido surround ................................. 10
Cómo utilizar la configuración rápida .......................... 14
3
Conexiones
Cables de audio/vídeo .............................................. 16
Cables S-Vídeo .......................................................... 16
Cables ópticos/cables de audio digital ................... 16
Conexión de componentes digitales ............................ 17
Conexión de componentes de audio ............................ 18
Conexión de componentes
DVD 5.1 canales ............................................................. 18
Conexión de componentes de vídeo ............................. 19
Conexión de antenas ..................................................... 21
Antena de cable FM ................................................. 21
Antena de cuadro AM .............................................. 21
Conectores instantáneos de antena ....................... 21
Cómo utilizar antenas externas .................................... 22
Para mejorar la recepción de FM ............................ 22
Para mejorar la recepción de AM ........................... 22
Conexión de los altavoces ............................................. 23
Terminales de los altavoces ..................................... 23
Consejos sobre la ubicación de los altavoces ............. 25
PRECAUCIÓN CON EL
CABLE DE ALIMENTACIÓN ..................................... 27
Funcionamiento de otros
componentes Pioneer .................................................... 27
4
Controles y pantallas
Panel frontal .................................................................... 28
Pantalla ........................................................................... 30
Mando a distancia .......................................................... 33
5
Reproducción de fuentes
Introducción a los modos de sonido ............................ 37
Estéreo/Directo ......................................................... 37
Modos Estándar ........................................................ 37
Modos Surround avanzados .................................... 38
Elección de la señal de entrada .................................... 39
Utilización del Estéreo/Directo ...................................... 40
Cómo escuchar una reproducción
multicanal ....................................................................... 41
Utilización de los modos Surround
avanzados ....................................................................... 42
Utilización del modo de audición
Loudness y Midnight ...................................................... 42
Utilización de los controles del tono ............................ 43
Reproducción de otras fuentes ..................................... 44
Selección de entradas analógicas
multicanal ....................................................................... 45
6
Configuración del receptor
Elección de la configuración de
su receptor ...................................................................... 46
Ajuste de los altavoces ............................................ 48
Ajuste del realzador de graves ................................ 49
Ajuste de la frecuencia de corte ............................. 49
Ajuste del atenuador LFE ......................................... 50
Ajuste de la distancia del
altavoz frontal ............................................................ 50
Ajuste de la distancia del
altavoz central ........................................................... 51
Ajuste de la distancia del
altavoz surround ....................................................... 51
Ajuste del control de la gama
dinámica .................................................................... 52
Ajuste del monoaural dual ...................................... 52
Ajustes de la entrada digital coaxial ....................... 53
Ajuste de la entrada digital óptica .......................... 53
Cómo ajustar el nivel de volumen
adecuado de cada canal ............................................... 54
7
Utilización del sintonizador
Cómo escuchar la radio ................................................ 56
Cómo mejorar el sonido estéreo FM ....................... 57
Cómo guardar presintonías .......................................... 57
Cómo nombrar presintonías ......................................... 58
Cómo escuchar presintonías ........................................ 59
Cómo cambiar el intervalo de la frecuencia ................ 60
8
Cómo realizar grabaciones
Cómo realizar una grabación de
audio o de vídeo .............................................................. 61
Supervisión de la grabación .................................... 62
9
Información adicional
Resolución de problemas .............................................. 64
Especificaciones ............................................................ 67
Limpieza de la unidad .................................................... 67
Índice

Reviews

There are no reviews of this manual yet.