PIONEER S-HTD1 Owner's Manual

Cover page of PIONEER S-HTD1 Owner's Manual

Owner's Manual for PIONEER S-HTD1, downloadable as a PDF file.

Manual details

  • Immediate download after payment.
  • Delivered as a PDF file.
  • The manual has 52 pages
  • File size: 3.21 MB
  • Available language versions: Portuguese, French, Swedish, English, Russian, Spanish, Dutch, German, Italian, Turkish, Finnish, Norwegian
  • Different language versions may vary sligthly in file size and page count.

We guarantee that...

  • our manuals are complete,
  • our manuals are checked with antivirus,
  • We'll issue refund if the manual is damaged, incomplete or unreadable (our refund policy)

Sample pages

Thumbnail of page 1Thumbnail of page 2Thumbnail of page 3Thumbnail of page 4
Thumbnail of page 5Thumbnail of page 6Thumbnail of page 7Thumbnail of page 8
Thumbnail of page 9
background image
XV-HTD1
S-HTD1
DVD RECEIVER
SPEAKER SYSTEM
Operating Instructions
background image
XV-HTD1
S-HTD1
DVD RECEIVER
SPEAKER SYSTEM
Operating Instructions
background image
2
En
CLASS 1
LASER PRODUCT
CAUTION :
VORSICHT :
ADVARSEL :
VARNING :
VARO!
:
VISIBLE AND INVISIBLE LASER RADIATION WHEN OPEN.
AVOID EXPOSURE TO BEAM.
SICHTBARE UND UNSICHTBARE LASERSTRAHLUNG, WENN
ABDECKUNG GEÖFFNET NICHT DEM STRAHL AUSSETZEN!
SYNLIG OG USYNLIG LASERSTRÅLING VED ÅBNING
UNDGÅ UDSÆTTELSE FOR STRÀLING.
SYNLIG OCH OSYNLIG LASERSTRÅLNING NÄR DENNA
DEL ÄR ÖPPNAD BETRAKTA EJ STRÅLEN.
AVATTAESSA ALTISTUT NÄKYVÄ JA NÄKYMÄTTÖMÄLLE
LASERSATEIL YLLE. ÄLÄ KATSO SÄTEESEN.
VRW1699
European and UK models only
VENTILATION: When installing this unit, make
sure to leave space around the unit for ventilation to
improve heat radiation (at least 10 cm at top, 10 cm at
rear, and 5 cm at each side).
WARNING: Slots and openings in the cabinet are
provided for ventilation and to ensure reliable operation
of the product and to protect it from overheating, to
prevent fire hazard, the openings should never be
blocked and covered with items, such as newspapers,
table-cloths, curtains, etc. Also do not put the
apparatus on the thick carpet, bed, sofa, or fabric
having a thick pile.
H040 En
Operating Environment H045 En
Operating environment temperature and humidity:
+5
°C ­ +35°C (+41°F ­ +95°F); less than 85%RH (cooling
vents not blocked)
Do not install in the following locations
·
Location exposed to direct sunlight or strong artificial
light
·
Location exposed to high humidity, or poorly ventilated
location
CAUTION
This product contains a laser diode of higher class than 1.
To ensure continued safety, do not remove any covers or
attempt to gain access to the inside of the product.
Refer all servicing to qualified personnel.
The following caution label appear on your player.
Location: On the rear panel of the player
On the bonnet of the player
Karaoke
STANDBY
STANDBY/ON
DVD/CD
TUNER/BAND
TV/AUX
CD MODE
¡.¢
4.1
3/8
7
CD
MODE
ADVANCED
THEATER
DSP
12
3
4
5
123
4
5
DISC SKIP EXCHANGE
PHONES
MIC
MIC
LEVEL
0 OPEN/CLOSE
DISC
VOLUME
VIDEO
1
DVD RECEIVER XV-HTD1
5 cm or more
10 cm or more
5 cm
or more
Rear: 10 cm or more
background image
3
En
240V
110-127V
220-230V
VOLTAGE
SELECTOR
This product incorporates copyright protection
technology that is protected by method claims of
certain U.S. patents and other intellectual property
rights owned by Macrovision Corporation and other
rights owners. Use of this copyright protection
technology must be authorized by Macrovision
Corporation, and is intended for home and other
limited viewing uses only unless otherwise
authorized by Macrovision Corporation. Reverse
engineering or disassembly is prohibited.
CONGRATULATIONS ON YOUR PURCHASE OF THIS FINE PIONEER PRODUCT.
Pioneer is on the leading edge of DVD research for consumer products and this unit incorporates the latest technological
developments. We are sure you will be fully satisfied with the DVD player. Thank you for your support.
Please read through these operating instructions so
you will know how to operate your model properly.
After you have finished reading the instructions, put
them away in a safe place for future reference.
· This player is not suitable for commercial use.
LINE VOLTAGE SELECTOR SWITCH
Only multi-voltage model is provided with this
switch.
Mains voltages in Saudi Arabia are 127 V and
220 V only. Never use this model with the 110 V
setting in Saudi Arabia. H019 En
The line voltage selector switch is located on the rear panel.
Check that it is set properly before plugging the power cord into
the outlet. If the voltage is not properly set or if you move to an
area where the voltage requirements differ, adjust the selector
switch as follows:
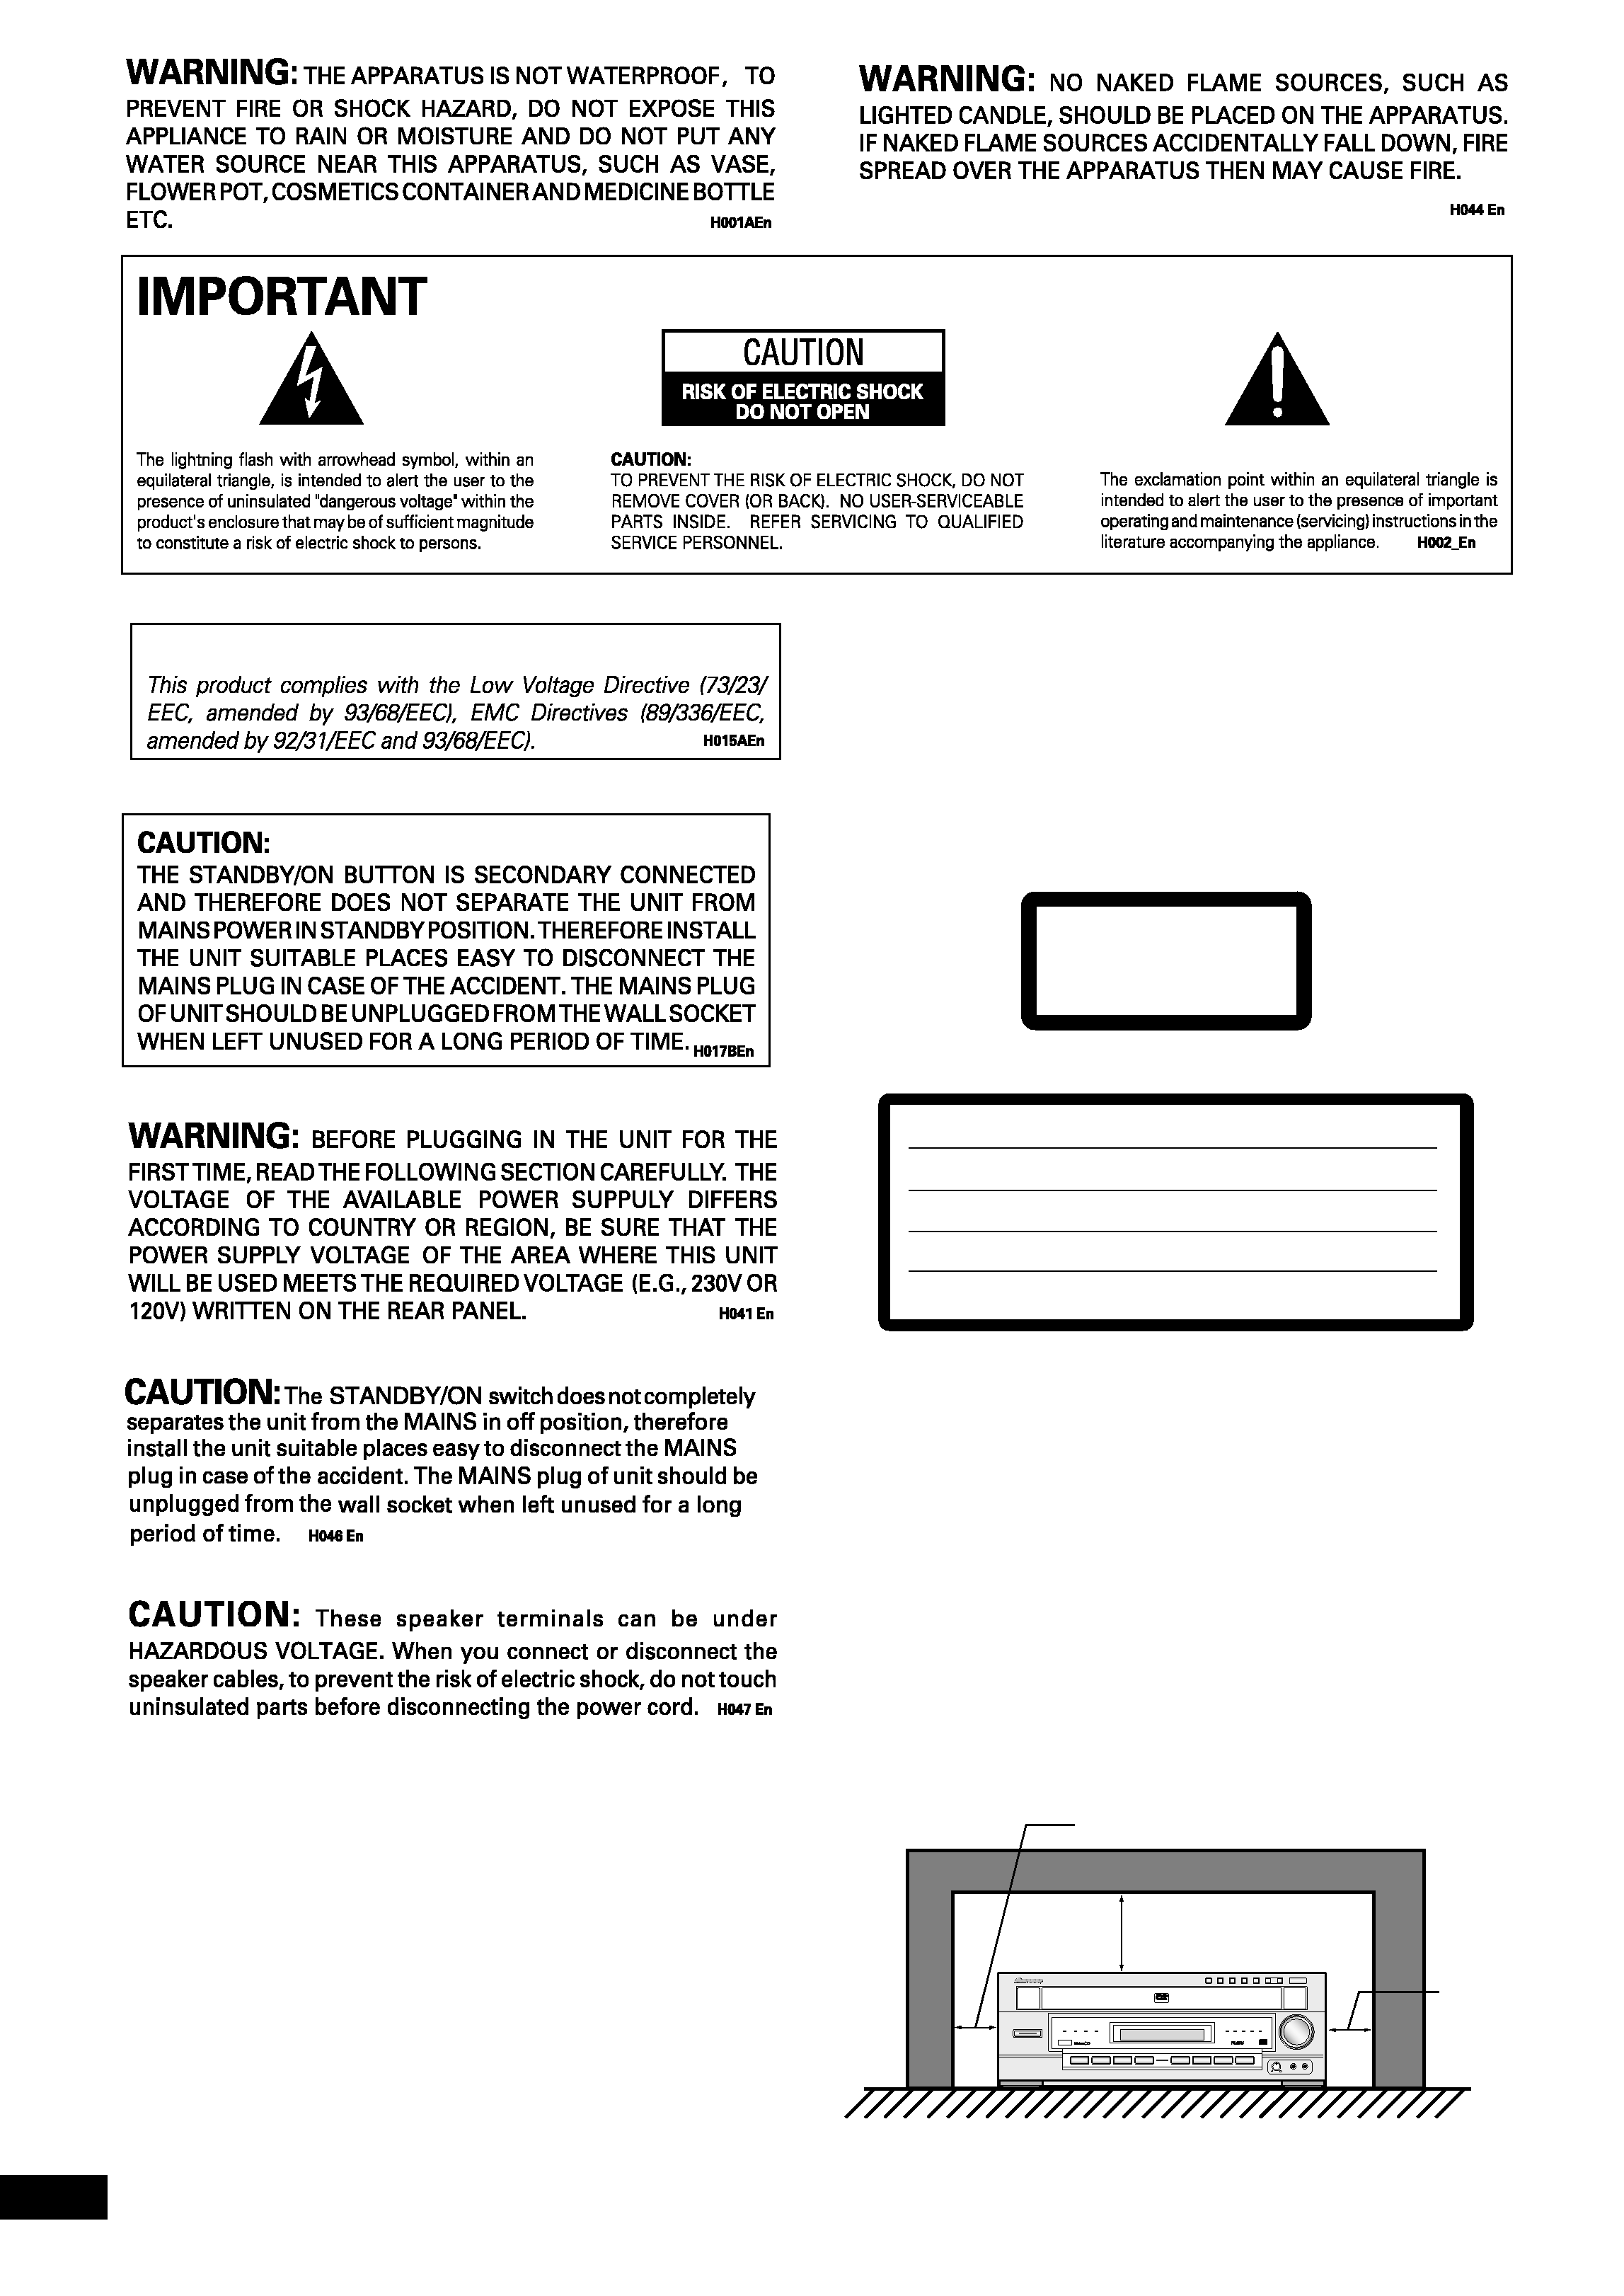
¶ Be sure to disconnect the power cord from its outlet before
making this adjustment.
¶ Use a medium-sized (flat blade) screwdriver. Insert the tip
of the screwdriver into the groove of the selector switch and
turn it so that the power voltage marking of your area points
to the arrow.
CAUTION 220 ­ 230 V
Power source voltage is factory adjusted 220 - 230 volts.
If your area is different, change voltage selectors set-
tings.
H038 En
Thank you for buying this Pioneer product.
Please read through these operating instructions so
you will know how to operate your model properly.
After you have finished reading the instructions, put
them away in a safe place for future reference.
In some countries or regions, the shape of the power
plug and power outlet may sometimes differ from
that shown in the explanatory drawings.
However,
the method of connecting and operating the unit is
the same.
background image
4
En
Before You Start
1
Features
·
Superlative audio performance with
Dolby Digital* and DTS** software
The XV­HTD1 delivers breathtaking sound quality with
Dolby Digital and DTS discs.
·
Graphical Setup Navigator
Setting up your home theater is easy using the
graphical Setup Navigator. Answer the questions that
appear on-screen and the Setup Navigator makes the
necessary video and language settings for you.
· This product incorporates copyright protection
technology that is protected by method claims of
certain U. S. patents and other intellectual property
rights owned by Macrovision Corporation and
other rights owners. Use of this copyright protec-
tion technology must be authorized by Macrovision
Corporation, and is intended for home and other
limited viewing uses only unless otherwise
authorized by Macrovision Corporation. Reverse
engineering or disassembly is prohibited.
* Manufactured under license from Dolby
Laboratories. "Dolby" and the double-D symbol
are trademarks of Dolby Laboratories. Confidential
unpublished works. © 1992-1997 Dolby Laborato-
ries. All rights reserved.
** "DTS" and "DTS Digital Surround" are
registered trademarks of Digital Theater Systems,
Inc.
What's in the box
Confirm that the following accessories are in the box
when you open it.
· Remote control
· AA/R6P dry cell batteries x2
· AM loop antenna
· FM antenna
· Video cord (yellow)
· Power cord x1 (x2 (Central and South America
models only))
· These operating instructions
· Warranty card (European and Australian models
only)
· Speaker cords 5m x2 (for front L-R speakers)
· Speaker cord 2m x1 (for center speaker)
· Speaker cords 6m x2 (for rear L-R speakers)
· Speaker cord 3m x1 (for subwoofer)
· Power plug adapter (Central and South America
models only)
Using this manual
This manual is for the XV­HTD1 DVD Receiver. It is
divided into several sections: system basics and
connecting up (chapters 1 and 2); an explanation of
the controls and displays (chapter 3); setting up for
surround sound and other preferences (chapter 4);
getting started (chapter 5); advanced features (chapters
6­10); system settings and preferences (chapter 11).
background image
5
En
1
Before You Start
1 Before You Start
Features
4
What's in the box
4
Using this manual
4
Putting the batteries in
the remote control
6
Using the remote control
6
Hints on installation
6
Avoiding problems with
condensation
7
Moving the system
7
Discs compatible with this system
7
DVD Video regions
7
2 Connecting Up
Connecting the speakers
8
Placing the speakers
9
Wall mounting the rear speaker
system
9
Connecting to your TV
10
Setting the TV System
10
Connecting the supplied antennas 11
AM loop antenna
11
FM wire antenna
11
Connecting external antennas
12
External AM antenna
12
External FM antenna
12
Connecting other components
13
Connecting the power
13
3 Controls & Displays
Remote control
14
Front panel
15
Display
15
4 Setting Up
Switching on and setting the clock 16
Setting up for surround sound
16
Setting the speaker distances
16
Balancing the surround sound
17
Using the Setup Navigator
18
5 Getting Started
Playing DVDs, CDs and Video CDs 19
Basic playback controls
19
Navigating DVD disc menus
20
Navigating Video CD PBC menus 20
Exchanging discs
21
Listening to the radio
21
Improving FM stereo sound
22
Saving station presets
22
Listening to station presets
22
Listening to other components
22
6 Using Surround Sound
Adjusting the bass and treble
23
Using P.Bass
23
Using sound modes
23
Listening to surround-sound
sources
23
Listening to other sources with
room effects
24
Adjusting the effect level
24
Listening at low volume
25
Direct recording
25
7 Playing Discs
Introduction
26
Finding what you want on a disc
26
Switching camera angles
26
Switching subtitles
26
Switching audio language
26
Switching audio channel
26
Making a program list
27
More programming options
28
Using random play
28
Using repeat play
28
Looping a section of a disc
29
Playing CDs only (CD Mode)
29
Bookmarking a place in a disc
29
Memorizing disc settings
30
Displaying disc information
30
Singing karaoke (Except European
model)
31
8 Using RDS
(European
model only)
Using RDS
32
RDS Program types
32
Displaying RDS information
33
Searching for a program type
33
9 Using the Timer
Using the wake up timer
34
Activating/deactivating the
wake up timer
34
Checking the timer settings
35
Using the sleep timer
35
10 Advanced Sound Setup
Advanced sound settings
36
LFE attenuator
36
Dynamic Range Control
36
Dual-mono setting
37
Adjusting channel volume levels 37
11 DVD Setup Menu
Using the DVD Setup menu
38
Video settings
38
TV Screen
38
Picture Quality
38
S-Video Out
39
Still Picture
39
On Screen Display
39
Angle Indicator
39
Language settings
39
OSD language
39
Audio Language
40
Subtitle Language
40
Auto Language
40
DVD Language
41
Subtitle Display
41
Subtitle Off
41
General settings
41
Setup Menu Mode
41
Parental Lock
42
Changing the parental lock level 42
Changing your password
42
Screen Saver
43
Background Color
43
12 Additional Information
Switching the AM frequency
interval
44
Setting the display brightness
44
Switching the time format
44
Resetting the system
44
Taking care of your system
45
Disc lens cleaner
45
Taking care of your discs
45
Storing discs
45
Discs to avoid
45
Glossary
46
Language code list
47
Troubleshooting
48
Screen sizes and disc formats
50
Specifications
51
Switching the demo mode on/off
52
Contents

Reviews

There are no reviews of this manual yet.