PIONEER S-HS02/DLTXJI Owner's Manual

Cover page of PIONEER S-HS02/DLTXJI Owner's Manual

Owner's Manual for PIONEER S-HS02/DLTXJI, downloadable as a PDF file.

We also have service manual to this model.

Manual details

  • Immediate download after payment.
  • Delivered as a PDF file.
  • The manual has 32 pages
  • File size: 2.95 MB
  • Available language versions: English, Spanish, Chinese Traditional
  • Different language versions may vary sligthly in file size and page count.

We guarantee that...

  • our manuals are complete,
  • our manuals are checked with antivirus,
  • We'll issue refund if the manual is damaged, incomplete or unreadable (our refund policy)

Sample pages

Thumbnail of page 1Thumbnail of page 2Thumbnail of page 3Thumbnail of page 4
Thumbnail of page 5Thumbnail of page 6Thumbnail of page 7Thumbnail of page 8
Thumbnail of page 9
background image
background image
background image
CAUTION: The POWER switch does not
completely separates the unit from the MAINS
in off position. Therefore install the unit suitable
places easy to disconnect the MAINS plug in
case of the accident. The MAINS plug of unit
should be unplugged from the wall socket when
left unused for a long period of time.
H017B_En
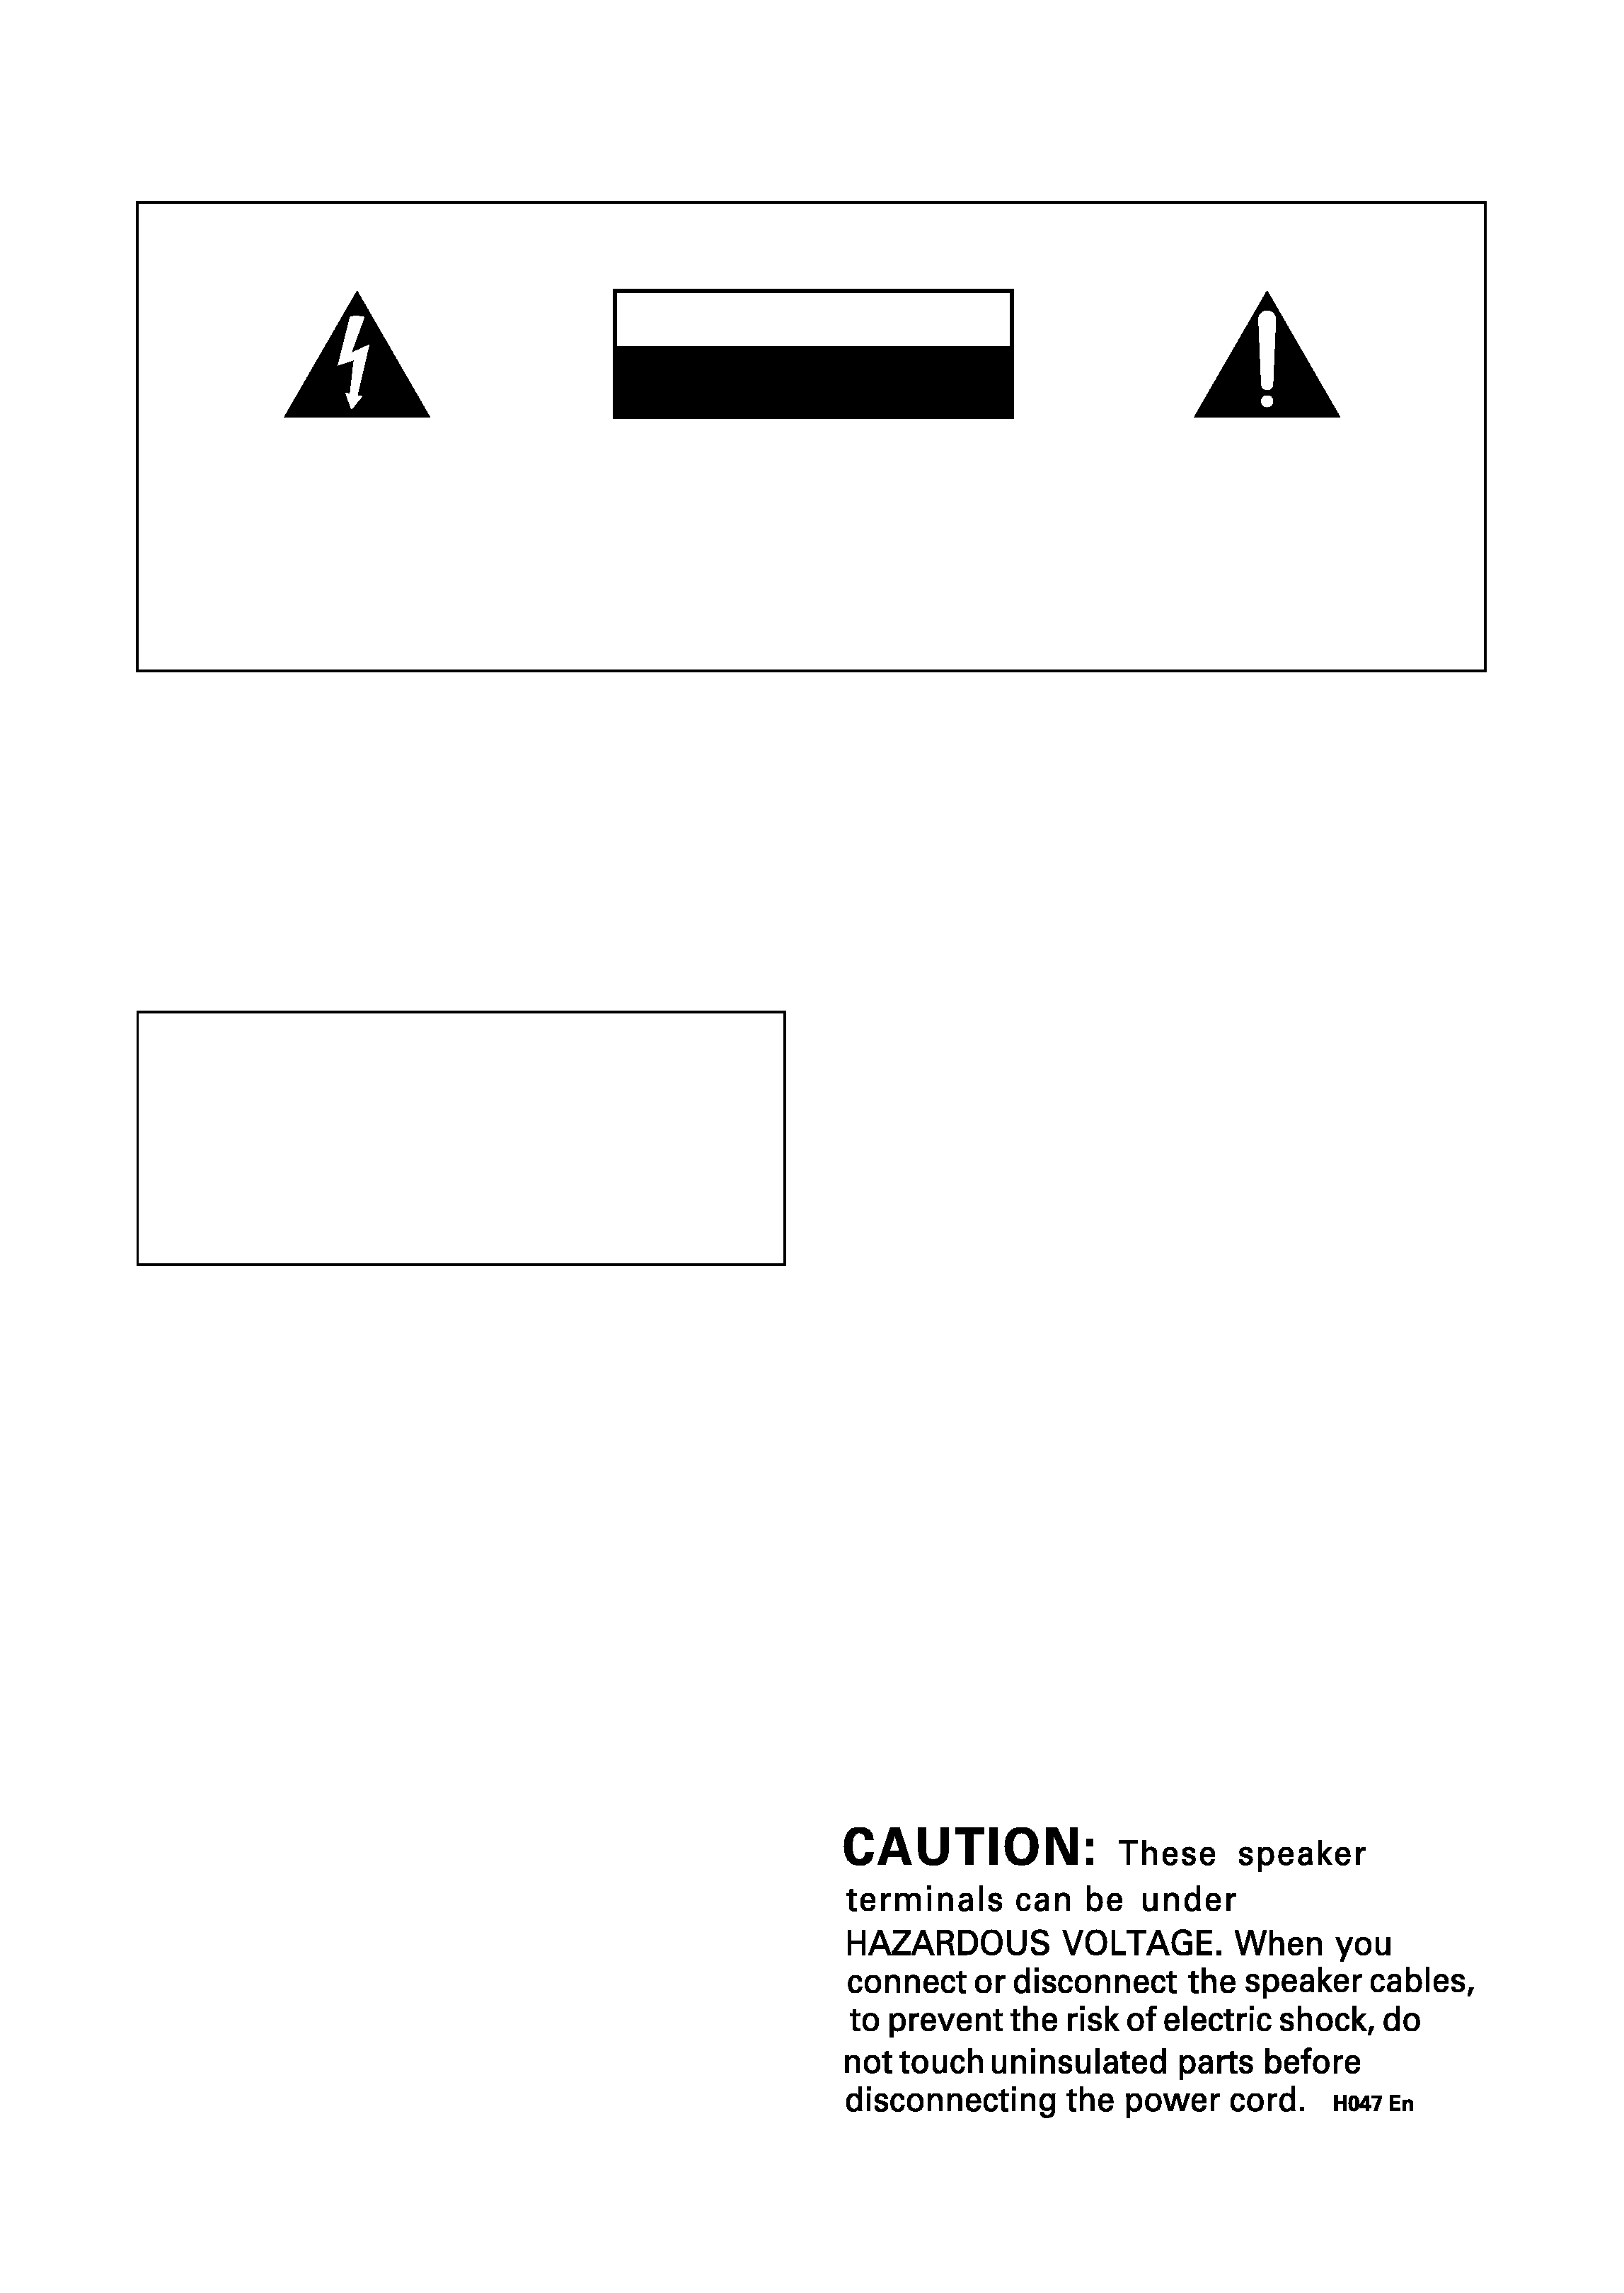
The lightning flash with arrowhead
symbol, within an equilateral
triangle, is intended to alert the
user to the presence of uninsulated
"dangerous voltage" within the
product's enclosure that may be of
sufficient magnitude to constitute
a risk of electric shock to persons.
IMPORTANT
CAUTION:
TO PREVENT THE RISK OF ELECTRIC
SHOCK, DO NOT REMOVE COVER
(OR BACK). NO USER-SERVICEABLE
PARTS INSIDE. REFER SERVICING
TO
QUALIFIED
SERVICE
PERSONNEL.
The exclamation point within an
equilateral triangle is intended to
alert the user to the presence of
important
operating
and
maintenance
(servicing)
instructions in the literature
accompanying the appliance.
H002_En
RISK OF ELECTRIC SHOCK
DO NOT OPEN
CAUTION
WARNING: THIS APPARATUS IS NOT
WATERPROOF. TO PREVENT FIRE OR SHOCK
HAZARD, DO NOT EXPOSE THIS APPARATUS TO
RAIN OR MOISTURE AND DO NOT PUT ANY
WATER SOURCE NEAR THIS APPARATUS, SUCH
AS VASES, FLOWER POTS, COSMETICS
CONTAINERS, MEDICINE BOTTLES, ETC.
Operating Environment H045_En
Operating environment temperature and
humidity:
+5ºC ­ +35ºC (+41ºF ­ +95ºF); less than 85%RH
(cooling vents not blocked)
Do not install in the following locations
÷ Location exposed to direct sunlight or strong
÷ artificial light
÷ Location exposed to high humidity, or poorly
ventilated location
VENTILATION:
When installing this unit, make sure to
leave space around the unit for ventilation
to improve heat radiation (at least 25 cm at
top, 10 cm at rear, and 10 cm at each side).
WARNING: Slot and openings in the
cabinet are provided for ventilation and to
ensure reliable operation of the product
and to protect it from overheating, to
prevent fire hazard, the openings should
never be blocked and covered with items,
such as newspapers, table-cloths, curtains,
etc. Also do not put the apparatus on the
thick carpet, bed, sofa, or fabric having a
thick pile.
H040 En
Location: underside of the unit
WARNING: NO NAKED FLAME SOURCES,
SUCH AS LIGHTED CANDLE, SHOULD BE
PLACED ON THE APPARATUS. IF NAKED FLAME
SOURCES ACCIDENTALLY FALL DOWN, FIRE
SPREAD OVER THE APPARATUS THEN MAY
CAUSE FIRE.
H044_En
Power cable caution
Handle the power cable by the plug part. Do
not pull out the plug by tugging the cable, and
never touch the power cable when your hands
are wet, as this could cause a short circuit or
electric shock. Do not place the system unit, a
piece of furniture, or other object on the power
cable or pinch the cable in any other way.
Never make a knot in the cable or tie it with
other cables. The power cable should be
routed so that they are not likely to be stepped
on. A damaged power cable can cause a fire or
give you an electric shock. Check the power
cable once in a while. If you find it damaged,
ask your nearest Pioneer authorized service
center or your dealer for a replacement.
background image
3
En
WARNING: BEFORE PLUGGING IN THE UNIT
FOR THE FIRST TIME, READ THE FOLLOWING
SECTION CAREFULLY. THE VOLTAGE OF THE
AVAILABLE POWER SUPPLY DIFFERS
ACCORDING TO COUNTRY OR REGION. BE SURE
THAT THE POWER SUPPLY VOLTAGE OF THE
AREA WHERE THIS UNIT WILL BE USED MEETS
THE REQUIRED VOLTAGE (E.G., 230V OR 120V)
WRITTEN ON THE REAR PANEL.
H041A_En
LINE VOLTAGE SELECTOR SWITCH
The line voltage selector switch is located on the
rear panel. Check that it is set properly before
plugging the power cord into the outlet. If the
voltage is not properly set or if you move to an
area where the voltage requirements differ, adjust
the selector switch as follows:
¶ Be sure to disconnect the power cord from its
outlet before making this adjustment.
¶ Use a medium-sized (flat blade) screwdriver.
Insert the tip of the screwdriver into the groove
of the selector switch and turn it so that the
power voltage marking of your area points to
the arrow.
240V
220-
230V
110-
127V
CAUTION 220 ­ 230 V
Power source voltage is factory adjusted
220 - 230 volts. If your area is different,
change voltage selectors settings.
H038 En
CONTENTS
FEATURES ................................. 4
ACCESSORY ITEMS .................. 4
BEFORE USE.............................. 4
CABINET MAINTENANCE ......... 4
INSTALLATION .......................... 5
Speaker Installation ................... 5
Installation Precautions.............. 6
IN COMBINATION WITH
SPEAKERS ................................. 6
CONNECTIONS .......................... 7
LINE LEVEL CONNECTION ........ 8
PANEL FACILITIES..................... 8
OPERATION ............................... 9
TROUBLESHOOTING .............. 10
SPECIFICATIONS ..................... 10
English
background image
4
En
FEATURES
· 100 W power that serves video software playback such
as Dolby* Digital with a wide dynamic range.
· An input that connects to the SUBWOOFER PRE-OUT
terminal
Manufactured under license from Dolby Laboratories. "Dolby"
and the double-D symbol are trademarks of Dolby
Laboratories. Confidential unpublished works. © 1992-1997
Dolby Laboratories. All rights reserved.
ACCESSORY ITEMS
Speaker cords x 5 (5mx3, 10mx2)
RCA plug cord x 1
Non-slip pads (5x3) (for Satellite)
(Stick the non-slip pads to the underside of the satellite and
center speakers as indicated by the arrows below.)
Non-slip pads (1x4) (for Subwoofer)
(Stick one non-slip pad in each corner of the underside of
the subwoofer.)
Power cord
BEFORE USE
· Thank you for buying this Pioneer product.
· Please read this operating guide through before using
your speaker system so you will know how to optimize
performance. After you have finished reading the
operating guide, store it in a safe place for future
reference.
· The nominal impedance of this speaker system is 6
ohms. Connect the speaker system to a stereo amplifier
with a load impedance ranging from 4 to 16 ohms (a
model with "4 ­ 16 " displayed on the speaker output
terminals).
· In order to prevent damage to the speaker system
resulting from input overload, please observe the
following precautions:
· Do not supply power to the speaker system in excess of
the maximum permissible input.
· When connecting or disconnecting pin-plugs, be sure
amplifier power is OFF.
· When using a graphic equalizer to emphasize loud
sounds over a high-frequency range, do not use
excessive amplifier volume.
· Do not try to force a low-powered amplifier to produce
loud volumes of sound (the amplifier's harmonic
distortion will be increased, and you may damage the
speaker).
· Do not touch the speaker cone's reverberating surfaces
as they may be damaged by external force.
CABINET MAINTENANCE
· Use a polishing cloth or dry cloth to wipe off dust and
dirt.
· When the cabinet is very dirty, clean with a soft cloth
dipped in some neutral cleanser diluted five or six times
with water, and then wipe again with a dry cloth. Do not
use furniture wax or cleaners.
· Never use thinners, benzine, insecticide sprays and
other chemicals on or near the cabinets, since these will
corrode the surfaces.
Center speaker
Front/Surround
speaker
These Satellite speakers and Subwoofer are
magnetically shielded.
However,depending on the installation location,color
distortion may occur if the speaker system is installed
extremely close to the screen off a television set.
If this happenscase,turn of the power switch of the
television set OFF,and turn it on after 15 to 30
minutes.If the problem persists,place the speaker
system away from the television set.
background image
5
En
English
INSTALLATION
Speaker Installation
The subwoofer plays back the bass in monaural, making
use of the fact that the human ear loses the sense of
direction of low-pitched sound. Since the sense of direction
is lost, the subwoofer can be installed almost anywhere. If
it is installed too far away, however, the sound from the left
and right speakers may become unnatural.
Subwoofer Installation Criteria (Å)
1 Left speaker
2 Right speaker
3 Recommended installation range for the subwoofer
4 Listening position
An example of speaker positioning (i)
1 Front left speaker
2 Center speaker
3 Front right speaker
4 Subwoofer
5 Listening area
6 Surround speaker left
7 Surround speaker right
NOTE:
·
Position the left and right channel speakers at equal distances
from the TV set.
·
Install the center speakers above or below the TV so that the
sound of the center channel is localized at the TV screen.
·
The rear (surround) speakers are most effective when installed
in parallel locations directly to the side, or slightly behind, the
listener, at a level about 1 meter above the listener's ears.
AB
3
3
1
1
4
4
5
6
7
2
2
CAUTION:
When installing the center speaker on top of the TV, be sure
to secure it with tape or some other suitable means.
Otherwise, the speaker may fall from the TV due to external
shocks such as earthquakes, and it may lead to endangering
those nearby or damaging the speaker.

Reviews

There are no reviews of this manual yet.