PIONEER PRO-FHD1/KUC Owner's Manual

Cover page of PIONEER PRO-FHD1/KUC Owner's Manual

Owner's Manual for PIONEER PRO-FHD1/KUC, downloadable as a PDF file.

We also have service manual to this model.

Manual details

  • Immediate download after payment.
  • Delivered as a PDF file.
  • The manual has 116 pages
  • File size: 5.95 MB
  • Available language versions: French, English, Spanish
  • Different language versions may vary sligthly in file size and page count.

We guarantee that...

  • our manuals are complete,
  • our manuals are checked with antivirus,
  • We'll issue refund if the manual is damaged, incomplete or unreadable (our refund policy)

Sample pages

Thumbnail of page 1Thumbnail of page 2Thumbnail of page 3Thumbnail of page 4
Thumbnail of page 5Thumbnail of page 6Thumbnail of page 7Thumbnail of page 8
Thumbnail of page 9
background image
Enregistrez votre appareil sur:
www.pioneerelectronics.com (États-Unis)
www.pioneerelectronics.ca (Canada)
Register Your Product at
www.pioneerelectronics.com (US)
www.pioneerelectronics.ca (Canada)
Operating Instructions
Mode d'emploi
Manual de instrucciones
PLASMA DISPLAY
ÉCRAN PLASMA
PANTALLA DE PLASMA
PRO-FHD1
background image
STANDBY/ON Button
STANDBY: When placed into the standby mode, the main
power flow is cut and the unit is no longer fully
operational.
STANDBY/ON Indicator
The indicator is lit red when the unit is in the standby mode
and is lit blue when it is in the power-on mode.
Read these instructions.
Keep these instructions.
Heed all warnings.
Follow all instructions.
Do not use this apparatus near water.
Clean only with dry cloth.
Do not block any ventilation openings. Install in
accordance with the manufacturer's instructions.
Do not install near any heat sources such as
radiators, heat registers, stoves, or other apparatus
(including amplifiers) that produce heat.
Do not defeat the safety purpose of the polarized or
grounding-type plug. A polarized plug has two
blades with one wider than the other. A grounding
type plug has two blades and a third grounding
prong. The wide blade or the third prong are
provided for your safety. If the provided plug does
not fit into your outlet, consult an electrician for
replacement of the obsolete outlet.
Protect the power cord from being walked on or
pinched
particularly
at
plugs,
convenience
receptacles, and the point where they exit from the
apparatus.
1)
2)
3)
4)
5)
6)
7)
8)
9)
10)
Only use attachments/accessories specified by the
manufacturer.
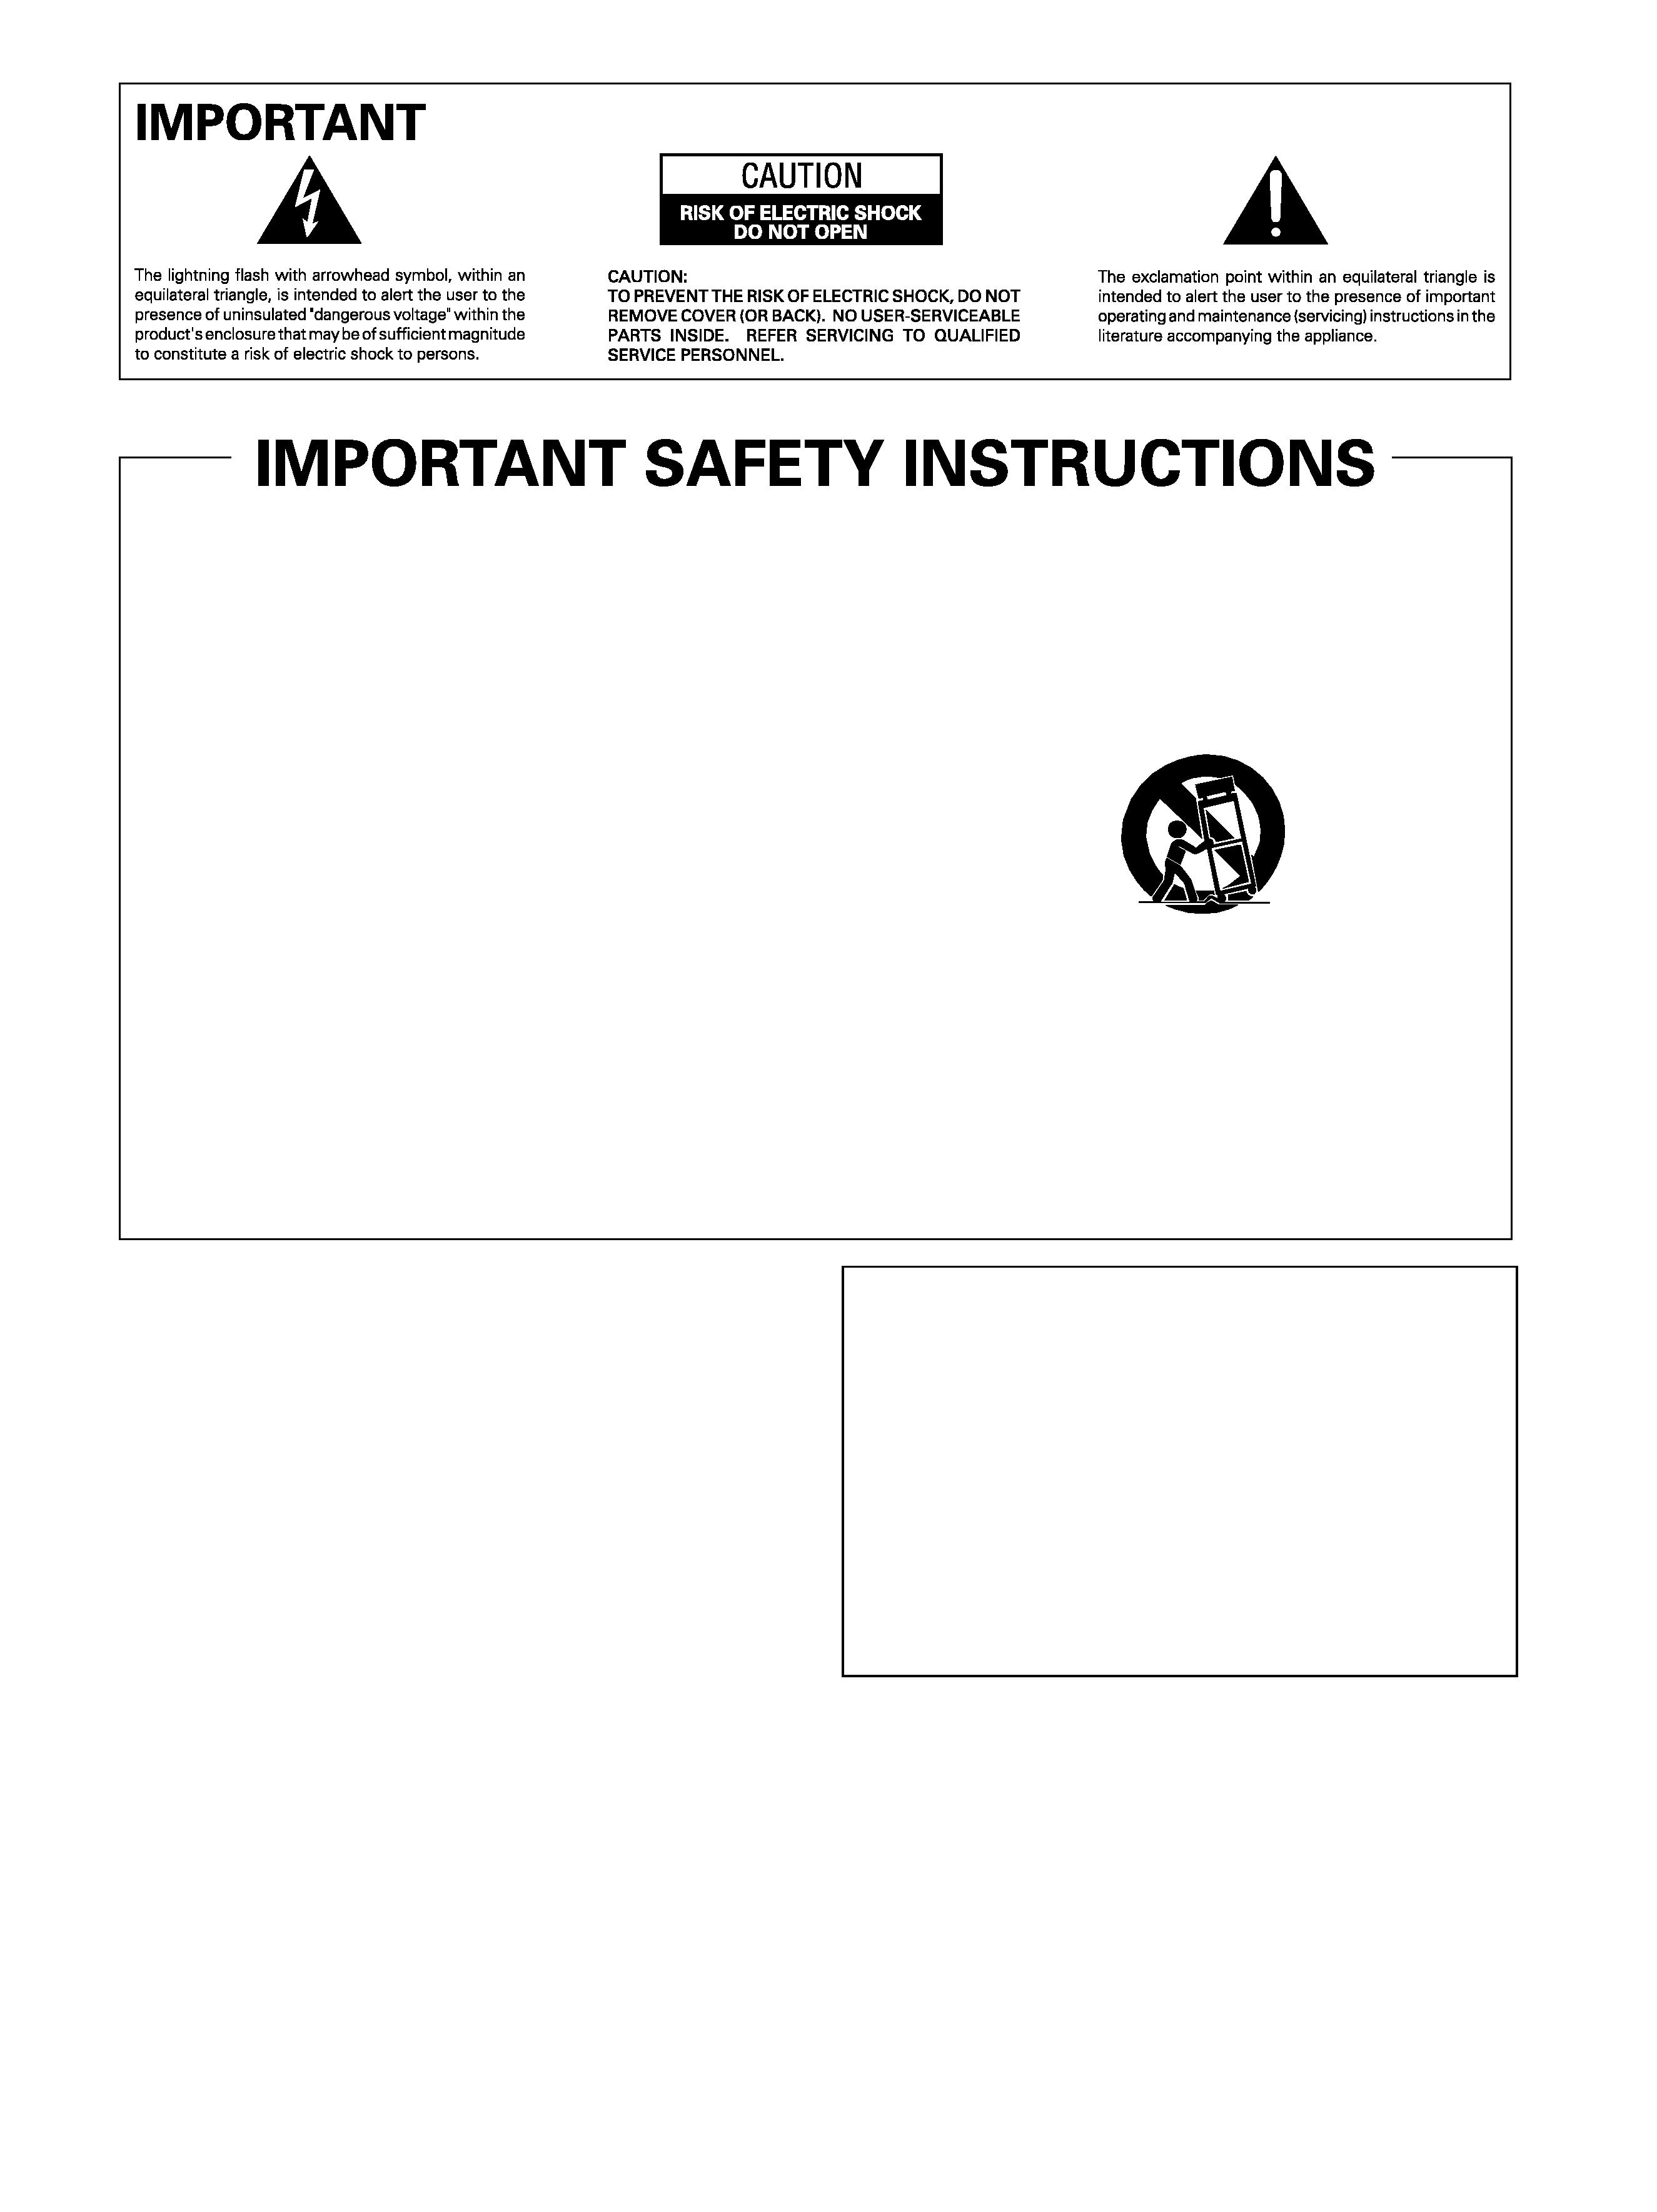
Use only with the cart, stand, tripod, bracket, or
table specified by the manufacturer, or sold with the
apparatus. When a cart is used, use caution when
moving the cart/apparatus combination to avoid
injury from tip-over.
Unplug this apparatus during lightning storms or
when unused for long periods of time.
Refer all servicing to qualified service personnel.
Servicing is required when the apparatus has been
damaged in any way, such as power-supply cord or
plug is damaged, liquid has been spilled or objects
have fallen into the apparatus, the apparatus has
been exposed to rain or moisture, does not operate
normally, or has been dropped.
11)
12)
13)
14)
WARNING
This product equipped with a three-wire grounding
(earthed) plug - a plug that has a third (grounding) pin. This
plug only fits a grounding-type power outlet. If you are
unable to insert the plug into an outlet, contact a licensed
electrician to replace the outlet with a properly grounded
one. Do not defeat the safety purpose of the grounding
plug.
D3-4-2-1-6_A_En
WARNING
To prevent a fire hazard, do not place any naked flame
sources (such as a lighted candle) on the equipment.
D3-4-2-1-7a_A_En
VENTILATION CAUTION
When installing this unit, make sure to leave space around
the unit for ventilation to improve heat radiation. For the
minimum space required, see page 16.
WARNING
Slots and openings in the cabinet are provided for
ventilation to ensure reliable operation of the product, and
to protect it from overheating. To prevent fire hazard, the
openings should never be blocked or covered with items
(such as newspapers, table-cloths, curtains) or by operating
the equipment on thick carpet or a bed.
CAUTION
The POWER switch on this unit will not completely
shut off all power from the AC outlet. Since the
power cord serves as the main disconnect device for
the unit, you will need to unplug it from the AC outlet
to shut down all power. Therefore, make sure the
unit has been installed so that the power cord can
be easily unplugged from the AC outlet in case of an
accident. To avoid fire hazard, the power cord should
also be unplugged from the AC outlet when left
unused for a long period of time (for example, when
on vacation).
D3-4-2-2-2a_A_En
background image
English
CAUTION: This Model PRO-FHD1 for use only with PDK-TS23 stand.
Use with other stand is may result in instability causing possible injury.
WARNING:
THE
APPARATUS
IS
NOT
WATERPROOF,
TO
PREVENT
FIRE
OR
SHOCK
HAZARD, DO NOT EXPOSE THIS APPLIANCE TO RAIN
OR MOISTURE AND DO NOT PUT ANY WATER
SOURCE NEAR THIS APPARATUS, SUCH AS VASE,
FLOWER
POT,
COSMETICS
CONTAINER
AND
MEDICINE BOTTLE ETC.
WARNING: Handling the cord on this product or
cords associated with
accessories sold with the
product will expose you to chemicals listed
on
proposition 65 known to the State of California and
other governmental entities to cause cancer and birth
defect or other reproductive harm.
Wash hands after
handling.
Information to User
Alteration
or
modifications
carried
out
without
appropriate authorization may invalidate the user's
right to operate the equipment.
[For Canadian model]
This Class B digital apparatus complies with Canadian
ICES-003.
FEDERAL COMMUNICATIONS
COMMISSION DECLARATION OF
CONFORMITY
This device complies with part 15 of the FCC Rules.
Operation is subject to the following two conditions: (1)
This device may not cause harmful interference, and
(2) this device must accept any interference received,
including interference that may cause undesired
operation.
Product Name: Plasma Display
Model Number: PRO-FHD1
Product Category: Class B Personal Computers &
Peripherals
Responsible Party Name: PIONEER ELECTRONICS
SERVICE, INC.
Address: 1925 E. DOMINGUEZ ST. LONG BEACH, CA
90801-1760, U.S.A.
Phone: 800-421-1625
For Business Customer URL
http://www.PioneerUSA.com
NOTE: This equipment has been tested and found to comply with the limits for a Class B digital device, pursuant
to Part 15 of the FCC Rules. These limits are designed to provide reasonable protection against harmful
interference in a residential installation.
This equipment generates, uses, and can radiate radio frequency energy and, if not installed and used in
accordance with the instructions, may cause harmful interference to radio communications. However, there is
no guarantee that interference will not occur in a particular installation. If this equipment does cause harmful
interference to radio or television reception, which can be determined by turning the equipment off and on, the
user is encouraged to try to correct the interference by one or more of the following measures:
­ Reorient or relocate the receiving antenna.
­ Increase the separation between the equipment and receiver.
­ Connect the equipment into an outlet on a circuit different from that to which the receiver is connected.
­ Consult the dealer or an experienced radio/TV technician for help.
D8-10-1-2_En
CAUTION: This product satisfies FCC regulations when shielded cables and connectors are used to connect the
unit to other equipment. To prevent electromagnetic interference with electric appliances such as radios and
televisions, use shielded cables and connectors for connections.
D8-10-3a_En
IMPORTANT NOTICE ­ THE SERIAL NUMBER FOR THIS EQUIPMENT IS LOCATED IN THE REAR.
PLEASE WRITE THIS SERIAL NUMBER ON YOUR ENCLOSED WARRANTY CARD AND
KEEP IN A SECURE AREA. THIS IS FOR YOUR SECURITY.
D1-4-2-6-1_En
background image
4
En
Contents
Contents
Thank you for buying this Pioneer product.
Please read through these operating instructions so you will know how to operate your model properly. After you have finished
reading the instructions, put them away in a safe place for future reference.
In some countries or regions, the shape of the power plug and power outlet may sometimes differ from that shown in the
explanatory drawings. However the method of connecting and operating the unit is the same.
01 Important User Guidance Information
02 Safety Precautions
03 Accessories
04 Supplied Accessories
05 Part Names
Main unit ...................................................13
Remote control unit .................................14
Connection panel .....................................15
06 Preparation
Installing the Plasma Display .................16
Preventing the Plasma Display from
Falling Over ...............................................17
Connecting the power cord .....................18
How to route cables .................................19
Preparing the remote control unit ..........20
Inserting batteries ................................20
Cautions regarding batteries ..............20
Allowed operation range of the remote
control unit ............................................20
Cautions regarding the remote control
unit .........................................................20
07 Operation
Plasma Display status indicators ...........21
Changing the volume and sound ...........21
Use the multiscreen functions ...............22
Splitting the screen ..............................22
Confirming current status .......................22
AV Selection .............................................22
Selecting a screen size manually ...........23
08 Menu Setup
Using the menu .......................................24
AV mode menus ...................................24
PC mode menus ...................................24
Menu operations ..................................24
09 Basic Adjustment Settings
Language setting .....................................25
Basic picture adjustments ......................25
Advanced picture adjustments ...............25
Using PureCinema ...............................25
Using Color Temp .................................26
Using CTI ...............................................26
Using Color Management ...................26
Reducing the noise in images ............27
Using the Dynamic Range Expander
(DRE) functions ....................................27
Using the 3DYC and I-P Mode .............27
Sound adjustments ..................................28
FOCUS ...................................................28
Front Surround .....................................28
Power Control ...........................................29
10 Useful Adjustment Settings
Switching the vertical drive frequency
(AV mode only) .........................................30
Adjusting image positions
(AV mode only) .........................................30
Adjusting image positions and clock
automatically (PC mode only) .................30
Adjusting image positions and clock
manually (PC mode only) ........................30
Selecting an input signal type ................31
Color system setting ................................31
Selecting a screen size automatically
(AV mode only) .........................................32
Selecting a screen size for received 4:3
aspect ratio signals (AV mode only) ...32
background image
5
En
Contents
English
11 Using External Equipment
Watching a decoder or VCR image ....... 33
Connecting a decoder or VCR ............ 33
Displaying a decoder or VCR image .. 33
Using HDMI Input ................................... 33
Connecting HDMI equipment ............ 34
Using DVI Input ....................................... 35
Connecting DVI equipment ................ 35
Watching a DVD image .......................... 35
Connecting a DVD player ................... 35
Displaying a DVD image ..................... 36
Enjoying a game console or watching
camcorder images .................................. 36
Connecting a game console or
camcorder ............................................ 36
Displaying an image from the game
console or camcorder ......................... 36
Watching an image from a personal
computer .................................................. 36
Connecting a personal computer ...... 36
Displaying an image from a personal
computer .............................................. 36
Computer compatibility chart ............ 37
Connecting control cords ....................... 37
About SR+ ........................................... 37
12 Appendix
Troubleshooting ...................................... 38
Specifications .......................................... 39

Reviews

There are no reviews of this manual yet.