Before Operating
English
1
<DRB1389> En
Contents
Before Operating
Confirming Accessories ........................................................... 1
Features ................................................................................... 2
Handling Precautions ............................................................... 4
Discs Usable with This Unit ..................................................... 5
Names and Functions of Parts ................................................. 8
Operation panel .................................................................. 8
Display .............................................................................. 10
Jog dial display ................................................................. 11
Rear panel ........................................................................ 11
Playing images from the DVJ-X1 on a television set ........ 12
Connections ........................................................................... 13
1. Connections to DJ mixer (DJM-600, DJM-500, DJM-300,
DJM-909, DJM-707 or DJM-3000)
(audio output and control connector) ........................... 13
2. Control cord connection for relay play ......................... 13
3. Connection to stereo amplifier (without DJ mixer) ...... 14
4. Connection to component equipped
with digital input connector .......................................... 14
5. Connection to television monitor
(composite video/S-Video) ........................................... 15
6. Connection to television monitor (component video) ... 15
7. Connection to video mixer ........................................... 16
8. Connecting the power cord ......................................... 16
Preparations
Setup ...................................................................................... 17
Setting the TV system ...................................................... 17
How to perform setup ...................................................... 17
Using the Setup Navigator ............................................... 17
Setup Menu items ............................................................ 19
To return all settings to their factory defaults ................... 20
Using the Setup Menu ..................................................... 20
Advanced settings ............................................................ 21
Adjusting Dolby Digital audio ............................................ 21
Digital output setting ........................................................ 21
[Audio2] settings .............................................................. 22
[Video1] settings ............................................................... 23
Video quality adjust ........................................................... 24
[Video2] settings ............................................................... 26
[Language] Settings .......................................................... 26
Setting Parental Lock ....................................................... 29
Basic Operations
Loading and Removing Discs ................................................. 31
Basic Operations .................................................................... 32
Beginning playback ........................................................... 32
Auto cue function ............................................................. 33
To stop playback ............................................................... 33
To temporarily interrupt playback (pause mode) ............... 33
To change language/subtitle settings during playback
(DVD only) ........................................................................ 33
Changing the viewing angle (DVD only) ........................... 34
Fast forward/fast reverse ................................................. 34
Track search (skip) ............................................................ 35
Title search (DVD only) ..................................................... 35
Folder search (MP3 only) .................................................. 35
Setting cue points ............................................................ 36
Changing playback speed ................................................. 36
Setting master tempo ...................................................... 37
Jog dial functions ............................................................. 37
Mixing different tracks (splicing) ...................................... 37
Advanced Operations
Advanced Operations ............................................................. 38
Scratch play ...................................................................... 38
Spin play ........................................................................... 38
Hot cue ............................................................................. 38
Loop playback ................................................................... 39
Reverse play ..................................................................... 39
About fader start play ....................................................... 39
Relay play with two players .............................................. 40
Selecting tracks with MP3 navigator (MP3 only) .............. 40
WAVE display .................................................................... 41
Regarding TEXT display .................................................... 41
To view guide displays ...................................................... 41
Operations Using Memory Cards ........................................... 42
Recording to memory cards ............................................. 42
To recall data recorded on memory cards ........................ 43
To delete information recorded on memory cards ........... 45
Other
Troubleshooting ...................................................................... 46
Error message display ...................................................... 48
Dot Matrix Guide Display Messages ...................................... 49
Specifications ......................................................................... 50
Thank you for buying this Pioneer product.
Please read through these operating instructions so you will know how to operate your model properly. After you have finished reading
the instructions, put them away in a safe place for future reference.
In some countries or regions, the shape of the power plug and power outlet may sometimes differ from that shown in the explanatory
drawings. However the method of connecting and operating the unit is the same.
K015 En
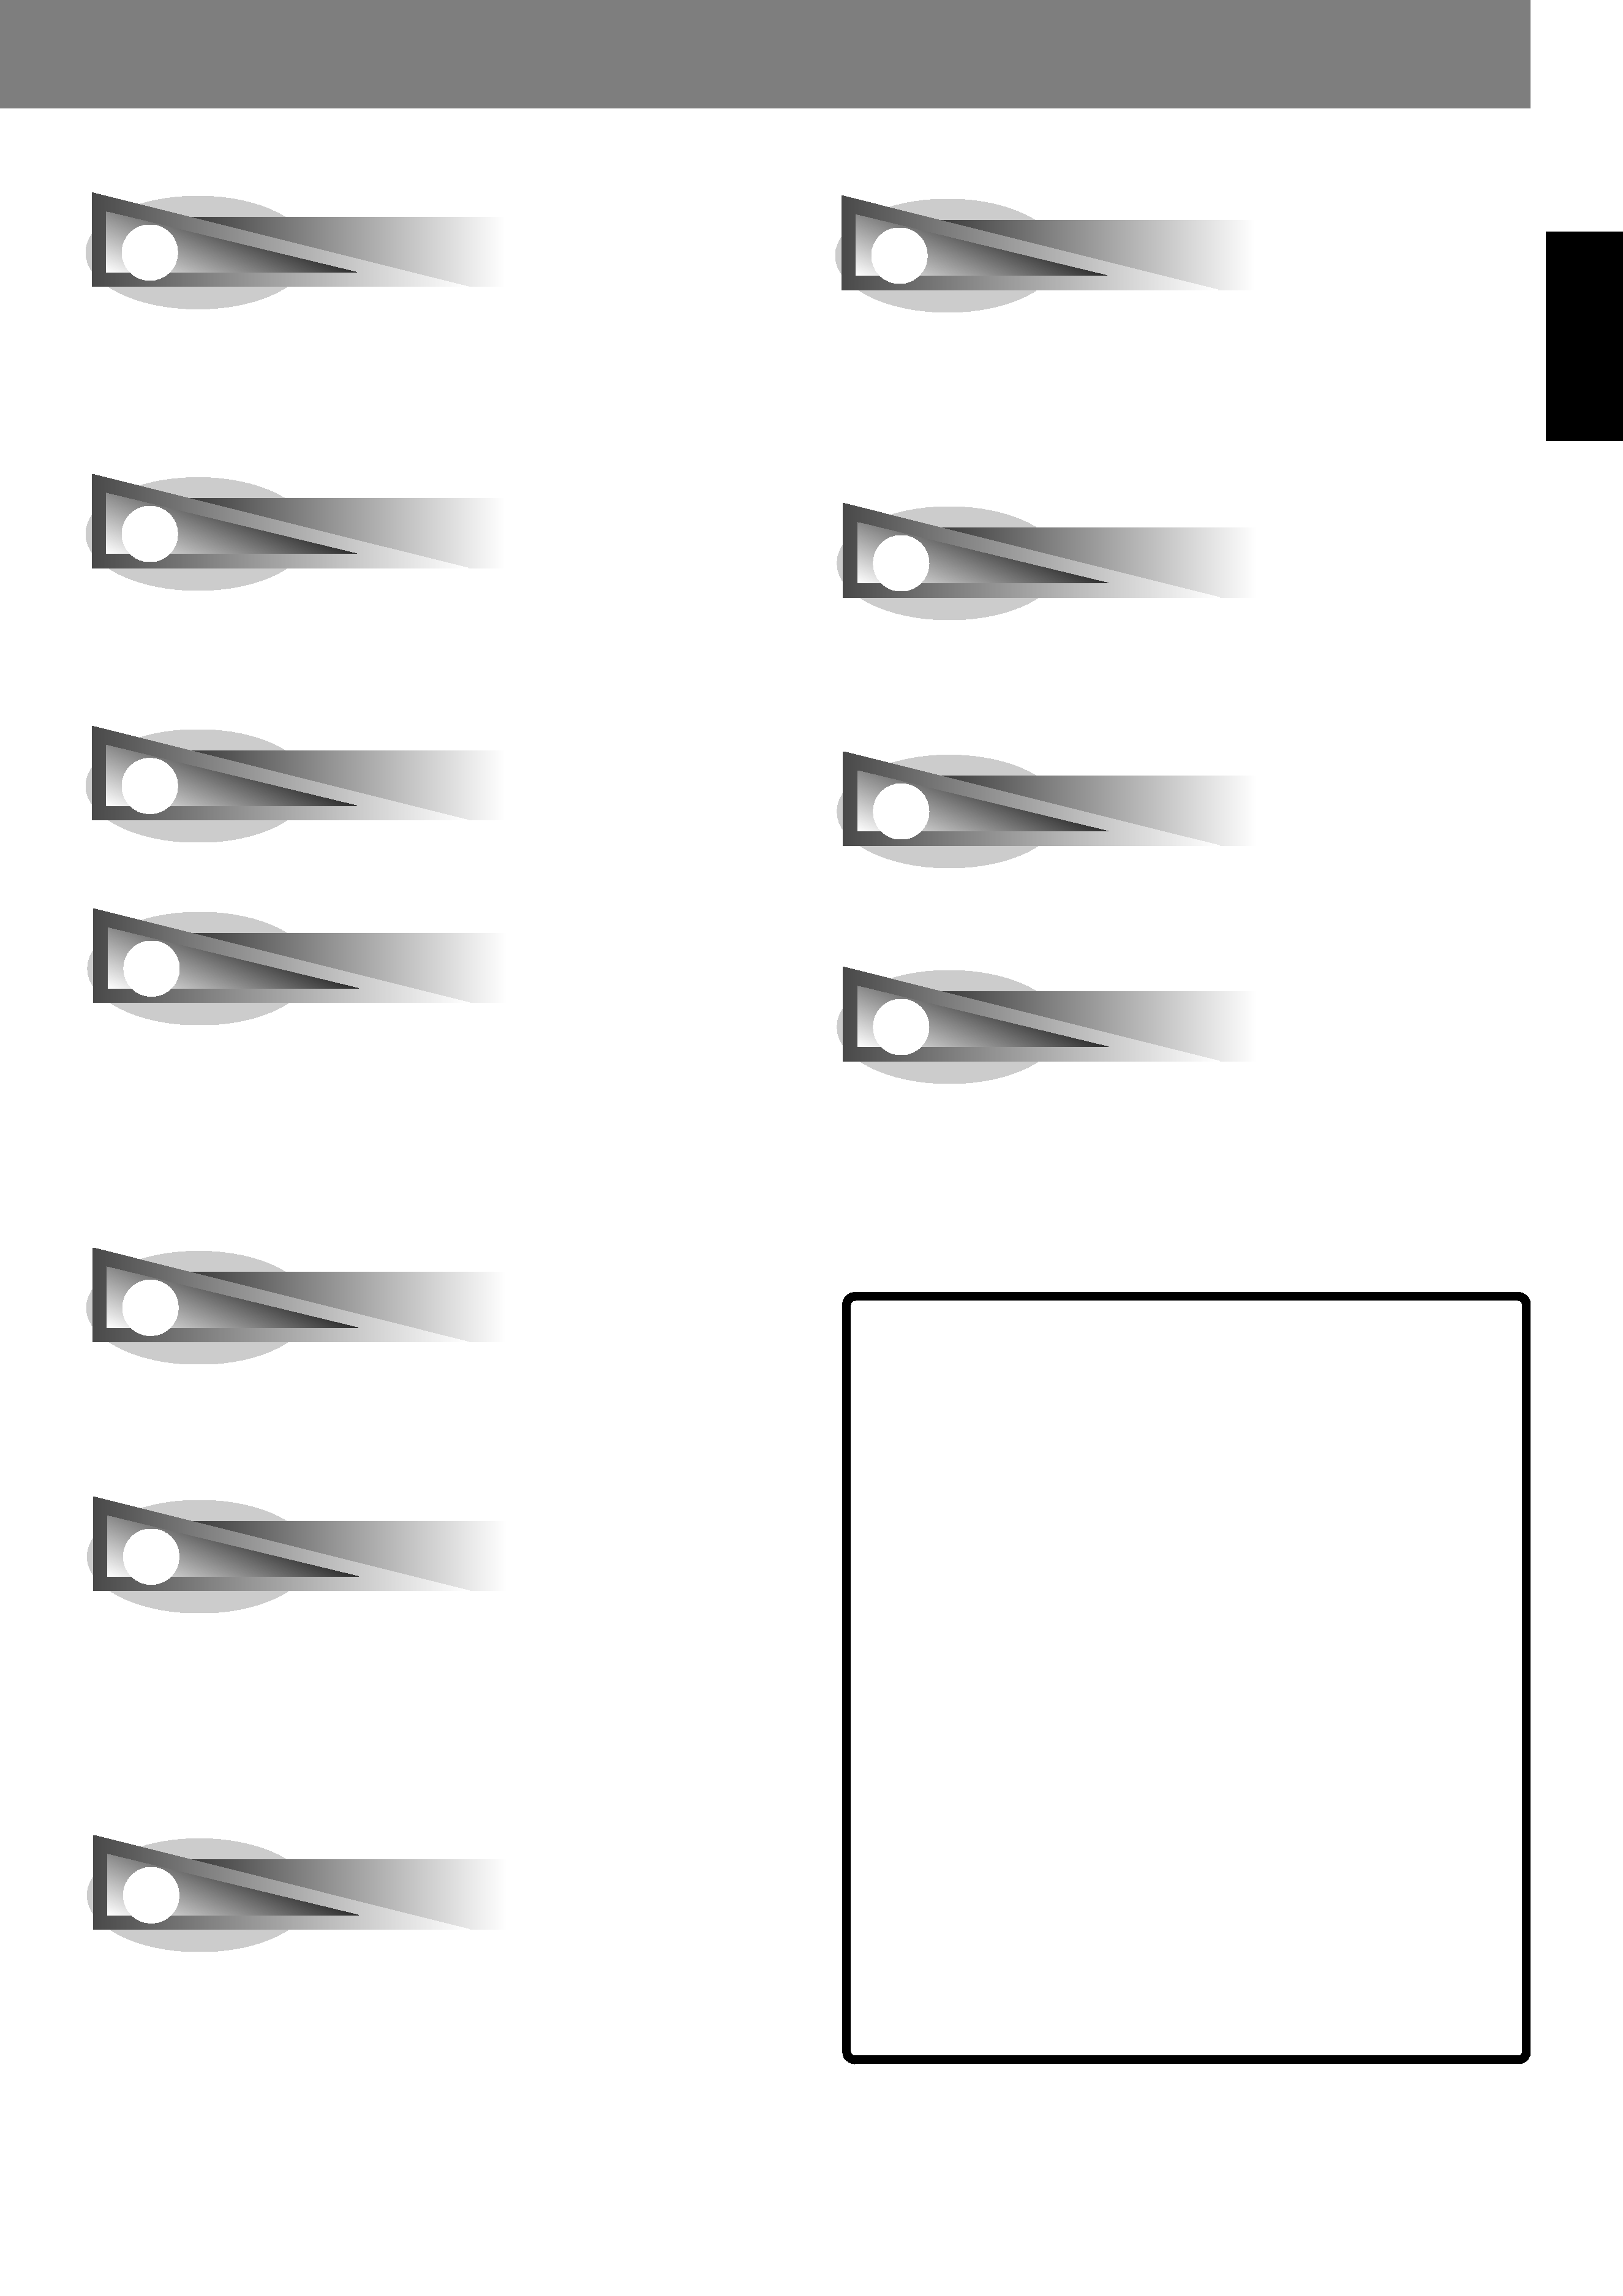
Confirming Accessories
SD memory card ................................................................................... 1
Operating Instructions .......................................................................... 1
Video cable ............................................................................................ 1
Audio cable ........................................................................................... 1
Control cord .......................................................................................... 1
Power cord ............................................................................................ 1
Forcible eject pin (mounted on unit's bottom panel) ............................. 1
Before Operating