PIONEER DEH-P4990MP/XN/ID Owner's Manual

Cover page of PIONEER DEH-P4990MP/XN/ID Owner's Manual

Owner's Manual for PIONEER DEH-P4990MP/XN/ID, downloadable as a PDF file.

We also have service manual to this model.

Manual details

  • Immediate download after payment.
  • Delivered as a PDF file.
  • The manual has 40 pages
  • File size: 0.51 MB
  • Available language versions: English
  • Different language versions may vary sligthly in file size and page count.

We guarantee that...

  • our manuals are complete,
  • our manuals are checked with antivirus,
  • We'll issue refund if the manual is damaged, incomplete or unreadable (our refund policy)

Sample pages

Thumbnail of page 1Thumbnail of page 2Thumbnail of page 3Thumbnail of page 4
Thumbnail of page 5Thumbnail of page 6Thumbnail of page 7Thumbnail of page 8
Thumbnail of page 9
background image
Operation Manual
CD Receiver
DEH-P4990MP
English
background image
Operation Manual
CD Receiver
DEH-P4990MP
English
background image
Thank you for buying this Pioneer product.
Please read through these operating instructions so you will know how to operate
your model properly. After you have finished reading the instructions, keep this man-
ual in a safe place for future reference.
Before You Start
About this unit
4
About WMA
4
About MP3
4
iPod® compatibility
4
Visit our website
4
Protecting your unit from theft
5
­ Removing the front panel 5
­ Attaching the front panel 5
Use and care of the remote control
5
­ Installing the battery 5
­ Using the remote control 5
Basic Operations
What
's What 7
­ Head unit 7
­ Remote control 8
Turning the unit on and selecting a
source
8
Adjusting the volume
8
Turning the unit off
8
Tuner
Listening to the radio
9
Introduction of advanced tuner operation
9
Storing and recalling broadcast
frequencies
9
Storing the strongest broadcast
frequencies
10
Tuning in strong signals
10
Built-in CD Player
Playing a CD
11
Introduction of advanced built-in CD player
operation
11
Repeating play
11
Playing tracks in random order
12
Scanning tracks of a CD
12
Pausing CD playback
12
Using compression and BMX
12
Searching every 10 tracks in the current
disc
12
Using disc title functions
13
­ Entering disc titles 13
­ Displaying disc titles 13
Using CD TEXT functions
14
­ Displaying text information on CD TEXT
discs
14
WMA/MP3/WAV Player
Playing WMA/MP3/WAV
15
Introduction of advanced built-in CD player
(WMA/MP3/WAV) operation
16
Repeating play
16
Playing tracks in random order
16
Scanning folders and tracks
16
Pausing WMA/MP3/WAV playback
17
Using compression and BMX
17
Searching every 10 tracks in the current
folder
17
Displaying text information on WMA/MP3/
WAV disc
17
­ When playing back a WMA/MP3
disc
18
­ When playing back a WAV disc 18
Multi-CD Player
Playing a CD
19
Introduction of advanced multi-CD player
operation
19
Repeating play
20
Playing tracks in random order
20
Scanning CDs and tracks
20
Pausing CD playback
21
Using compression and bass emphasis
21
Using ITS playlists
21
­ Creating a playlist with ITS
programming
21
Contents
En
2
background image
­ Playback from your ITS playlist 22
­ Erasing a track from your ITS
playlist
22
­ Erasing a CD from your ITS playlist 22
Using disc title functions
22
­ Entering disc titles 23
­ Displaying disc titles 23
Using CD TEXT functions
23
­ Displaying text information on CD TEXT
discs
24
Playing songs on iPod
Listening to songs on your iPod
25
Browsing for a song
25
Displaying text information on iPod
26
Introduction of advanced iPod adapter
operation
26
Repeating play
26
Playing songs in a random order
(shuffle)
26
Pausing a song
27
Audio Adjustments
Introduction of audio adjustments
28
Using balance adjustment
28
Using the equalizer
28
­ Recalling equalizer curves 28
­ Adjusting equalizer curves 29
­ Fine-adjusting equalizer curve 29
Adjusting loudness
29
Using subwoofer output
30
­ Adjusting subwoofer settings 30
Using the high pass filter
30
Boosting the bass
31
Front image enhancer (F.I.E.)
31
Adjusting source levels
31
Other Functions
Adjusting initial settings
32
Setting the clock
32
Setting the FM tuning step
32
Setting the AM tuning step
32
Switching the auxiliary setting
33
Setting the rear output and subwoofer
controller
33
Turning the clock display on or off
33
Using the AUX source
34
­ About AUX connection method 34
­ Selecting AUX as the source 34
­ Setting the AUX title 34
Additional Information
Understanding built-in CD player error
messages
36
Handling guideline of discs and player
36
Dual Discs
37
WMA, MP3 and WAV files
37
­ Example of a hierarchy 37
­ Compressed audio compatibility 38
Specifications
39
En
3
Contents
background image
About this unit
CAUTION
! Do not allow this unit to come into contact
with liquids. Electrical shock could result.
Also, this unit damage, smoke, and overheat
could result from contact with liquids.
! Keep this manual handy as a reference for op-
erating procedures and precautions.
! Always keep the volume low enough so that
you can hear sounds from outside the vehicle.
! Protect this unit from moisture.
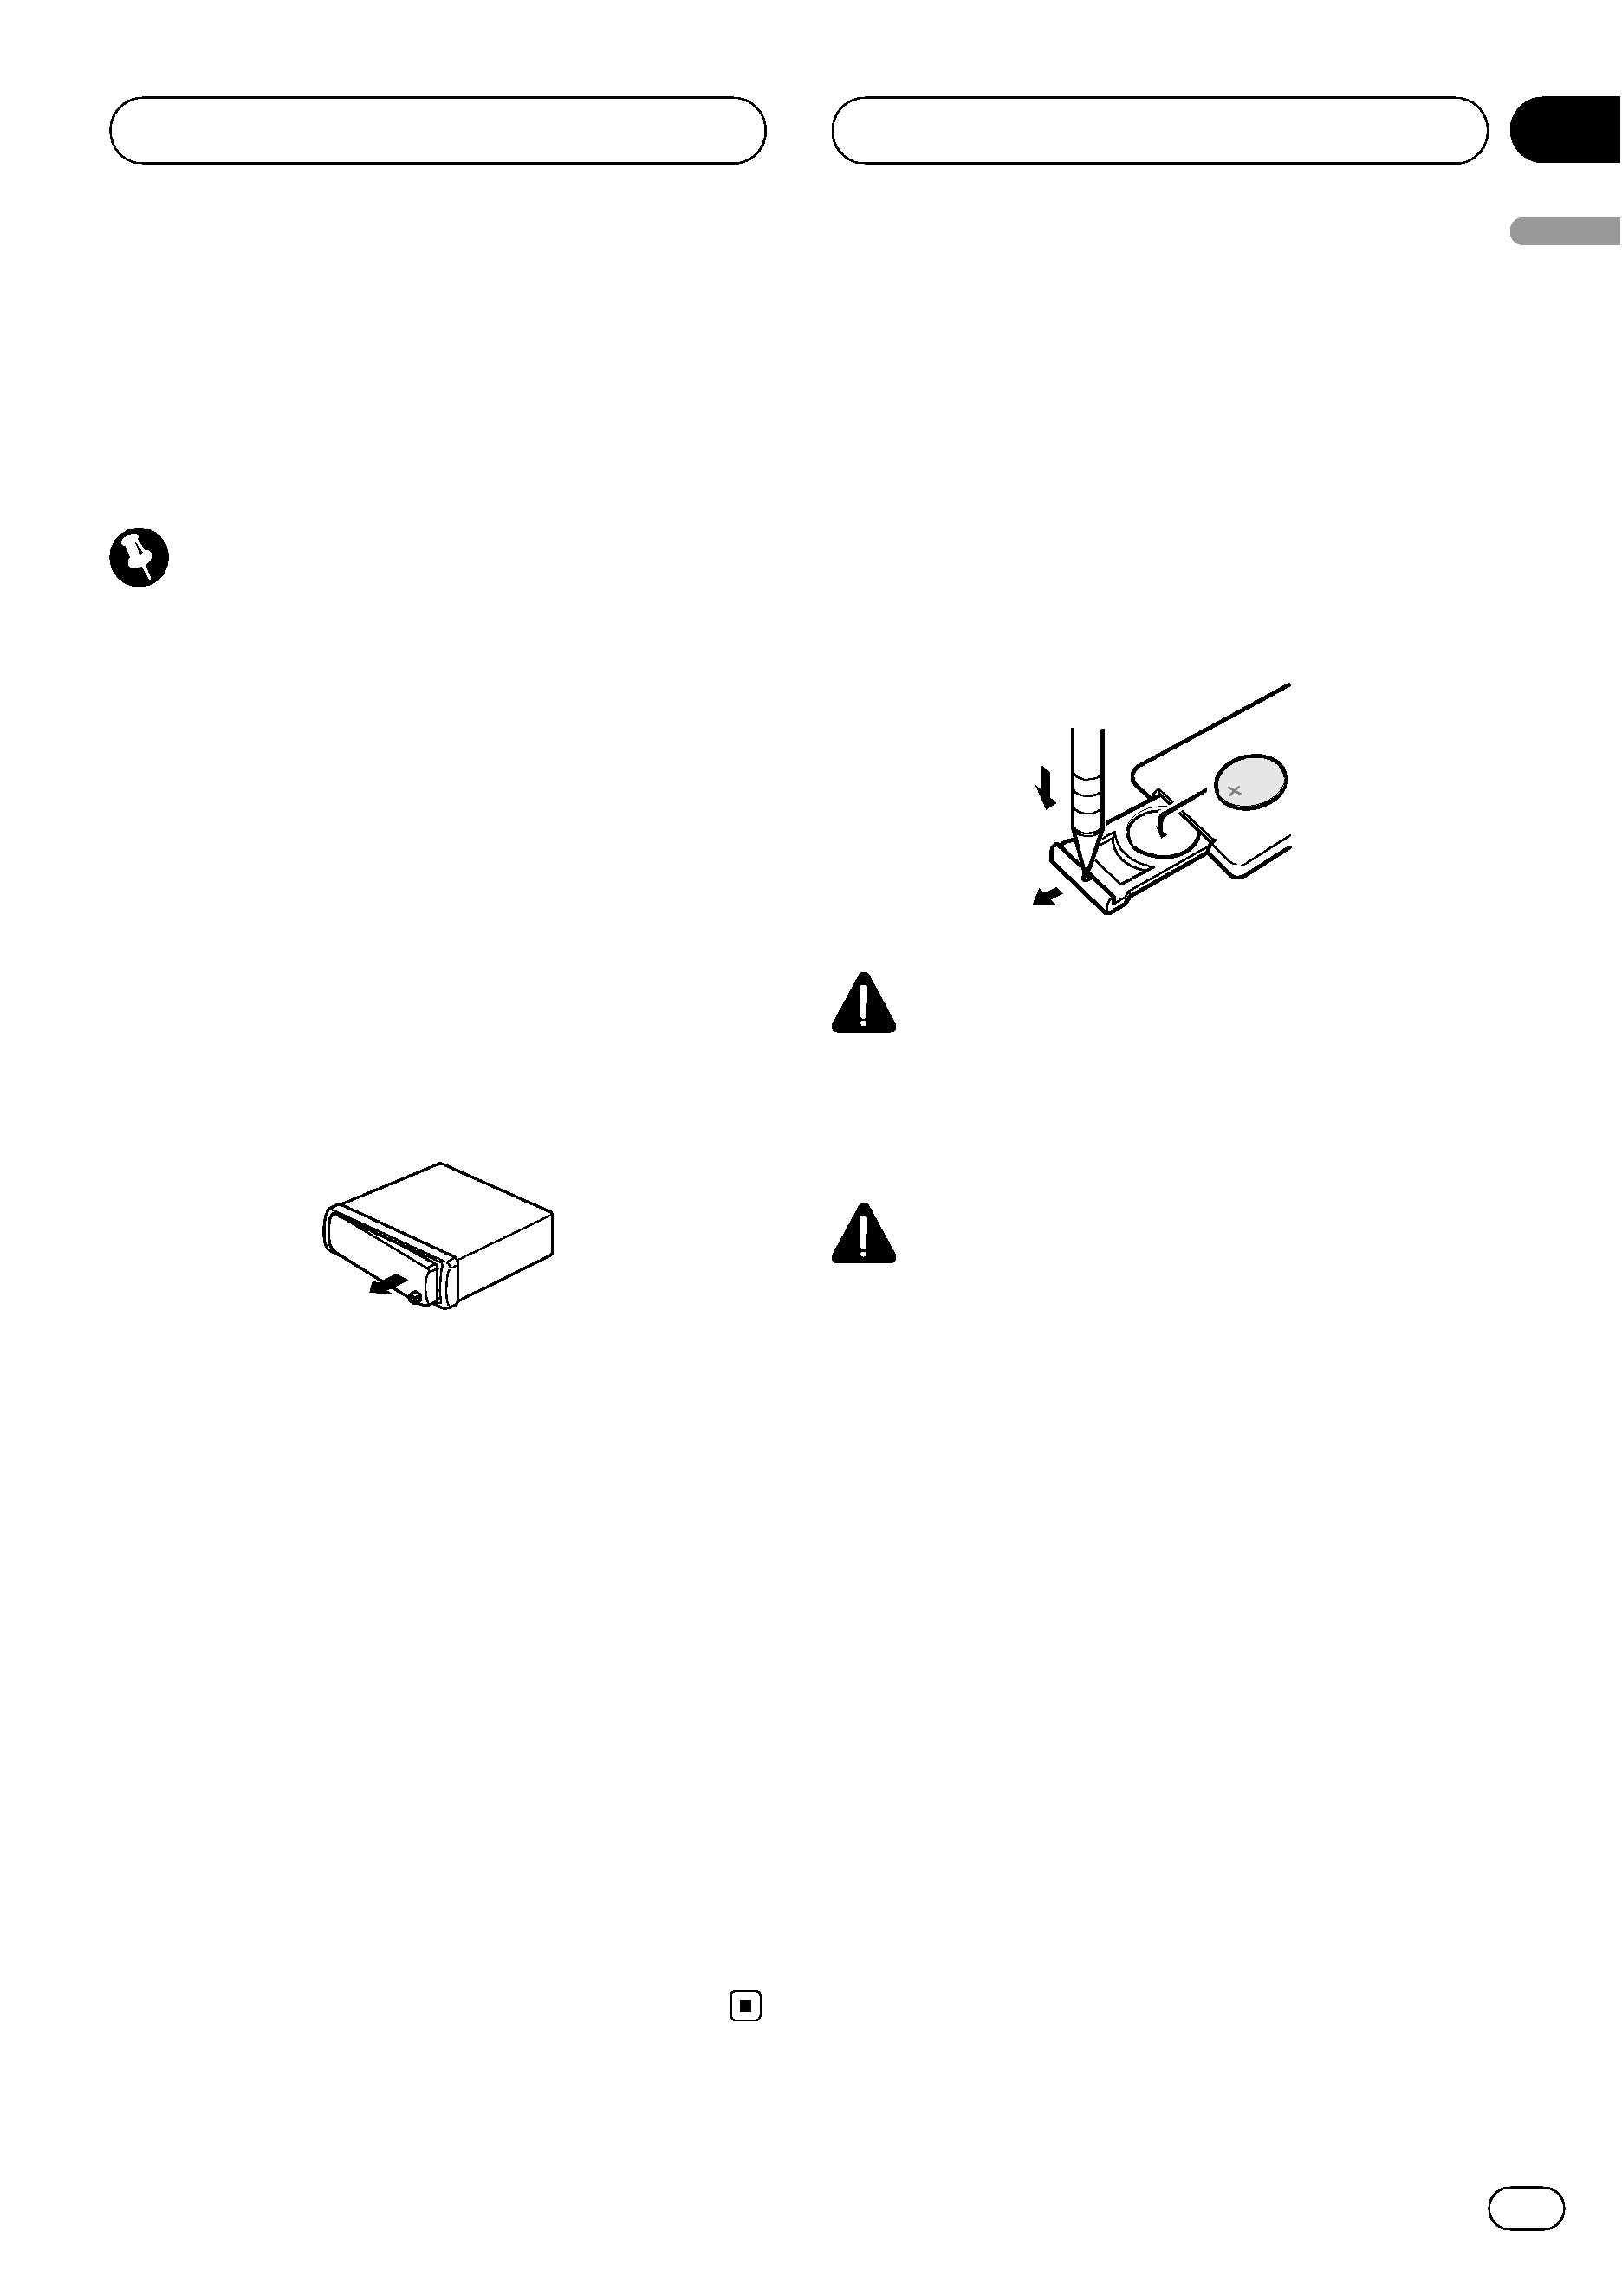
! If the battery is disconnected or discharged,
the preset memory will be erased and must be
reprogrammed.
! If this unit does not operate properly, contact
your dealer or nearest authorized Pioneer Ser-
vice Station.
About WMA
The Windows Media
TM logo printed on the box
indicates that this unit can play back WMA
data.
WMA is short for Windows Media
TM Audio
and refers to an audio compression technol-
ogy that is developed by Microsoft
Corporation. WMA data can be encoded by
using Windows Media Player version 7 or
later.
Windows Media and the Windows logo are tra-
demarks or registered trademarks of Microsoft
Corporation in the United States and/or other
countries.
Note
This unit may not operate correctly depending on
the application used to encode WMA files.
About MP3
Supply of this product only conveys a license
for private, non-commercial use and does not
convey a license nor imply any right to use
this product in any commercial (i.e. revenue-
generating) real time broadcasting (terrestrial,
satellite, cable and/or any other media), broad-
casting/streaming via internet, intranets and/
or other networks or in other electronic con-
tent distribution systems, such as pay-audio or
audio-on-demand applications. An indepen-
dent license for such use is required. For de-
tails, please visit
http://www.mp3licensing.com.
iPod® compatibility
iPod is a trademark of Apple Computer, Inc.,
registered in the U.S. and other countries.
Visit our website
Visit us at the following site:
! We offer the latest information about
Pioneer Corporation on our website.
Before You Start
En
4
Section
01
background image
Protecting your unit from
theft
The front panel can be detached to deter theft.
Important
! Handle gently when removing or attaching
the front panel.
! Avoid subjecting the front panel to excessive
shocks.
! Keep the front panel out of direct sunlight and
high temperatures.
Removing the front panel
1
Press DETACH to release the front
panel.
2
Grab the front panel and remove.
3
Put the front panel into provided pro-
tective case for safe keeping.
Attaching the front panel
1
Slide the front panel to the left until it
clicks.
Front panel and the head unit are jointed on
the left side. Make sure that the front panel
has been jointed to the head unit.
2
Press the right side of the front panel
until it is firmly seated.
# If you can't attach the front panel to the head
unit successfully, try again. Front panel may be
damaged if you attach the front panel forcedly.
Use and care of the remote
control
Installing the battery
Slide the tray out on the back of the remote
control and insert the battery with the plus (+)
and minus (
­) poles pointing in the proper di-
rection.
WARNING
Keep the battery out of the reach of children.
Should the battery be swallowed, immediately
consult a doctor.
CAUTION
! Use only one CR2025 (3 V) lithium battery.
! Remove the battery if the remote control is not
used for a month or longer.
! Danger of explosion if battery is incorrectly re-
placed. Replace only with the same or equiva-
lent type.
! Do not handle the battery with metallic tools.
! Do not store the battery with metallic materi-
als.
! In the event of battery leakage, wipe the re-
mote control completely clean and install a
new battery.
! When disposing of used batteries, please
comply with governmental regulations or en-
vironmental public institutions
' rules that
apply in your country/area.
Using the remote control
Point the remote control in the direction of the
front panel to operate.
Before You Start
En
5
Section
01
Before
Y
o
u
Start

Reviews

There are no reviews of this manual yet.