About this manual
This unit features a number of sophisticated
functions ensuring superior reception and oper-
ation. All the functions have been designed for
the easiest possible use, but many are not self-
explanatory. This operation manual will help you
benefit fully from this product's potential and to
maximize your listening enjoyment.
We recommend that you familiarize yourself
with the functions and their operation by read-
ing through the manual before you begin using
this unit. It is especially important that you read
and observe precautions on this page and in
other sections.
Precautions
· Keep this manual handy as a reference for
operating procedures and precautions.
· Always keep the volume low enough so you
can hear sounds outside of the car.
· Protect this product from moisture.
· If the battery is disconnected or discharged,
the preset memory will be erased and must be
reprogrammed.
· Should this product fail to operate properly,
contact your dealer or nearest authorized
Pioneer Service Station.
Protecting your unit from theft
The front panel can be detached from the head
unit and stored in the protective case provided
to discourage theft.
Important
· Never use force or grip the display and the
buttons tightly when removing or attaching.
· Avoid subjecting the front panel to excessive
shocks.
· Keep the front panel out of direct sunlight and
high temperatures.
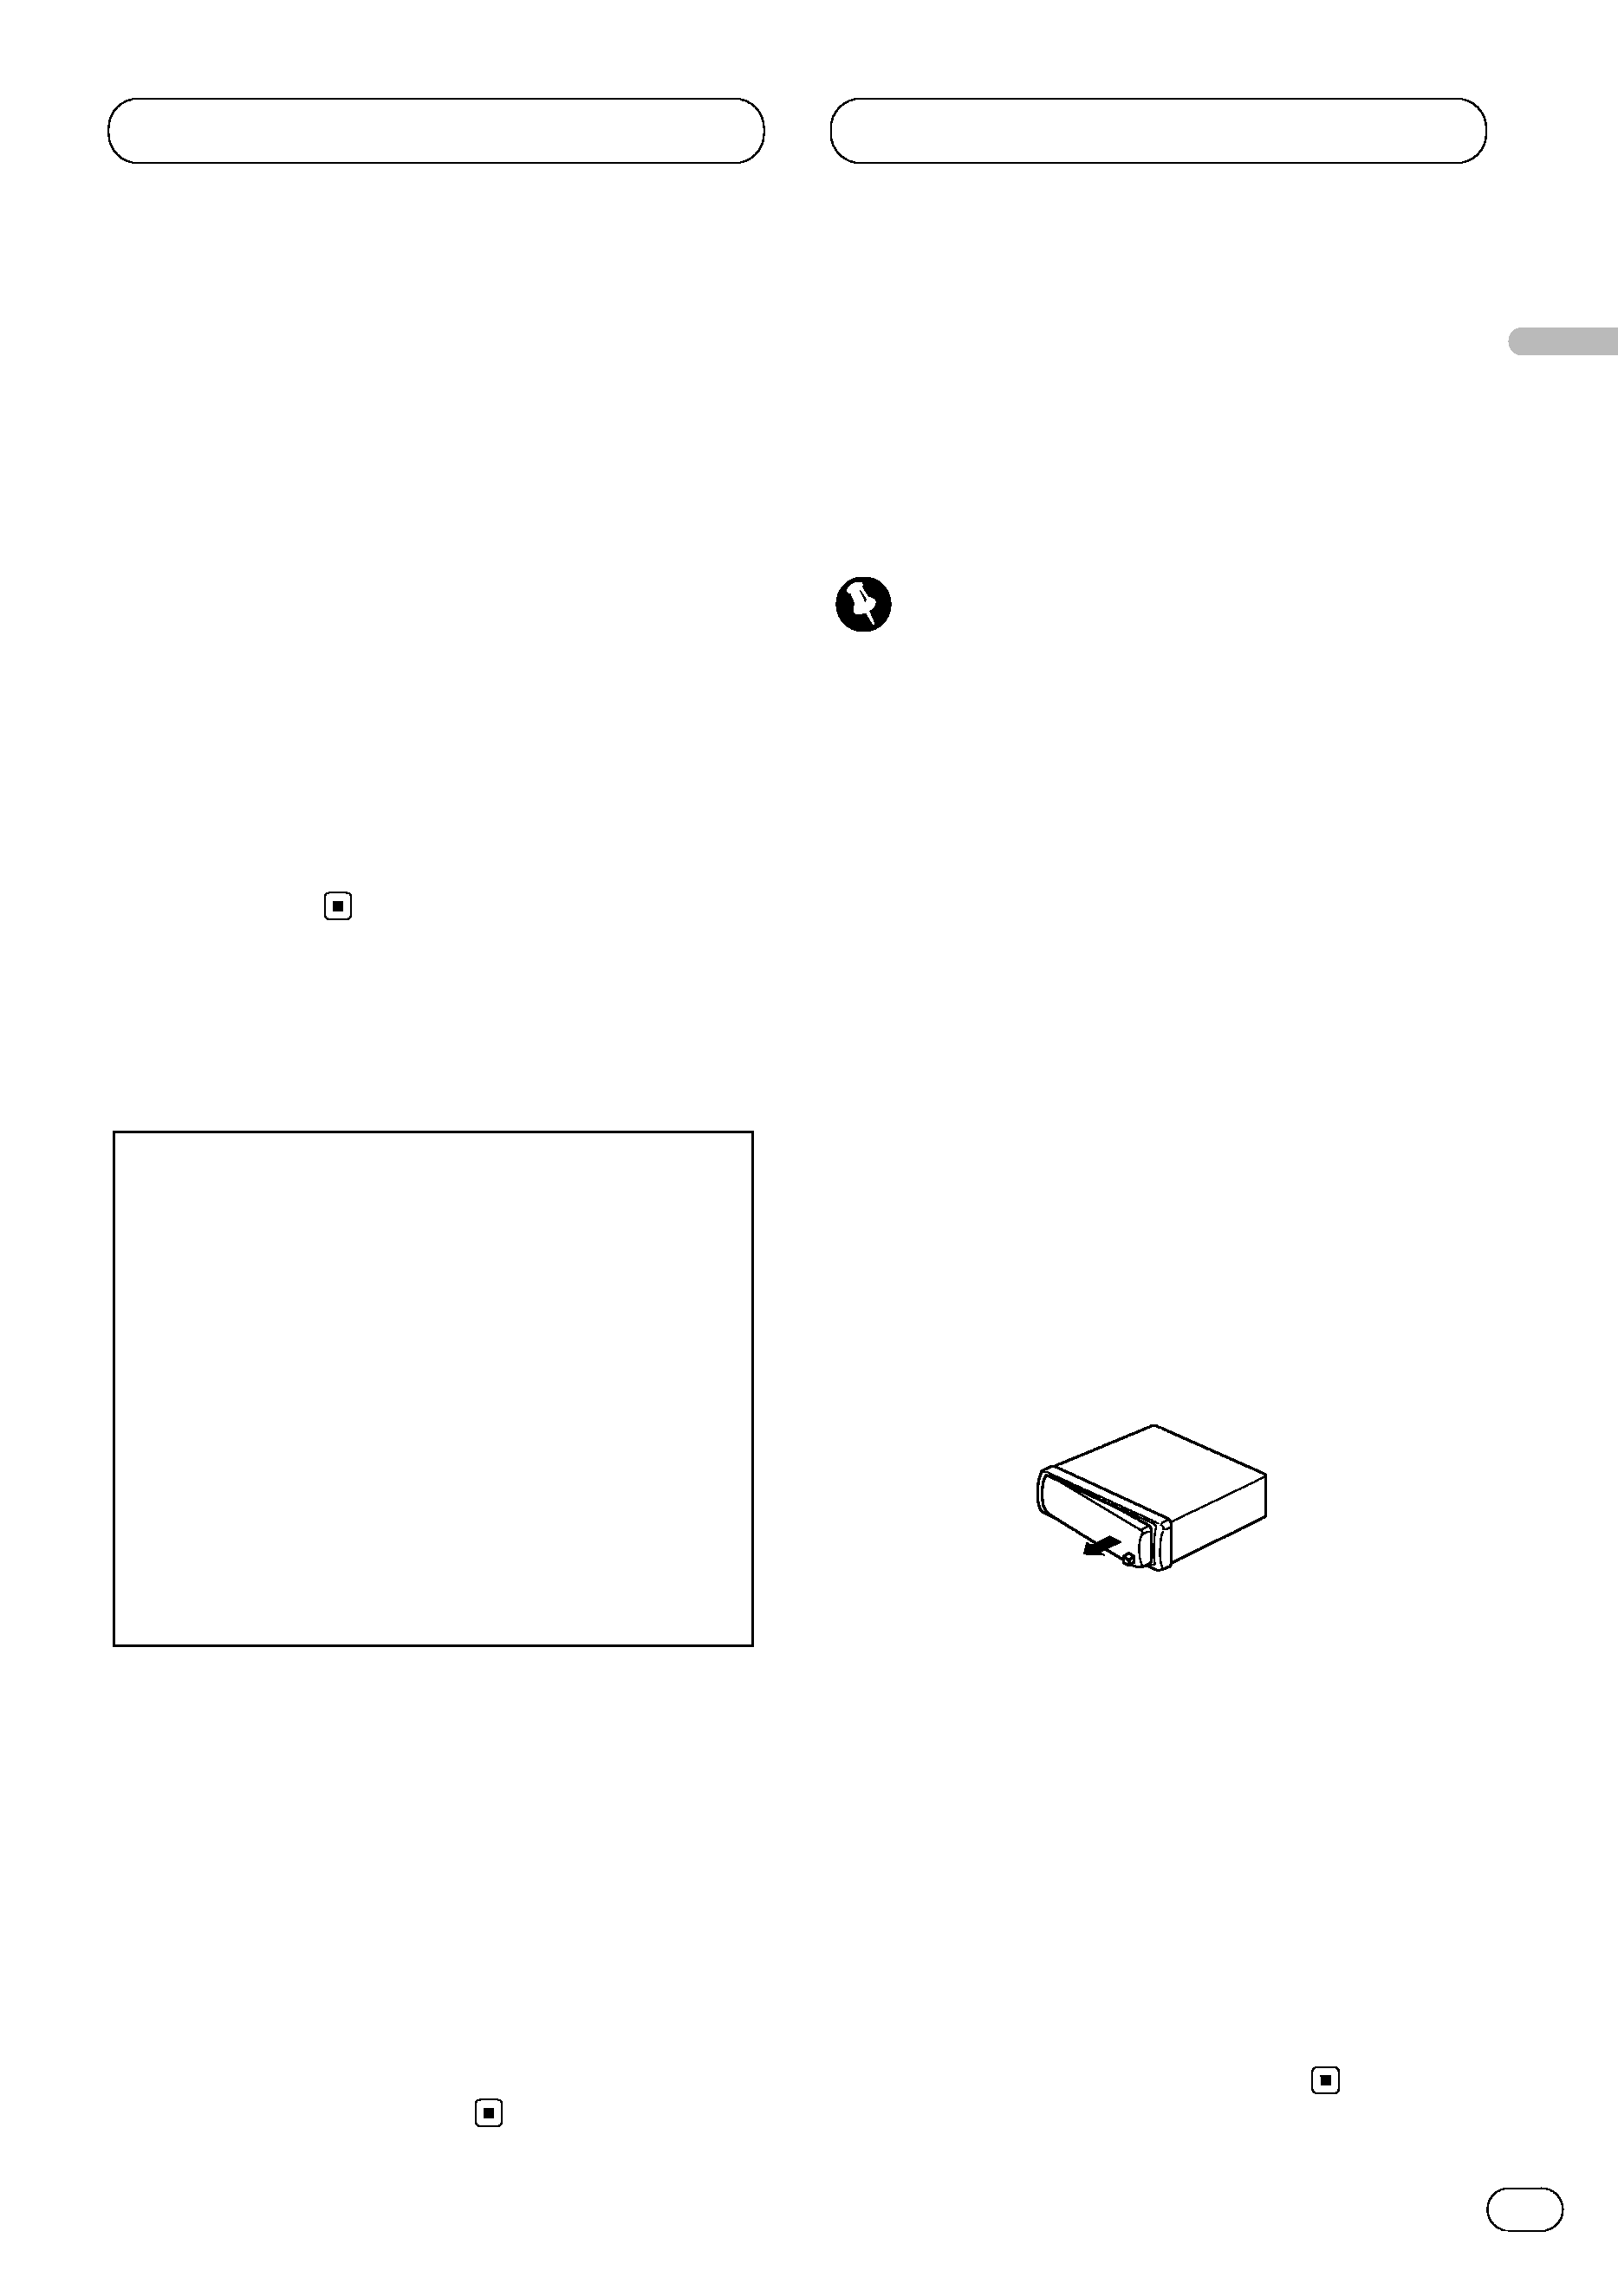
Removing the front panel
1 Press DETACH to release the front panel.
Press DETACH and the right side of the panel is
released from the head unit.
2 Grab the front panel and remove.
Grab the right side of the front panel and pull
away to the left. The front panel will be detached
from the head unit.
3 Put the front panel into the protective case
provided for safe keeping.
Attaching the front panel
1 Place the front panel flat against the head
unit.
2 Press the front panel into the face of the
head unit until it is firmly seated.
CAUTION:
USE OF CONTROL OR
ADJUSTMENT OR PER-
FORMANCE OF PROCE-
DURES OTHER THAN
THOSE SPECIFIED
HEREIN MAY RESULT IN
HAZARDOUS RADIATION
EXPOSURE.
CAUTION:
THE USE OF OPTICAL
INSTRUMENTS WITH
THIS PRODUCT WILL
INCREASE EYE HAZARD.
Before You Start
En
2
English
Espa
ñ
ol
Deutsch
F
ran
ç
ais
Italiano
Nederlands