PIONEER CT-L11/NVXJ Owner's Manual

Cover page of PIONEER CT-L11/NVXJ Owner's Manual

Owner's Manual for PIONEER CT-L11/NVXJ, downloadable as a PDF file.

We also have service manual to this model.

Manual details

  • Immediate download after payment.
  • Delivered as a PDF file.
  • The manual has 16 pages
  • File size: 1.48 MB
  • Available language versions: English
  • Different language versions may vary sligthly in file size and page count.

We guarantee that...

  • our manuals are complete,
  • our manuals are checked with antivirus,
  • We'll issue refund if the manual is damaged, incomplete or unreadable (our refund policy)

Sample pages

Thumbnail of page 1Thumbnail of page 2Thumbnail of page 3Thumbnail of page 4
Thumbnail of page 5Thumbnail of page 6Thumbnail of page 7Thumbnail of page 8
Thumbnail of page 9
background image
CT-L11
STEREO CASSETTE DECK
Operating Instructions
background image
CT-L11
STEREO CASSETTE DECK
Operating Instructions
background image
2
En
Thank you for buying this PIONEER product.
Please read through these operating instructions so you
will know how to operate your model properly. After you
have finished reading the instructions, put them away in
a safe place for future reference.
In some countries or regions, the shape of the power plug
and power outlet may sometimes differ from that shown
in the explanatory drawings. However, the method of
connecting and operating the unit is the same.
¶ This component cannot be operated alone; please use
in combination with the CD tuner XC-L11 or DVD/CD
tuner XV-DV77/DV88.
Operating Environment H045 En
Operating environment temperature and humidity:
+5
°C ­ +35°C (+41°F ­ +95°F); less than 85%RH (cooling
vents not blocked)
Do not install in the following locations
· Location exposed to direct sunlight or strong artificial
light
· Location exposed to high humidity, or poorly ventilated
location
VENTILATION: When installing this unit, make
sure to leave space around the unit for ventilation to
improve heat radiation (at least 30 cm at top, 15 cm at
rear, and 15 cm at each side).
WARNING: Slot and openings in the cabinet are
provided for ventilation and to ensure reliable
operation of the product and to protect it from
overheating, to prevent fire hazard, the openings
should never be blocked and covered with items, such
as newspapers, table-cloths, curtains, etc. Also do not
put the apparatus on the thick carpet, bed, sofa, or
fabric having a thick pile.
H040 En
IMPORTANT
FOR USE IN THE
UNITED KINGDOM
The wires in this mains lead are
coloured in accordance with the
following code:
Blue :
Neutral
Brown :
Live
If the plug provided is unsuitable for
your socket outlets, the plug must be
cut off and a suitable plug fitted.
The cutoff plug should be disposed of and must
not be inserted into any 13 amp socket as this
can result in electric shock. The plug or adaptor
of the distribution panel should be provided
with a 5 amp fuse. As the colours of the wires
in the mains lead of this appliance may not
correspond with coloured markings identifying
the terminals in your plug, proceed as follows:
The wire which is coloured blue must be
connected to the terminal which is marked with
the letter N or coloured black.
The wire which is coloured brown must be
connected to the terminal which is marked with
the letter L or coloured red.
Do not connect either wire to the earth
terminal of a three-pin plug.
NOTE
After replacing or changing a fuse, the
fuse cover in the plug must be replaced
with a fuse cover which corresponds to
the colour of the insert in the base of the
plug or the word that is embossed on the
base of the plug, and the appliance must
not be used without a fuse cover. If lost,
replacement fuse covers can be obtained
from your dealer.
Only 5 A fuses approved by B.S.I. or
A.S.T.A. to B.S. 1362 should be used.
¶ When using this product follow the instructions written on the underside of the unit, which concern rated voltage, etc.
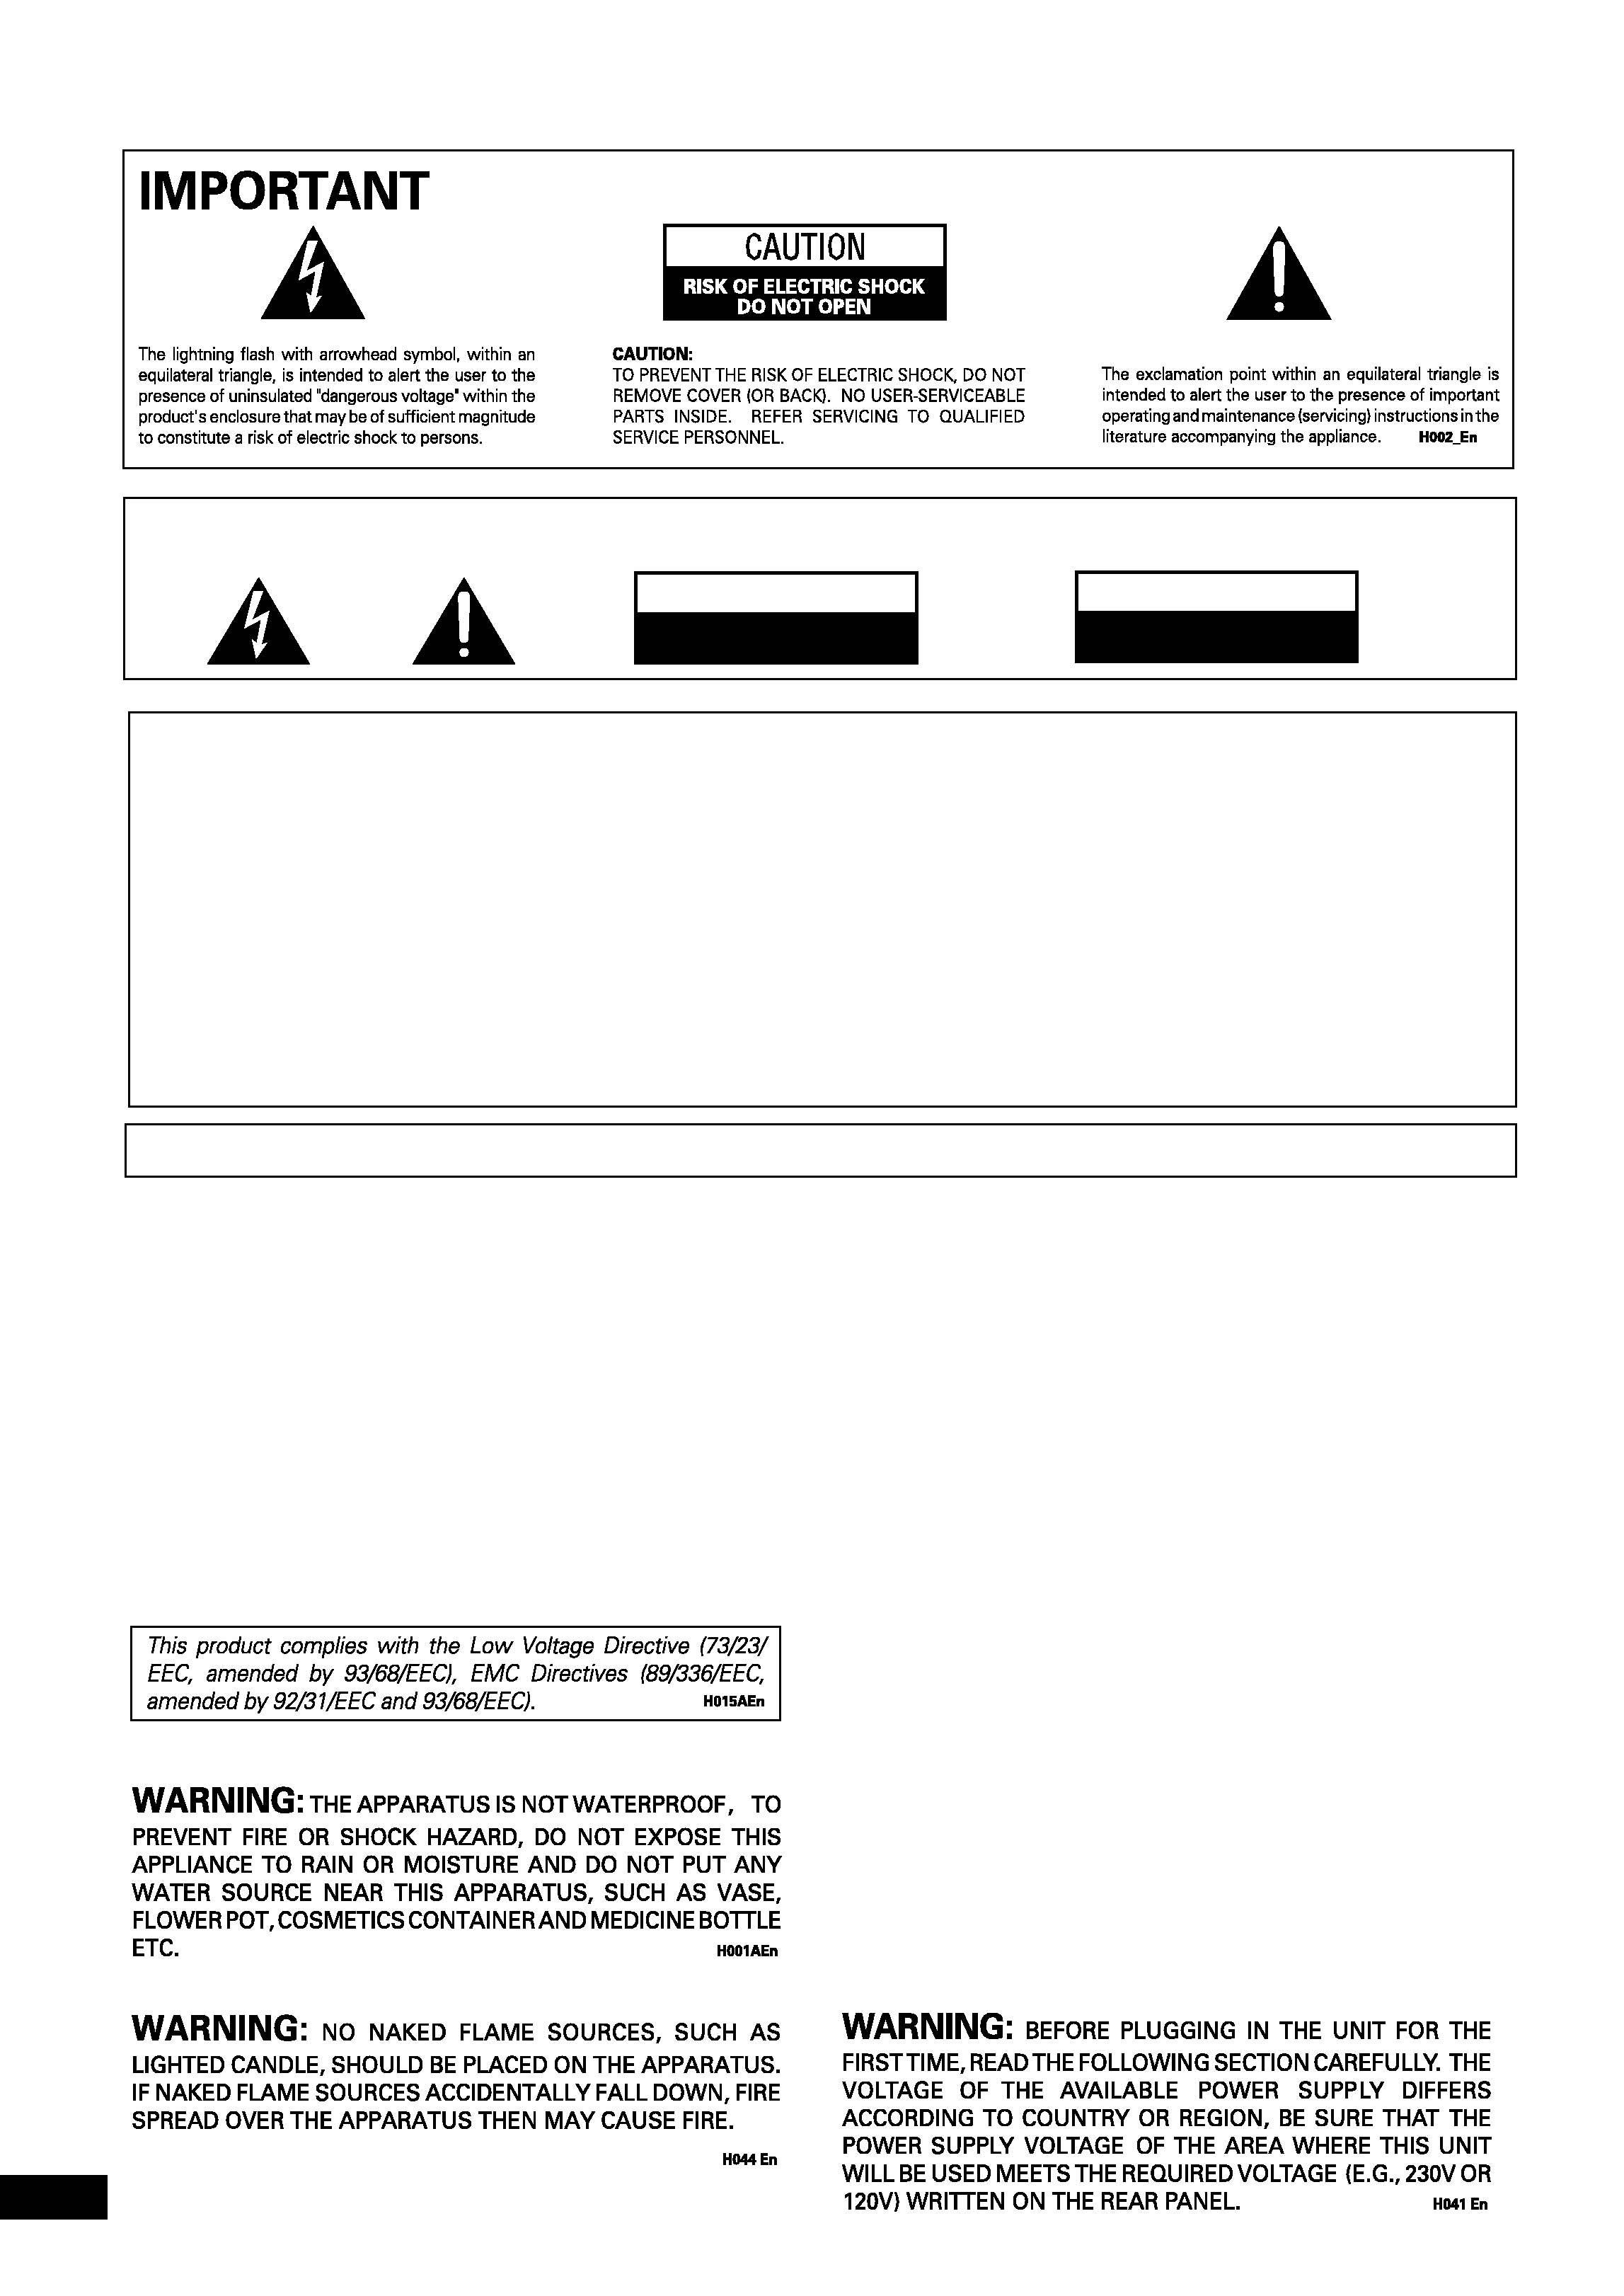
RISK OF ELECTRIC SHOCK
DO NOT OPEN
CAUTION
ATTENTION
DANGER D'ELECTROCUTION
NE PAS OUVRIR
Ces étiquettes se trouvent sur le fond de l'appareil.
These labels can be found on the unit's rear
panel.
background image
3
En
Contents
1 Connecting up
Connecting the system cable ...................................... 4
Connecting the power ................................................. 4
2 Controls and displays
Front panel ................................................................... 5
Display .......................................................................... 5
3 Using the Tape Deck
Playing tapes ................................................................ 6
Setting the reverse mode .......................................... 7
Resetting the tape counter ....................................... 7
Using Dolby Noise Reduction ................................... 7
Making tape recordings ............................................... 8
Automatically recording CDs and MDs .................... 9
Recording other sources ......................................... 10
Changing the system information ............................. 10
Recording using the timer ....................................... 11
Activating/deactivating the record timer .............. 12
4 Additional information
Using cassette tapes .................................................. 13
Tapes you should avoid ........................................... 13
Protecting your recordings ..................................... 13
Cleaning the tape heads ......................................... 13
Demagnetizing the tape heads ............................... 13
Troubleshooting ......................................................... 14
Specifications ............................................................. 14
background image
4
En
Connecting Up
1
Connecting the power
1 Plug one end of the supplied power cord
into the AC INLET.
2 Plug the other end into a household
power outlet.
Connecting the system cable
If you don't also own the optional MD recorder, this to
the CD tuner or DVD/CD tuner unit. If you want to
connect this unit and the optional MD recorder, connect
this unit to the MD recorder.
The CT-L11 connects directly to the XC-L11 CD (or XV-
DV77/DV88 DVD/CD) tuner or MJ-L11 (MD recorder). If
you are setting the whole system up for the first time, be
sure to also refer to the XC-L11 or XV-DV77/DV88 and
MJ-L11 manual for full installation and connection
details.
Important
Before making or changing any rear panel connections,
make sure that all the components are switched off and
unplugged from the power supply.
Note
The following illustrations are for the CD tuner rear
panel only. However, connections for the DVD/CD tuner
are the same.
·
Connect the cassette deck system cable to
the CD tuner or DVD/CD tuner or MD
recorder.
On the CD tuner and DVD/CD tuner, the socket is
labelled FROM MODEL MJ-L11 OR CT-L11.
On the MD recorder, the socket is labelled FROM
MODEL CT
-L11.
CD tuner
To insert, hold the connector and push firmly into the
socket until you hear it click home.
To remove, hold the connector securely on either side with
thumb and forefinger and pull out from the socket.
Ribbon cables
IMPORTANT: Never connect or disconnect the system
ribbon cables while the power plug is connected to the
wall outlet. Doing so may damage the unit.
Cassette deck
background image
5
En
2
Controls & Displays
ALL
NR
SYNCHRO
2
1 2
4
8
7
9
10
11
12
3
5
6
REC
Display
Front panel
PLAY
REC PAUSE
STEREO CASSETTE DECK
AUTO REVERSE
23
¶8
EJECT
STOP
0
7
!
23 PLAY (touch sensor)
¶8 RECORD PAUSE
Cassette loading slot
0 EJECT (touch sensor)
7 STOP
· Manufactured under license from Dolby Laborato-
ries. "Dolby" and the double-D symbol are
trademarks of Dolby Laboratories.
1
Record timer ­ page 11
2
Timer ­ page 11
3
Wake up timer page 11
4
Character display
5
# Lights when a tape is playing and blinks when in pause
6
Sleep timer ­ page 11
7
Lights when the optional tape deck is recording
(blinks when in record-pause)
8
Reverse mode ­ page 7
9
@# Tape direction ­ page 6
10 2NR Dolby Noise Reduction ­ page 7
11 REC Lights when recording to the optional tape or MD
deck
12 SYNCHRO Synchro recording (page 9. See also the
operating instructions supplied with the optional MD deck)

Reviews

There are no reviews of this manual yet.