5
<DRB1292>
En
FEATURES
This component is a compact disc player specially designed for use in discotheques, it combines the functions and
operating convenience needed in disco applications with the unique characteristics of the compact disc medium. Its
width is only one-half EIA size, the unit includes all the features of the CDJ-500-2.
SEAMLESS LOOP
Allows limitless, uninterrupted re-
peats of any portion of a track.
Setting the starting and ending points of
a loop is simple. Canceling the loop ends
the repeat play function, returning the
player to normal playback of the track.
Unbroken playback loops can be speci-
fied in any time range from one frame
(about 0.013 second) up to ten full min-
utes.
JOG DIAL
The large-diameter (89 mm) jog dial
allows the user to compensate mu-
sic beat in the same way common
to analog turntables.
Merely rotating the dial with the finger-
tips allows you to find the precise entry
point for tracks, moving in increments of
one-frame (1/75th second).
TEMPO CONTROL
Long-stroke (100 mm) high-precision
slider control allows exact control of
track speed.
The digital display with a 0.1% unit
readout provides simplified tempo con-
trol with higher accuracy.
¶ Two Tempo Control Ranges
The range of tempo adjustment can be
set to one of two ranges (±10% or ±16%)
making it easier to achieve desired adjust-
ment.
QUICK START
Pressing the button from the standby
mode produces instantaneous (0.01
second or less) music start.
Normal CD players require up to 0.3 sec-
onds from the standby mode to the pro-
duction of sound. The quick start function
virtually eliminates this time lag making
for smoother track-to-track splices.
MASTER TEMPO
Changes music tempo without
changing pitch.
With analog systems, changing track
speed results in a change in pitch. Mas-
ter Tempo Control takes advantage of the
unique features of digital medium ena-
bling track speed to be changed with no
deterioration of the original pitch.
REAL TIME LOOP
Allows setting of a loop in point on the fly.
Simple setting and cancellation of loops.
By activating the function while playing a
track, the user can select a loop's in and
out points on the fly as playback contin-
ues and can create a loop just instants be-
fore the end of a track, there by continu-
ing playback and preventing the track
from ending.
¶ Loop Adjust
One-touch modification of a loop's
out point.
The addition of a new ADJUST mode
makes it easier to change the point at
which a loop ends making the loop func-
tion even more convenient.
RELOOP
Allows you to return to a previously
set loop any number of times.
After canceling loop play, pressing the
RELOOP button returns play to the previ-
ously set loop. Endless new possibilities
are provided by mastering how to turn
loops on and off in conjunction with the
music rhythm.
¶ Short Cut
As a subfunction of the reloop func-
tion, unwanted portions of a track
can be eliminated and the remainder
combined for seamless loop play.
For example, a new track could be cre-
ated by combining the introduction and
ending of an existing track.
CUE
Full cueing functions.
¶ Back Cue Function
Pressing the CUE button after listen-
ing to sound from a cue point returns
the pickup to the cue point and al-
lows play to restart from there.
The back cue function allows you to re-
turn any number of times to a preselected
cue point by pressing a single button.
¶ Auto Cue Function
Automatic bypassing of the non-re-
corded part of track introductions,
cueing the track to a standby point
immediately before sound starts.
This function allows instantaneous start
of playback when the PLAY button is
pressed.
¶ Cue Point Sampler Function
Allows playing up to ten minutes of
sound from a preselected cue point.
This function is convenient for confirm-
ing a cue point or creating a track sam-
pler. Its on-the-fly setting of cue points
greatly facilitating the selection and
change of cue point
s.
RELAY PLAY
Connect two CDJ-700S decks.
If two units are connected, when playback
of a track comes to an end on one deck,
standby mode on the second deck is re-
leased instantly beginning playback on
that deck.
HEADPHONES JACK
Built-in headphones jack with vol-
ume control.
A headphones jack is located on the rear
panel allowing the monitoring of sound
at any time.
PICKUP PROTECTOR
Whenever the disc compartment door is
opened, a shutter closes over the pickup
section protecting the pickup and motor
from tobacco smoke, dust and other for-
eign matter.
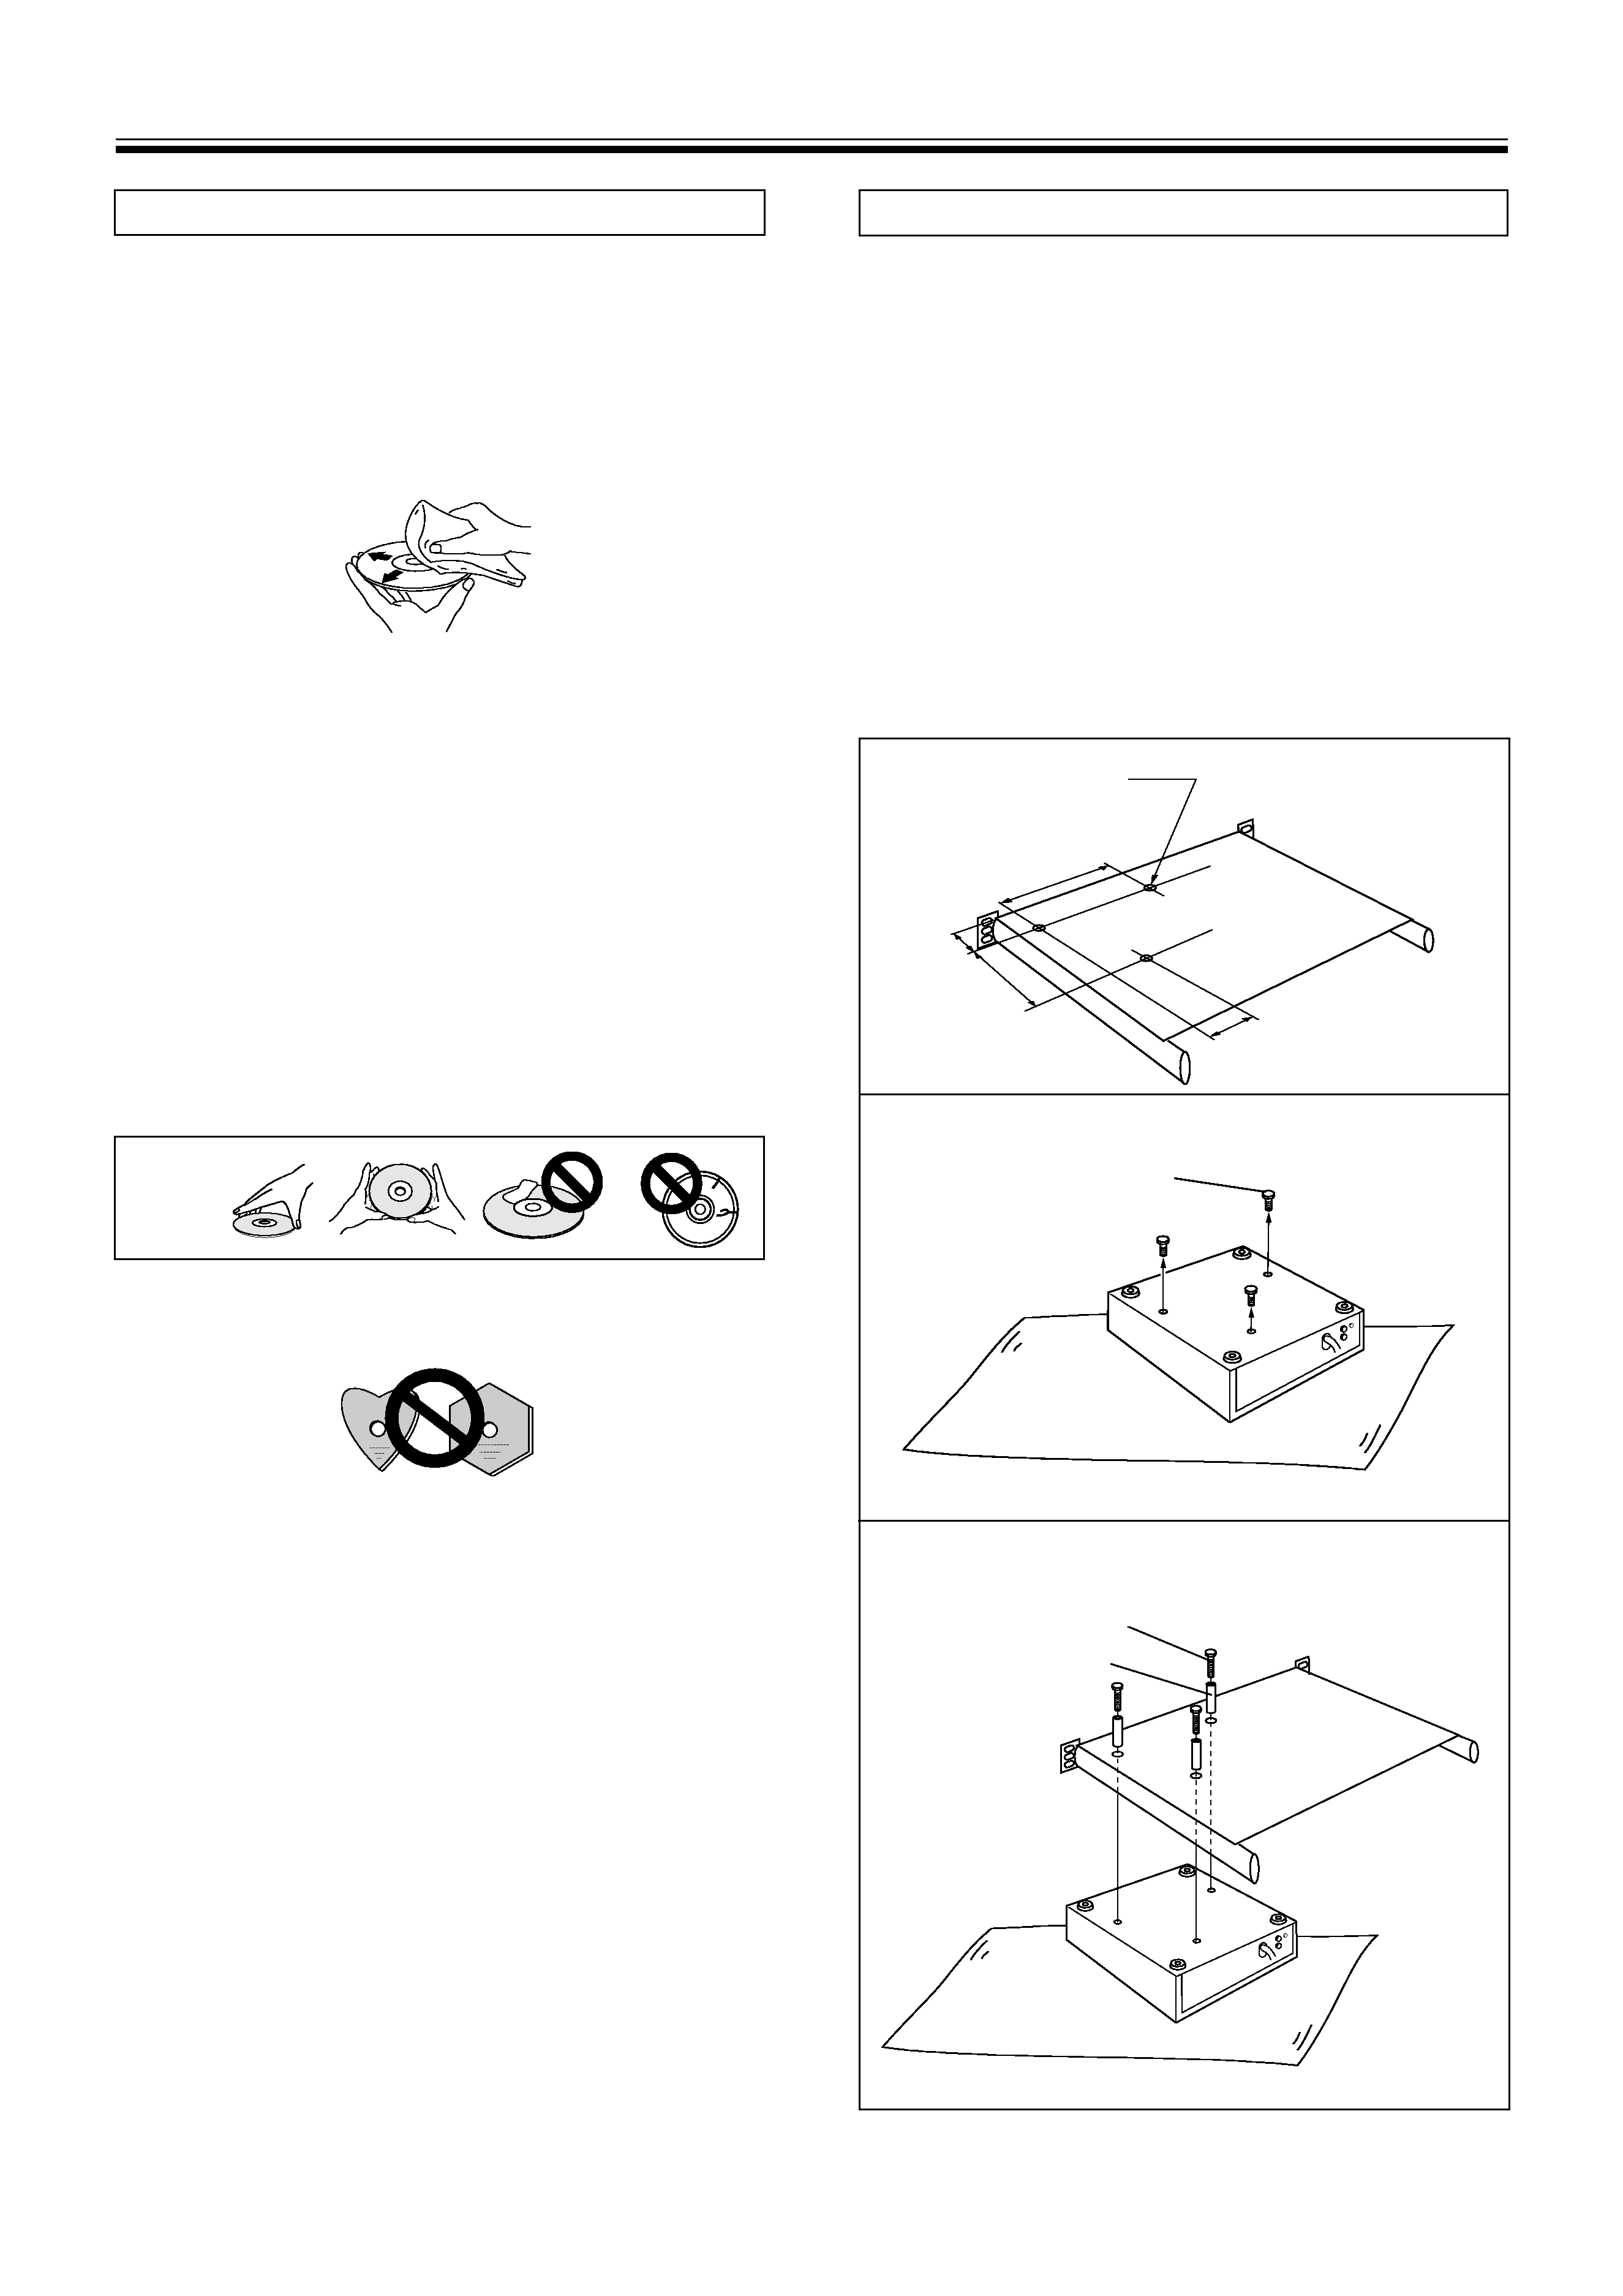
INCLINED MOUNT
45°Tilt Mounting
The deck can be mounted at an angle of 0
to 45° (tilting toward the user) for greater
range
of use.
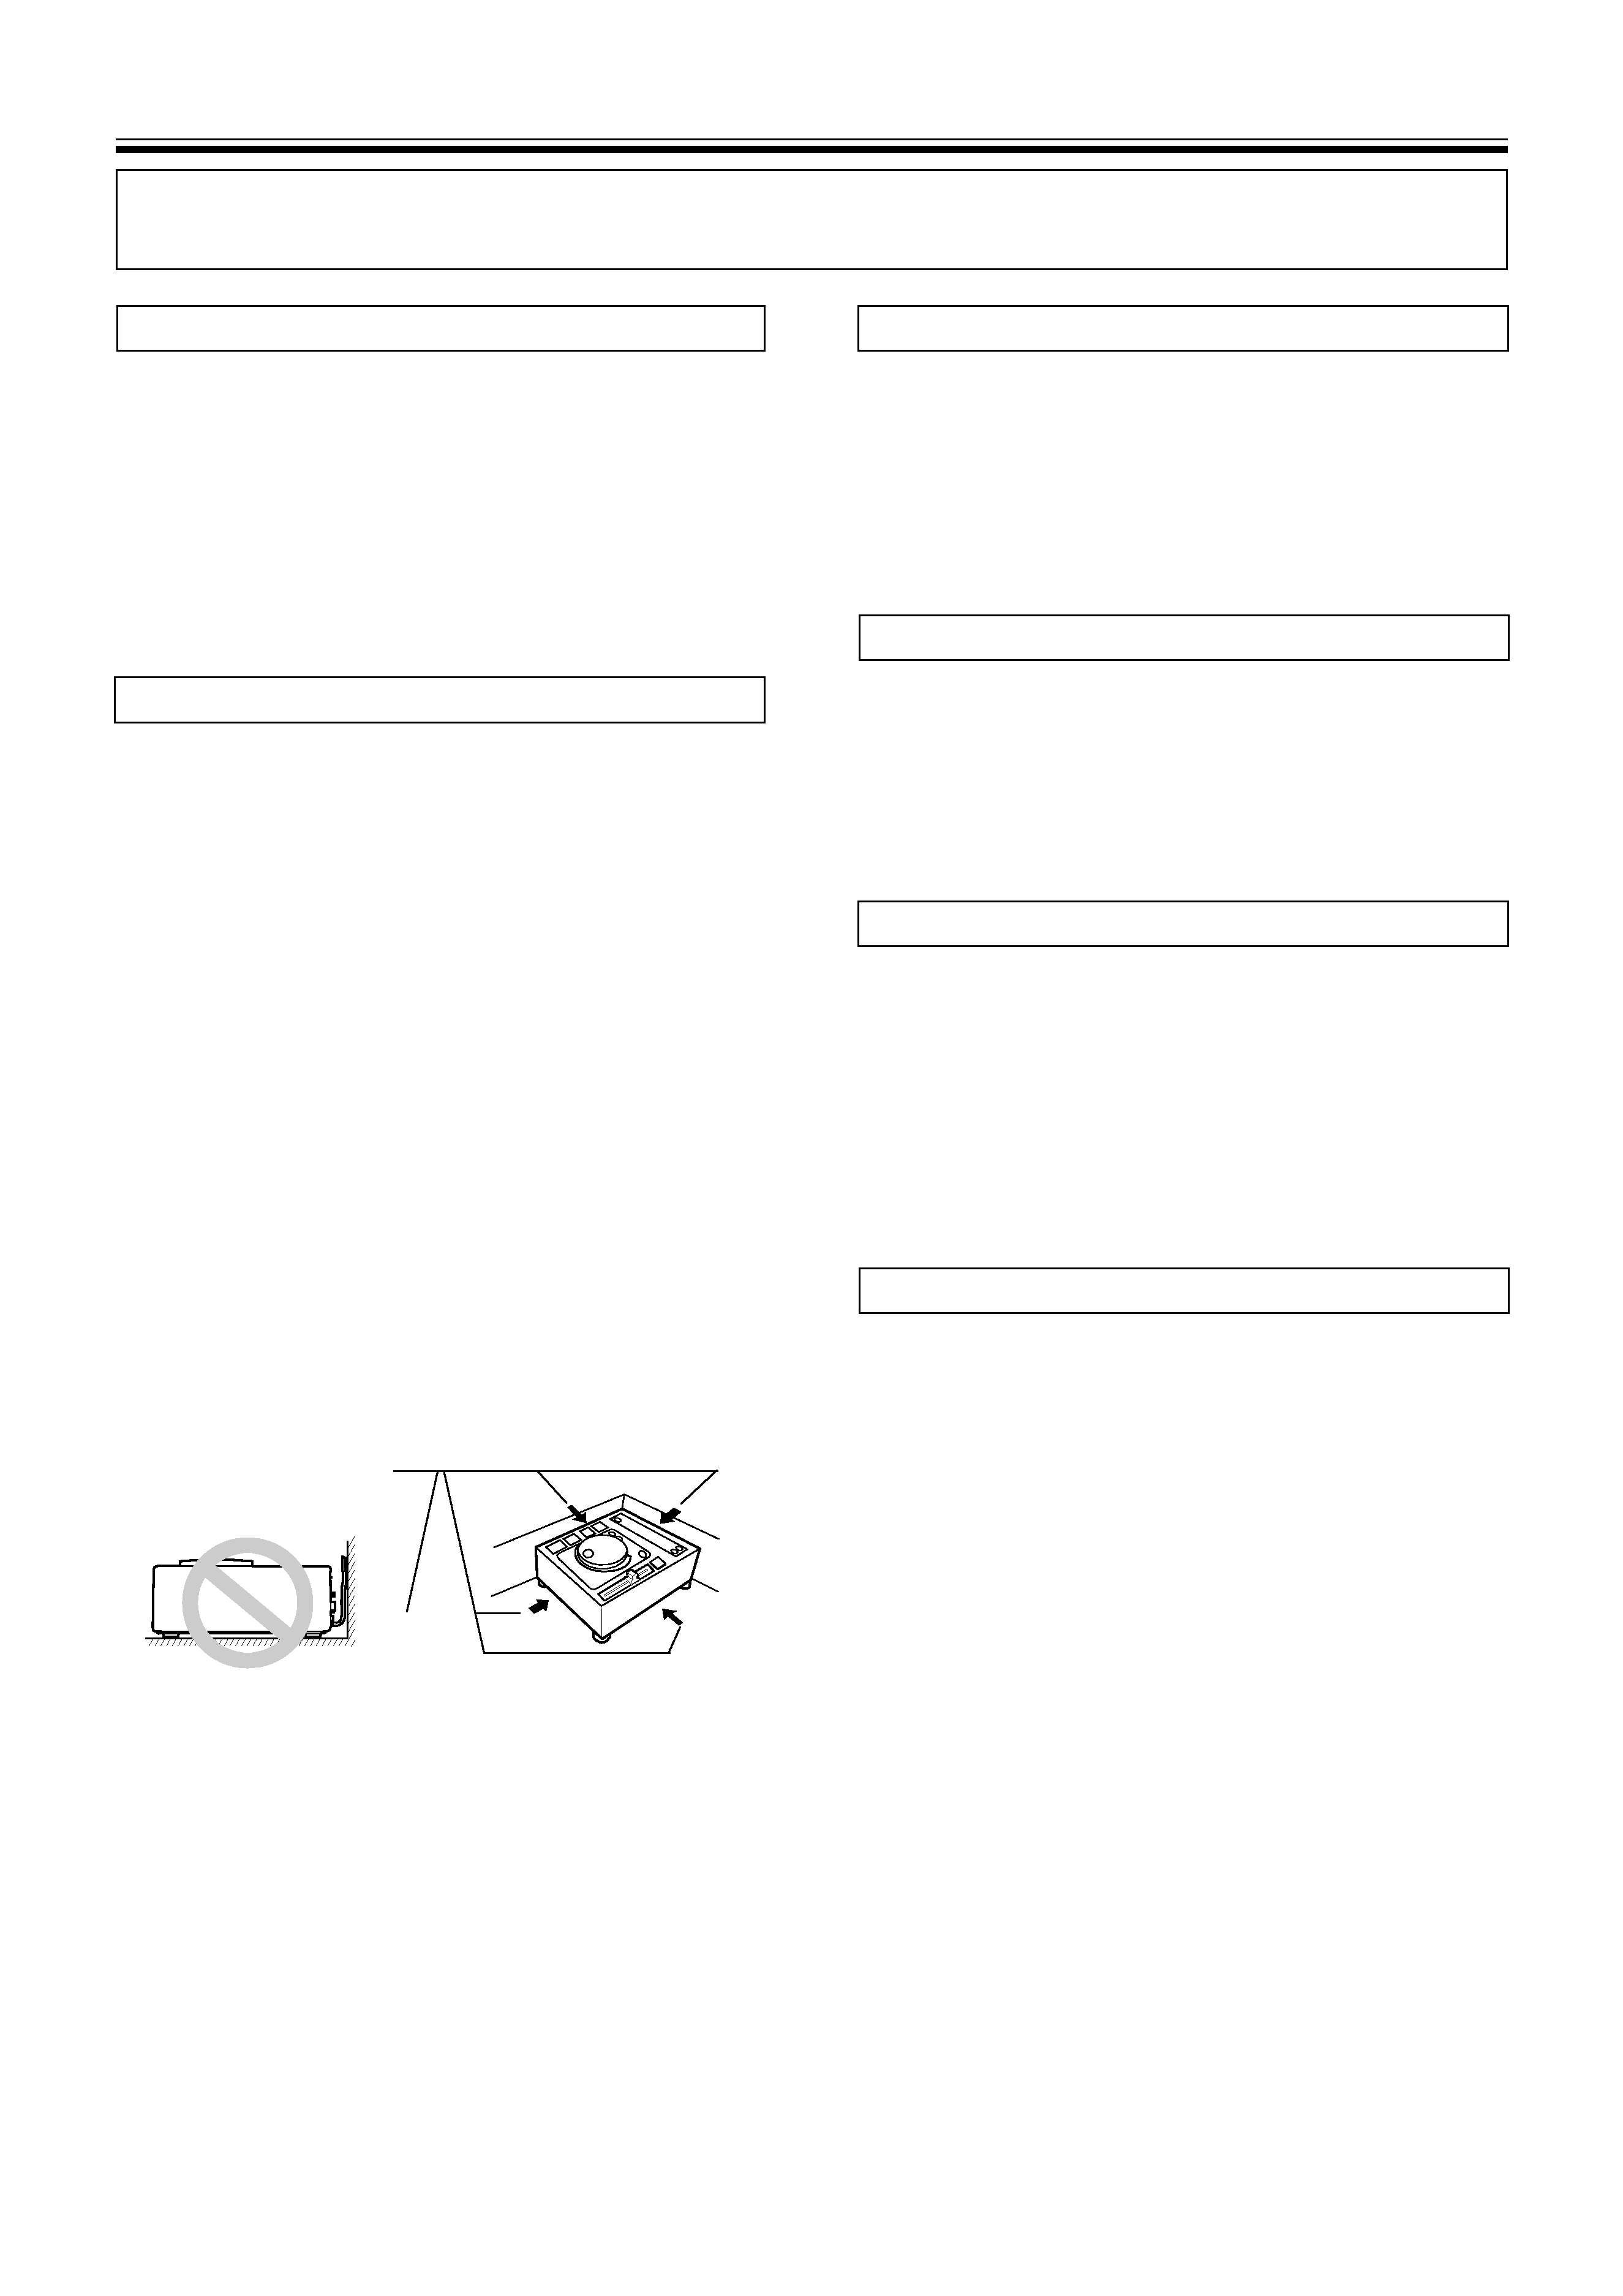
OIL-DAMPED SUSPENSION
Oil-damped floating suspension pro-
tects against vibrations and impacts.
The player has been designed with an oil-
damped floating suspension to prevent
sound skipping even when the unit is sub-
jected to impacts during use or floor-
transmitted vibrations. The case incorpo-
rates a specially insulated disc compart-
ment capable of withstanding the high
sound pressures produced in disco envi-
ronments.
BEFORE OPERATIONS
DJ SYSTEM
With a panel depth and height the same
as Pioneer's DJ Mixer DJM-300, this unit
facilitates use in an integrated system.
PLAYING ADDRESS
Analog bar graph gives direct indi-
cation elapsed and remaining play-
ing time.
This bar graph provides a direct visual
readout of the progress of the track play-
back, comparable to the moving needle
position on an analog record. The length
of the bar gives the user immediate
knowledge of the current location on the
track, and the flashing bar display warns
of the impending end of track.