Upgraded-
2
Features
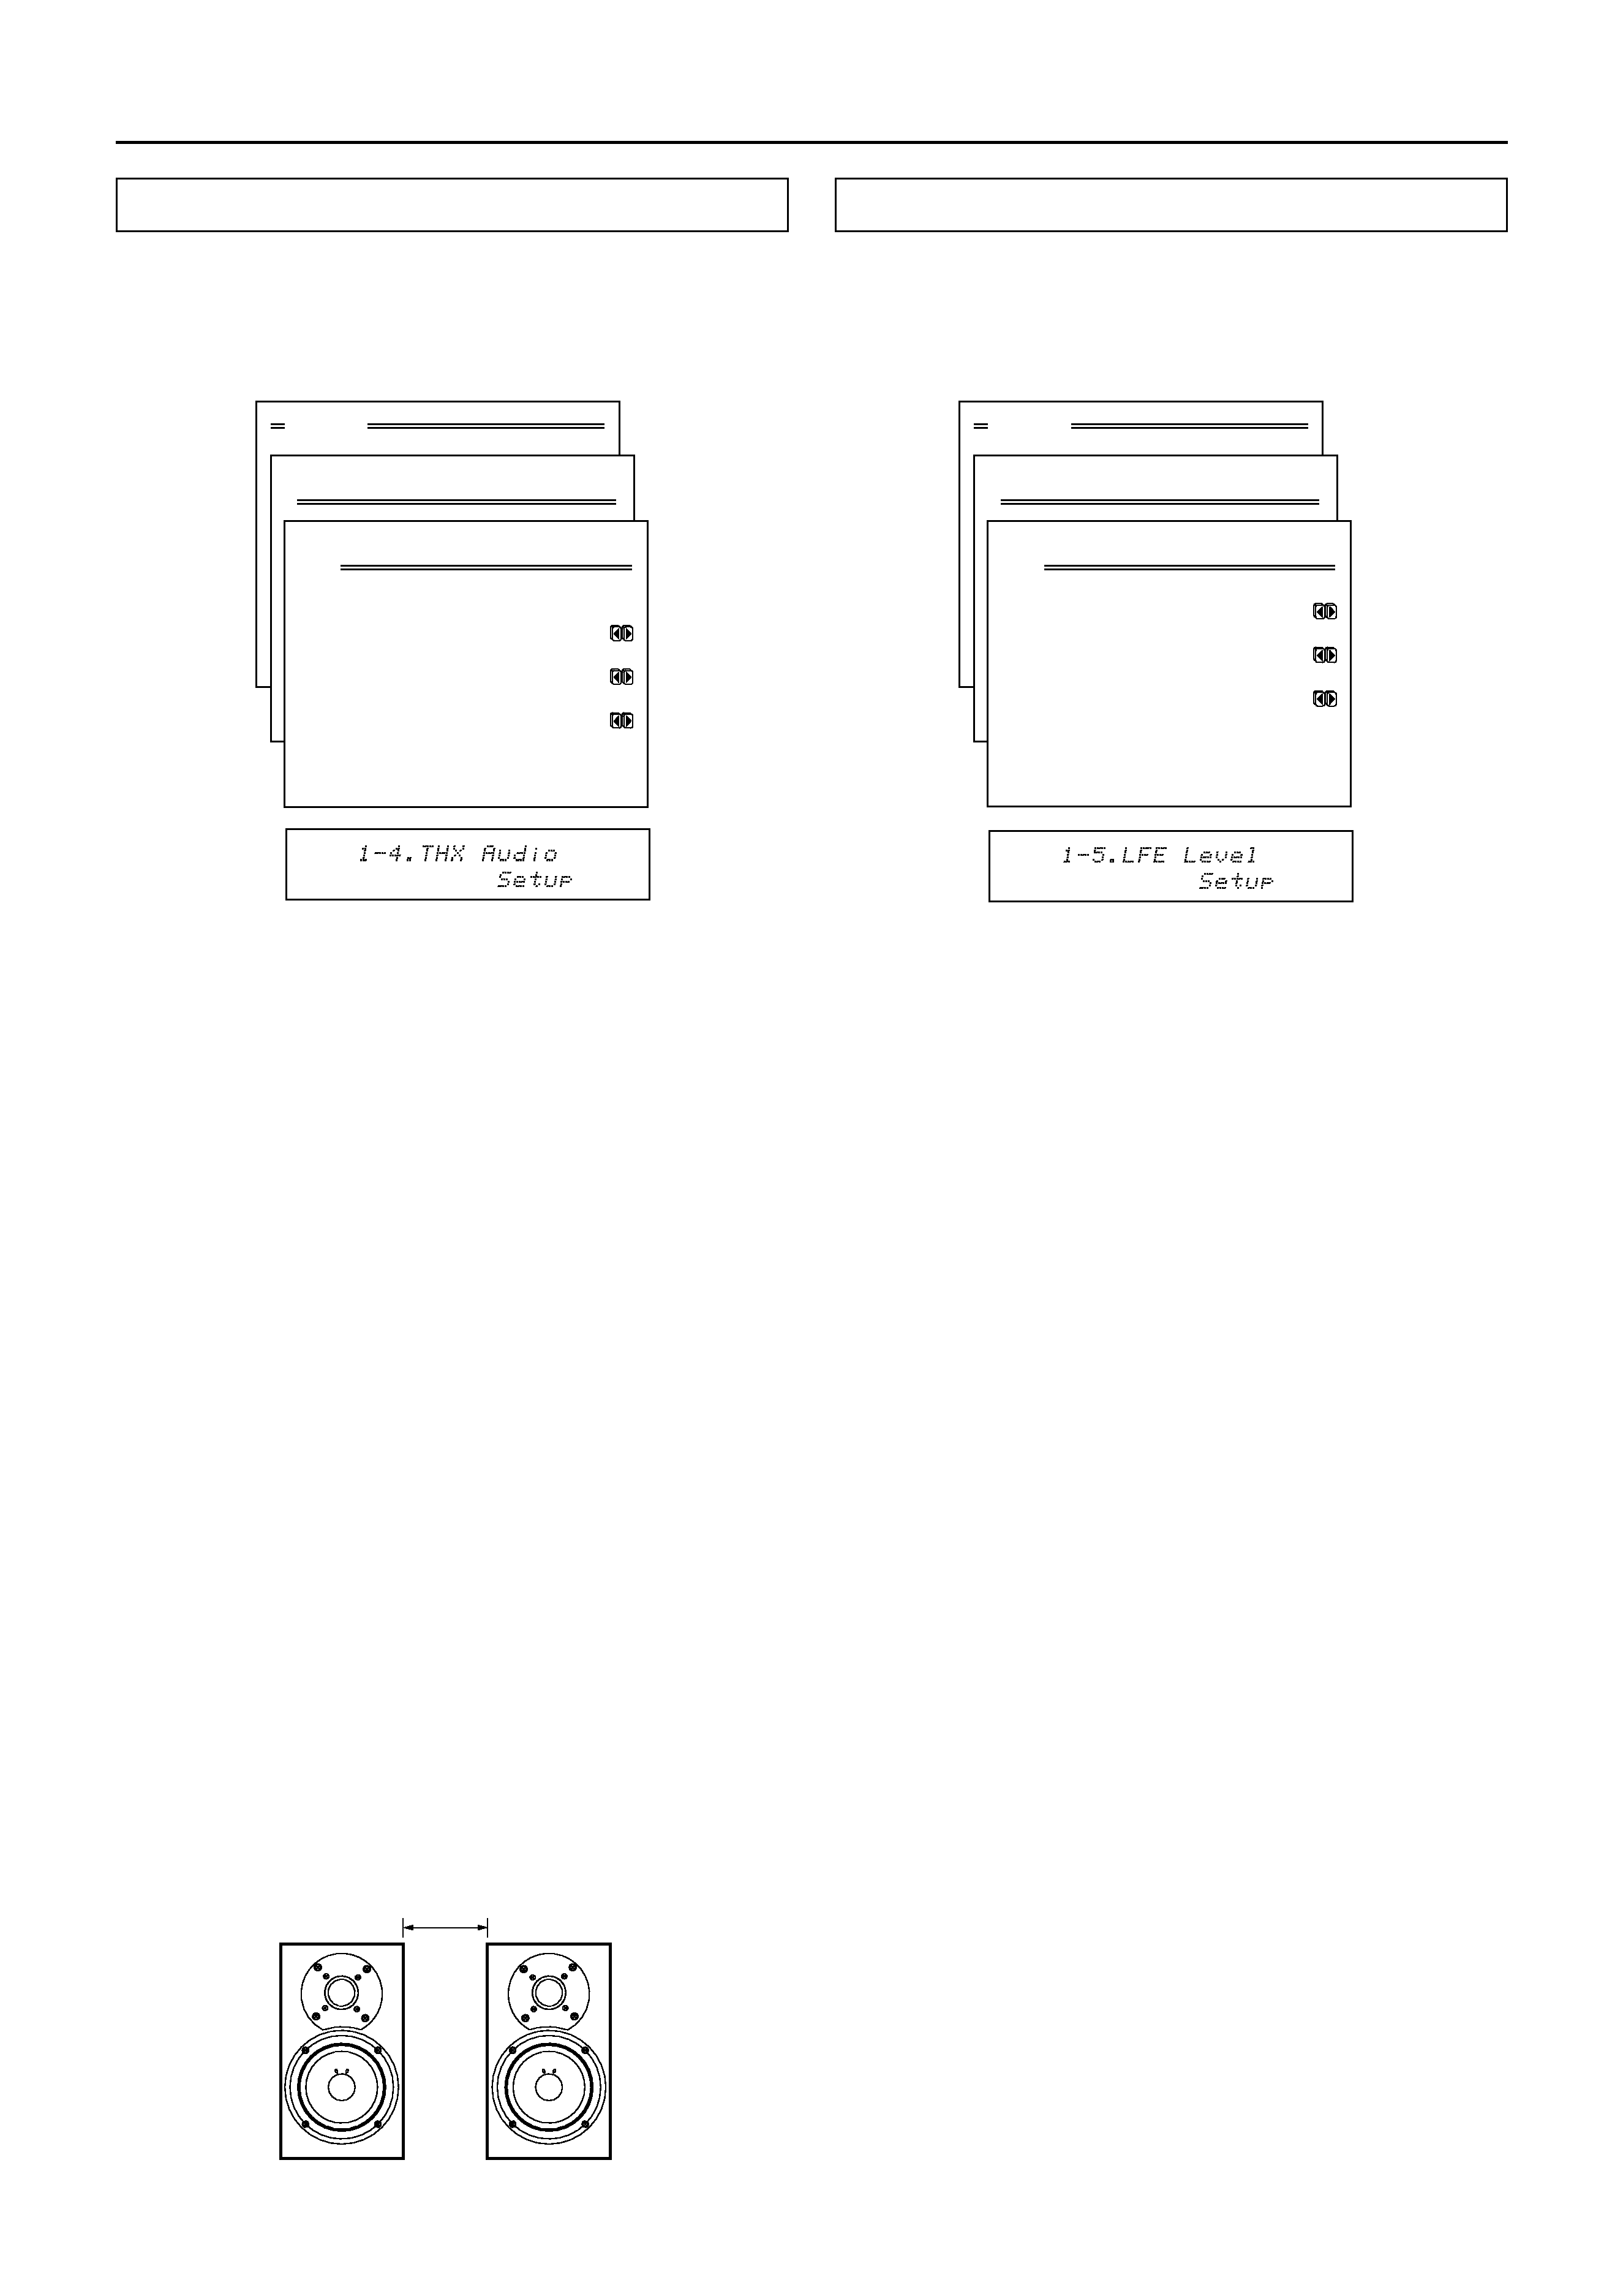
I THX Ultra2
The new THX Ultra2 standard from Lucasfilm ensures
the highest sound and picture quality and the most
reliable operation. The THX Ultra2 adds the THX Ultra2
Cinema mode and THX MusicMode to the
conventional THX Cinema mode to create the
optimum sound space for both music and movies.
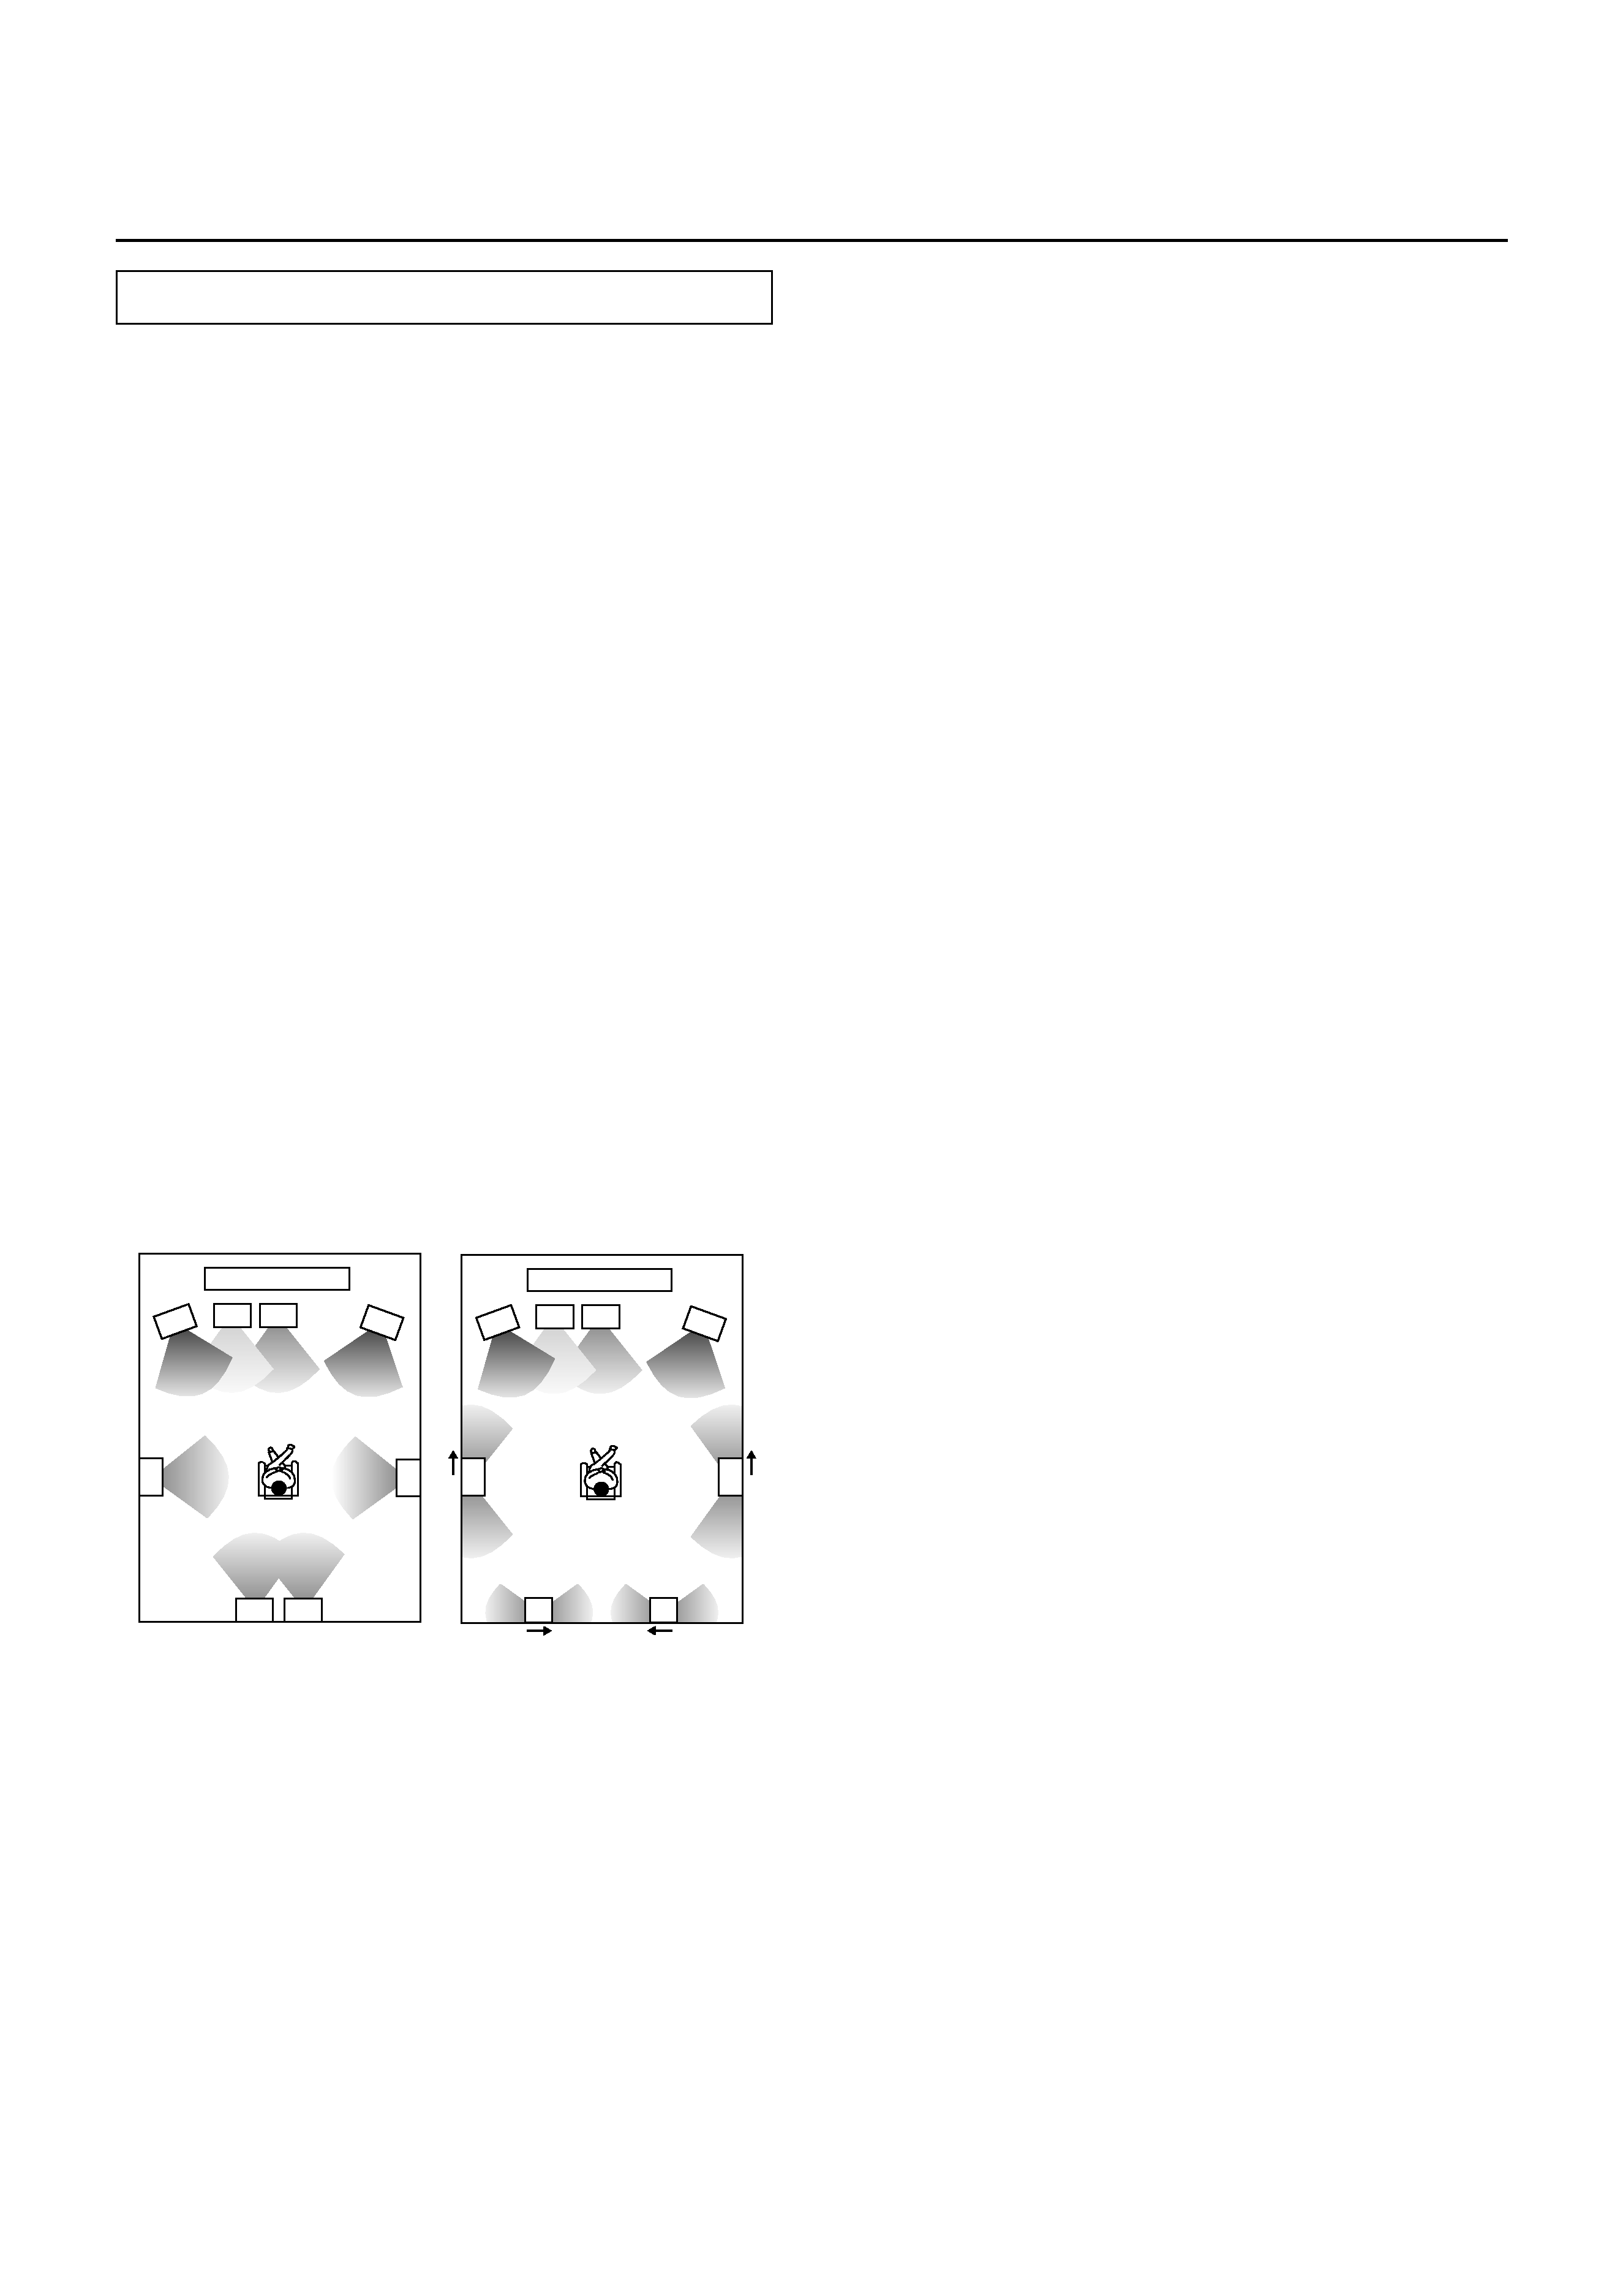
THX Ultra2 Cinema: When performing 7.1 ch playback
of Dolby Digital, DTS, or other 5.1 ch movie sources,
THX Ultra2 Cinema analyzes the surround components
to create surround back channels for the optimum
ambient and directional surround sound. This new THX
Ultra2 mode provides a wider sound space to the
sides and rear and a heightened feeling of the sound
positioning.
THX MusicMode: This is a new mode provided with THX
Ultra2 and meant for the playback of music software
sources. THX MusicMode converts 5.1 ch multi-
channel music sources to 7.1 ch playback with a
virtual rear sound from the surround speakers and
surround back speakers. The rear sound space is
created with the consistency and spaciousness
optimum for music playback.
I DTS 96/24
The upgraded unit is equipped with the newest audio
format DTS 96/24 decoder developed by DTS. It is the
world's first 96-kHz/24-bit-compatible compression
audio format standard for 96-kHz/24-bit, 5.1 ch, high-
quality multi-channel playback.
I DTS-ES Extended Surround Decoder
·
DTS-ES Discrete 6.1
This is a new format that all 6.1 ch including added
surround back channels are recorded discretely in
digital. Because all channels are recorded separately,
you can enjoy surround sound with higher separation.
·
DTS-ES Matrix 6.1
In this format, sound for added surround back
channels is inserted respectively into left and right
surround channels with matrix-encoded, and when
playing the high precision matrix decoder decodes
the inserted sound for surround back channels.
I DTS Neo:6
This mode uses a high precision matrix decoder to
play 2ch sound as 6.1ch sound. Full-band (frequency
response: 20 Hz to 20 kHz) playback is available for all 6
channels and you can feel the channel separation of
digital discrete level. In addition, you can choose a
playback mode from Cinema (for movies) and Music
(for music) depending on the source you want to
play.
I Dolby* Digital EX
Dolby Digital Surround EX takes a Dolby Digital 5.1 ch
movie surround track and adds a third surround
channel for output through a speaker placed behind
the viewers. Even though it is hard to create the sound
space behind those sitting at the ends of rows in
movie theaters, by creating this independent
surround channel behind the viewer and adding it to
the existing left and right surround channels, the
heightened feeling of presence essentially draws you
into the scene. The information for the added rear
channel is encoded into the left and right surround
channels of normal 5.1 Dolby Digital surround tracks.
Movie theaters equipped with the Dolby Digital
Surround EX decoder can extract the information for
the third surround channel. When movies shown using
Dolby Digital Surround EX are released on DVDs or 5.1
ch digital television broadcasts as well, the
information for the third surround channel is encoded
within. With the Dolby Digital EX decoder in your home
theater, you can extract the third surround channel
and experience the movie with the surround back
channel for the sound space that the producer of the
movie desired. Just as it is at movie theaters, there is no
loss of audio quality or data with the normal 5.1 ch
Dolby Digital playback.
I Dolby* Pro Logic decoder
This is a surround decoding method which the Dolby
Laboratories Inc. suggests. This method uses feedback
logic circuits to restore the signal that is matrix-
encoded to 2 channel, enabling 5.1 ch playback with
maintaining separation as high as Dolby Digital. In this
mode, either analog or digital signal can be
decoded. There are two modes for Dolby Pro Logic
: Movie and Music. The Movie mode is optimized for
playing movies. You can play the dubbed speech
recorded in Dolby surround and enjoy the videos with
2 ch sound like old movies in 5.1 ch playback full of live
presence. The Music mode will provide more sound
space and clearer 3D sound image localization.
Since the new playback formats above are added, the
former listening modes such as DTS Film, MPEG Film,
Action and Musical are organized into new listening
modes. After this, some setup parameters are also
updated.
In addition, the following functions are upgraded.
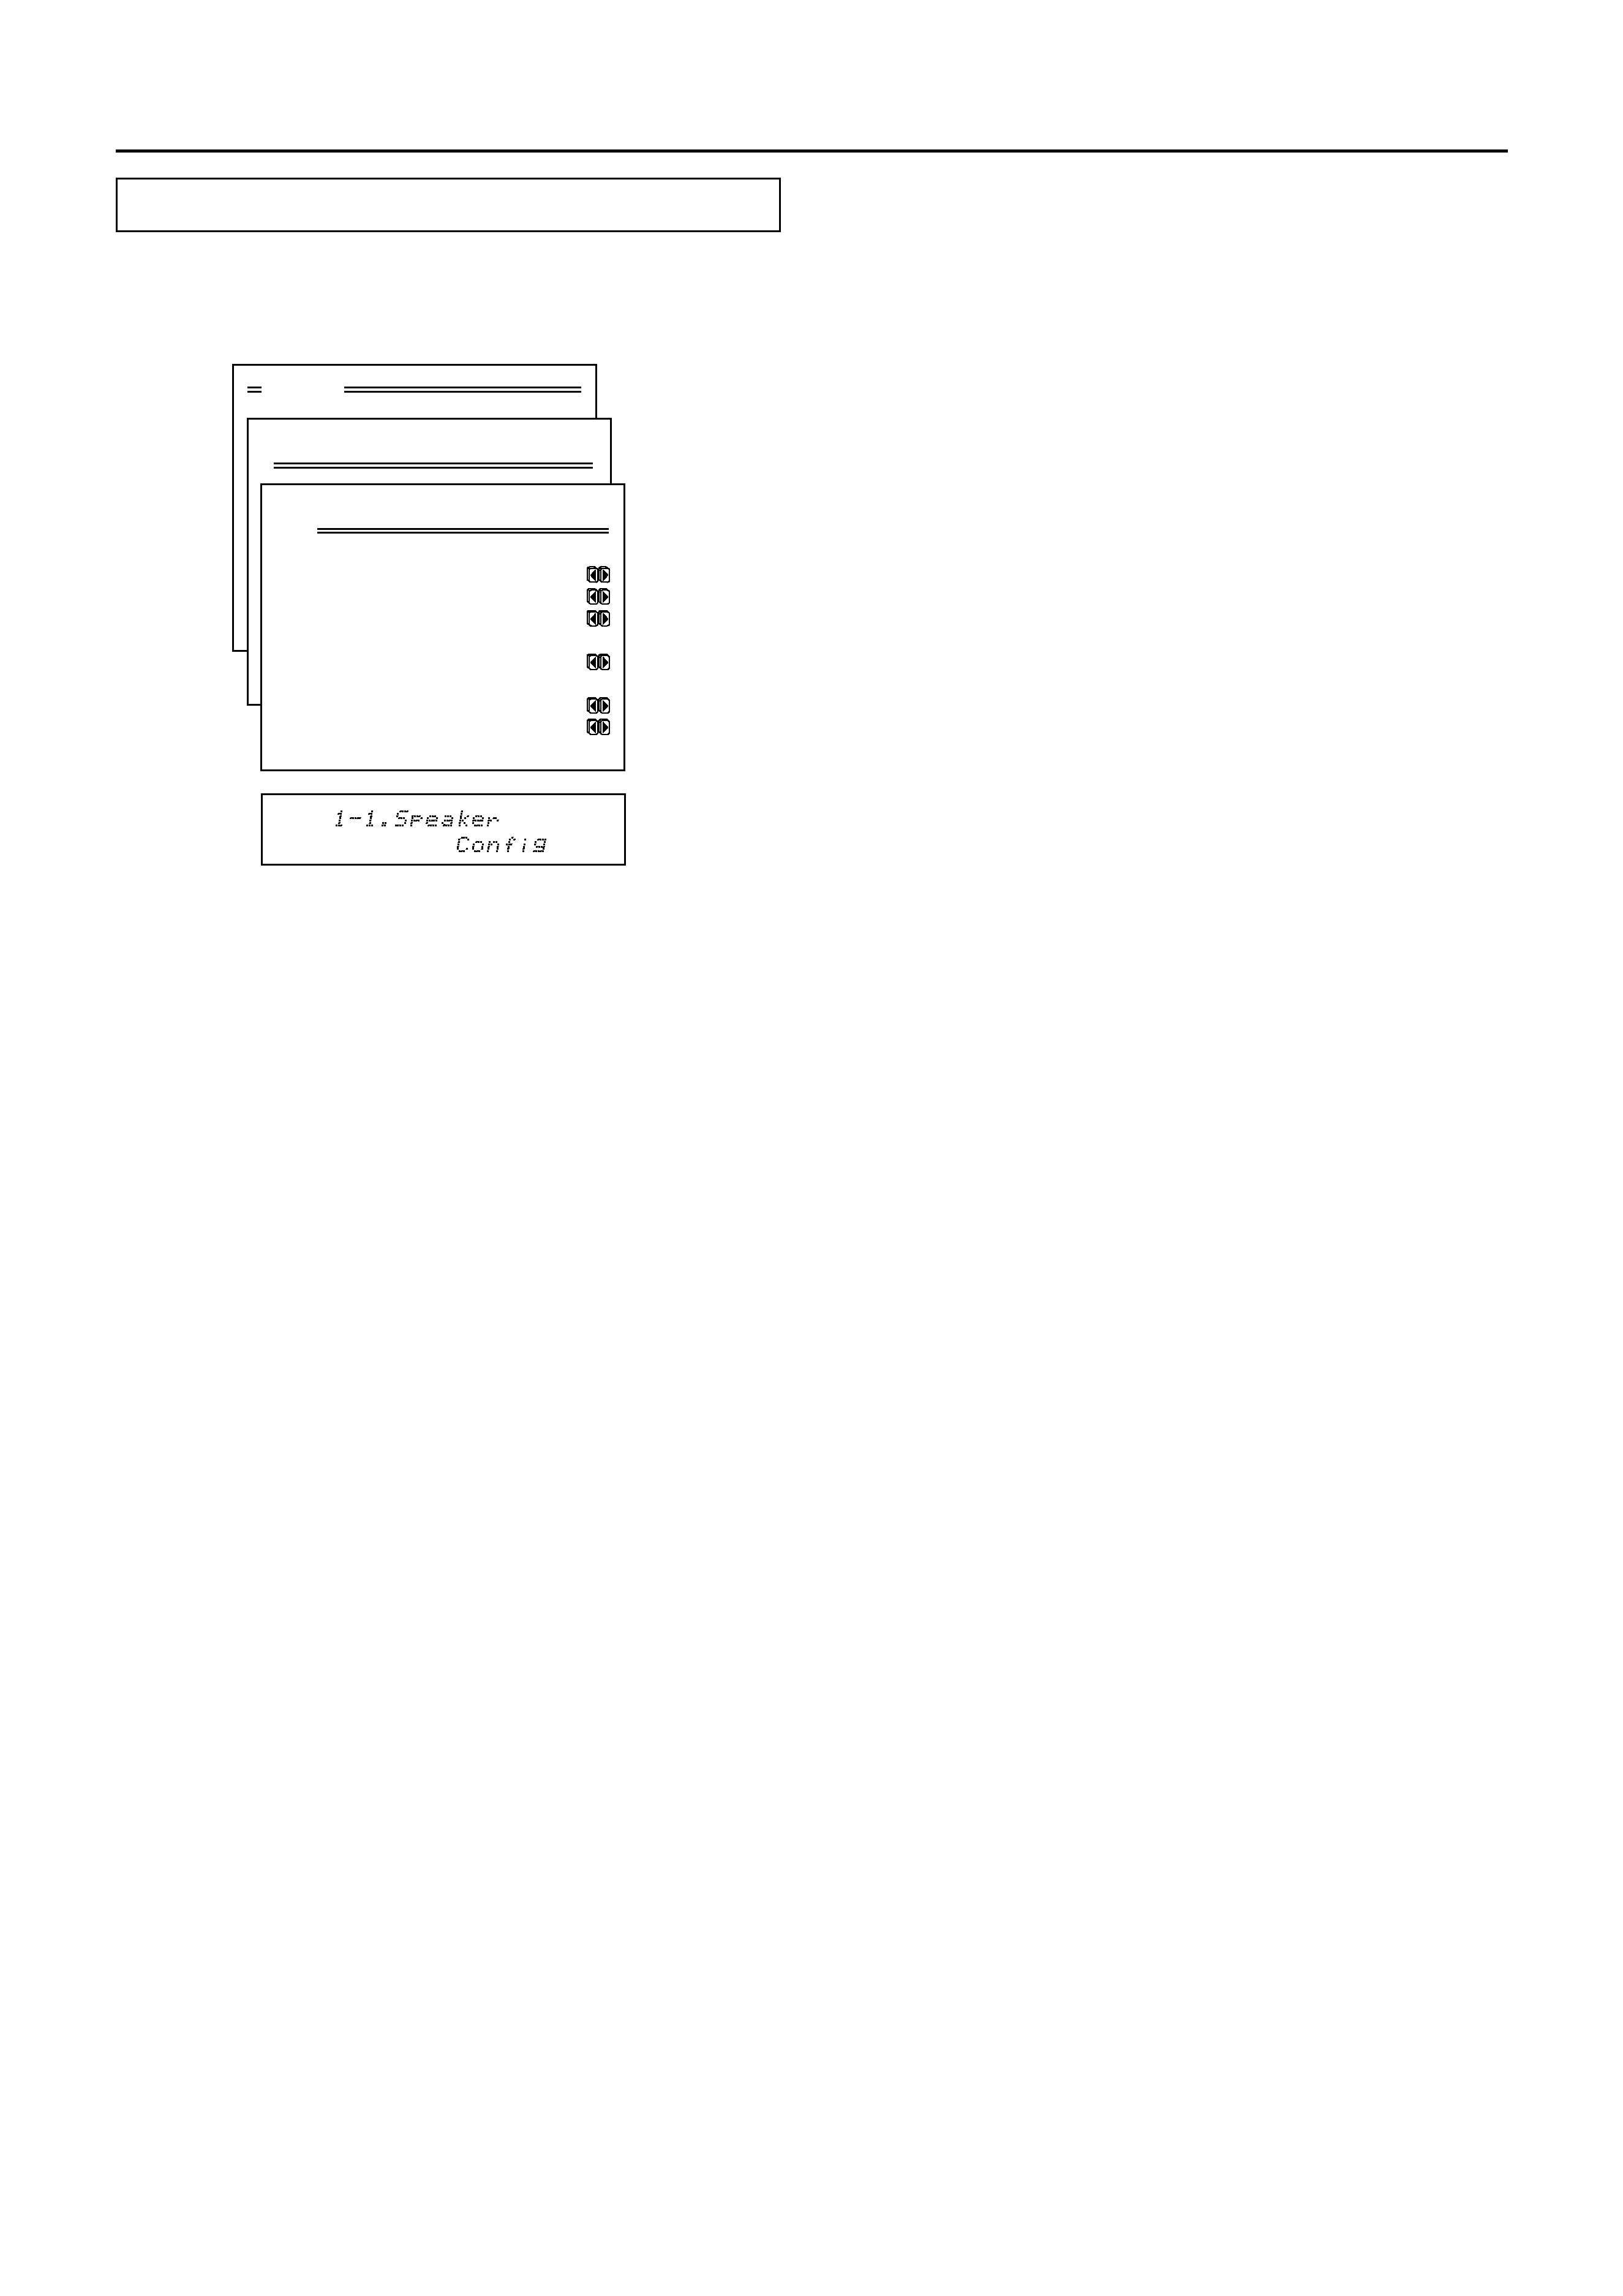
I Crossover Adjustment
The crossover adjustment enables you to adjust the
bass range for the subwoofer according to the sizes of
your other speakers.
I 96 kHz/24 bit upsampling for analog sound
Analog sound signals from VCRs and other sources
can now be treated as digital signals and processed
with 96 kHz upsampling and 24 bit quantization. This
enables more accurate sound playback.
I Extension of A/V Sync function
You can set the A/V Sync function parameters in the
range of 0 to 120 ms.
* Manufactured under license from Dolby Laboratories.
"Dolby," "Surround EX," "Pro Logic" and the double-D symbol are trademarks of Dolby Laboratories.
· Lucasfilm and THX are trademarks or registered trademarks of Lucasfilm, Ltd. Copyright Lucasfilm Ltd. &TM. Surround EX is a jointly
developed technology of THX and Dolby Laboratories, Inc. All rights reserved. Used under authorization.
· Manufactured under license from Digital Theater Systems, Inc. US Pat. No.5,451,942 and other worldwide patents issues and
pending. "DTS," "DTS-ES Extended Surround," and "Neo:6" are trademarks of Digital Theater Systems, Inc. © 1996 Digital Theater
Systems, Inc. All rights reserved.
· "Theater-Dimensional" is a trademark of Onkyo Corporation.