NAD 517 Owner's Manual

Cover page of NAD 517 Owner's Manual

Owner's Manual for NAD 517, downloadable as a PDF file.

Manual details

  • Immediate download after payment.
  • Delivered as a PDF file.
  • The manual has 52 pages
  • File size: 0.17 MB
  • Available language versions: Portuguese, French, English, German, Italian
  • Different language versions may vary sligthly in file size and page count.

We guarantee that...

  • our manuals are complete,
  • our manuals are checked with antivirus,
  • We'll issue refund if the manual is damaged, incomplete or unreadable (our refund policy)

Sample pages

Thumbnail of page 1Thumbnail of page 2Thumbnail of page 3Thumbnail of page 4
Thumbnail of page 5Thumbnail of page 6Thumbnail of page 7Thumbnail of page 8
Thumbnail of page 9
background image
GB
F
D
E
I
S
NAD
517
· OWNER'S MANUAL
· MANUEL D'INSTALLATION
· BEDIENUNGSANLEITUNG
· MANUAL DEL USUARIO
· MANUALE DELLE ISTRUZIONI
· BRUKSANVISNINGARNA
background image
GB
F
D
E
I
S
NAD
517
· OWNER'S MANUAL
· MANUEL D'INSTALLATION
· BEDIENUNGSANLEITUNG
· MANUAL DEL USUARIO
· MANUALE DELLE ISTRUZIONI
· BRUKSANVISNINGARNA
background image
REAR PANEL CONNECTIONS (Figure 1.)
WARNING:TO PREVENT FIRE OR ELECTRIC
SHOCK, DO NOT EXPOSE THIS APPLIANCE
TO RAIN OR MOISTURE
CAUTION: TO PREVENT ELECTRIC SHOCK DO
NOT USE THIS POLARISED PLUG WITH AN
EXTENSION CORD RECEPTACLE OR OTHER
OUTLET UNLESS THE BLADES CAN BE FULLY
INSERTED TO PREVENT BLADE EXPOSURE.
ATTENTION: POUR PREVENIR LES CHOCS ELEC-
TRIQUES NE PAS UTILISER CETTE FICHE
POLARISEE AVEC UN PROLONGATEUR, UNE
PRISE DE COURANT OU UNE AUTRE SORTIE DE
COURANT, SAUF SI LES LAMES PEUVENT ETRE
INSEREES A FOND SANS EN LAISSER AUCUNE
PARTIE A DECOUVERT.
The lightning flash with arrowhead, within an equilateral tri-
angle is intended to alert the user of the presence of unin-
sulated "dangerous voltage" within the product's enclo-
sure; that may be of sufficient magnitude to constitute a
risk of electric shock to persons.
The exclamation point within an equilateral triangle is intend-
ed to alert the user of the presence of important operating
and maintenance (servicing) instructions in the literature
accompanying the appliance
Note to CATV system installer: This reminder is provided
to call the CATV installer's attention to Article 820-40 of the
NEC , which provides guidelines for proper grounding and,
in particular, specifies that the cable should be connected
to the grounding system of the building, as close to the
point of cable entry as practical.
NAD
2
CLASS 1 LASER PRODUCT
LUOKAN 1 LASERPLAITE
KLASS 1 LASERAPPARAT
WARNING! INVISIBLE LASER RADIATION WHEN OPEN AND INTERLOCKS DEFEATED.
AVOID EXPOSURE TO BEAM.
VORSICHT! UNSICHTBARE LASERSTRAHLEN TRITT AUS, WENN DECKEL GEÖFFNET
UND WENN SICHERHEITSVERRIEGELUNG ÜBERBRÜCKT IST. NICHT DEM STRAHL
AUSSETZEN.
ADVARSEL - USYNLIG LASERSTRÅLING VED ÅBNING, NÅR SIKKERHEDSAFBRYDERE
ER UDE AF FUNKTION.UNDGÅ UDSÆTTELSE FOR STRÅLUNG.
ADVARSEL - USYNLIG LASERSTRÅLING NÅR DEKSEL ÅPNES OG SIKKERHEDSLÅS
BRYTES. UNNGÅ EKSPONERING FOR STRÅLEN.
VARNING - OSYNLIG LASERSTRÅLNING NÄR DENNA DEL ÄR ÖPPNAD OCH SPÄRRAR
ÄR URKOPPLADE. STRÅLEN ÄR FARLIG.
VARO! - AVATTAESSA JA SUOJALUKITUS OHITETTAESSA OLET ALTTIINA
NÄKYMÄTÖNNTÄ LASERSÄTEILYLLE. ÄLÄ KATSO SÄTEESEEN.
CAUTION
RISK OF ELECTRIC
SHOCK DO NOT OPEN
ATTENTION:
RISQUE DE CHOC ELECTRIQUE
NE PAS OUVRIR
CAUTION: TO REDUCE THE RISK OF ELECTRIC
SHOCK, DO NOT REMOVE COVER (OR BACK).
NO USER SEVICEABLE PARTS INSIDE.
REFER SERVICING TO QUALIFIED
SERVICE PERSONNEL.
AFIN DEVITER UN CHOC
ELECTRIQUE, ET LES
CONSEQUENCES GRAVES
QUI POURRAIENT EN
RESULTER, TENTEZ PAS
D'OUVRIR L'APPAREIL ET
DE TOUCHER AUX
COMPOSANTS INTERNES
SANS LA PRESENCE D'UNE
SERVICE PERSONNEL.
THIS DIGITAL APPARATUS DOES NOT EXCEED THE CLASS B
LIMITS FOR RADIO NOISE EMISSIONS FROM DIGITAL
APPARATUS AS SET OUT IN THE RADIO INTERFERENCE
REGULATIONS OF THE CANADIAN DEPARTMENT OF
COMMUNICATIONS.
LE PRESENT APPAREIL NUMVERIQUE N'EMET PAS DE
BRUITS RADIOELECTRIQUES DEPASSANT LES LIMITES
APPLICABLES AUX APPAREILS NUMERIQUES DE LA CLASSE
B PRESCRITES DANS LE REGLEMENT SUR LE BROUILLAGE
RADIO ELECTRIQUE EDICTE PAR LE MINISTERE DES
COMMUNICATIONS DU CANADA.
background image
NAD
3
FRONT PANEL CONTROLS (Figure 2.)
REMOTE CONTROL (Figure 3.)
background image
FOR SAFE AND EFFICIENT OPERATION
CAUTION: READ THIS BEFORE OPERATING
YOUR UNIT.
The equipment is a sophisticated electro-mechani-
cal device.To ensure proper operation, please read
this manual carefully.
Choose the installation location of your unit carefully.
Avoid placing it in direct sunlight. Also avoid loca-
tions subject to vibration and excessive dust, heat,
cold or moisture. Keep away from such sources of
hum as transformers or motors.
Do not use this unit where there are extremes in
temperature (below 41°F/5°C or exceeding
95°F/35°C) or where direct sunlight may strike it.
Do not remove the top cover as this might result in
damage to the player or electrical shock.
Be sure hands are clean when handling discs.
Never insert a disc which has a crack on its surface.
When disconnecting the power cord from the wall
outlet, always grasp it by the plug. Never tug the
cord.
Do not use force when operating switches and buttons.
Before moving the set be sure to disconnect the
power cord and all connecting cables.
To keep the laser-pickup clean, do not leave the
disc tray open when the player is not in use.
Do not attempt to clean the unit with chemical sol-
vents as this may damage the finish. Use a clean,
dry cloth.
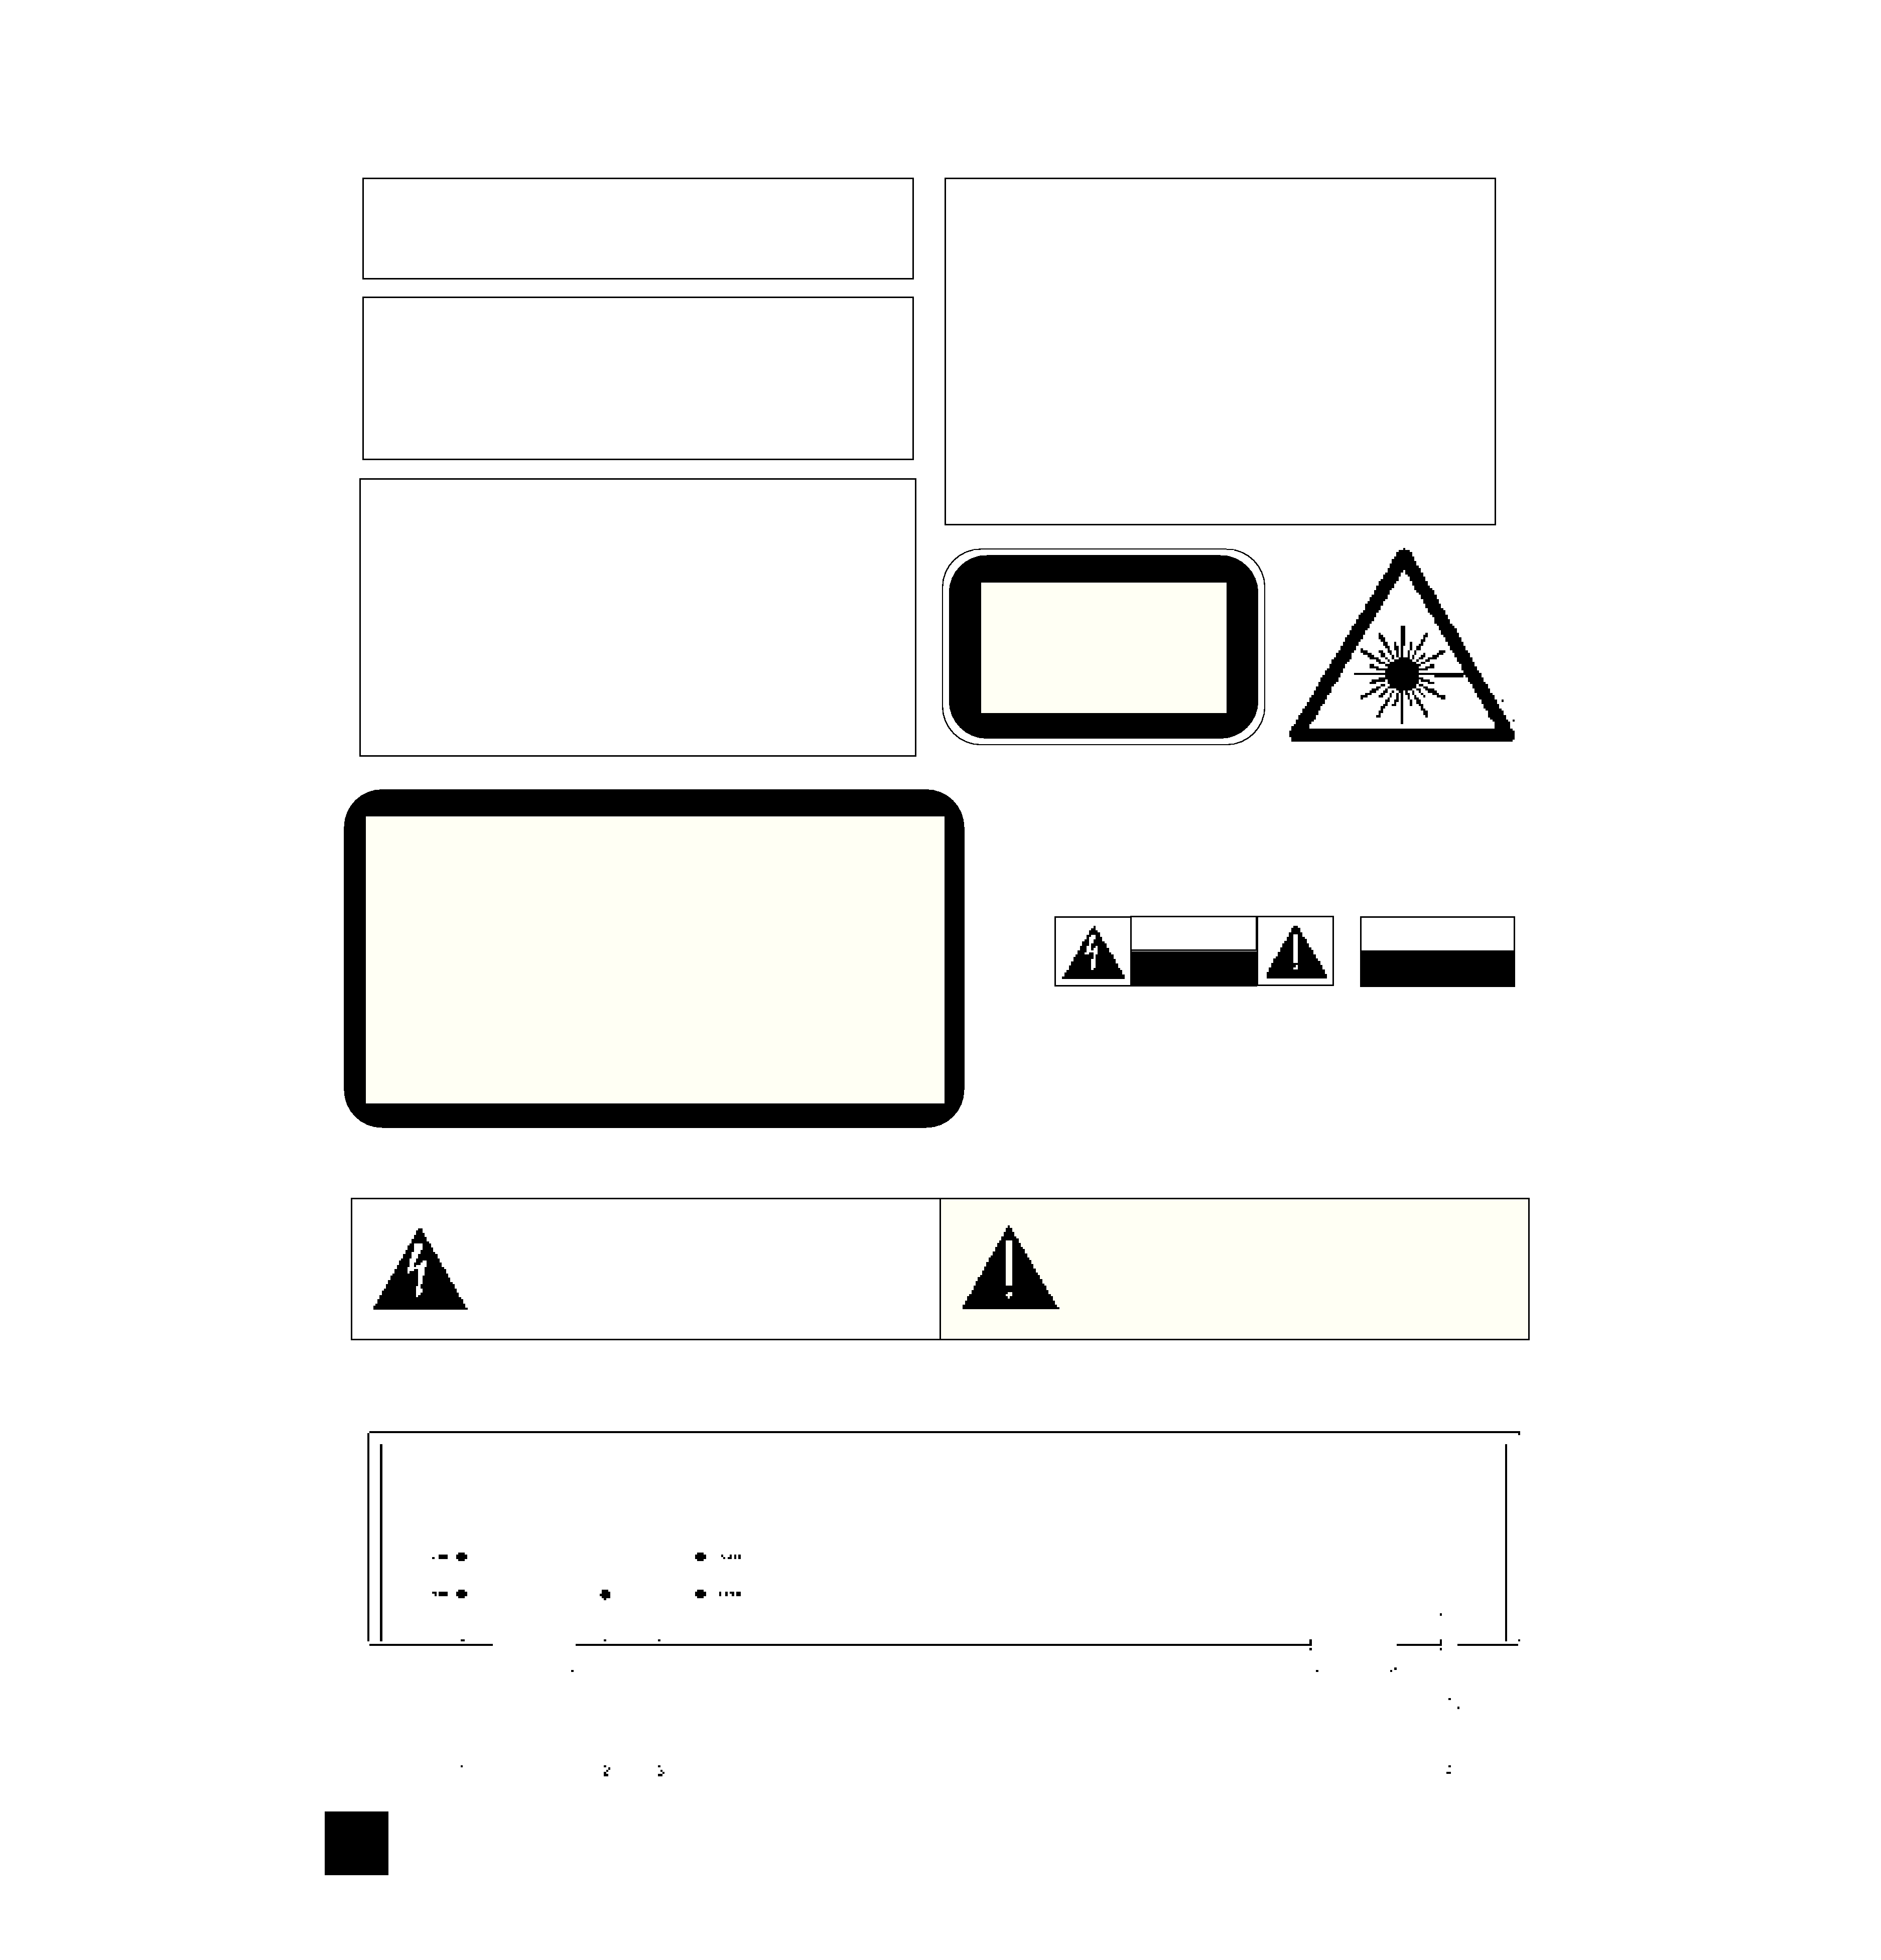
DANGER: When the top cover is removed and the
safety interlock is defeated or has failed, avoid direct
exposure to invisible laser beam.
WARNING TO UK USERS. If this appartus is fitted
with a two-pin Europlug, do not attempt to insert the
plug into a UK mains socket. Instead, cut the plug
from the mains lead and attach a fused UK three-pin
plug using the following safety advice on wiring.
IMPORTANT. The wires in this mains lead are
coloured BLUE and BROWN; BLUE: NEUTRAL
BROWN: LIVE
The colours of these mains lead wires may not corre-
spond with the coloured markings identifying the ter-
minals in your plug. In this case the BROWN wire
must be connected to the terminal which is marked
L(ive) or coloured RED. The BLUE wire must be con-
nected to the terminal marked N(eutral) or coloured
BLACK. No connection should be made to the termi-
nal marked E or coloured green or green and yellow
CAUTION. ALWAYS REPLACE THE FUSE
WITH THE SAME TYPE AND VALUE.
DISCONNECT THE POWER SUPPLY FIRST.
NOTE:
Do not move this player with compact discs sets
inside. Otherwise,the compact discs may become
jammed inside the player.
Be sure to read TROUBLE-SHOOTING GUIDE
section for advice on common operating errors,
before concluding that your unit requires service.
Keep this manual in a safe place for future reference.
NOTE: This equipment has been tested and found
to comply with the limits for a class B digital device,
pursuant to part 15 of the FCC Rules. These limits
are designed to provide reasonable protection
against harmful interference in a residential installa-
tion. This equipment generates, uses and can radi-
ate radio frequency energy and, if not installed and
used in accordance with the instructions, may cause
harmful interference to radio communications.
However, there is no guarantee that interference will
not occur in a particular installation. If this equipment
does cause harmful interference to radio or television
reception, which can be determined by turning the
equipment off and on, the user is encouraged to try to
correct the interference by one or more of the follow-
ing measures:
- Reorientate or relocate the receiving antenna.
- Increase the distance between the equipment and
receiver.
- Connect the equipment into an outlet on a circuit
different from that to which the receiver is connected.
- Consult the dealer or an experienced radio/TV
technician for help.
IMPORTANT... This Digital Compact Disc Changer
was developed to give you many years of enjoyment.
Please read the following instructions carefully. They
have been prepared to assist you during the initial
set-up procedure and to assure you of optimum per-
formance at all times.
THE WARRANTY ON THIS UNIT DOES NOT
COVER DAMAGE CAUSED BY MIS-HANDLING
OR MISUSE.
CONNECTING THE DIGITAL COMPACT DISC
CHANGER (Please refer to Figure 1.)
CAUTION:
- Before making connections or disconnections, be
sure to switch off the power to each component.
- Be sure to make the correct connections, paying
attention to the L (left channel) and R (right channel)
marks. Plug in the cables securely. Loose connec-
tions will result in unsatisfactory sound reproduction
or cause noise problems. Refer to Fig. 1.
- After all connections have been completed, con-
nect the power cord of the main unit to either a
household outlet or an auxiliary outlet on the amplifi-
er.- If this unit interferes with the tuner, switch off the
unit during tuner operation.
(1) LINE OUT SOCKETS.
Connect one end of the patch cords (supplied) to
these sockets and the other end to the jacks desig-
nated by CD, DAT, AUX, TAPE PLAY, T.V., TUNER,
etc., on the amplifier. Do not connect it to the amplifi-
er's PHONO jacks.
Do not confuse the right (R) and left (L) cords when
making connections. The white plug is for the left
channel and the red plug is for the right channel.
NAD
4
GB
NAD 517 COMPACT DISC PLAYER
background image
(2) DIGITAL OUTPUT.
The digital playback signal is available at this out-
put jack. The serial data output is taken after error
correction and de-interleaving, but before digital-to-
analog conversion and filtering. The output is
buffered to isolate it from the built-in D-to-A circuits.
It may be connected to any digital signal processor
that conforms to the Sony/Philips standard.
To use the digital output, connect a cable from this
jack to the "CD digital" or equivalent input on the digi-
tal processor. The cable must be a 75-ohm coaxial
cable of the type used for video signals, with an RCA
phono plug at each end. (To distinguish them from
similar phono-plug cables used for audio, video
cables often are color-coded with yellow plugs.)
(3) AC POWER CORD...
After completing the installation and all connec-
tions, make sure that the POWER switch on the front
panel of this unit is set to OFF. Then plug the power
cord into an AC wall outlet.
COMPACT DISCS - HANDLING THE DISCS
Fingerprints and dust should be carefully wiped off
the disc's playing surface (glossy side) with a soft
cloth.
Wipe using a straight motion from the inside to the
outside of the disc.
Never use chemicals such as record cleaning
sprays, antistatic sprays or fluids, benzine or thinner
to clean compact discs. These chemicals will perma-
nently damage the disc's plastic surface.
Always place the compact disc in the disc tray with
the label facing upward. Compact discs can be
played on only one side.
To remove a disc from is storage case, press down
on the centre of the case and lift the disc out, holding
it carefully by the edges.
Discs should be returned to their cases after use to
protect them from dust and scratches.
To prevent warping the disc, do not expose it to
direct sunlight, high humidity or high temperatures for
extended periods of time. Do not apply paper or write
anything in the disc surface.
OPERATION OF THE DIGITAL COMPACT
DISC CHANGER
THE FIGURES IN BRACKETS REFER TO THE
LOCATION OF THE FRONT PANEL CONTROLS IN
FIGURE 2 AT THE FRONT OF THIS MANUAL.
POWER: Press the green button (1, Fi. 2) IN to
switch on the CD Player. The display will illuminate.
To switch the POWER off, press the button again and
release it (Button OUT)
LOADING A DISC
1. Set the power button (1) to ON (button IN).
- The carousel turns clockwise automatically.
2. Press the OPEN/CLOSE button (4), and the
DISC TRAY will open.
3. Load the disc on the disc tray (2), label side up.
4. Press the NEXT DISC button (9) to load all 5
discs.
- Each time the NEXT DISC button is pressed, the
carousel turns clockwise to the next disc position.
NOTE:DO NOT TOUCH OR FORCE THE
CAROUSEL WHILE IT IS ROTATING.
CAUTION:
Do not put anything except a compact disc into the
tray.
Foreign objects can damage the mechanism.
PLAYING A DISC
1. Set the POWER button (1) to ON (button IN).
2. Press the OPEN CLOSE button (4).
3. Load a disc.
4. Press a DISC NO. button on the remote control
which corresponds to the tray number of the disc to
be played, or use the NEXT DISC button (9) on the
player to access the required disc.
- When a disc number has been selected, play will
start on track 1 of the selected disc.
5. Press the ">>I" or "I<<" (7) button to select a
track number, if a track other than track 1 is required.
- If only a track number is selected when in STOP
mode, play will start with the selected track of the cur-
rently displayed disc number.
NOTE:
If a track number is selected which is greater than
the highest track number on the disc, play will start
with the last track on the disc.
6. Press the PLAY button (3).
- The PLAY and EACH is displayed.
- The tracks elapsed playing time and the number
of the disc and track currently playing are displayed.
The number of the track currently playing will blink.
- During PLAY mode, select the disc and track
numbers, then within 10 seconds press the PLAY
button.
7. Press the TIME button on the remote control
once, twice, or three times to display the following
information:
Pressing once, shows how much of the track in
play is remaining in minutes and seconds.
Pressing twice,shows how many tracks are on the
current disc and the total playing time of the disc in
minutes and seconds.
Pressing three times shows the remaining number
of tracks and their combined remaining playing time
for the disc that is in play.
8. Press the TIME button on the remote control
again to view the current track's elapsed playing time.
- During disc play, the TIME display will return to
the elapsed playing time indication about 10 seconds
after the TIME button has been pressed.
NAD
5
GB

Reviews

There are no reviews of this manual yet.