NAD 515 Owner's Manual

Cover page of NAD 515 Owner's Manual

Owner's Manual for NAD 515, downloadable as a PDF file.

Manual details

  • Immediate download after payment.
  • Delivered as a PDF file.
  • The manual has 60 pages
  • File size: 0.2 MB
  • Available language versions: Portuguese, French, English, German, Italian
  • Different language versions may vary sligthly in file size and page count.

We guarantee that...

  • our manuals are complete,
  • our manuals are checked with antivirus,
  • We'll issue refund if the manual is damaged, incomplete or unreadable (our refund policy)

Sample pages

Thumbnail of page 1Thumbnail of page 2Thumbnail of page 3Thumbnail of page 4
Thumbnail of page 5Thumbnail of page 6Thumbnail of page 7Thumbnail of page 8
Thumbnail of page 9
background image
GB
F
D
E
I
S
NAD
515
· OWNER'S MANUAL
· MANUEL D'INSTALLATION
· BEDIENUNGSANLEITUNG
· MANUAL DEL USUARIO
· MANUALE DELLE ISTRUZIONI
· BRUKSANVISNING
background image
GB
F
D
E
I
S
NAD
515
· OWNER'S MANUAL
· MANUEL D'INSTALLATION
· BEDIENUNGSANLEITUNG
· MANUAL DEL USUARIO
· MANUALE DELLE ISTRUZIONI
· BRUKSANVISNING
background image
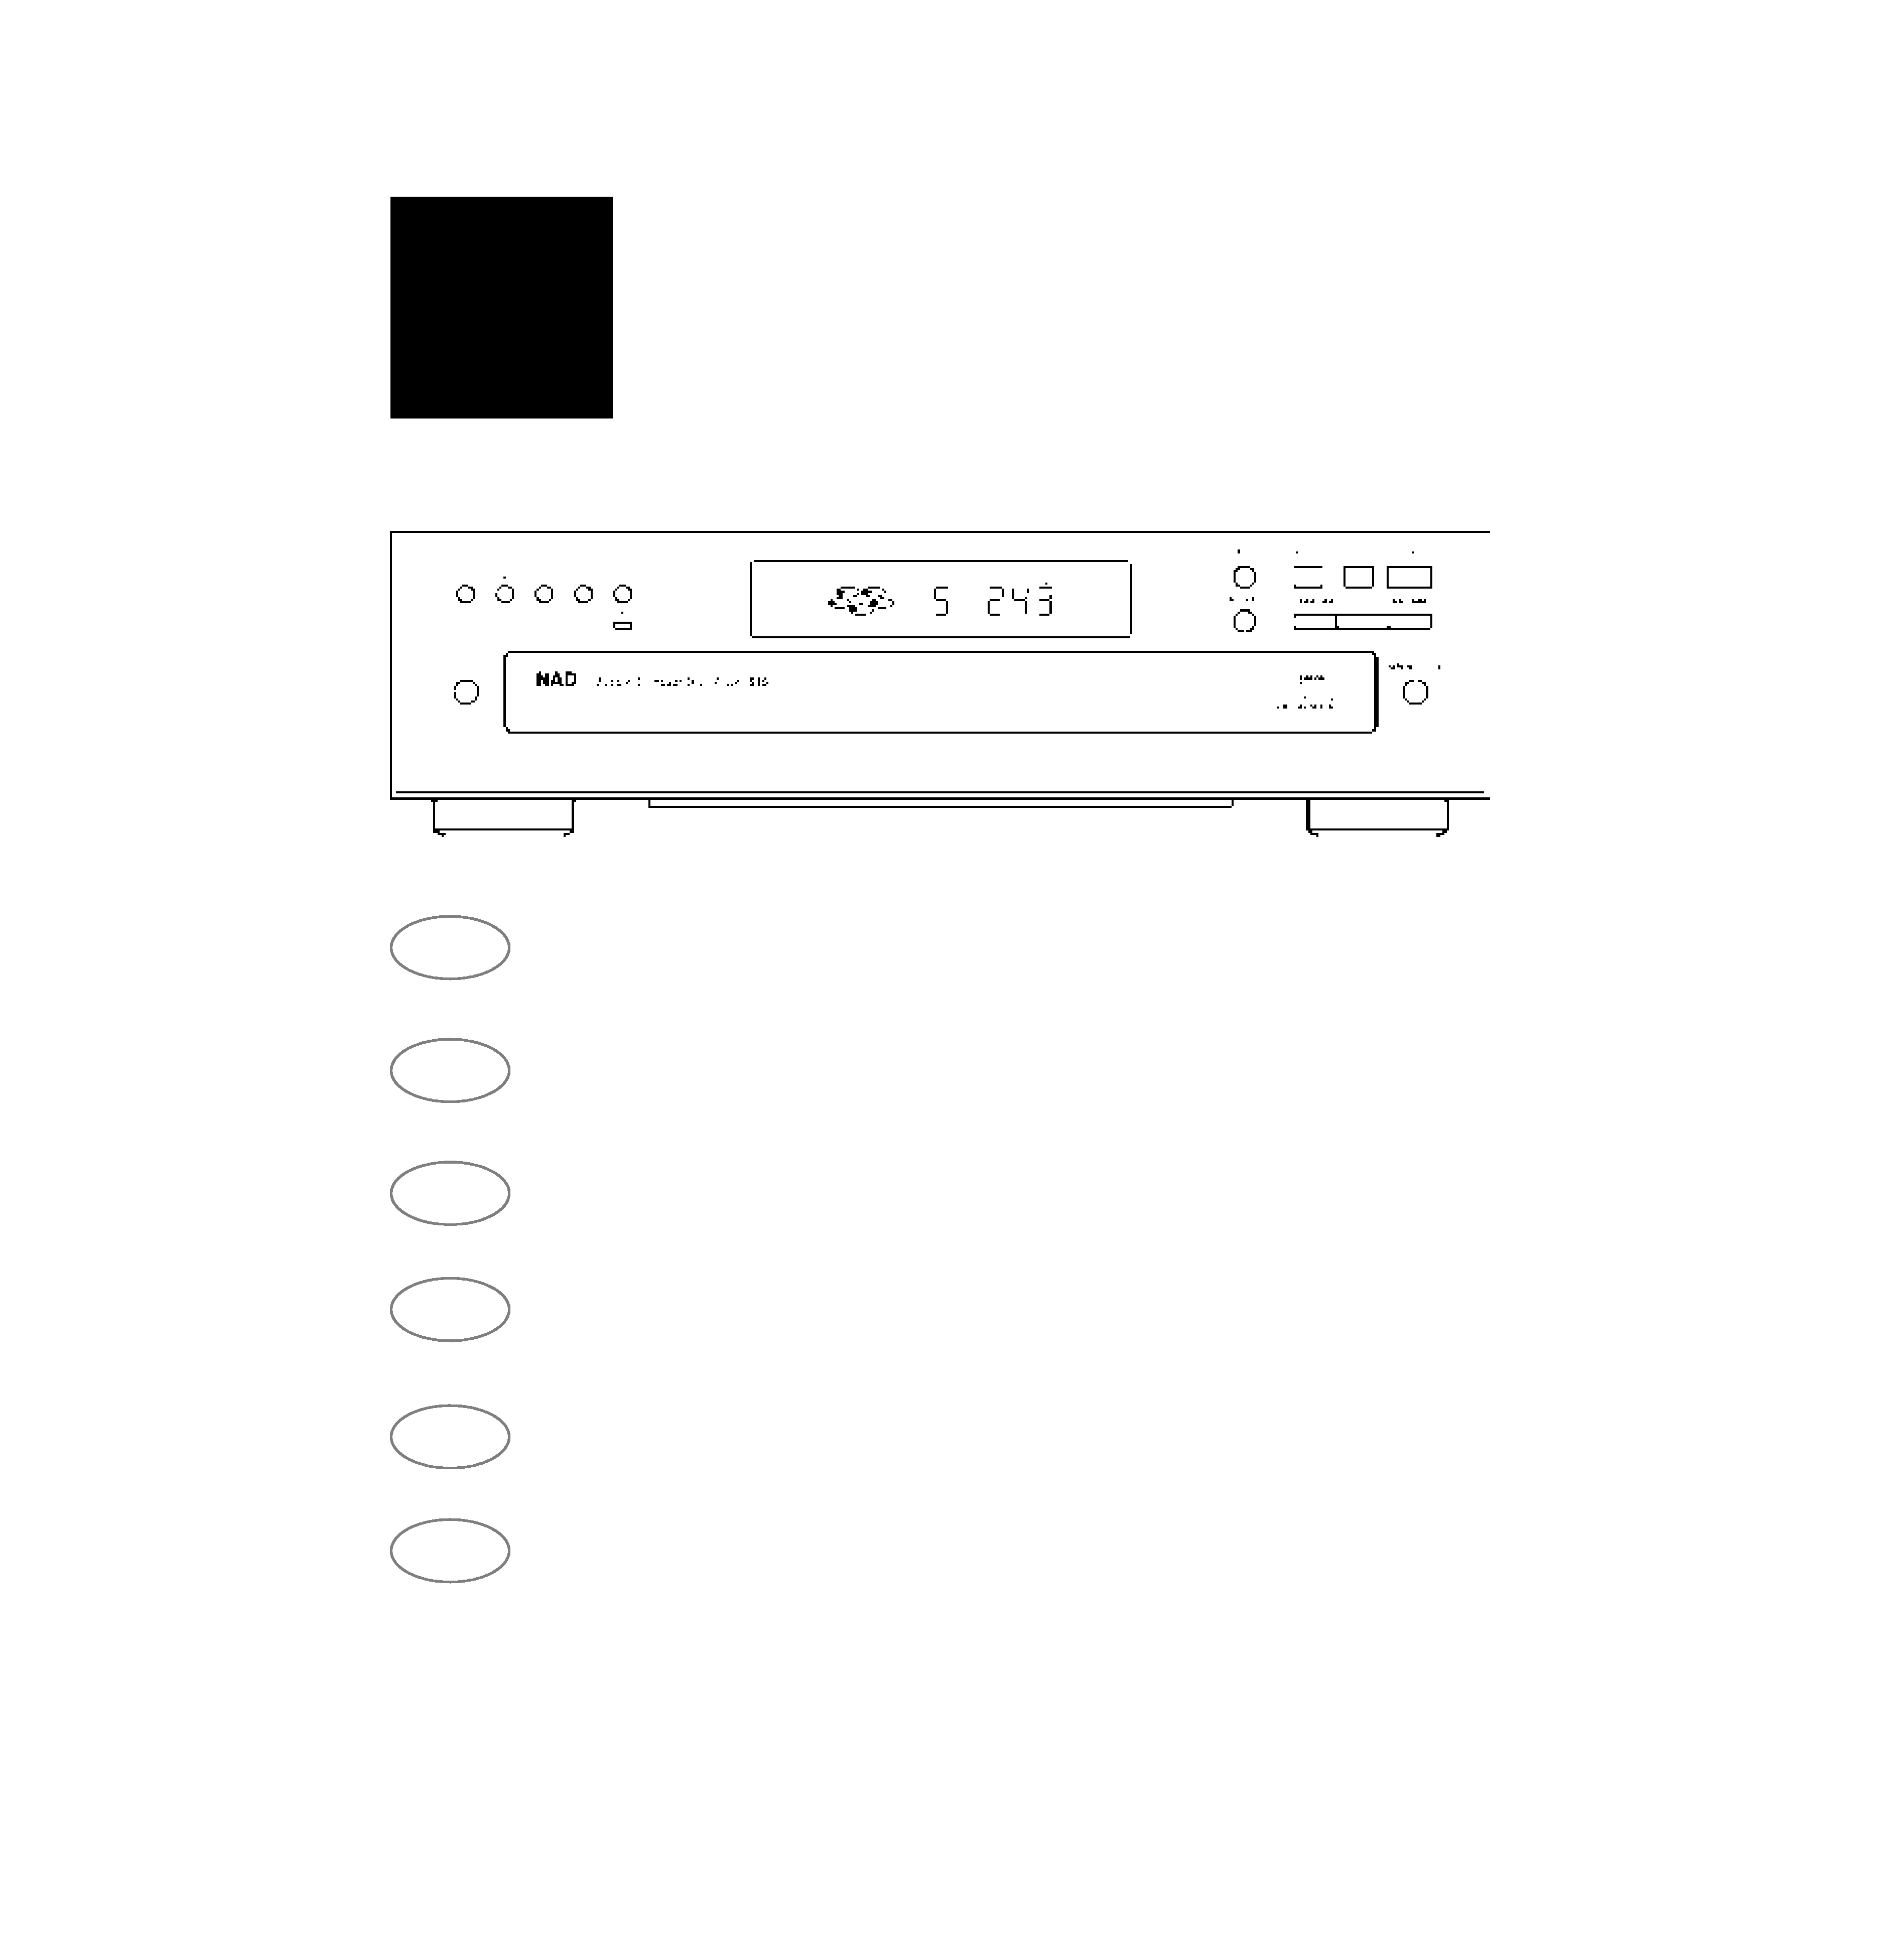
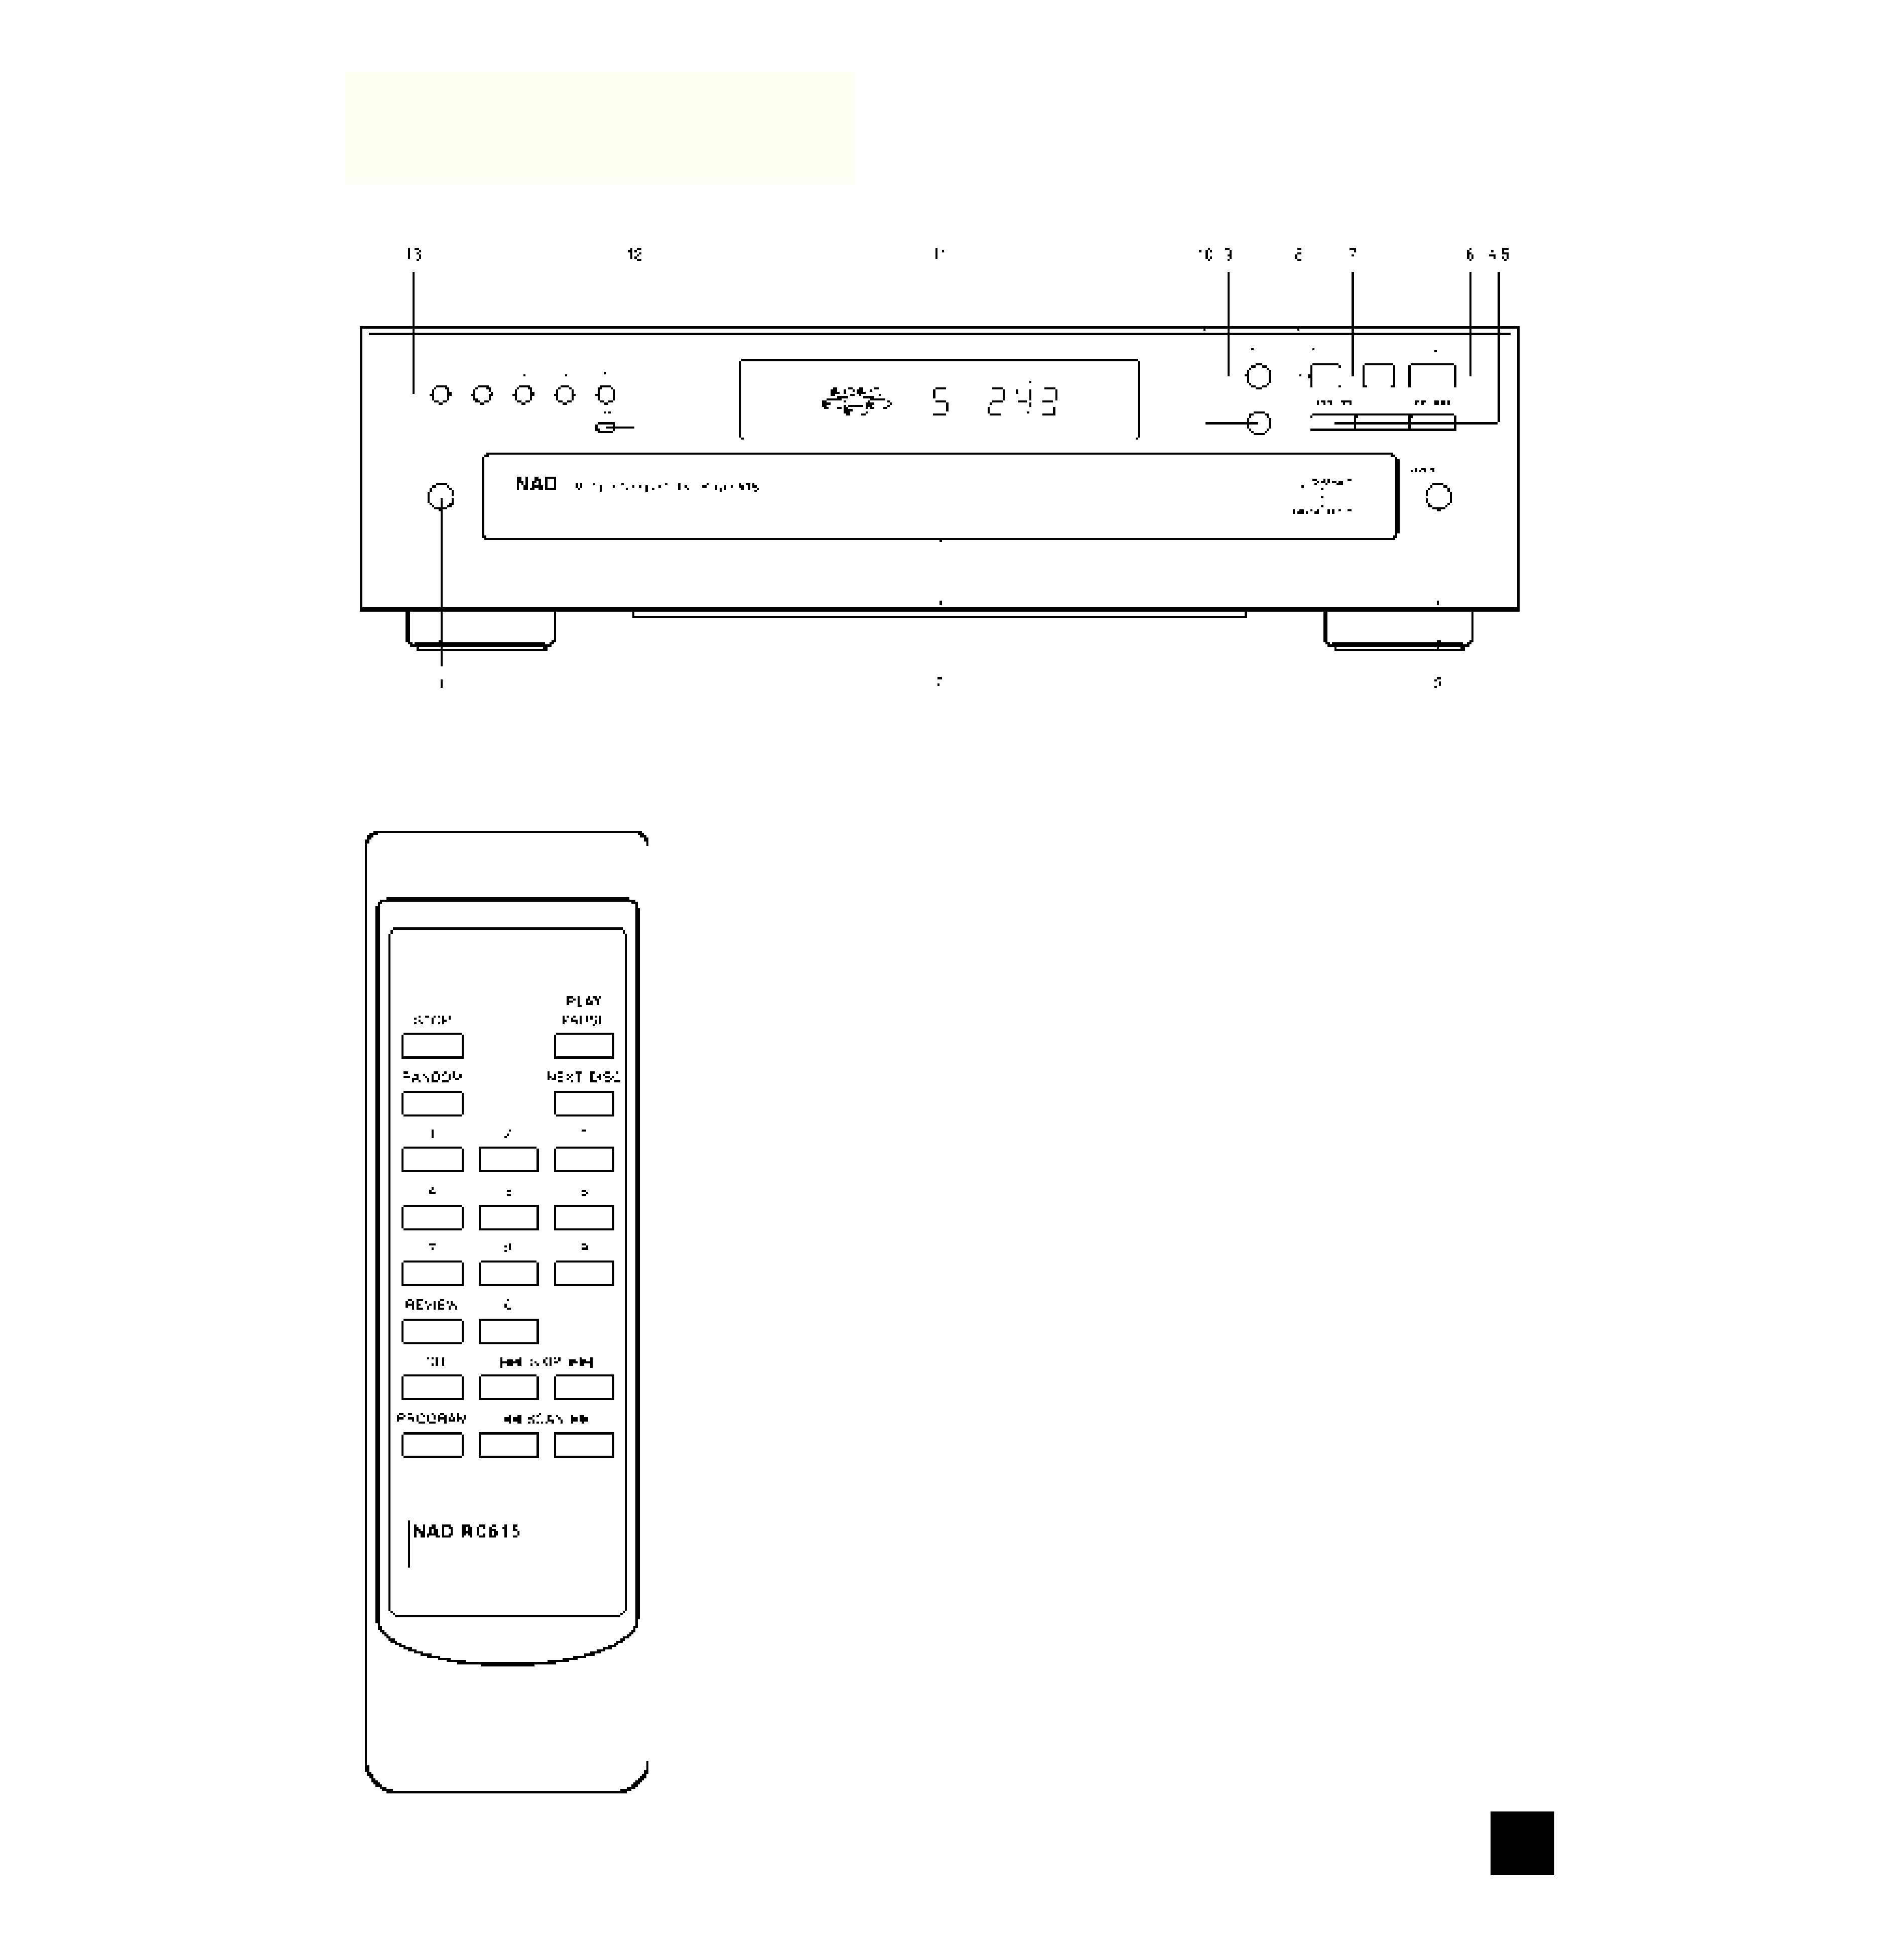
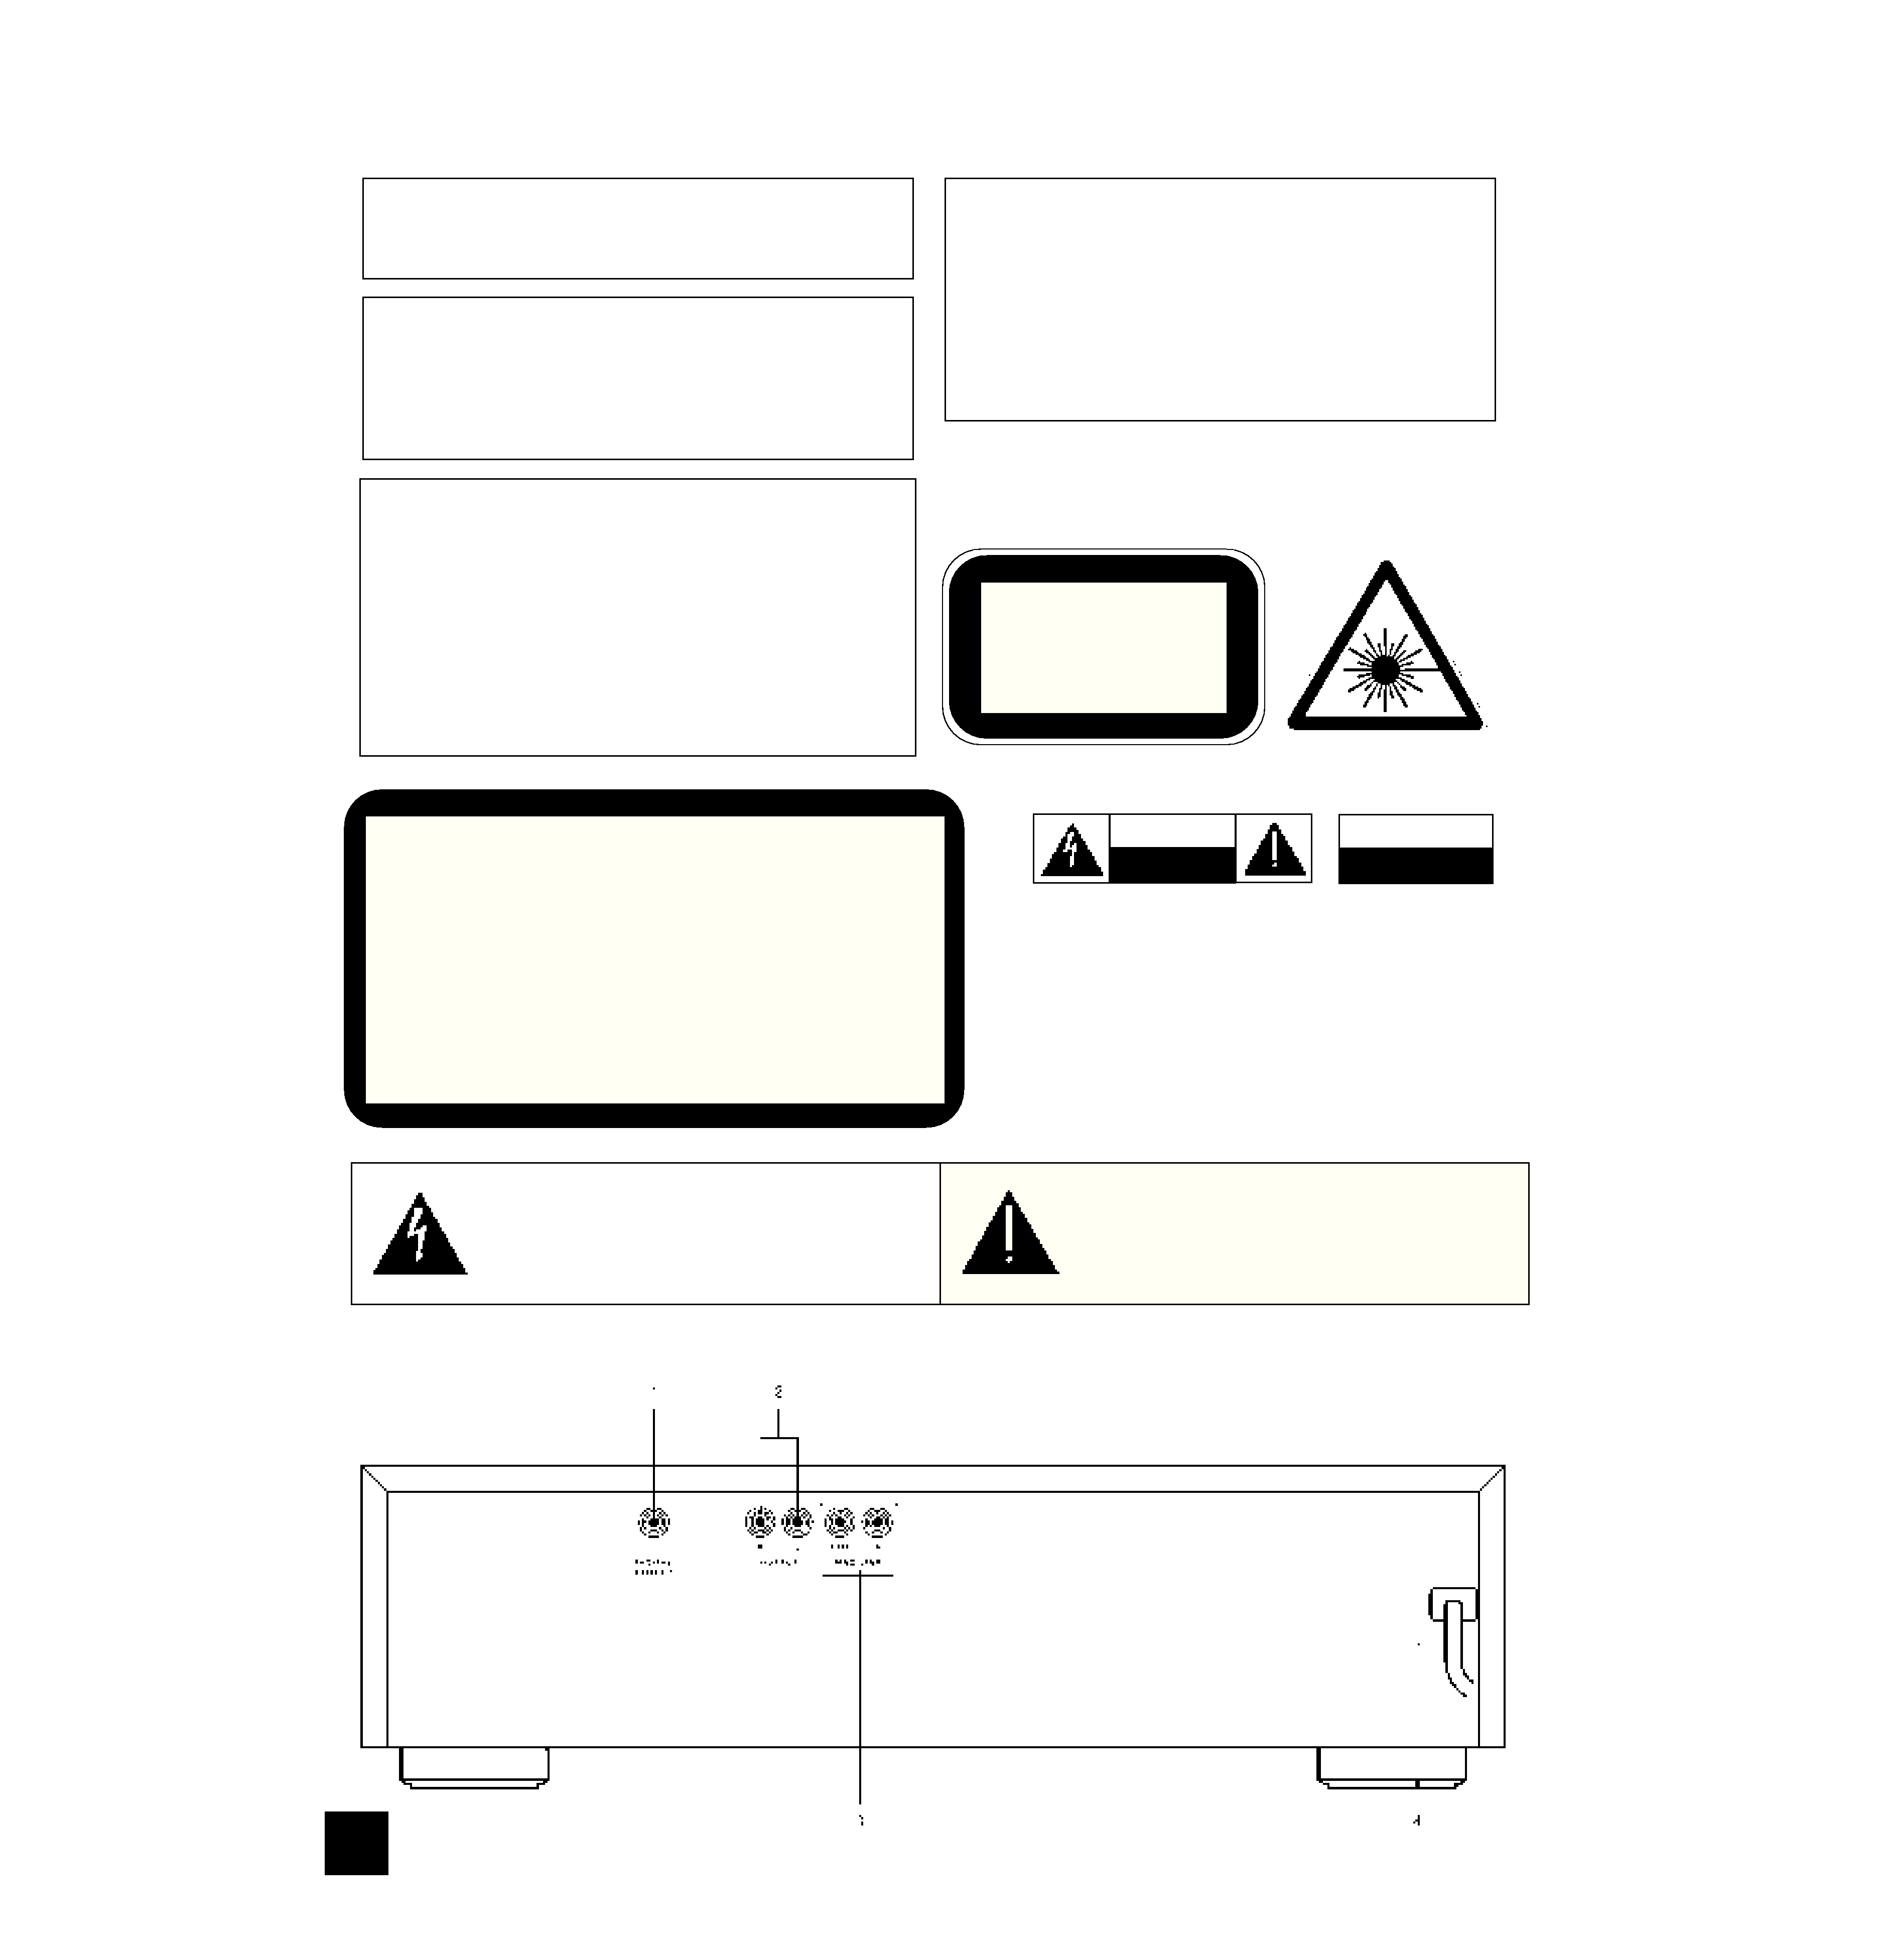
REAR PANEL CONNECTIONS (Figure 1.)
WARNING:TO PREVENT FIRE OR ELECTRIC
SHOCK, DO NOT EXPOSE THIS APPLIANCE
TO RAIN OR MOISTURE
CAUTION: TO PREVENT ELECTRIC SHOCK,
MATCH WIDE BLADE OF PLUG TO WIDE SLOT,
FULLY INSERT.
ATTENTION: POUR EVITER LES CHOCS ELEC-
TRIQUES INTRODUIRE LA LAME LA PLUS LARGE
DE LA FICHE DANS LA BORNE CORRESPON-
DANTE DE LA PRISE ET POUSSER JUSQU'AU
FOND.
The lightning flash with arrowhead, within an equilateral tri-
angle is intended to alert the user of the presence of unin-
sulated "dangerous voltage" within the product's enclo-
sure; that may be of sufficient magnitude to constitute a
risk of electric shock to persons.
The exclamation point within an equilateral triangle is intend-
ed to alert the user of the presence of important operating
and maintenance (servicing) instructions in the literature
accompanying the appliance
Note to CATV system installer: This reminder is provided
to call the CATV installer's attention to Article 820-40 of the
NEC , which provides guidelines for proper grounding and,
in particular, specifies that the cable should be connected
to the grounding system of the building, as close to the
point of cable entry as practical.
NAD
2
CLASS 1 LASER PRODUCT
LUOKAN 1 LASERPLAITE
KLASS 1 LASERAPPARAT
WARNING! INVISIBLE LASER RADIATION WHEN OPEN AND INTERLOCKS DEFEATED.
AVOID EXPOSURE TO BEAM.
VORSICHT! UNSICHTBARE LASERSTRAHLEN TRITT AUS, WENN DECKEL GEÖFFNET
UND WENN SICHERHEITSVERRIEGELUNG ÜBERBRÜCKT IST. NICHT DEM STRAHL
AUSSETZEN.
ADVARSEL - USYNLIG LASERSTRÅLING VED ÅBNING, NÅR SIKKERHEDSAFBRYDERE
ER UDE AF FUNKTION.UNDGÅ UDSÆTTELSE FOR STRÅLUNG.
ADVARSEL - USYNLIG LASERSTRÅLING NÅR DEKSEL ÅPNES OG SIKKERHEDSLÅS
BRYTES. UNNGÅ EKSPONERING FOR STRÅLEN.
VARNING - OSYNLIG LASERSTRÅLNING NÄR DENNA DEL ÄR ÖPPNAD OCH SPÄRRAR
ÄR URKOPPLADE. STRÅLEN ÄR FARLIG.
VARO! - AVATTAESSA JA SUOJALUKITUS OHITETTAESSA OLET ALTTIINA
NÄKYMÄTÖNNTÄ LASERSÄTEILYLLE. ÄLÄ KATSO SÄTEESEEN.
CAUTION
RISK OF ELECTRIC
SHOCK DO NOT OPEN
ATTENTION:
RISQUE DE CHOC ELECTRIQUE
NE PAS OUVRIR
CAUTION: TO REDUCE THE RISK OF ELECTRIC
SHOCK, DO NOT REMOVE COVER (OR BACK).
NO USER SEVICEABLE PARTS INSIDE.
REFER SERVICING TO QUALIFIED
SERVICE PERSONNEL.
AFIN DEVITER UN CHOC
ELECTRIQUE, ET LES
CONSEQUENCES GRAVES
QUI POURRAIENT EN
RESULTER, TENTEZ PAS
D'OUVRIR L'APPAREIL ET
DE TOUCHER AUX
COMPOSANTS INTERNES
SANS LA PRESENCE D'UNE
SERVICE PERSONNEL.
THIS DIGITAL APPARATUS DOES NOT EXCEED THE CLASS B
LIMITS FOR RADIO NOISE EMISSIONS FROM DIGITAL
APPARATUS AS SET OUT IN THE RADIO INTERFERENCE
REGULATIONS OF THE CANADIAN DEPARTMENT OF
COMMUNICATIONS.
LE PRESENT APPAREIL NUMVERIQUE N'EMET PAS DE
BRUITS RADIOELECTRIQUES DEPASSANT LES LIMITES
APPLICABLES AUX APPAREILS NUMERIQUES DE LA CLASSE
B PRESCRITES DANS LE REGLEMENT SUR LE BROUILLAGE
RADIO ELECTRIQUE EDICTE PAR LE MINISTERE DES
COMMUNICATIONS DU CANADA.
background image
NAD
3
FRONT PANEL CONTROLS (Figure 2.)
REMOTE CONTROL (Figure 3.)
background image
CONTENTS
INTRODUCTION
4
INSTALLATION
4
Power supply setting
Siting the Compact Disc Changer
Connections
FUNCTIONAL OVERVIEW
5
Front of changer
Remote control
Display
PLAYBACK
6
Inserting CDs
Normal playback
Selecting another track during play
Selecting another CD during play
Searching for a passage during play
Starting with a particular CD
Starting with a particular track
Scanning CDs
Playing in random order
Calling up other information on the display
Repeating play
PROGRAMMING
8
Storing a programme
Checking the programme
Playing the programme
Erasing a programme
EDIT
9
Before recording
Recording
ADDITIONAL INFORMATION
10
Maintenance
Recycling
TROUBLESHOOTING
11
INTRODUCTION
Thank you for selecting the NAD 515 Compact Disc
Changer.
The NAD 515 combines supreme playback quality
with a high degree of user-friendliness by offering the
following possibilities:
­ changing CDs during play;
­ quick access to a particular CD by means of
QUICK PLAY;
­ storing 30 tracks from different CDs in any
desired order in the changer memory;
­ storing the required recording time and playing
time in the EDIT mode.
INSTALLATION
POWER SUPPLY SETTING
· Check that the type plate on the rear of your
changer indicates the correct supply voltage.
· If your mains supply voltage is different, consult
your dealer or our Service Organisation.
SITING THE COMPACT DISC CHANGER
Free standing
· Always position the changer horizontally on a flat,
firm surface.
· Allow a free space of at least 3 cm above the
changer so as not to interfere with the cooling of the
changer.
Stacked
· Site the changer preferably at the bottom or at the
top.
· Never position the changer directly on top of a
high-power amplifier, as such an amplifier gives off a
substantial amount of heat.
FITTING A MAINS PLUG (U.K. only)
This apparatus is fitted with an approved moulded
13 Amp plug.
To change a fuse in this type of plug proceed as
follows:
· Remove fuse cover and fuse.
· Fix new fuse which should be a BS1362 5A,
A.S.T.A. or BSI approved type.
· Refit the fuse cover.
If the fitted plug is not suitable for your socket out-
lets, it should be cut off and an appropriate plug fitted
in its place.
If the mains plug contains a fuse, this should have
a value of 5A. If a plug without a fuse is used, the
fuse at the distribution board should not be greater
than 5A.
NOTE The severed plug must be disposed to avoid
a possible shock hazard should it be inserted into a
13A socket elsewhere.
HOW TO CONNECT A PLUG
The wires in the mains lead are coloured in accor-
dance with the following code:
BLUE ­ "NEUTRAL" ("N") and BROWN ­ "LIVE"
("L").
As these colours may not correspond with the
colour markings identifying the terminals in your plug,
proceed as follows:
· The BLUE wire must be connected to the terminal
which is marked with the letter "N" or coloured
BLACK.
· The BROWN wire must be connected to the ter-
minal which is marked with the letter "L" or coloured
RED.
NAD
4
GB
NAD 515 COMPACT DISC PLAYER
background image
· Do not connect either wires to the earth terminal
in the plug which is marked by the letter "E" or by the
safety earth symbol or coloured green or green-and-
yellow.
Before replacing the plug cover, make certain that
the cordgrip is clamped over the sheath of the lead ­
not simply over the two wire
REAR PANEL CONNECTIONS
1. DIGITAL OUT
This output supplies a digital signal and can there-
fore only be connected to an input which is suitable
for this signal. Use a phono lead for this connection.
Never connect this socket to a non-digital input of
an amplifier, such as AUX, CD, TAPE, PHONO etc!
2. FIXED LINE OUT
For connecting a cable to the amplifier.
· Insert a red plug into the `R' socket and the other
plug into the `L' socket.
· Insert the two other plugs into the corresponding
sockets of the CD or AUX input of your amplifier.
You can also use the TUNER or TAPE IN connec-
tion, but never the PHONO input!
The NAD Link OUT connector allows remote-con-
trol commands to be relayed from this player to other
products equipped with a NAD-Link (or compatible)
input. To use this option, connect a cable from the
NAD Link OUT socket to the NAD Link IN jack on
another product.
3. NAD LINK IN/OUT
The NAD Link IN connector allows this player to
be operated by external control signals from a multi-
room controller or remote relay system. Connect a
cable from the controller to the NAD Link IN jack.
Using both IN and OUT connections, remote control
commands can be "daisy-chained" from one product
to the next.
4. AC LINE CORD
FRONT PANEL CONTROLS -
FUNCTIONAL OVERVIEW
1. POWER ON/OFF
Switching on and off.
2. DISC CAROUSEL DRAWER
3. OPEN/CLOSE
Opening and closing the CD compartment.
4 - 5
­ Selecting another track during play.
­ Selecting a track to start play with.
­ Selecting tracks when compiling a programme.
­ Fast search to a particular passage during play.
­ Selecting the recording mode when making a
tape recording.
­ Selecting the recording time when making a tape
recording.
6. PLAY
­ Starting play.
­ Returning to the beginning of a track.
7. STOP
­ Stopping play.
­ Erasing a programme.
8. SHUFFLE
Playing in random order.
9. PAUSE
Interrupting play.
10. REPEAT
Repeating play.
11. DISPLAY
Informs you about the functioning of the player.
12. TIME
Selecting the information you want to see on the
display.
13. DISC
­ Selecting another CD during play.
­ Selecting a CD to start play with.
­ Selecting CDs when compiling a programme.
14. QUICK PLAY
Immediate playing of a particular CD.
15. LOAD
Rotating the turntable in the CD compartment
when inserting CDs.
­ Selecting CDs when compiling a programme.
REMOTE CONTROL
1. STOP
­ Stopping play.
­ Erasing a programme.
2. SHUFFLE
Playing in random order.
3. 1-10 DIGIT KEYS
­ Selecting another track during play.
NAD
5
GB

Reviews

There are no reviews of this manual yet.