MITSUBISHI DD4020 Service Manual

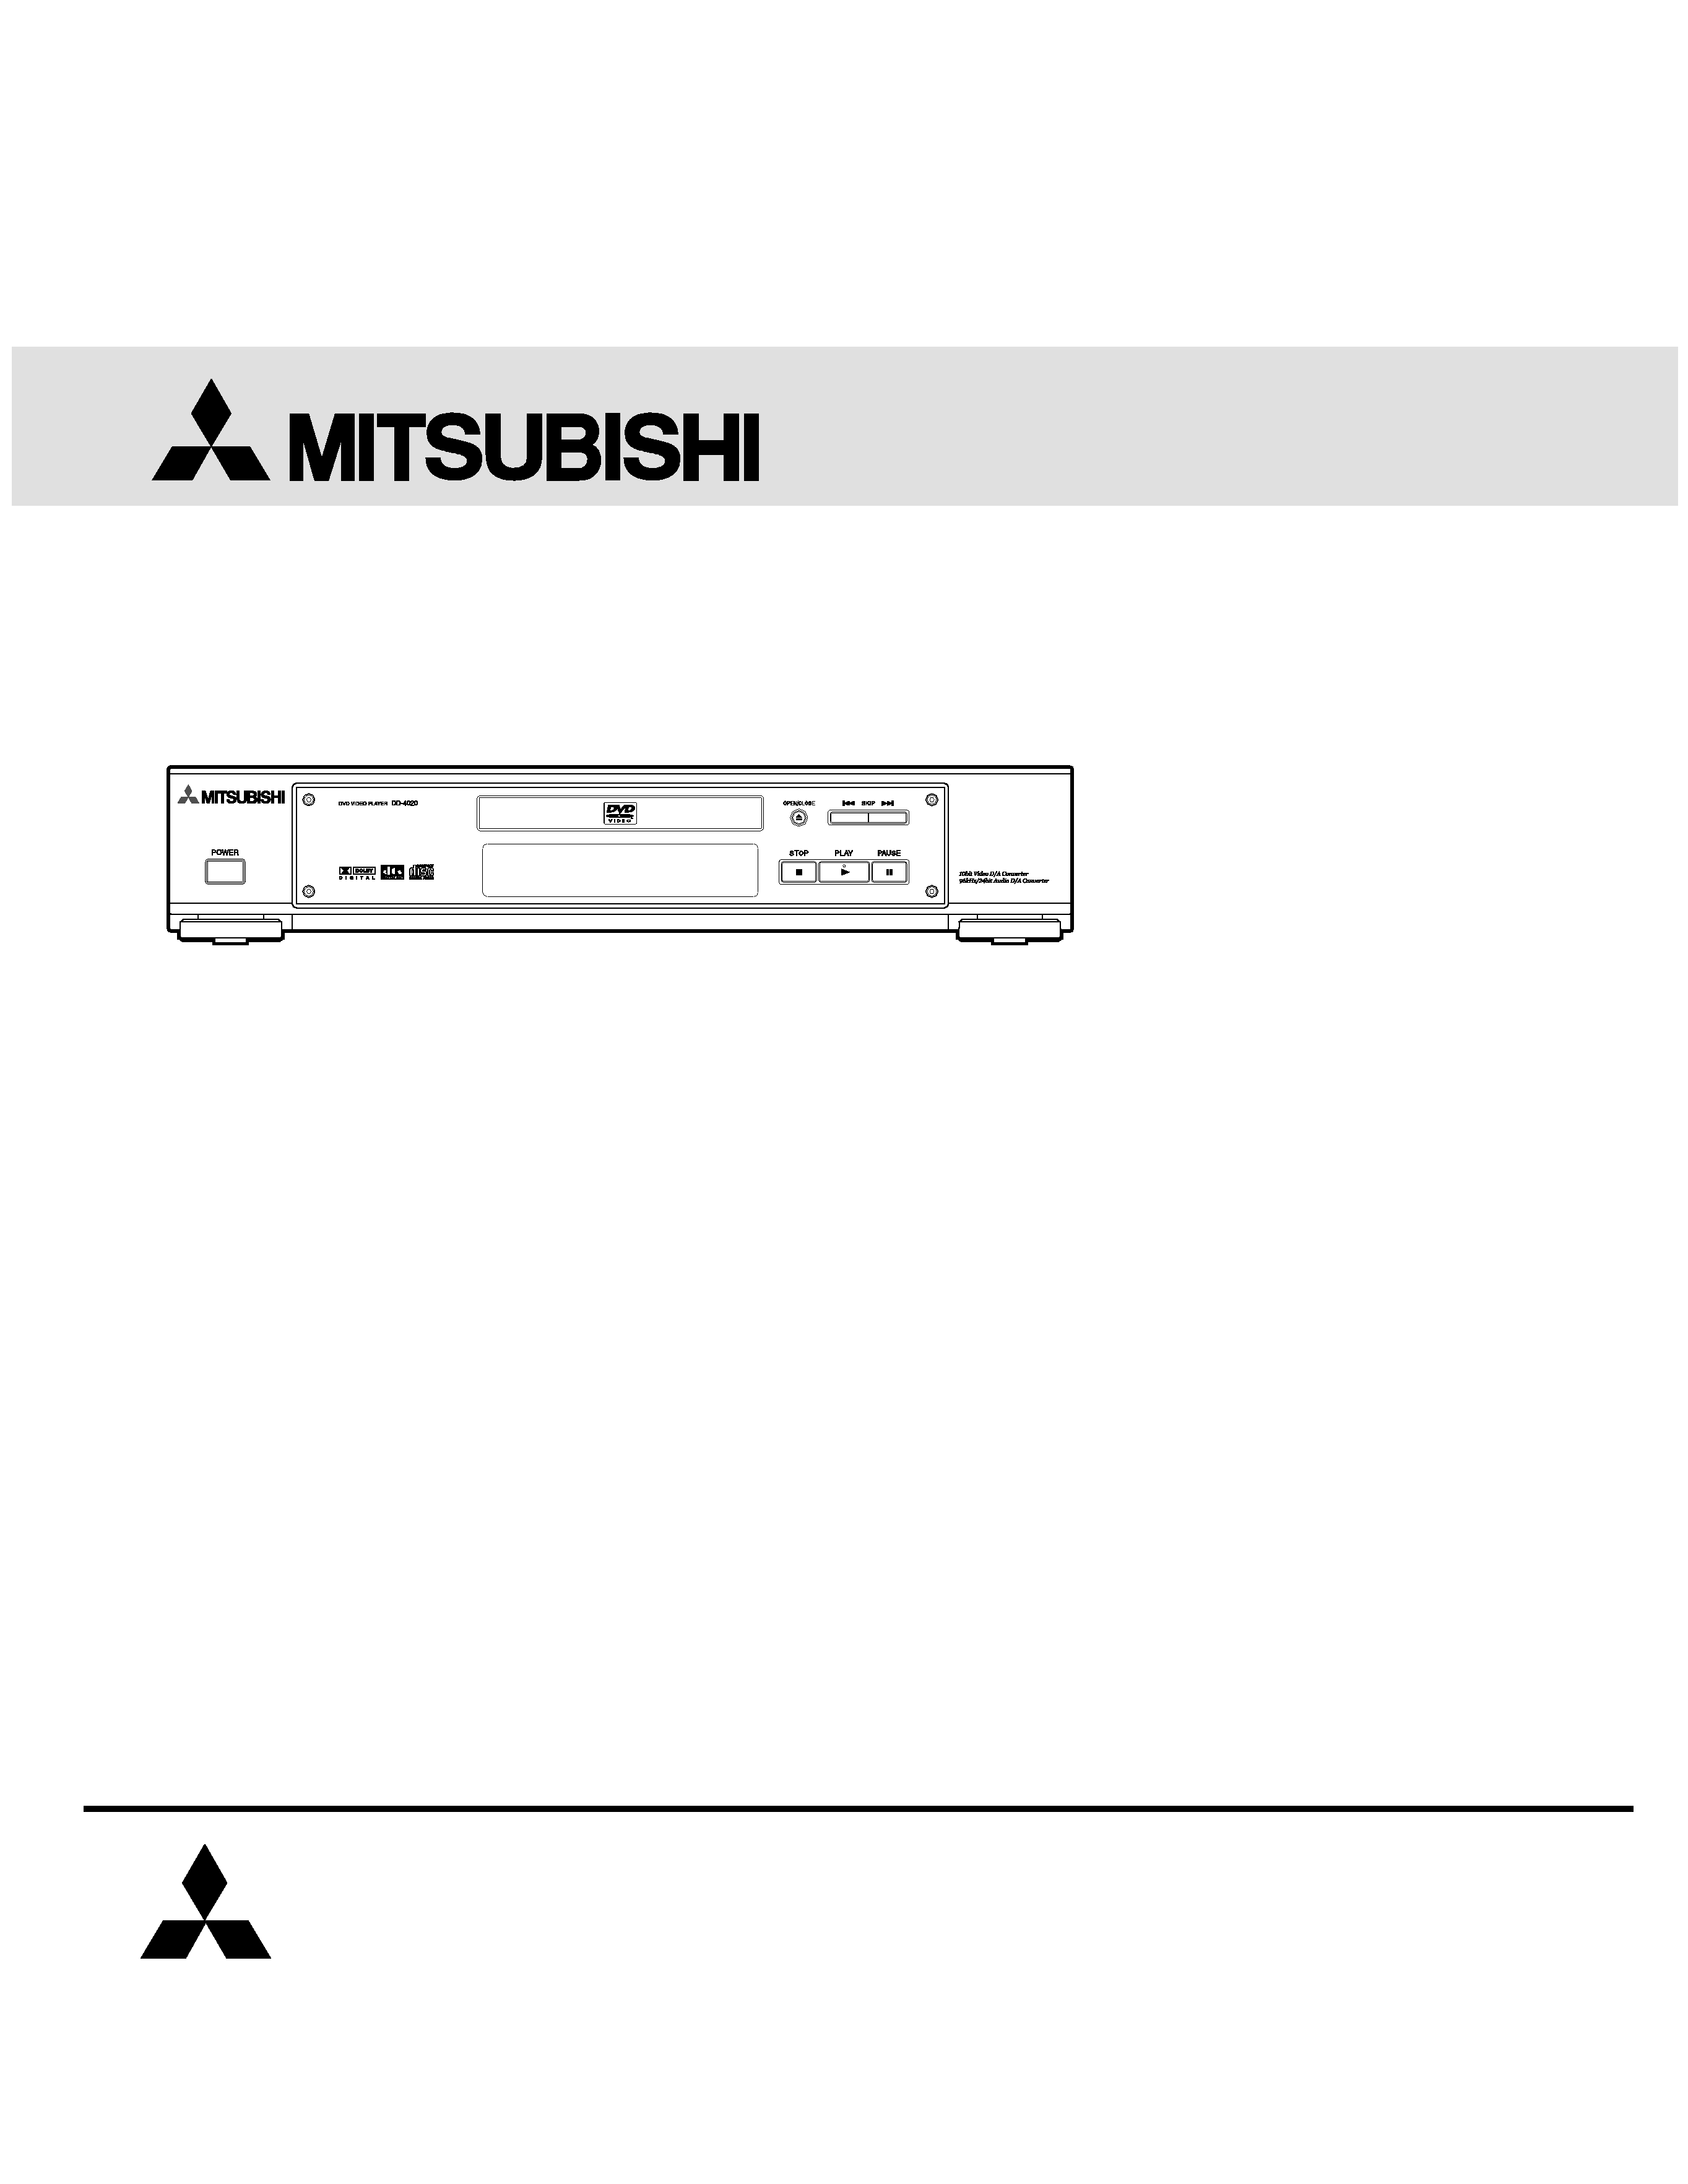
Cover page of MITSUBISHI DD4020 Service Manual

Service Manual for MITSUBISHI DD4020, downloadable as a PDF file.

Manual details

  • Immediate download after payment.
  • Delivered as a PDF file.
  • The manual has 46 pages
  • File size: 4.66 MB
  • Available language versions: English
  • Different language versions may vary sligthly in file size and page count.

We guarantee that...

  • our manuals are complete,
  • the manual includes circuit diagrams,
  • our manuals are checked with antivirus,
  • We'll issue refund if the manual is damaged, incomplete or unreadable (our refund policy)

Sample pages

Thumbnail of page 1Thumbnail of page 2Thumbnail of page 3Thumbnail of page 4
Thumbnail of page 5Thumbnail of page 6Thumbnail of page 7Thumbnail of page 8
Thumbnail of page 9
background image
DVD PLAYER
2001
MODEL
DD-4020
Manual
Service
MITSUBISHI ELECTRIC
TABLE OF CONTENTS
SPECIFICATIONS .......................................................................................................................................... 1-1-1
LASER BEAM SAFETY PRECAUTIONS ........................................................................................................ 1-2-1
IMPORTANT SAFETY PRECAUTIONS .......................................................................................................... 1-3-1
STANDARD NOTES FOR SERVICING .......................................................................................................... 1-4-1
CABINET DISASSEMBLY INSTRUCTIONS ................................................................................................... 1-5-1
BLOCK DIAGRAMS ........................................................................................................................................ 1-6-1
SCHEMATIC DIAGRAMS / CBA'S AND TEST POINTS ................................................................................. 1-7-1
WAVEFORMS.................................................................................................................................................. 1-8-1
WIRING DIAGRAM.......................................................................................................................................... 1-9-1
SYSTEM CONTROL TIMING CHARTS ........................................................................................................ 1-10-1
IC PIN FUNCTION DESCRIPTIONS..............................................................................................................1-11-1
LEAD IDENTIFICATIONS.............................................................................................................................. 1-12-1
EXPLODED VIEWS....................................................................................................................................... 1-13-1
MECHANICAL PARTS LIST .......................................................................................................................... 1-14-1
ELECTRICAL PARTS LIST ........................................................................................................................... 1-15-1
MITSUBISHI DIGITAL ELECTRONICS AMERICA, INC.
9351 Jeronimo Road, Irvine, CA 92618-1904
Copyright © 2001 Mitsubishi Digital Electronics America, Inc.
All Rights Reserved
background image
HOW TO INITIALIZE THE SETUP MENU
After turning the power ON, without a disc in the tray, press the "1," "2," "3," "4," "DISPLAY" and "ENTER" buttons
on the remote control unit in this order. Then, after turning the power OFF temporarily, turn the power ON again
to intialize the Setup Menu.
HOW TO CLEAR THE PASSWORD PROTECTION
(In case of forgetting the password of Parental Lock)
To release the parental lock, initialize the DVD player in the same way above.
HOW TO SET OR CLEAR THE TRAY LOCK
To set the tray lock mode to on, follow the procedures below:
1. With loading a disc, set the DVD player to the stop mode.
2. Press the "SETUP" button to display the SETUP menu.
3. Press the "TITLE" button.
4. Press the "3" button.
5. Press the "AUDIO" button.
6. Press the "0" button.
7. Press the SETUP" button. Tray Lock mode is set to ON and "Tray Lock On" is displayed on the top right of
the screen.
While the Tray Lock mode is on, the operation of opening or closing the tray is being canceled. Other operatins
are available.
To release the Tray Lock mode, perform the above procedures again. Tray Lock mode is set to OFF and "Tray
Lock Off" is displayed on the top right of the screen.
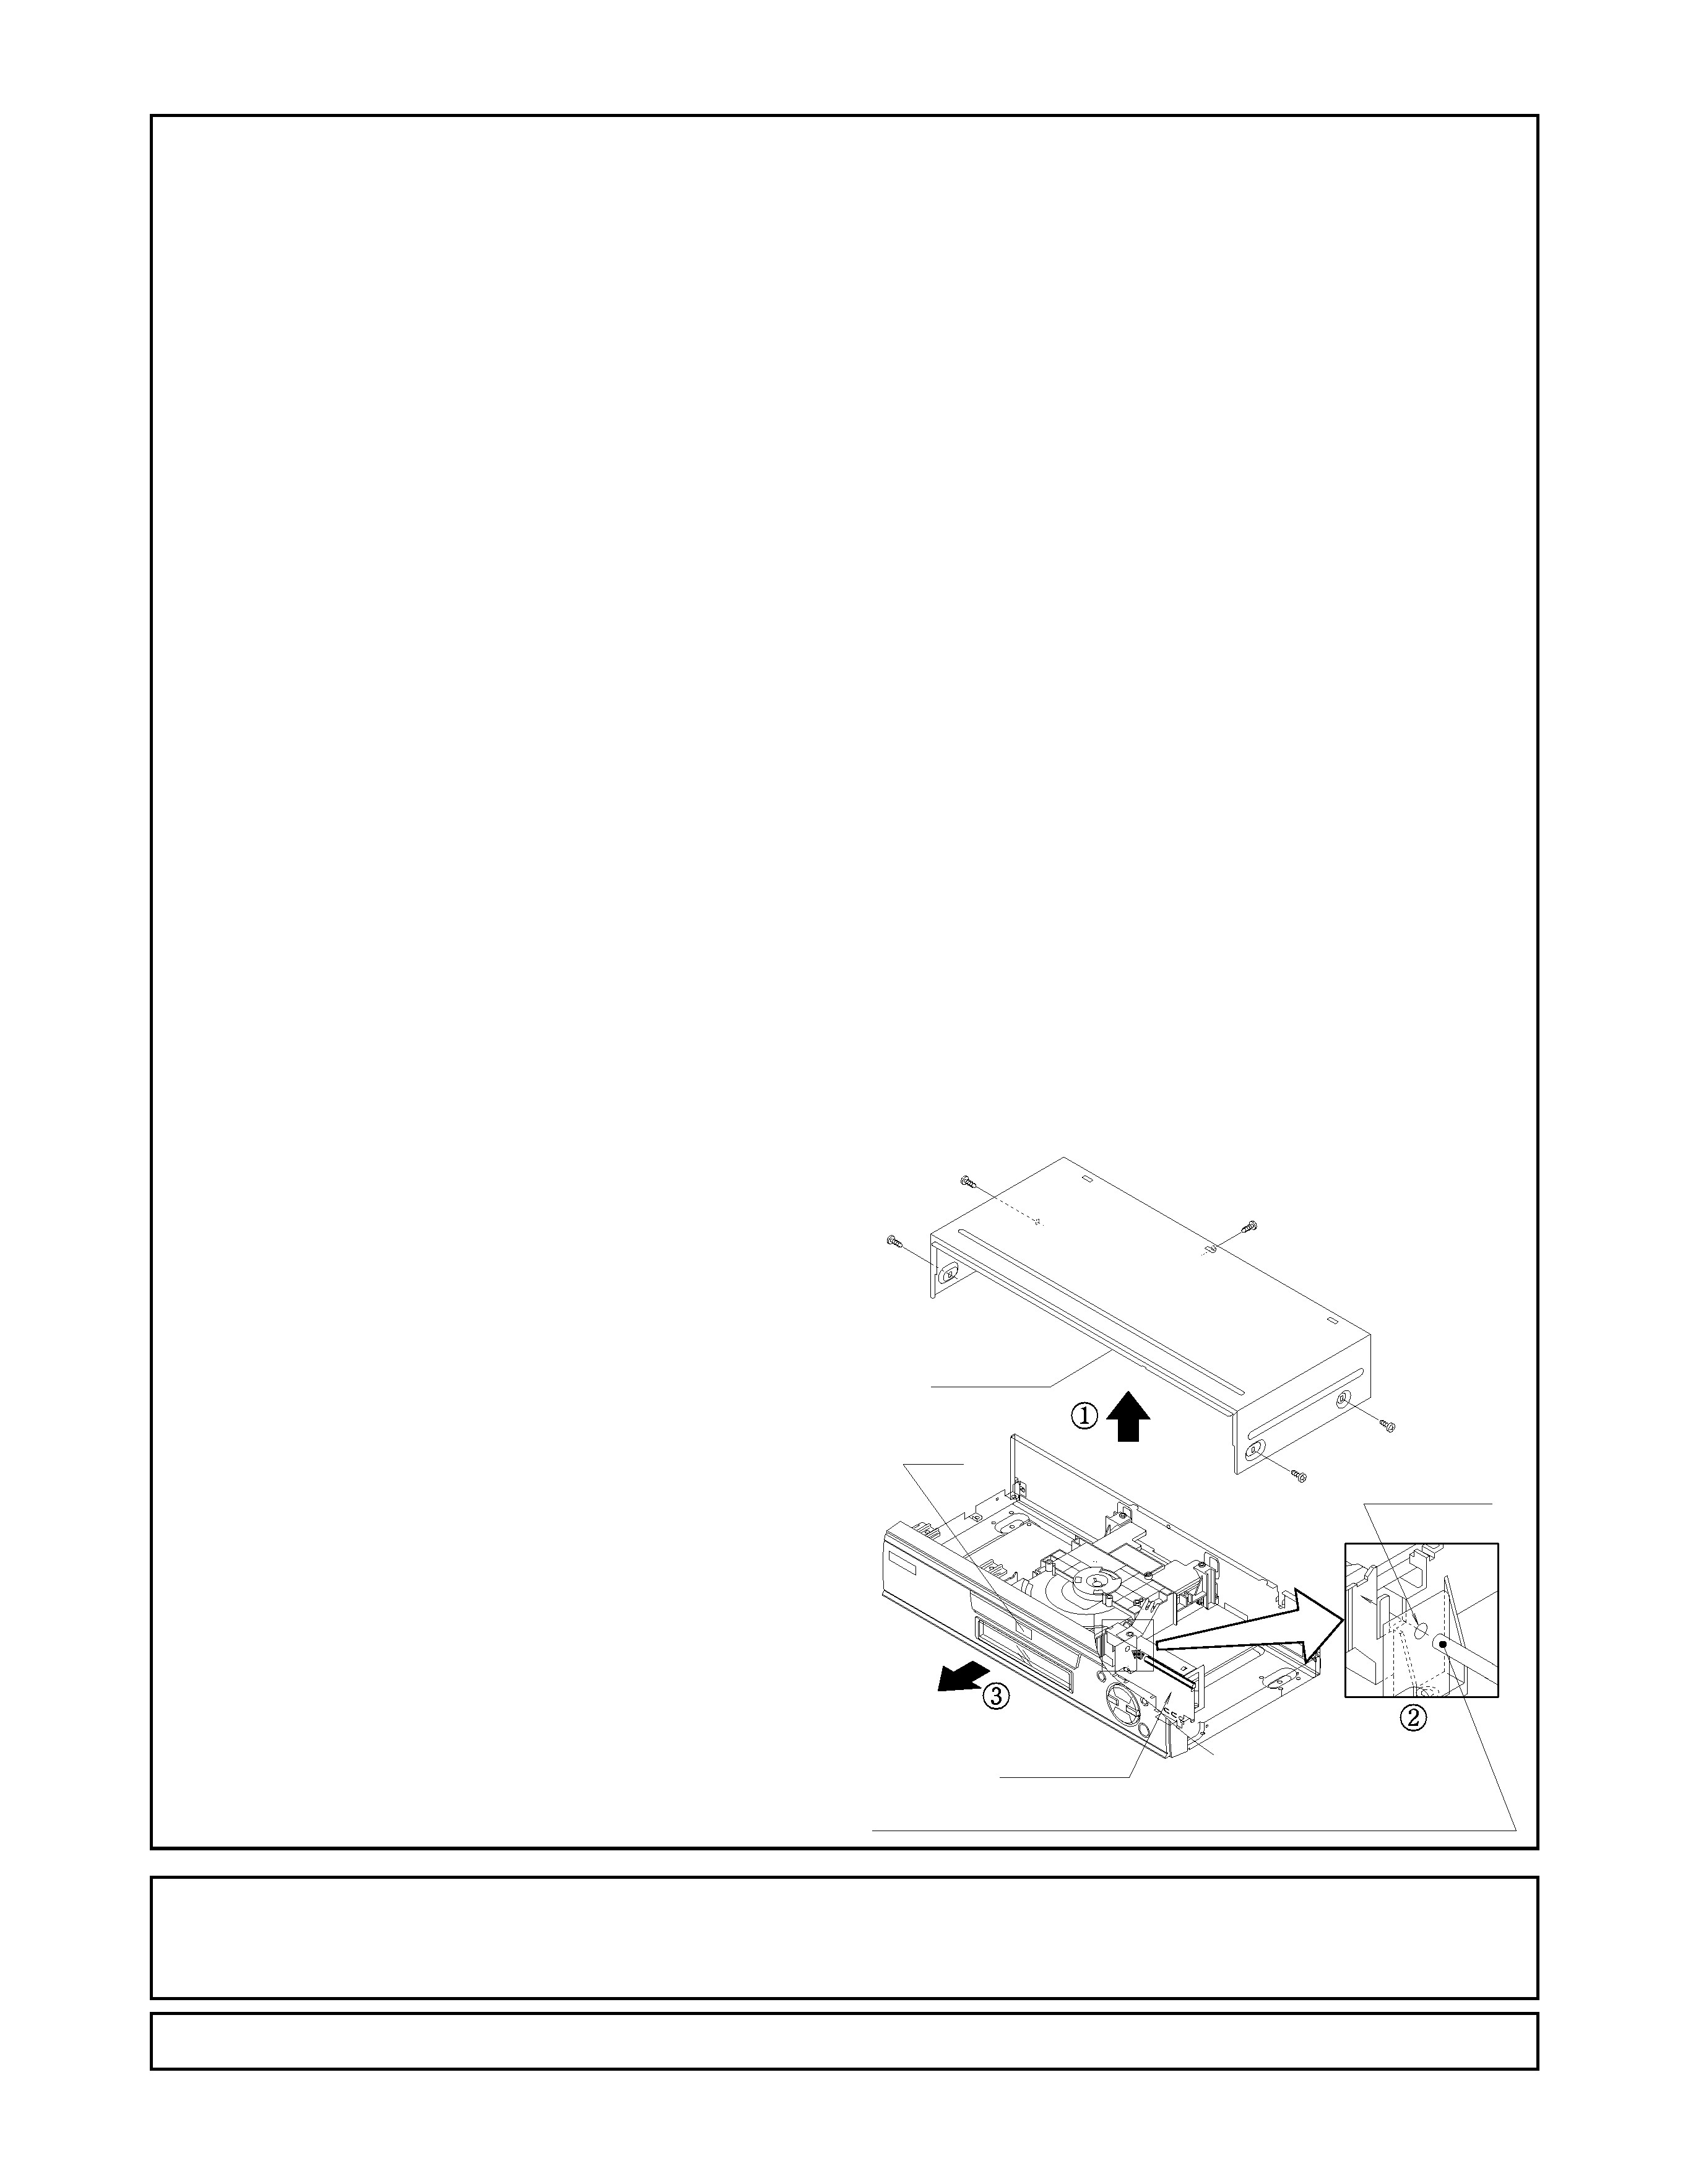
HOW TO MANUAL EJECT
1. Remove the Top Case.
2. Insert the eject-bar (length = approximately 3 mm,
diameter = approximately 8 mm) into the manual eject
hole on the PCB Holder. Then, press it until the tray
is ejected.
3. Pull out the tray.
Manufatured under license from Dolby Laboratories. "Dolby" and the double-D symbol are trademarks of Dolby
Laboratories. Confidential Unpublished Works.
(©1992-1997 Dolby Laboratories, Inc. All rights reserved.)
"DTS" and "DTS Digital Out" are trademarks of Digital Theater Systems Inc.
Eject-Bar (Length = approximately 80 mm, Diameter = approximately 3 mm)
Manual
Eject Hole
Tray
Top Case
PCB Holder
background image
SPECIFICATIONS
ITEM
CONDITIONS
UNIT
NOMINAL
LIMIT
1 Video Output
75 ohm load
Vpp
1.0
2 Optical Digital Out
dBm
-18
3 Audio(PCM)
3-1. Output Level
1kHz 0dB
Vrms
2.0
3-2. S/N
dB
110
3-3. Freq. Response
DVD
fs=48kHz 20~22kHz
dB
± 2
CD
fs=44.1kHz 20~20 kHz
dB
± 2
3-4. THD+N
1 kHz 0dB
%
0.005
NOTES:
1. All Items are measured without pre-emphasis unless otherwise specified.
2. Power supply : AC120 V 60 Hz
3. Load imp. : 100 K ohm
4. Room ambient : +25
°C
1-1-1
E5500SP
background image
LASER BEAM SAFETY PRECAUTIONS
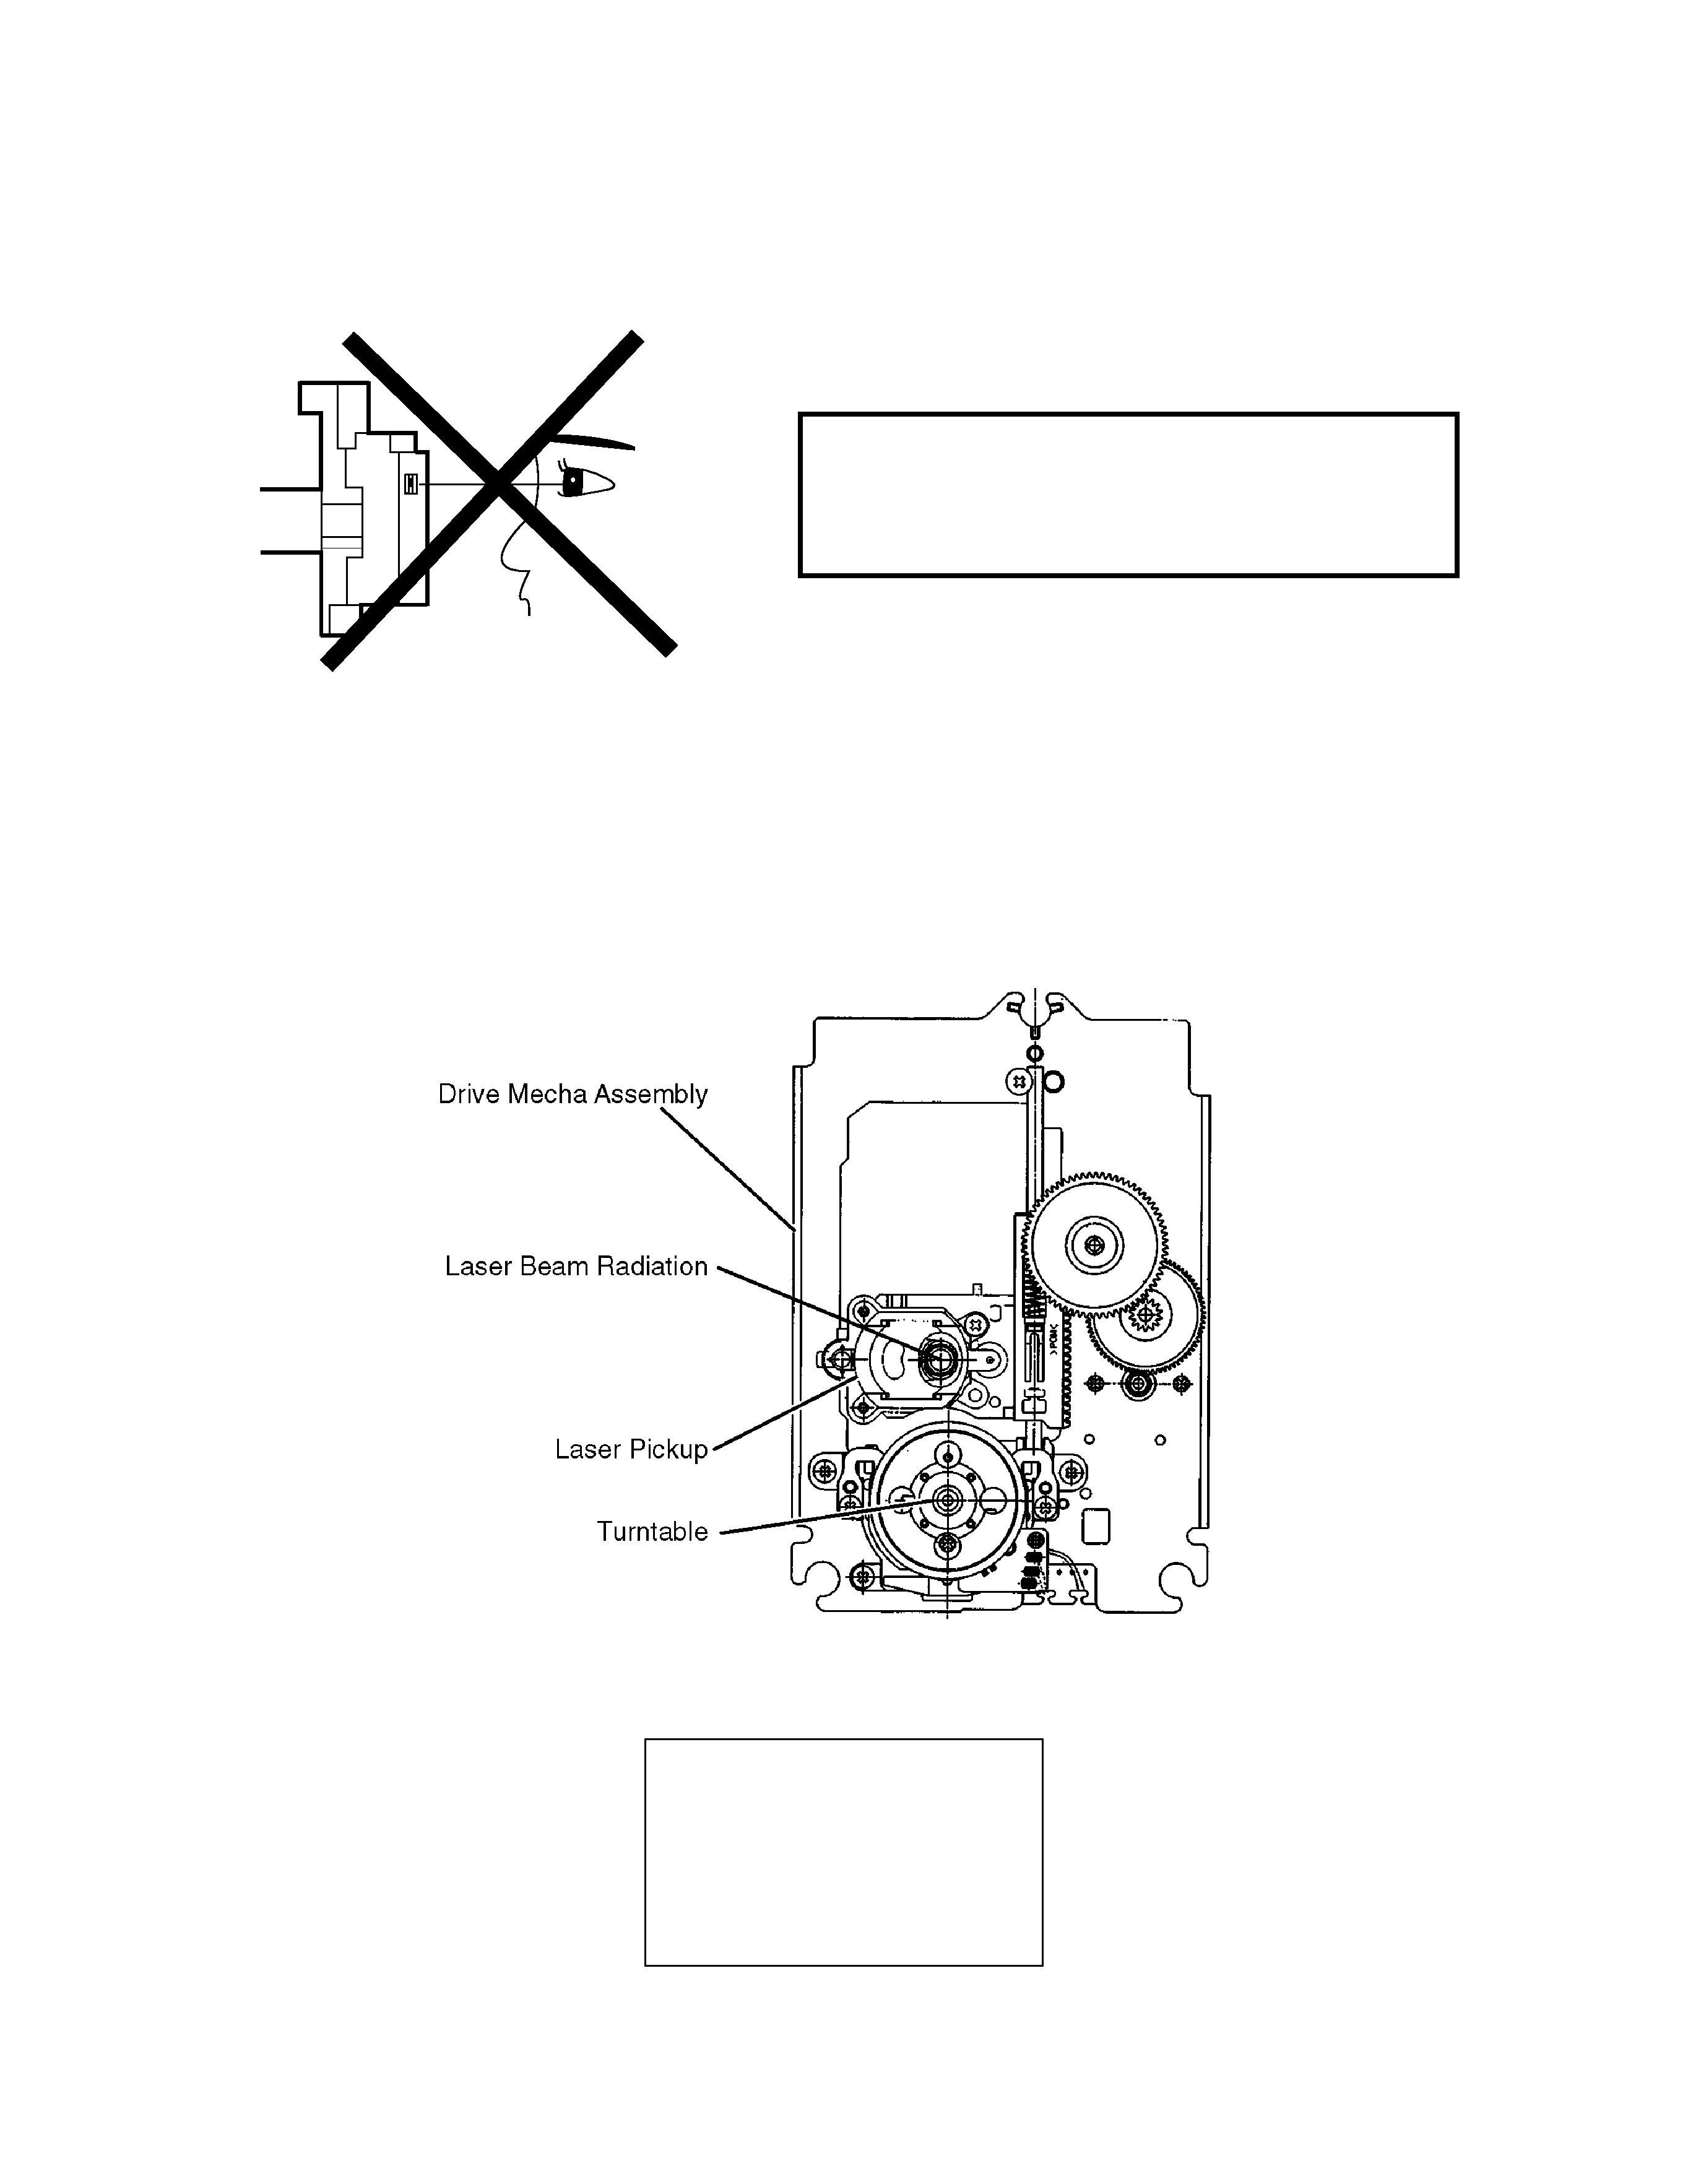
This DVD player uses a pickup that emits a laser beam.
The laser beam is emitted from the location shown in the figure. When checking the laser diode, be sure to keep your
eyes at least 30cm away from the pickup lens when the diode is turned on. Do not look directly at the laser beam.
Caution: Use of controls and adjustments, or doing procedures other than those specified herein, may result in
hazardous radiation exposure.
Do not look directly at the laser beam coming
from the pickup or allow it to strike against
your skin.
LASER RADIATION
WHEN OPEN. DO NOT
STARE INTO BEAM.
CAUTION
Location: Inside Top of DVD mechanism.
1-2-1
DVD_LASER
background image
IMPORTANT SAFETY PRECAUTIONS
Product Safety Notice
Some electrical and mechanical parts have special
safety-related characteristics which are often not evi-
dent from visual inspection, nor can the protection they
give necessarily be obtained by replacing them with
components rated for higher voltage, wattage, etc. Parts
that have special safety characteristics are identified by
a
on schematics and in parts lists. Use of a substi-
tute replacement that does not have the same safety
characteristics as the recommended replacement part
might create shock, fire, and/or other hazards. The
Product's Safety is under review continuously and new
instructions are issued whenever appropriate. Prior to
shipment from the factory, our products are carefully
inspected to confirm with the recognized product safety
and electrical codes of the countries in which they are
to be sold. However, in order to maintain such compli-
ance, it is equally important to implement the following
precautions when a set is being serviced.
Precautions during Servicing
A. Parts identified by the
symbol are critical for
safety. Replace only with part number specified.
B. In addition to safety, other parts and assemblies are
specified for conformance with regulations applying
to spurious radiation. These must also be replaced
only with specified replacements.
Examples: RF converters, RF cables, noise block-
ing capacitors, and noise blocking filters, etc.
C. Use specified internal wiring. Note especially:
1) Wires covered with PVC tubing
2) Double insulated wires
3) High voltage leads
D. Use specified insulating materials for hazardous live
parts. Note especially:
1) Insulation tape
2) PVC tubing
3) Spacers
4) Insulators for transistors
E. When replacing AC primary side components
(transformers, power cord, etc.), wrap ends of wires
securely about the terminals before soldering.
F. Observe that the wires do not contact heat produc-
ing parts (heatsinks, oxide metal film resistors, fus-
ible resistors, etc.).
G. Check that replaced wires do not contact sharp
edges or pointed parts.
H. When a power cord has been replaced, check that
5 - 6 kg of force in any direction will not loosen it.
I. Also check areas surrounding repaired locations.
J. Use care that foreign objects (screws, solder drop-
lets, etc.) do not remain inside the set.
K. Crimp type wire connector
The power transformer uses crimp type connectors
which connect the power cord and the primary side
of the transformer. When replacing the transformer,
follow these steps carefully and precisely to prevent
shock hazards.
Replacement procedure
1) Remove the old connector by cutting the wires at a
point close to the connector.
Important: Do not re-use a connector. (Discard it.)
2) Strip about 15 mm of the insulation from the ends of
the wires. If the wires are stranded, twist the strands
to avoid frayed conductors.
3) Align the lengths of the wires to be connected. Insert
the wires fully into the connector.
4) Use a crimping tool to crimp the metal sleeve at its
center. Be sure to crimp fully to the complete closure
of the tool.
L. When connecting or disconnecting the internal con-
nectors, first, disconnect the AC plug from the AC
outlet.
1-3-1
DVD_SFN1

Reviews

There are no reviews of this manual yet.