XD-SERIES (En)
3
Preparation
section
Basic
section
Application
section
Knowledge
sections
Contents
Preparation section
Application section
Knowledge section
Before applying power ............................................ 2
Safety precautions ....................................................... 2
Special features ............................................................ 4
Handling of discs and tapes ........................................ 5
System connection (XD-7...series)......................... 6
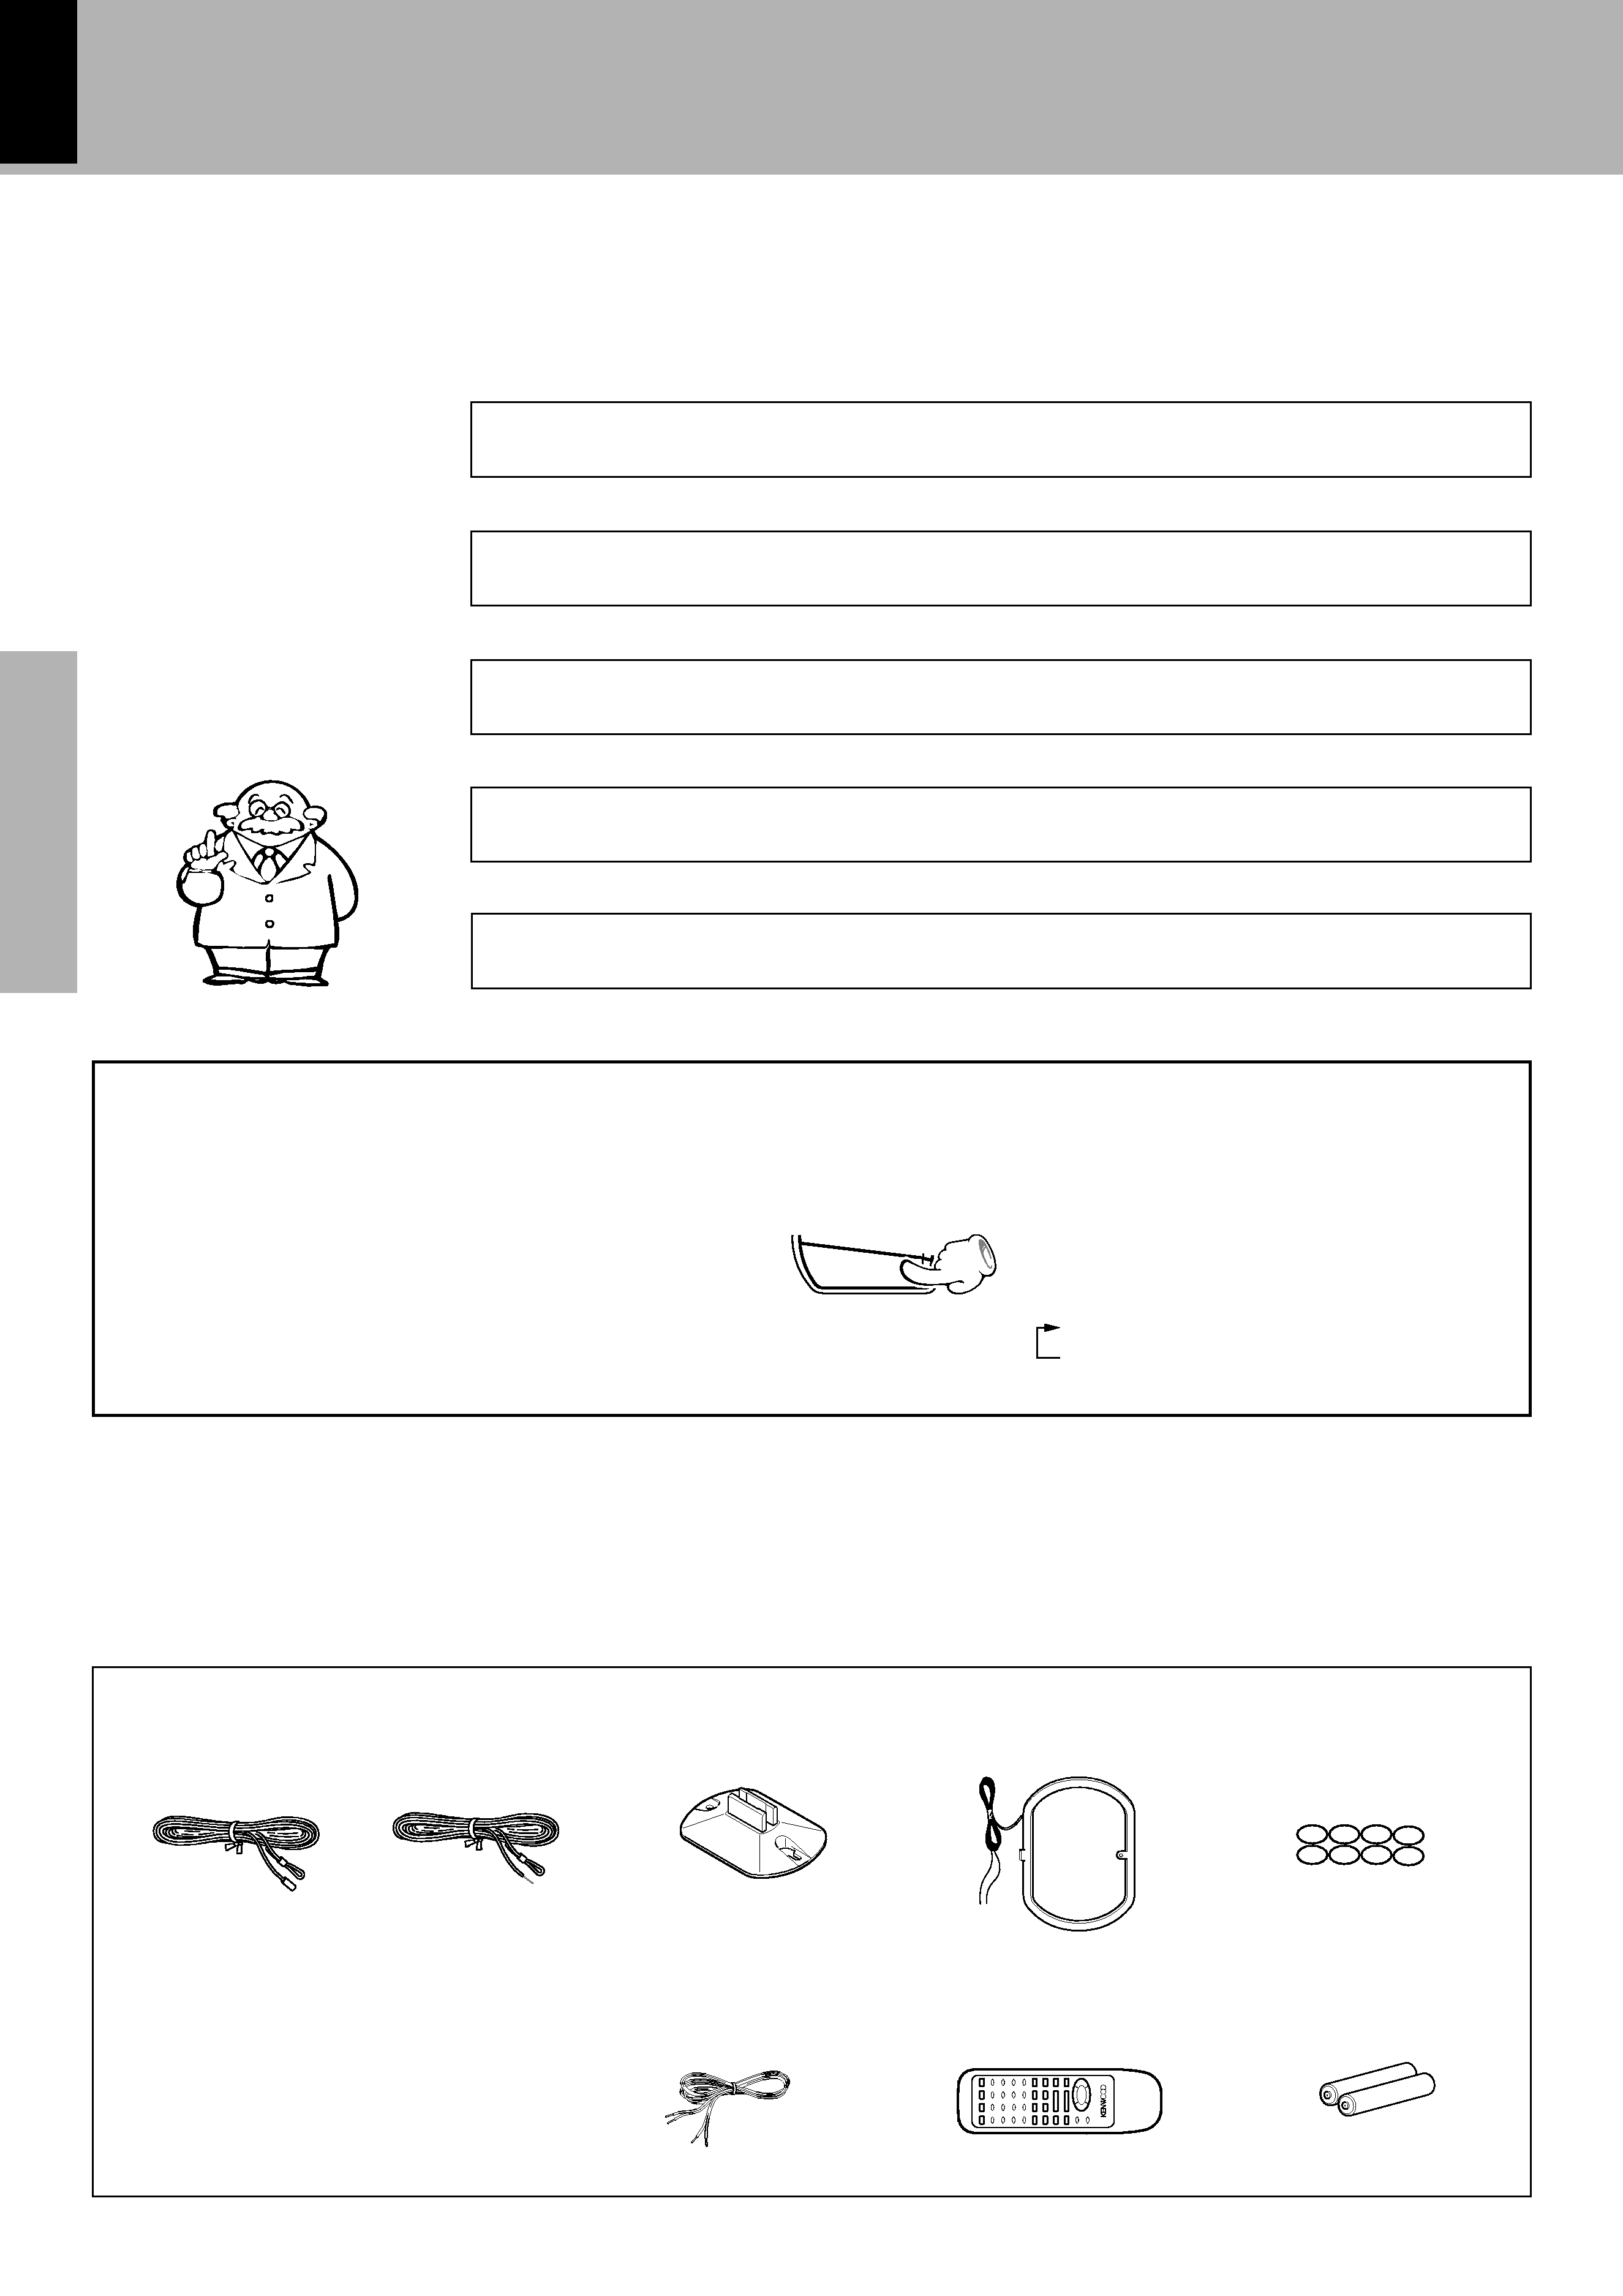
Connection of the System Accessories ..................... 6
Connection of Options (Optional Parts) .................... 8
System connection (XD-5...series)....................... 10
Connection of the System Accessories ................... 10
Connection of Options (Optional Parts) .................. 12
Controls and indicators ......................................... 14
Main Unit ..................................................................... 14
Display ......................................................................... 16
Remote control Unit ................................................... 17
Operation of remote control unit .......................... 18
CHANNEL SPACE setting ........................................... 18
Let's put out some sound ....................................... 20
Basic use method ....................................................... 20
Playback of CD ............................................................ 22
Playback of tape ......................................................... 24
Searching for the desired music program (DPSS) .. 27
Receiving broadcast station ....................................... 28
Let's record .............................................................. 30
Recording (Deck B only) ............................................ 30
Copying tape (Tape dubbing) ..................................... 33
Playback of CD ........................................................ 34
Listening in the desired sequence
(program playback) .............................................. 34
Repeated playback ..................................................... 36
Listening to an unexpected title sequence
(random playback) ................................................ 38
R.D.S. (Radio Data System)
(Except for some areas) ......................................... 39
Searching for a desired program type
(PTY search) ............................................................ 40
To be able to listen to the desired information
at any time .................................................................. 42
Convenient CD recording ....................................... 44
Selection of the convenient CD recording type ...... 44
Recording only desired titles
(CD ONE TRACK RECORD) ................................... 45
Recording of an entire CD
(CD RECORD) .......................................................... 46
Giving preference to the tape length over the title se-
quence (CD EDIT) ........................................................ 47
Recording the programmed titles
(CD PGM RECORD) ................................................ 48
Effective Sound Adjustment ................................. 49
Adjustment of balance and input level ..................... 49
Listening with the desired sound
(equalizer function) ............................................... 50
Enjoying Sound Field Effects ..................................... 52
Enjoying Karaoke (Except for some areas) ............... 53
Clock adjustment ..................................................... 54
Timer operation ....................................................... 55
Sleep timer (SLEEP) .................................................... 55
Operate easy To use Timer
(Operate easy To use Timer:O.T.T.) ...................... 55
Timer programming .................................................... 56
Important Items ....................................................... 59
Maintenance ................................................................ 59
Reference ..................................................................... 59
In case of difficulty ................................................. 60
Specifications ......................................................... 63
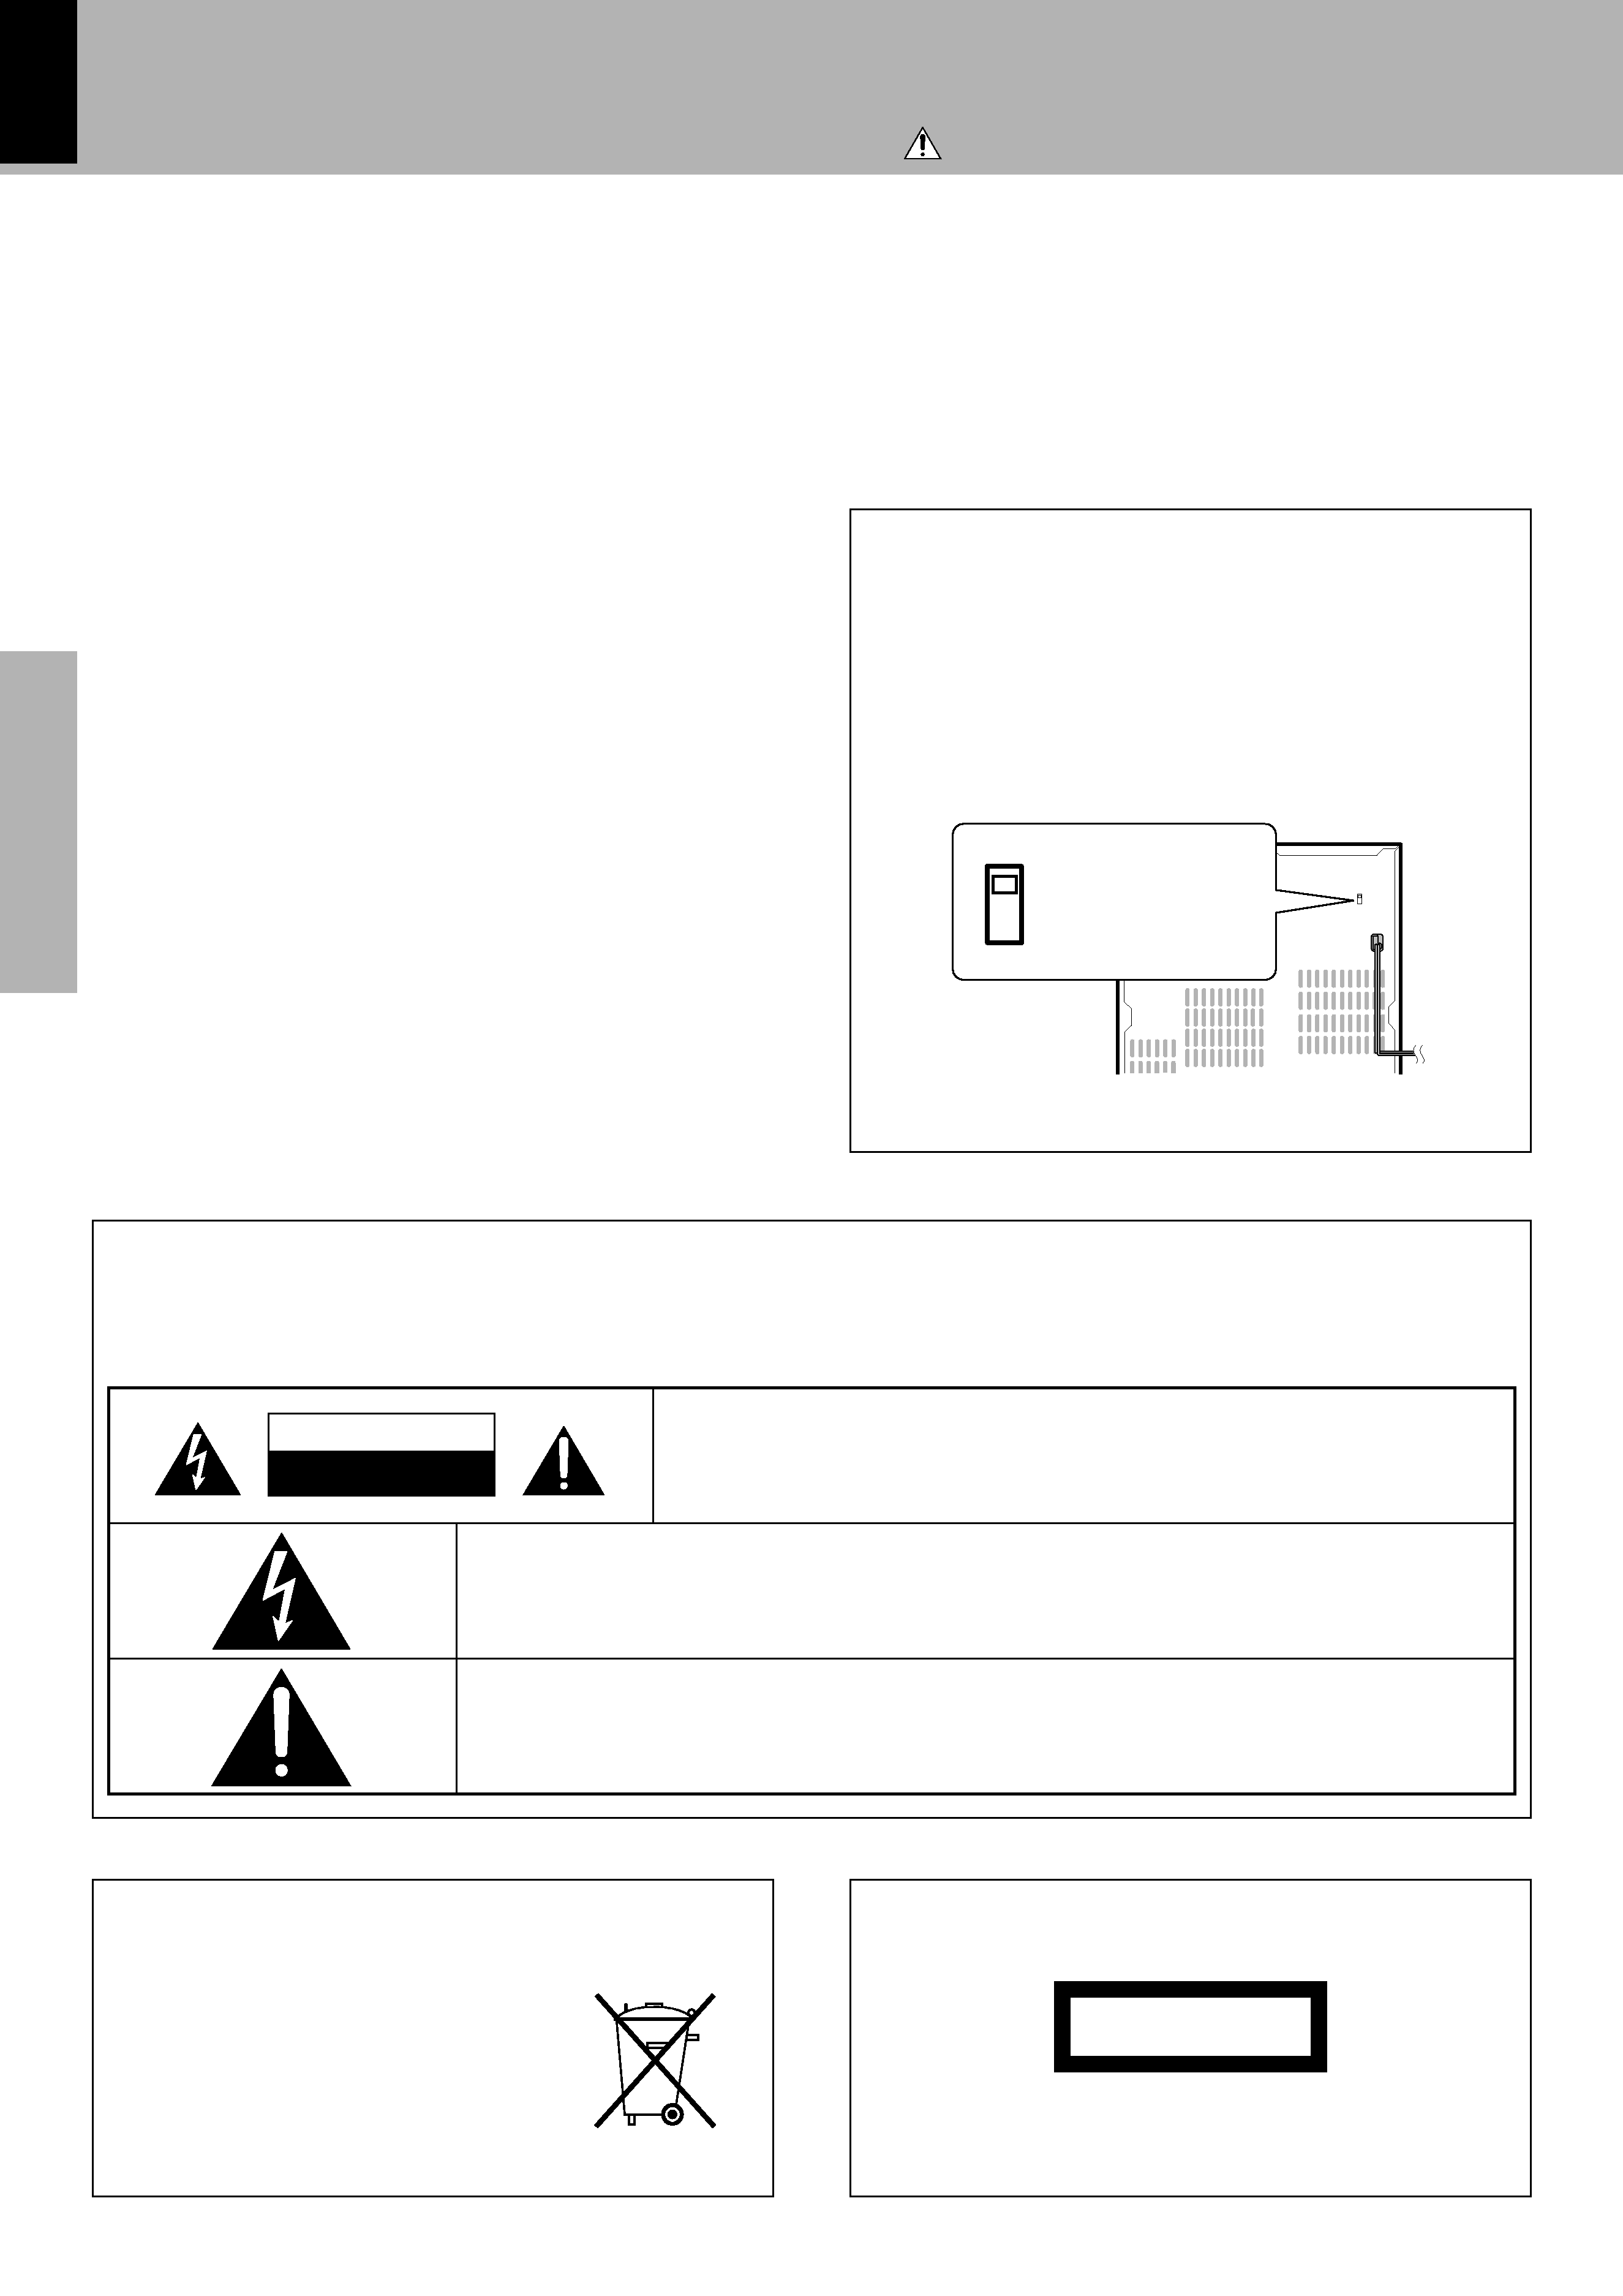
Before applying power
Caution : Read the pages marked
carefully to ensure safe operation.
Basic section