KENWOOD XD-251 Owner's Manual

Cover page of KENWOOD XD-251 Owner's Manual

Owner's Manual for KENWOOD XD-251, downloadable as a PDF file.

Manual details

  • Immediate download after payment.
  • Delivered as a PDF file.
  • The manual has 32 pages
  • File size: 1 MB
  • Available language versions: English
  • Different language versions may vary sligthly in file size and page count.

We guarantee that...

  • our manuals are complete,
  • our manuals are checked with antivirus,
  • We'll issue refund if the manual is damaged, incomplete or unreadable (our refund policy)

Sample pages

Thumbnail of page 1Thumbnail of page 2Thumbnail of page 3Thumbnail of page 4
Thumbnail of page 5Thumbnail of page 6Thumbnail of page 7Thumbnail of page 8
Thumbnail of page 9
background image
COMPACT HIFI SYSTEM
B60-3879-08 00 MA (K,M,T,X,Y)
OC
99/12 11 10 9 8 7 6 5 4 3 2 1 98/12 11 10 9 8 7 6 5
KENWOOD CORPORATION
INSTRUCTION MANUAL
XD SERIES
XD-A3
XD-251
XD-301/XD-351
XD-371S
This instruction manual is used to describe multiple models listed above.
Model availability and features (functions) may differ depending on the country and
sales area.
background image
2
XD SERIES (En)
Preparation
Before applying power
Units are designed for operation as follows.
U.S.A. and Canada ................................................. AC 120 V only
Austraria ................................................................... AC 240 V only
Caution : Read this page carefully to ensure safe operation.
Europe and U.K. ...................................................... AC 230 V only
*Other countries ............... AC 110-120 /220-240 V switchable
Safety precautions
CAUTION
RISK OF ELECTRIC SHOCK
DO NOT OPEN
WARNING : TO PREVENT FIRE OR ELECTRIC SHOCK, DO NOT EXPOSE THIS APPLIANCE TO RAIN
OR MOISTURE.
CAUTION: TO REDUCE THE RISK OF ELECTRIC SHOCK, DO NOT REMOVE COVER
(OR BACK). NO USER-SERVICEABLE PARTS INSIDE, REFER SERVICING TO
QUALIFIED SERVICE PERSONNEL.
THE LIGHTNING FLASH WITH ARROWHEAD SYMBOL, WITHIN AN EQUILATERAL TRIANGLE, IS
INTENDED TO ALERT THE USER TO THE PRESENCE OF UNINSULATED "DANGEROUS VOLTAGE"
WITHIN THE PRODUCT'S ENCLOSURE THAT MAY BE OF SUFFICIENT MAGNITUDE TO CONSTITUTE
A RISK OF ELECTRIC SHOCK TO PERSONS.
THE EXCLAMATION POINT WITHIN AN EQUILATERAL TRIANGLE IS INTENDED TO ALERT THE USER
TO THE PRESENCE OF IMPORTANT OPERATING AND MAINTENANCE (SERVICING) INSTRUCTIONS
IN THE LITERATURE ACCOMPANYING THE APPLIANCE.
The marking is located on the rear panel and says that the compo-
nent uses laser beams that have been classified as Class 1. It means
that the unit is utilizing laser beams that are of a weaker class. There
is no danger of hazardous radiation outside the unit.
CLASS 1
LASER PRODUCT
The marking of products using lasers
(Except for some areas)
CH01
background image
3
XD SERIES (En)
Preparation
Contents
Before applying power ............................................................... 2
Safety precautions .......................................................................................... 2
Contents ............................................................................................................ 3
Special features .............................................................................................. 4
Demonstration ................................................................................................. 4
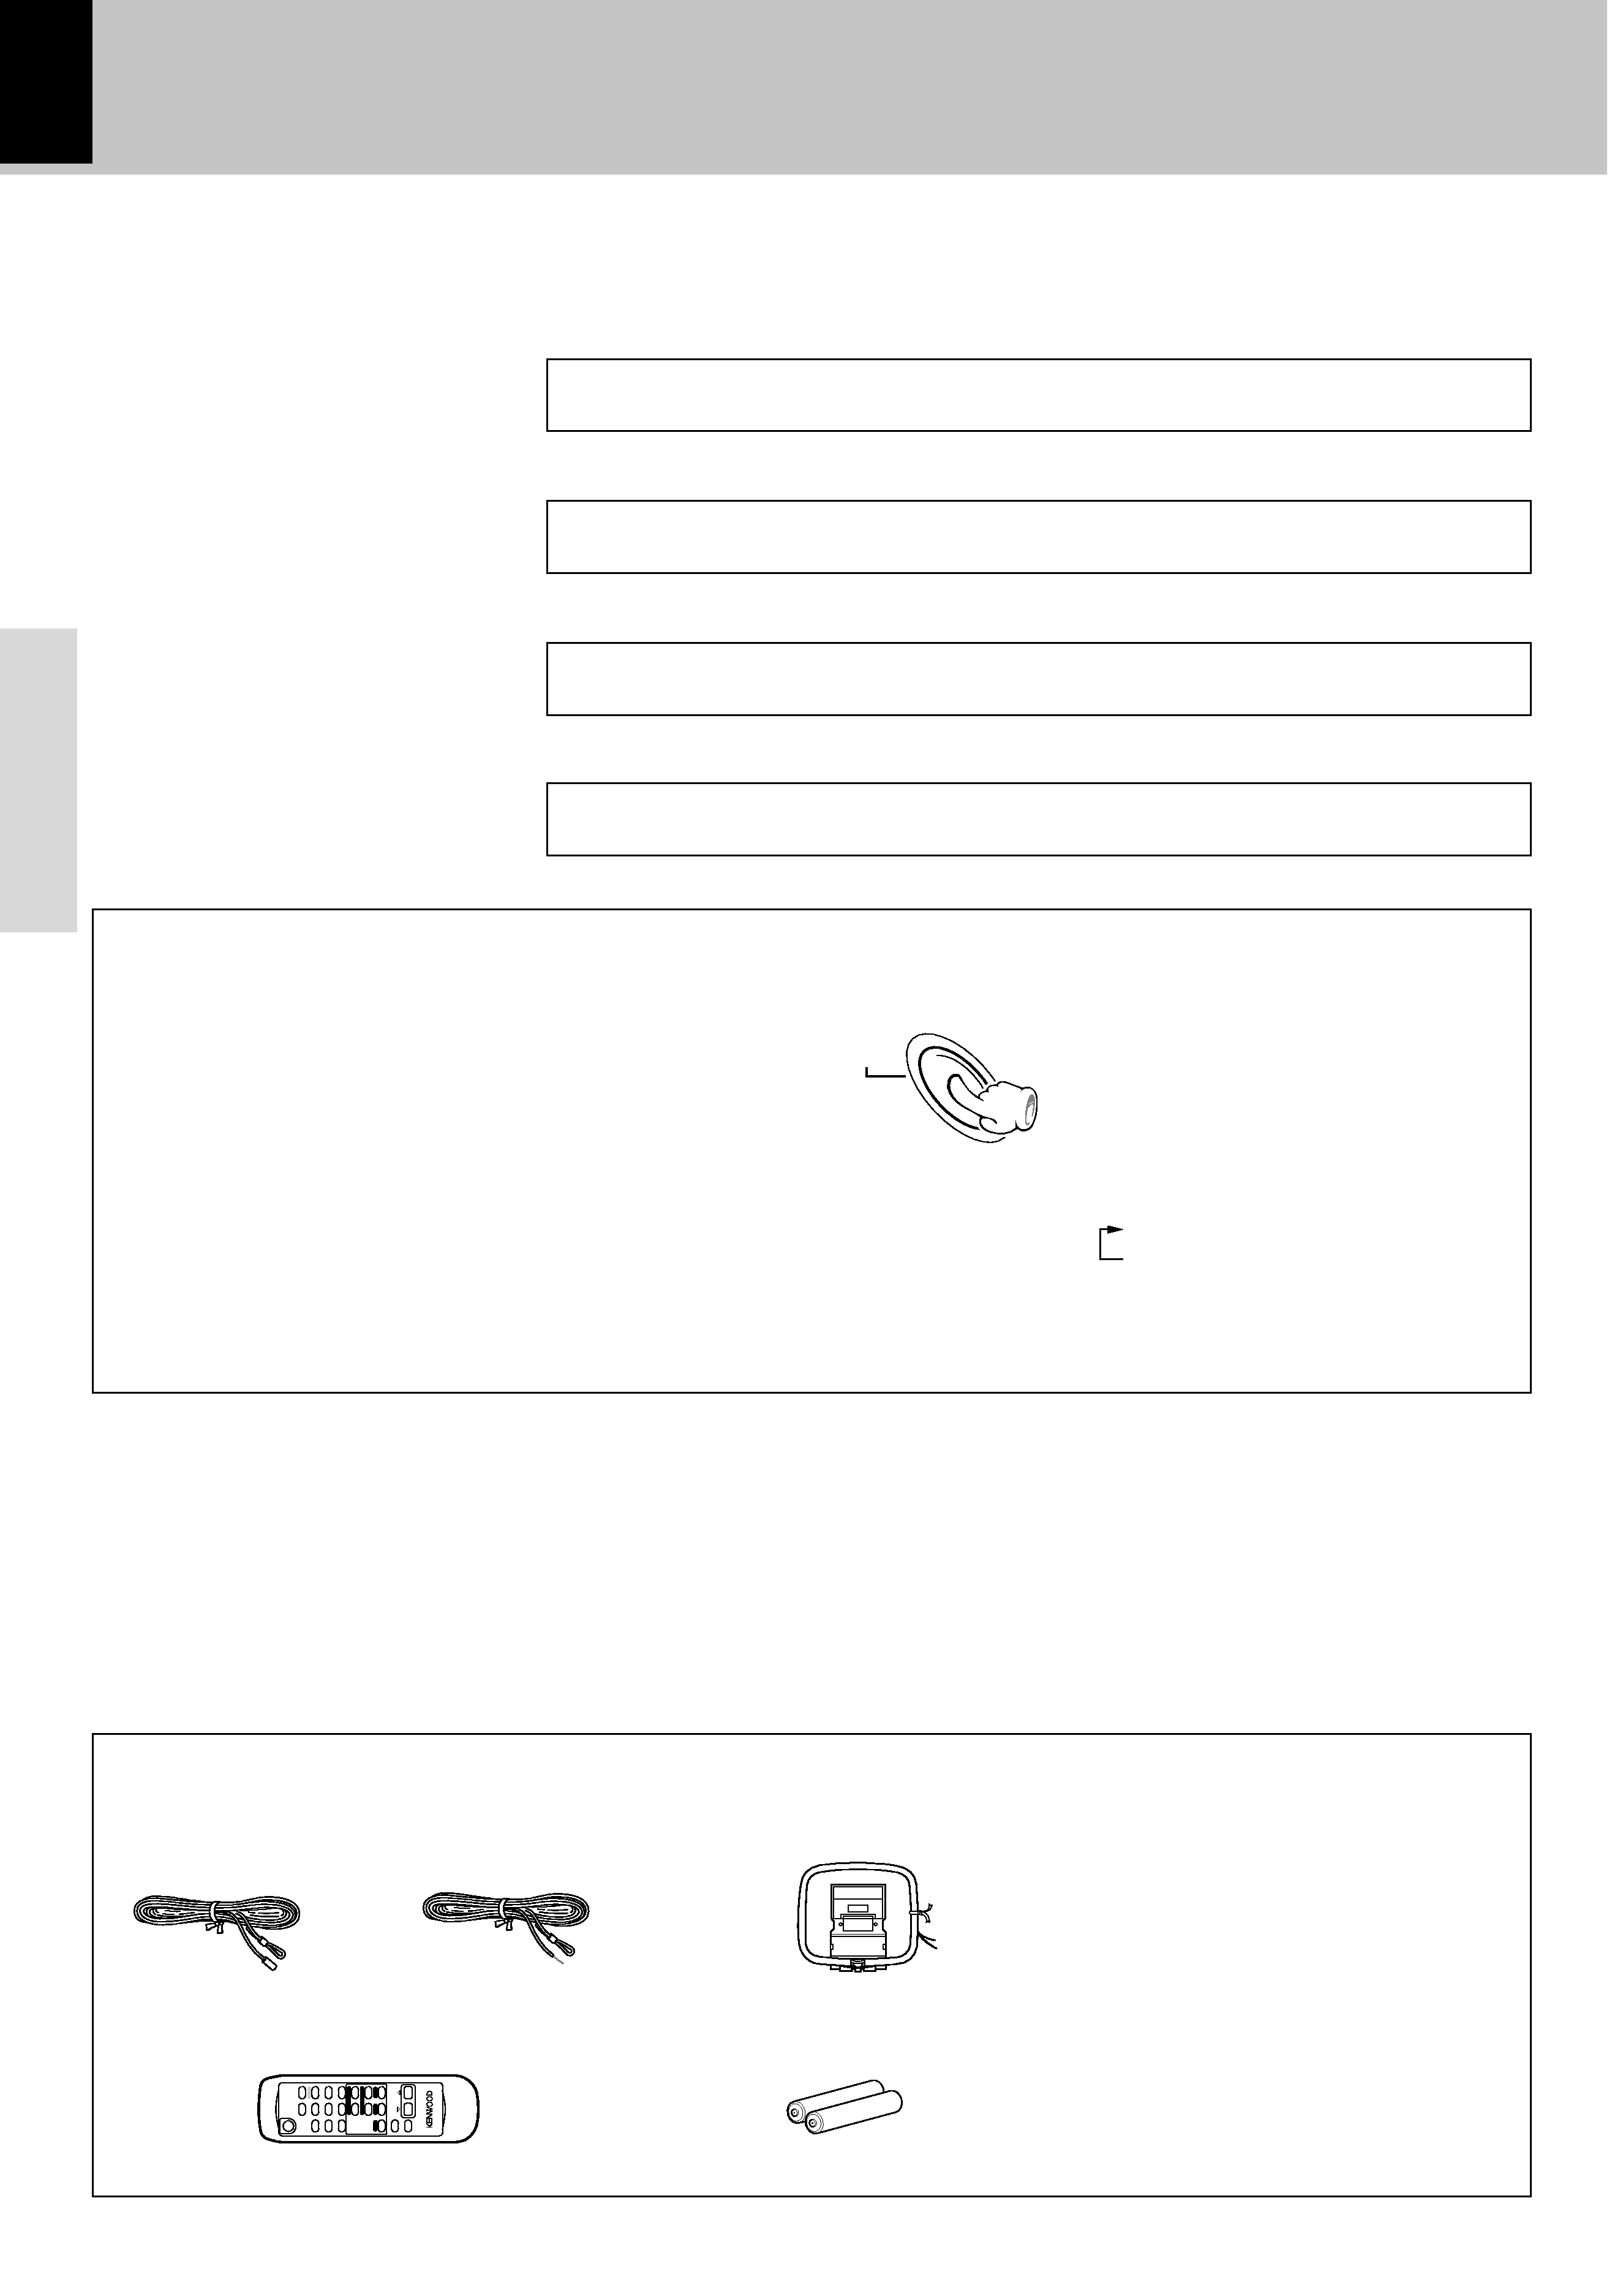
Accessories ..................................................................................................... 4
IMPORTANT SAFEGUARDS ........................................................ 5
Handling of discs and tapes ...................................................... 7
system connection ....................................................................... 8
AM loop antenna connection ....................................................................... 8
FM antenna connection ................................................................................. 8
Connection of the speaker systen .............................................................. 9
Connection of options (Optional parts) ....................................................... 9
Controls and indicators ............................................................. 10
CD unit ............................................................................................................. 10
Receiver unit .................................................................................................. 10
Cassette deck unit ........................................................................................ 11
Display ............................................................................................................ 11
Operation of remote control unit ............................................. 12
Preparation .................................................................................. 13
CHANNEL SPACE setting ............................................................................. 13
Setting the Present Time ............................................................................. 13
Preparation
Operation
Let's put out some sound .......................................................... 14
Basic use method ......................................................................................... 14
Muting the sound temporarily .................................................................... 15
Listening through headphones ................................................................... 15
Changing the Tone ........................................................................................ 15
Playback of CDs ......................................................................... 16
Sequential playback from the first track .................................................. 16
Playback from the desired track ................................................................ 17
Repeat Playback ........................................................................................... 17
Introduction Scanning and Random Playback ........................................ 17
Listening in the desired sequence (program playback) ........................ 18
To add a track to the program ..................................................................... 19
To check the programmed tracks .............................................................. 19
To clear tracks from the program .............................................................. 19
Receiving broadcast station .................................................... 20
Collective presetting of stations (auto preset) ........................................ 21
One-by-one presetting (manual preset) .................................................... 21
Playback of tapes ....................................................................... 22
Recording (Deck A only) ........................................................... 23
Enjoying Karaoke ....................................................................... 24
Timer operation .......................................................................... 25
Setting the ON/OFF time .............................................................................. 25
Playback start by timer/timer setting confirmation ............................... 26
Use of the Sleep Timer ................................................................................. 26
Knowledge
Important Items ........................................................................... 27
In case of difficulty .................................................................... 28
Specifications ............................................................................. 31
background image
4
XD SERIES (En)
Preparation
Special features
Demonstration
Accessories
3-Disc carousel CD player
Tree discs can be set. There are various ways for enjoyment at the time of program play back, repeat
playback, random playback, etc.
Double cassette deck
Two tape decks are installed, permitting dubbing from tape to tape and relay playback.
Various Sound Settings
When the power supply is restored after a power failure or the power cord
is unplugged and plugged in again during use, this unit automatically starts
the demonstration function (display only), During the demonstration, the
display changes in sequence but the audio does not change. The
demonstration can be canceled with the following procedure.
Unpacking
Unpack the unit carefully and make sure that all accessories are put aside so they will not be lost.
Examine the unit for any possibility of shipping damage. If your unit is damaged or fails to operate, notify your dealer immediately. If your unit was shipped
to you directly, notify the shipping company without delay. Only the consignee (the person or company receiving the unit) can file a claim against the carrier
for shipping damage.
We recommend that you retain the original carton and packing materials for use should you transport or ship the unit in the future.
Keep this manual handy for future reference.
FM indoor antenna (1)
Europe and U.K.
Other countries
AM loop antenna (1)
Remote control unit (1)
Cancellation of Demonstration Mode
When the power is OFF:
Demonstration mode is cancelled by
pressing this key.
When the power is ON:
Switching as shown below takes place
each time this key is pressed.
1 Demonstration mode (execution)
2 Normal display (CD or tuner display)
3 Time display
The desired sound type can be selected according to the music being played.
Popular (POP), rock (ROCK), jazz (JAZZ), and extra bass (EX.BASS) can be selected.
Convenient Timer Functions
An ON/OFF timer for listening at the same time each day and a sleep timer are provided.
DISPLAY
/DEMO
÷ The setting is remembered even when the power is switched off.
CD/TUNER
background image
5
XD SERIES (En)
Preparation
Caution : Read this page carefully
to ensure safe operation.
IMPORTANT SAFEGUARDS

Reviews

There are no reviews of this manual yet.