5
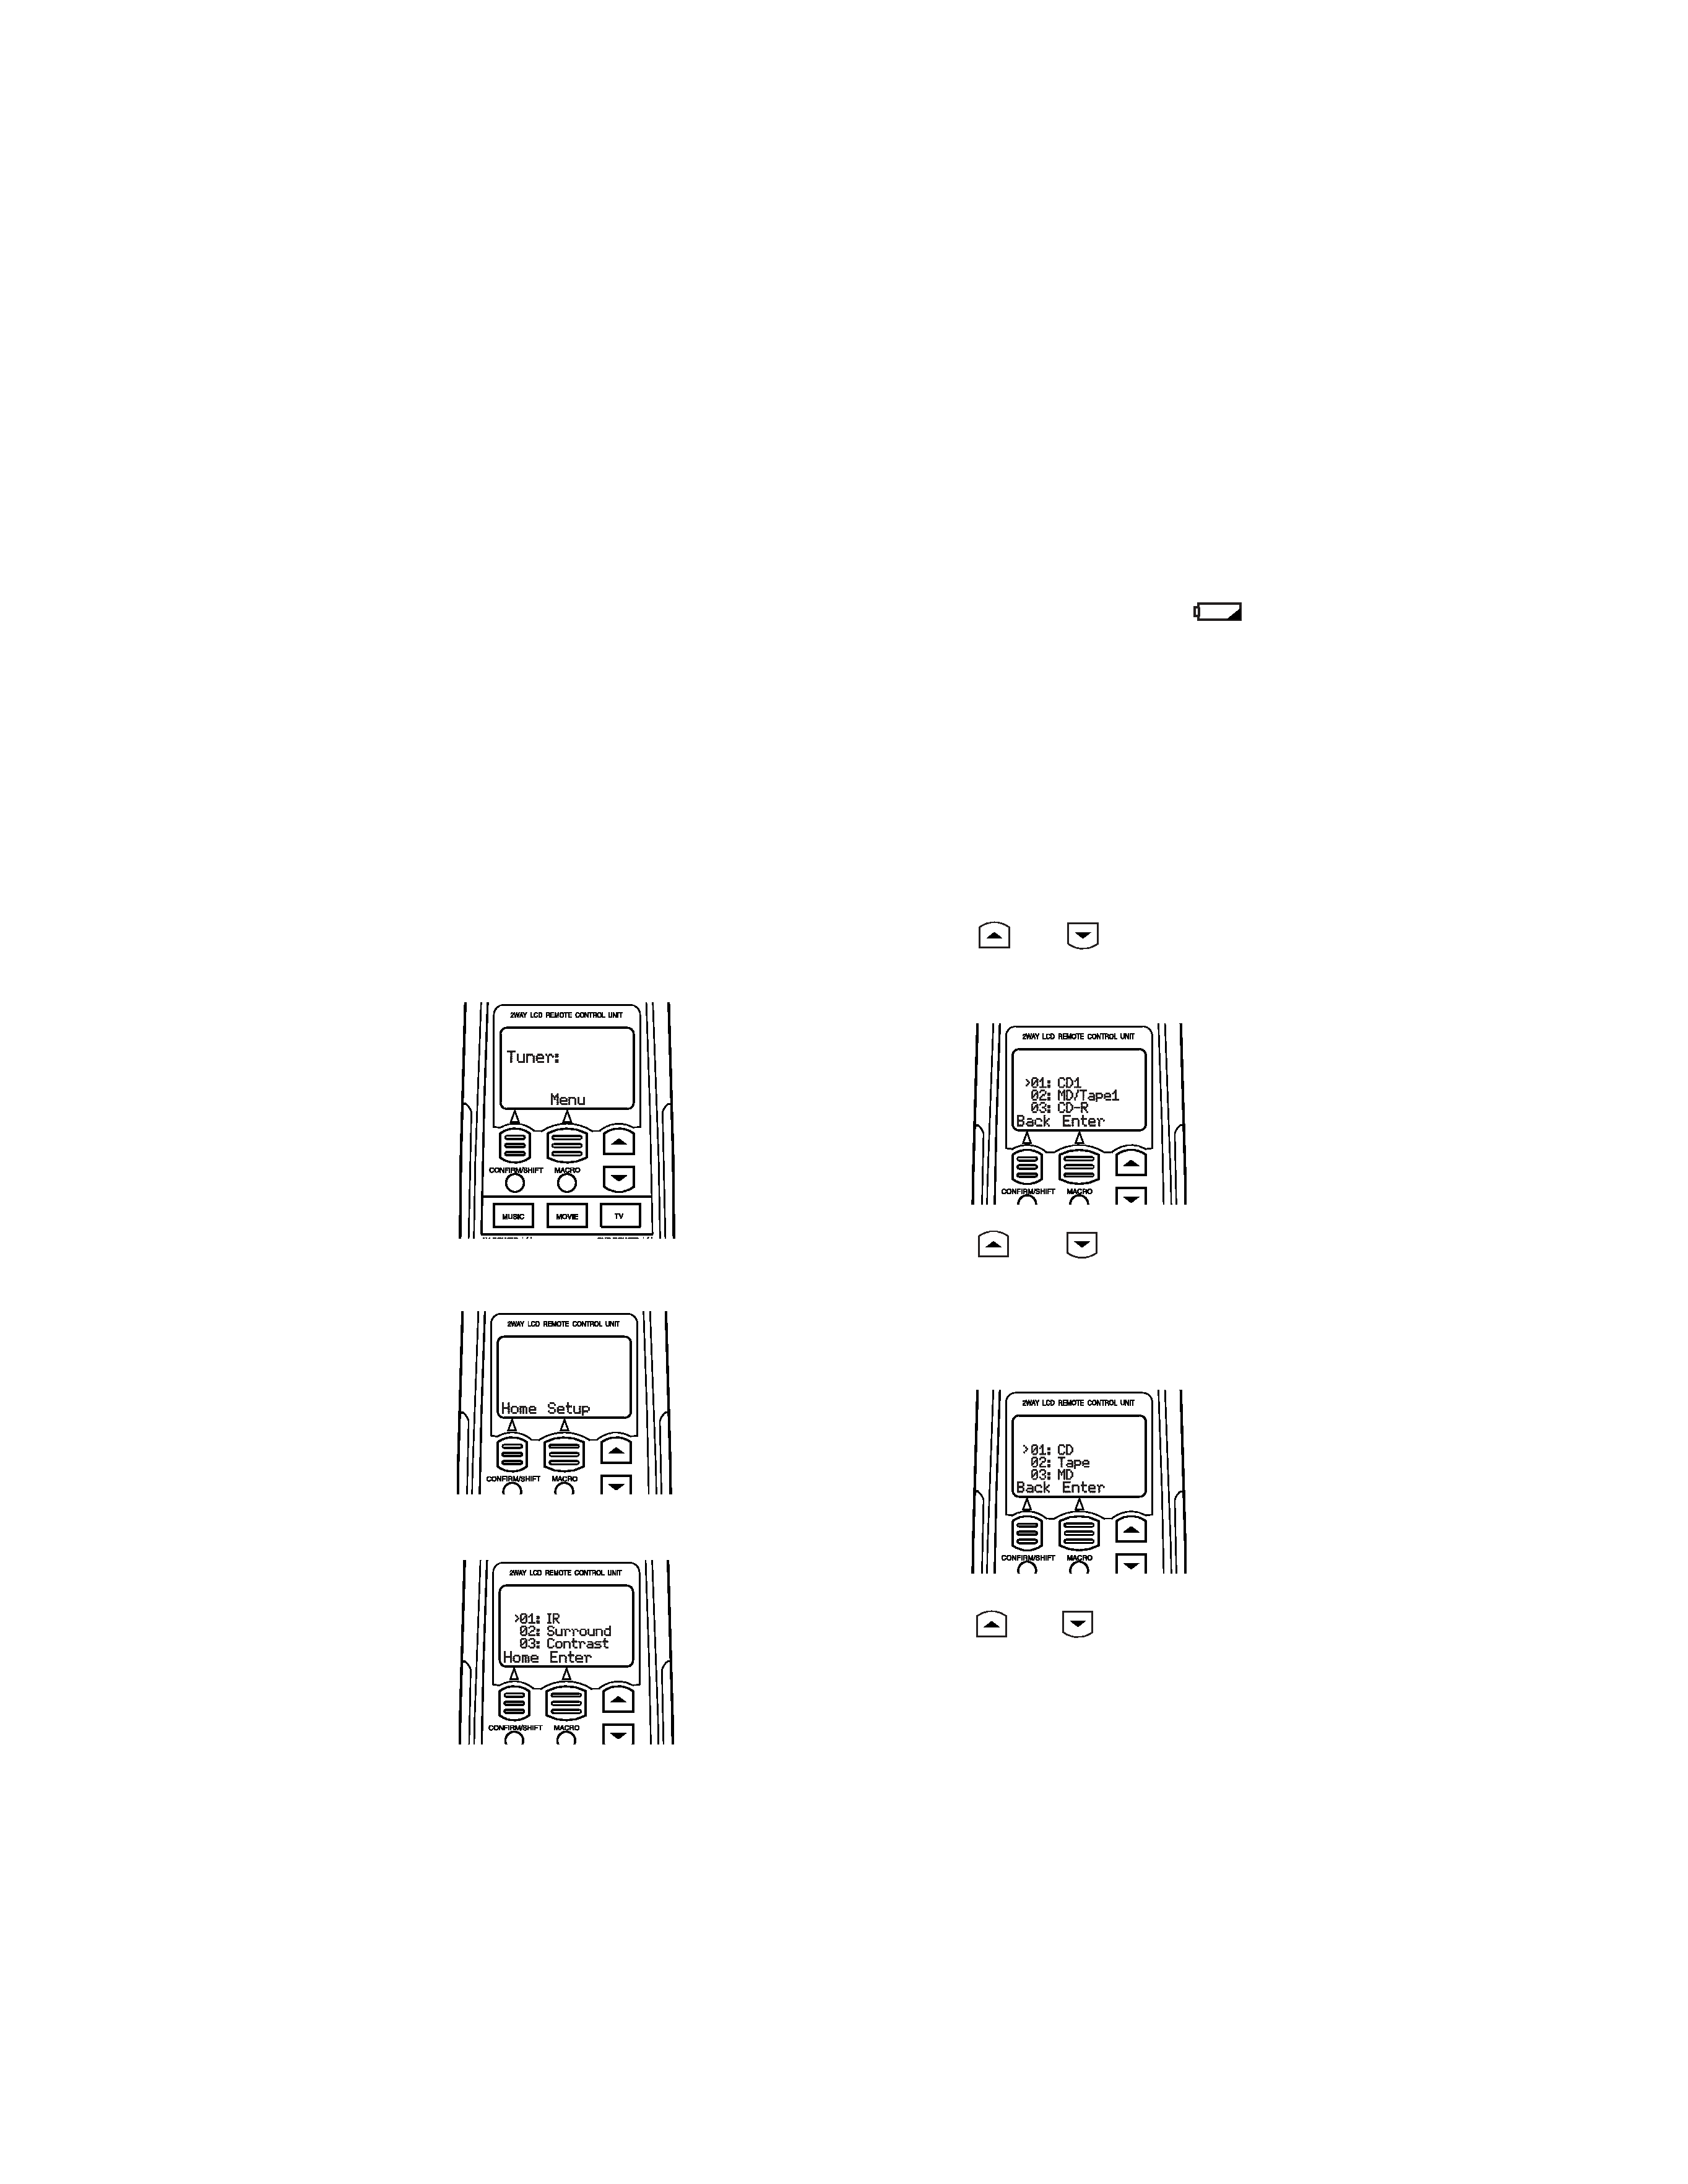
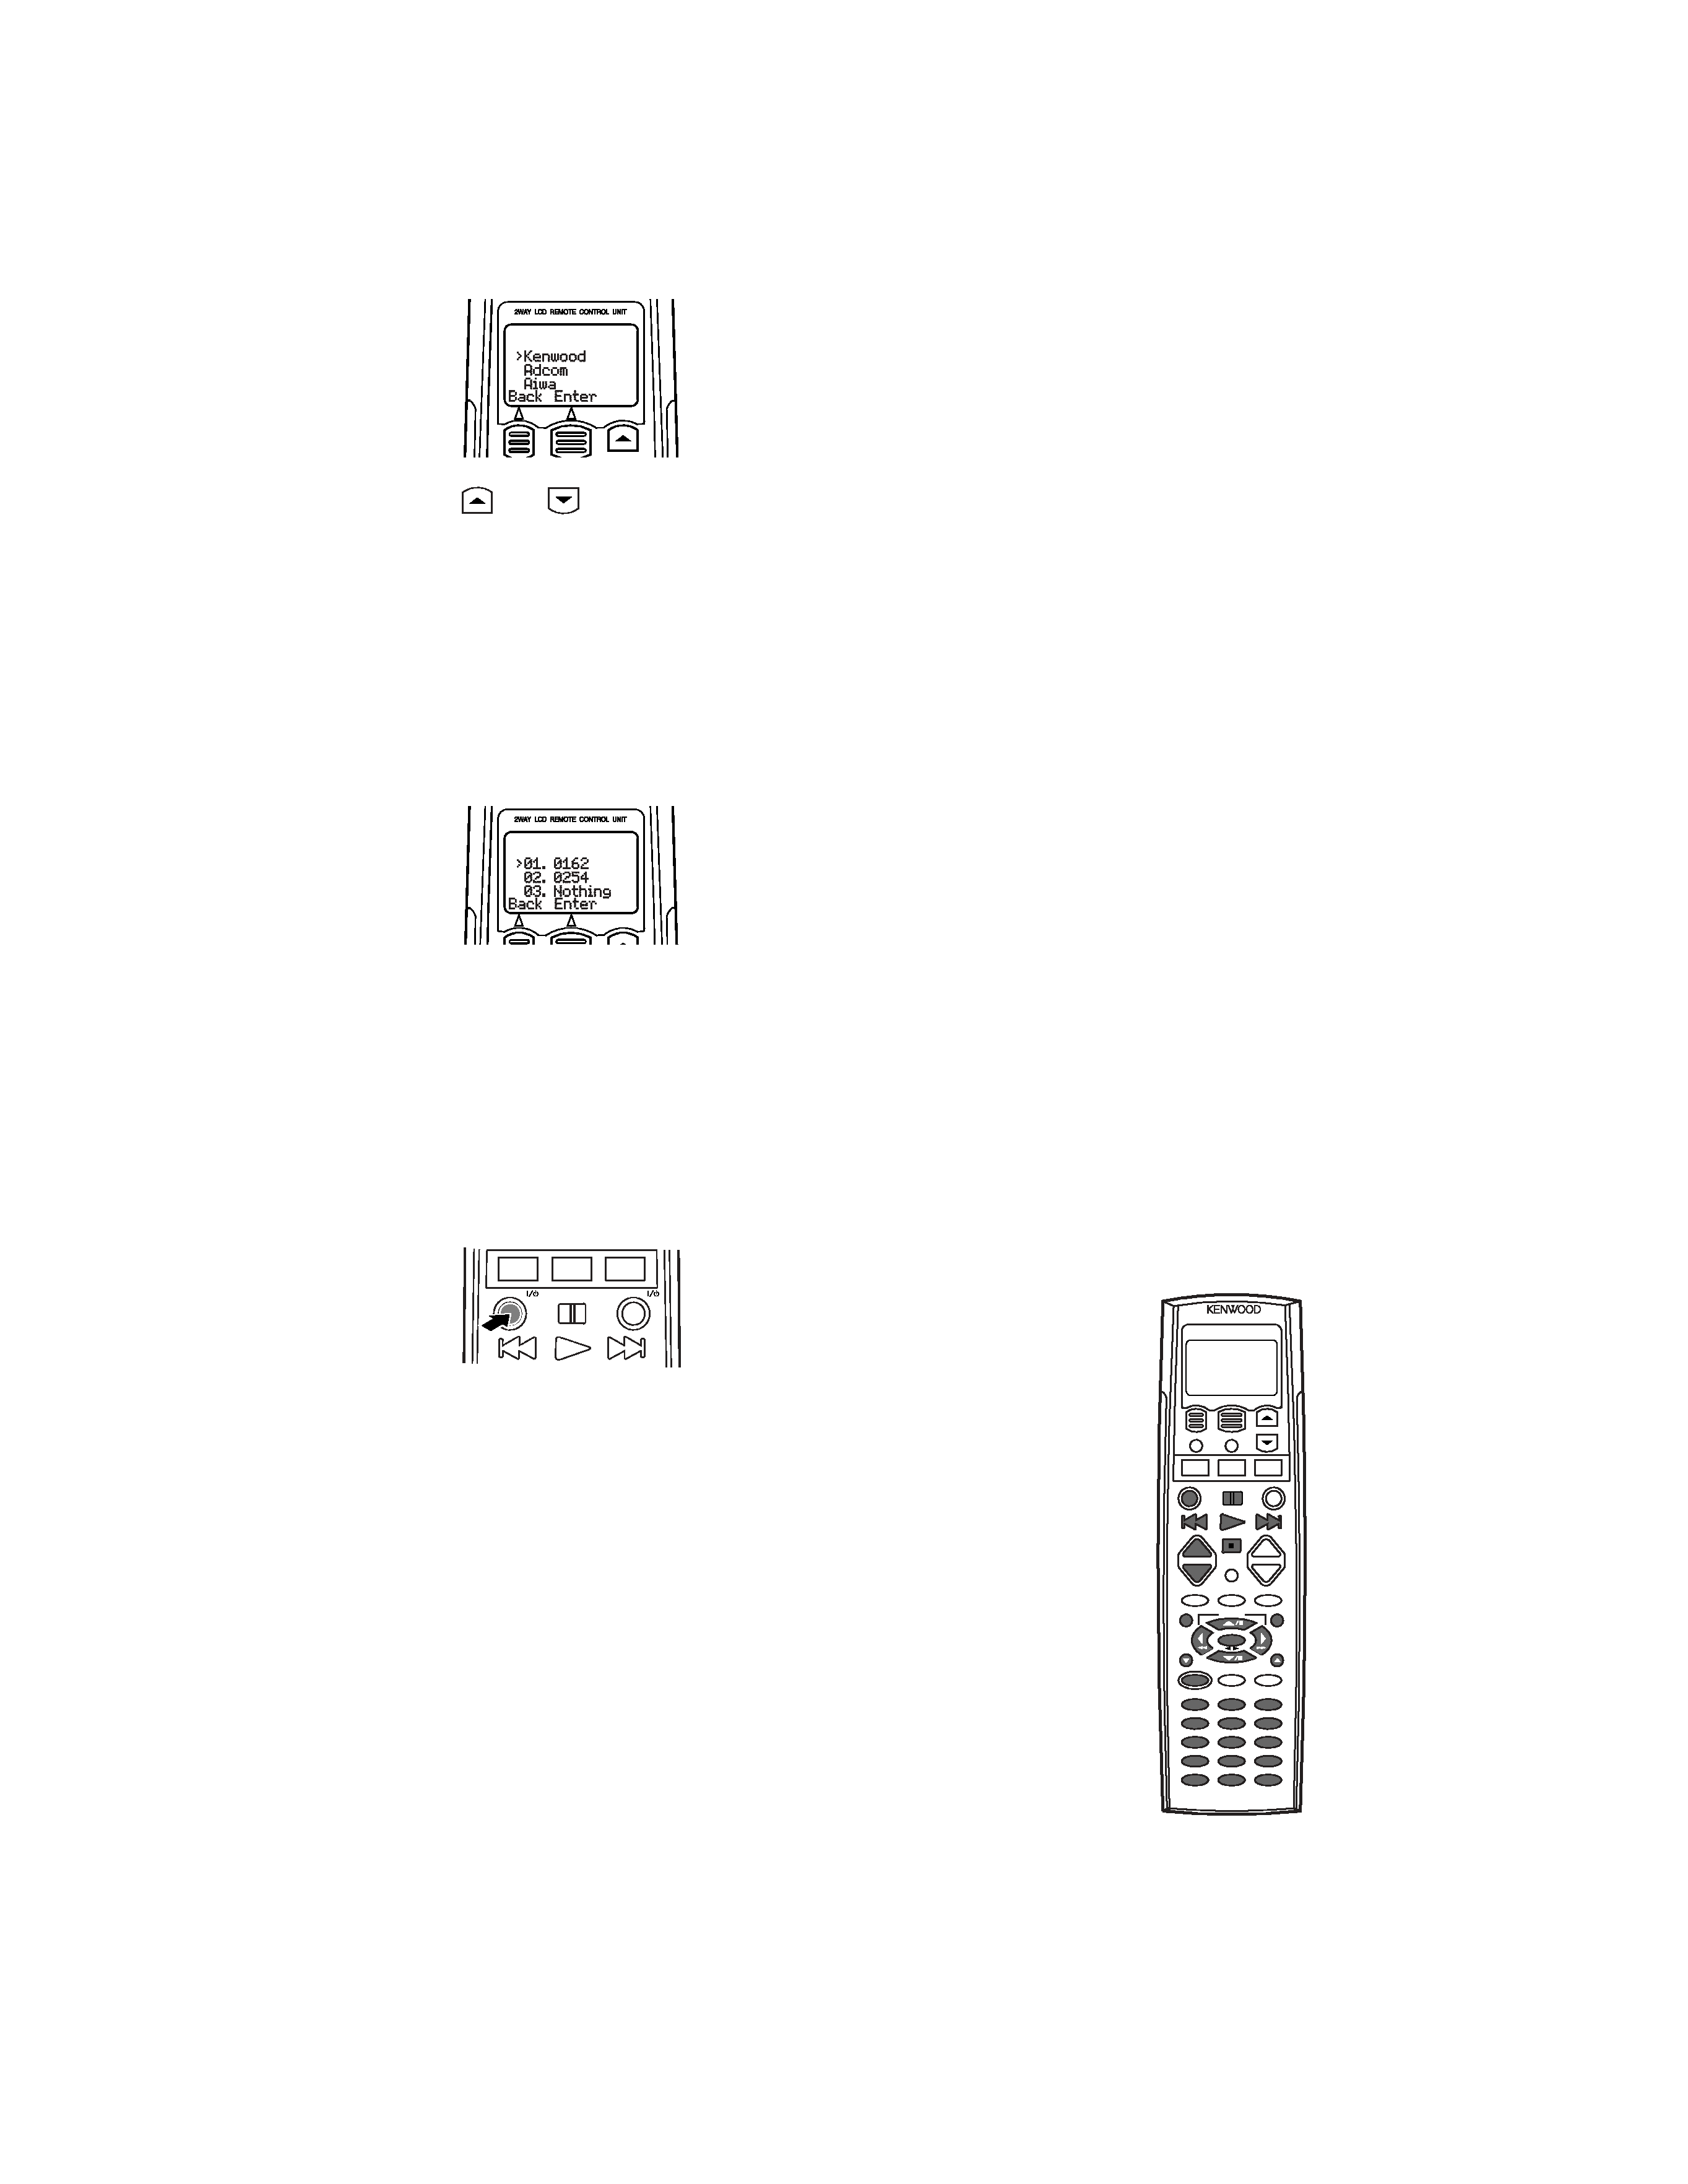
7. Use the
and
buttons to select the
component's brand, then press `Enter'.
· If the manufacturer of your component is
not listed, select `Nothing' and press
`Enter. You can program the component's
functions using the remote's Learning
capability (see below).
The display will show a list of control codes
for your component:
8. Select the first control code on the list.
· If the component is a Kenwood component
connected to the receiver via a System
Control cable, select `System'. The remote
will send all commands for the component
to the receiver, which will control the com-
ponent via the System Control cable.
9. Press the remote's AV POWER button.
The remote will send a "power" test signal to
the component. If the component turns on,
the code you selected was correct. If it does
not turn on, try the next code on the list.
Continue until one of the codes works. If
none of the codes work, you can program the
component's functions using the remote's
Learning capability.
· If you entered `System' in step 8, skip this
step.
10. When you have finished step 9 the
remote's LCD display reverts to step 4.
Repeat steps 4 through 9 for each compo-
nent you want the LCD Remote to control.
Changing a Setup Code
If you replace an existing component with a
new one you will need to perform steps 1 -
10 to program the remote to control the new
component.
Deleting a Setup Code
If you disconnect a component from the sys-
tem and do not replace it, you can remove its
control code from the remote.
1. Repeat steps 1 - 6 above.
2. In step 6, select "No Type" or "Delete".
· If you select "No Type", the input will still
appear when you select inputs using the
remote's MUSIC, MOVIE or TV buttons, but
no component is associated with it.
· If you select "Delete", the remote deletes the
input, and it does not appear when you
select inputs using the remote's MUSIC,
MOVIE or TV buttons.
Programming a Function in
a Button (Learning)
Your LCD remote can learn functions from
almost any standard IR remote. The remote
can learn commands to control a component
that couldn't be successfully programmed in
the previous section, and the remote can
learn codes to extend the functions of com-
ponents that were suc-
cessfully programmed.
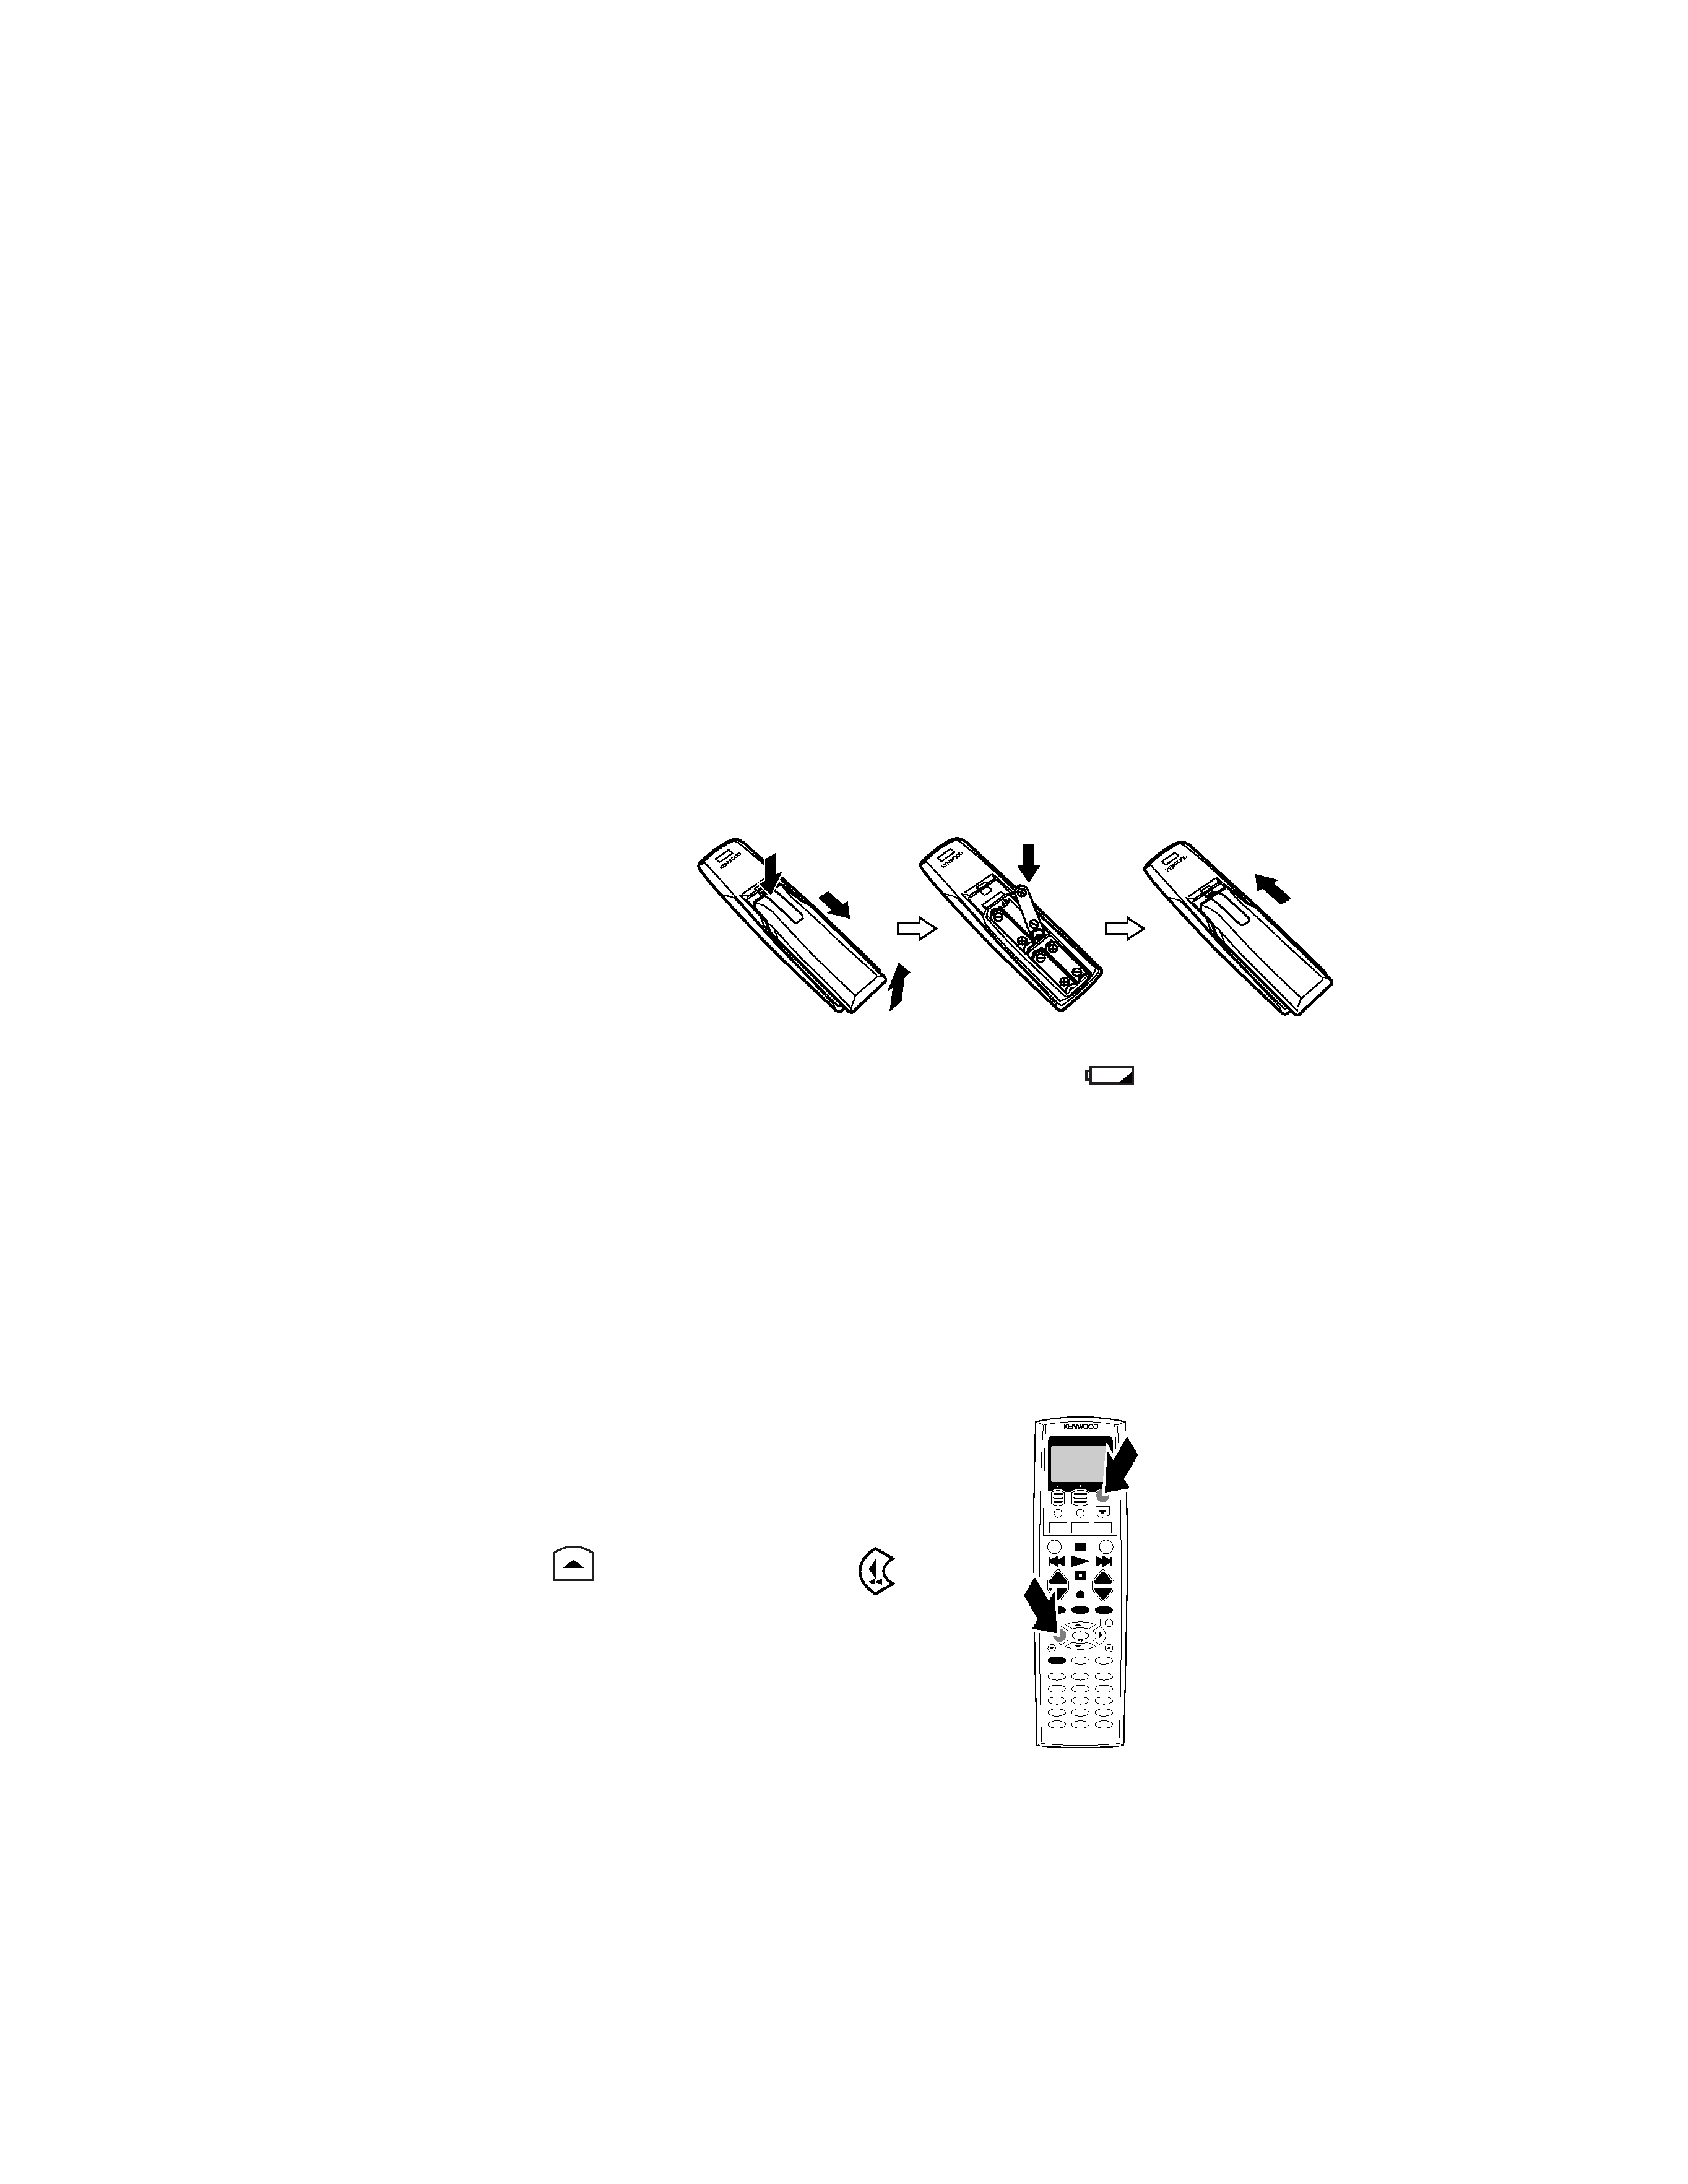
· The remote can learn
new functions onto
the buttons marked
gray in the illustration:
· The remote can learn
a different set of
functions for each
component that has
been identified to the
remote in steps 1 -
10 of the previous
section). See pages
9 - 14 for the button
layouts of the various
types of components.
MUSIC
MOVIE
TV
AV POWER
SYS.POWER
2WAY LCD REMOTE CONTROL UNIT
+
-
+
-
CH.
CH.
VOL.
VOL.