KENWOOD LZ-800W Owner's Manual

Cover page of KENWOOD LZ-800W Owner's Manual

Owner's Manual for KENWOOD LZ-800W, downloadable as a PDF file.

We also have service manual to this model.

Manual details

  • Immediate download after payment.
  • Delivered as a PDF file.
  • The manual has 16 pages
  • File size: 0.5 MB
  • Available language versions: English
  • Different language versions may vary sligthly in file size and page count.

We guarantee that...

  • our manuals are complete,
  • our manuals are checked with antivirus,
  • We'll issue refund if the manual is damaged, incomplete or unreadable (our refund policy)

Sample pages

Thumbnail of page 1Thumbnail of page 2Thumbnail of page 3Thumbnail of page 4
Thumbnail of page 5Thumbnail of page 6Thumbnail of page 7Thumbnail of page 8
Thumbnail of page 9
background image
© PRINTED IN JAPAN B64-1715-00 (W) (+)
01/12 11 10 9 8 7 6 5 4 3 2 1 00/12 11 10 9 8 7
LZ-800W
INSTRUCTION MANUAL
8-Inch WIDE MONITOR
Take the time to read through this instruction manual.
Familiarity with installation and operation procedures will help you
obtain the best performance from your new monitor.
For your records
Record the serial number, found on the back of the unit, in the spaces
designated on the warranty card, and in the space provided below. Refer to
the model and serial numbers whenever you call upon your KENWOOD dealer
for information or service on the product.
Model LZ-800W Serial number
LZ_800W_Cover_Eng
02.12.16
1:15 PM
Page 1
background image
English
2
Contents
S
Sa
affe
etty
y P
Prre
ec
ca
au
uttiio
on
nss .. .. .. .. .. .. .. .. .. .. .. .. .. .. .. .. .. .. .. .. .. .. .. .. .. .. .. .. .. .. .. .. .. .. .. .. .. .. .. .. .. .. .. 3
3
M
Mo
on
niitto
orr C
Co
on
nttrro
oll F
Fu
un
nc
cttiio
on
n
Power . . . . . . . . . . . . . . . . . . . . . . . . . . . . . . . . . . . . . . . . . . . . . . . . . . . . . . . . . . . . . . . . . . . . . . . . . . . . .4
Switching the Monitor's Picture . . . . . . . . . . . . . . . . . . . . . . . . . . . . . . . . . . . . . . . . . . . . . . . . . . . . . . . . .4
Adjusting the Volume of the built-in speaker . . . . . . . . . . . . . . . . . . . . . . . . . . . . . . . . . . . . . . . . . . . . . . .4
Switching the Speaker Mode . . . . . . . . . . . . . . . . . . . . . . . . . . . . . . . . . . . . . . . . . . . . . . . . . . . . . . . . . . .4
Switching the TV/Video Screen Mode . . . . . . . . . . . . . . . . . . . . . . . . . . . . . . . . . . . . . . . . . . . . . . . . . . . .4
Switching the AV Output . . . . . . . . . . . . . . . . . . . . . . . . . . . . . . . . . . . . . . . . . . . . . . . . . . . . . . . . . . . . . .5
Adjusting the Picture Quality . . . . . . . . . . . . . . . . . . . . . . . . . . . . . . . . . . . . . . . . . . . . . . . . . . . . . . . . . . .5
S
Sy
ysstte
em
m S
Se
ettu
up
p F
Fu
un
nc
cttiio
on
n
Setting the System . . . . . . . . . . . . . . . . . . . . . . . . . . . . . . . . . . . . . . . . . . . . . . . . . . . . . . . . . . . . . . . . . .6
Adjusting the Touch Position . . . . . . . . . . . . . . . . . . . . . . . . . . . . . . . . . . . . . . . . . . . . . . . . . . . . . . . . . . .7
Selecting the Reception Area (When the KTC-V800P is connected) . . . . . . . . . . . . . . . . . . . . . . . . . . . . .7
TTV
V C
Co
on
nttrro
oll F
Fu
un
nc
cttiio
on
n <
< W
Wh
he
en
n TTh
he
e K
KTTC
C--V
V8
80
00
0N
N//K
KTTC
C--V
V8
80
00
0P
P iiss c
co
on
nn
ne
ec
ctte
ed
d >
>
Switching to the TV Control Screen . . . . . . . . . . . . . . . . . . . . . . . . . . . . . . . . . . . . . . . . . . . . . . . . . . . . . .8
Selecting the Preset Bands . . . . . . . . . . . . . . . . . . . . . . . . . . . . . . . . . . . . . . . . . . . . . . . . . . . . . . . . . . . .8
Selecting the Tuning Mode . . . . . . . . . . . . . . . . . . . . . . . . . . . . . . . . . . . . . . . . . . . . . . . . . . . . . . . . . . . .8
Selecting the Channels . . . . . . . . . . . . . . . . . . . . . . . . . . . . . . . . . . . . . . . . . . . . . . . . . . . . . . . . . . . . . . .8
Station Preset Memory . . . . . . . . . . . . . . . . . . . . . . . . . . . . . . . . . . . . . . . . . . . . . . . . . . . . . . . . . . . . . . .8
Auto Memory Entry . . . . . . . . . . . . . . . . . . . . . . . . . . . . . . . . . . . . . . . . . . . . . . . . . . . . . . . . . . . . . . . . . .8
Recalling a Preset Station . . . . . . . . . . . . . . . . . . . . . . . . . . . . . . . . . . . . . . . . . . . . . . . . . . . . . . . . . . . . .8
Selecting the Channels on the TV Picture Screen . . . . . . . . . . . . . . . . . . . . . . . . . . . . . . . . . . . . . . . . . . .9
R
Re
em
mo
otte
e C
Co
on
nttrro
oll F
Fu
un
nc
cttiio
on
n <
< P
Prro
ov
viid
de
ed
d w
wiitth
h tth
he
e K
KTTC
C--V
V8
80
00
0N
N//K
KTTC
C--V
V8
80
00
0P
P>
>
.. .. .. .. .. .. .. .. .. 1
1 0
0
IIn
nsstta
alllla
attiio
on
n
Accessories . . . . . . . . . . . . . . . . . . . . . . . . . . . . . . . . . . . . . . . . . . . . . . . . . . . . . . . . . . . . . . . . . . . . . . .11
Installation Procedure . . . . . . . . . . . . . . . . . . . . . . . . . . . . . . . . . . . . . . . . . . . . . . . . . . . . . . . . . . . . . . . .11
Installation for Monitor Unit . . . . . . . . . . . . . . . . . . . . . . . . . . . . . . . . . . . . . . . . . . . . . . . . . . . . . . . . . . .12
Installation for the Video Box Unit . . . . . . . . . . . . . . . . . . . . . . . . . . . . . . . . . . . . . . . . . . . . . . . . . . . . . .13
Connecting the Power . . . . . . . . . . . . . . . . . . . . . . . . . . . . . . . . . . . . . . . . . . . . . . . . . . . . . . . . . . . . . . .13
Connecting the Headphone / AV Equipments . . . . . . . . . . . . . . . . . . . . . . . . . . . . . . . . . . . . . . . . . . . . .14
TTrro
ou
ub
blle
essh
ho
oo
ottiin
ng
g G
Gu
uiid
de
e .. .. .. .. .. .. .. .. .. .. .. .. .. .. .. .. .. .. .. .. .. .. .. .. .. .. .. .. .. .. .. .. .. .. .. .. .. .. .. 1
1 5
5
S
Sp
pe
ec
ciiffiic
ca
attiio
on
nss .. .. .. .. .. .. .. .. .. .. .. .. .. .. .. .. .. .. .. .. .. .. .. .. .. .. .. .. .. .. .. .. .. .. .. .. .. .. .. .. .. .. .. .. .. 1
1 6
6
The control screens shown in this manual are for explanation purposes only.
The actual screens and design differ.
LZ_800W_English_ver4
02.12.16
1:17 PM
Page 2
background image
3
To prevent injury and/or fire, take the
following precautions:
· Ensure that the unit is securely installed. Otherwise
it may fly out of place during collisions and other
jolts.
· When extending the ignition or ground wires, make
sure to use automotive-grade wires or other cables
with an area of 0.75mm2 (AWG18) or more to
prevent wire deterioration and damage to the wire
coating.
· To prevent short circuits, never put or leave any
metallic objects (e.g., coins or metal tools) inside the
unit.
· If the unit starts to emit smoke or strange smells,
turn off the power immediately and consult your
Kenwood dealer
· Be careful not to drop the unit or subject it to strong
shock.
The unit may break or crack because it contains
glass parts.
· Do not touch the liquid crystal fluid if the LCD is
damaged or broken due to shock. The liquid crystal
fluid may be dangerous to your health or even fatal.
If the liquid crystal fluid from the LCD contacts your
body or clothing, wash it off with soap immediately.
To prevent damage to the machine, take the
following precautions:
· Make sure to ground the unit to a negative 12V DC
power supply.
· Do not open the back covers of the unit.
· Do not install the unit in a spot exposed to direct
sunlight or excessive heat or humidity. Also avoid
places with too much dust or the possibility of water
splashing.
· Do not subject the monitor unit to excessive shock,
as it is a piece of precision equipment.
· When replacing a fuse, only use a new one with the
prescribed rating. Using a fuse with the wrong
rating may cause your unit to malfunction.
· To prevent short circuits when replacing a fuse, first
disconnect the wiring harness.
· Do not use any screws except for the ones
provided. The use of improper screws might result
in damage to the main unit.
· You cannot view TV/ video pictures whilst the
vehicle is moving. To enjoy TV/ video pictures, find a
safe place to park and engage the parking brake.
· If you experience problems during installation,
consult your Kenwood dealer.
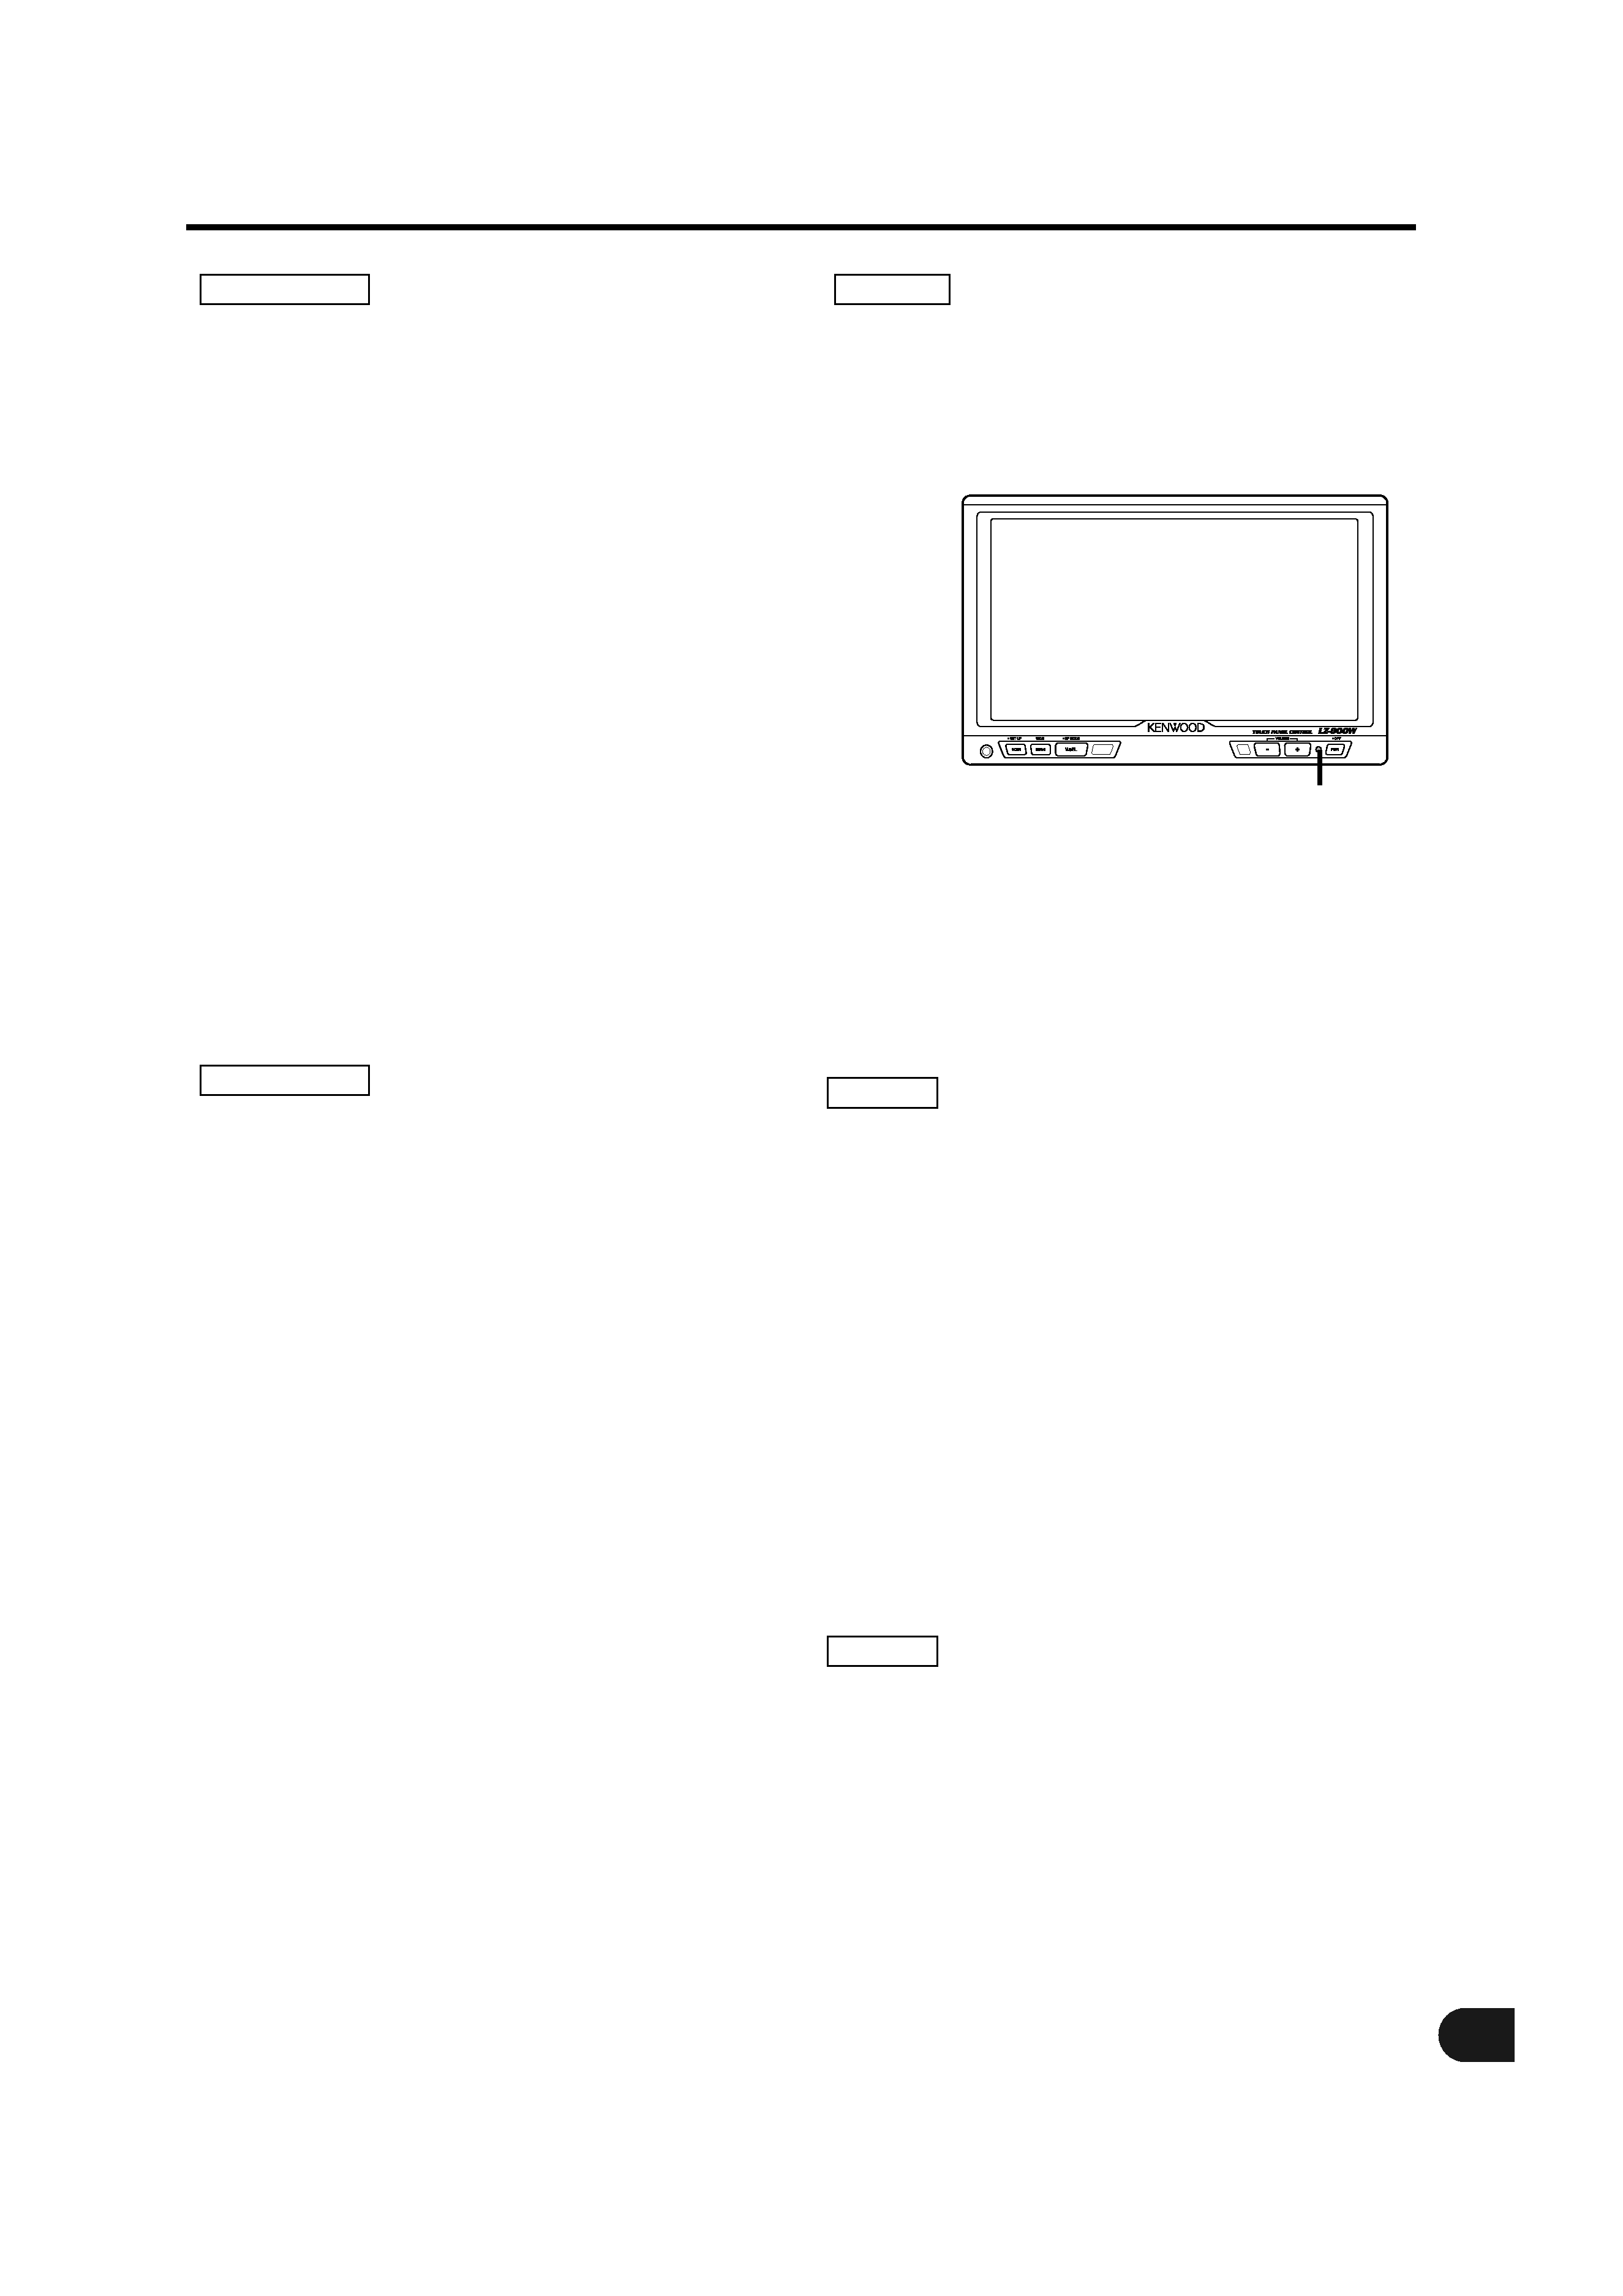
· If the unit does not seem to be working right, try
pressing the reset button first. If that does not solve
the problem, consult your Kenwood dealer.
FCC WARNING
This equipment may generate or use radio
frequency energy. Changes or modifications to this
equipment may cause harmful interference unless
the modifications are expressly approved in the
instruction manual. The user could lose the
authority to operate this equipment if an
unauthorized change or modification is made.
This equipment has been tested and found to comply with
the limits for a Class B digital device, pursuant to Part 15
of the FCC Rules. These limits are designed to provide
reasonable protection against harmful interference in a
residential installation. This equipment may cause harmful
interference to radio communications, if it is not installed
and used in accordance with the instructions. However,
there is no guarantee that interference will not occur in a
particular installation. If this equipment does cause
harmful interference to radio or television reception, which
can be determined by turning the equipment off and on,
the user is encouraged to try to correct the interference by
one or more of the following measures:
· Reorient or relocate the receiving antenna.
· Increase the separation between the equipment and
receiver.
· Connect the equipment into an outlet on a circuit different
from that to which the receiver is connected.
· Consult the dealer or an experienced radio/TV technician
for help.
This Class B digital apparatus complies with Canadian ICES-
003.
This video unit is set for rear passenger use only.
Use of this video unit in any front seat and/or
where it may be visible to the driver may be
illegal in some states and may cause driver
distraction and accident which could injure or kill
you.
NOTE
NOTE
NOTE
2CAUTION
2WARNING
Safety Precautions
Reset button
LZ_800W_English_ver4
02.12.16
1:17 PM
Page 3
background image
English
4
Monitor Control Function
Turning on the power
Press the PWR button.
Turning off the power
Press the PWR button for at least one second.
Each time you press the V.SEL button, the monitor's
picture switches as follows:
When the Video Box Unit is connected
[VD1]: Video1 picture
[VD2]: Video2 picture
[NAV]: Navigation picture (RGB pictures)
When the KTC-V800N or KTC-V800P is connected
[TV]: Television picture
[NAV]: Navigation picture (RGB pictures)
When connecting KTC-V800N/KTC-V800P, on changing
"AV-IN1" "AV-IN2" settings to "VD" (see Setting the
System, page 6) the switching items become
VIDEO1("VD1") and VIDEO2("VD2") .
You cannot view television and video pictures whilst
the vehicle is moving. To enjoy television and video
pictures, find a safe place to park and engage the
parking brake.
Increasing Volume
Each time you press the + button to increase the
volume.
Decreasing Volume
Each time you press the ­ button to decrease the
volume.
When headphone are connected to the phone jack, no
sound is emitted from the built-in speaker.
Each time you press the V.SEL button for at least
one second, the built-in speaker mode switches as
follows:
When the Video Box Unit is connected
[NORMAL]: Sound with monitor picture
[VIDEO1]: Sound with video1 picture
[VIDEO2]: Sound with video2 picture
[NAV]: Sound with navigation picture
[OFF]: Switch off the built-in speakers
When the KTC-V800N or KTC-V800P is connected
[NORMAL]: Sound with monitor picture
[TV]: Sound with television picture
[NAV]: Sound with navigation picture
[OFF]: Switch off the built-in speaker
When connecting KTC-V800N/KTC-V800P, on changing
"AV-IN1" "AV-IN2" settings to "VD" (see Setting the
System, page 6) the switching items become VIDEO1
and VIDEO2.
Each time you press the MODE button, the screen
mode switches as follows:
[FULL]: Full picture mode
[ZOOM]: Zoom picture mode
[JUST]: Just picture mode
[CINEMA]: Cinema picture mode
[NORMAL]: Normal picture mode
Switching the TV/Video Screen Mode
NOTE
Switching the Speaker Mode
NOTE
Adjusting the Volume
2CAUTION
NOTE
Switching the Monitor's Picture
Power
;;;
;;;
yyy
yyy
;;;
;;;
[ FULL ]
[ ZOOM ]
BR T
TI N
CO L
OK
BLK
CON T
DI M
SC RE EN
Picture Quality Adjustment Screen
PWR
V.SEL
MODE
­
+
SCRN
Phone Jack (Ø3.5)
LZ_800W_English_ver4
02.12.16
1:17 PM
Page 4
background image
5
You cannot operate when the wide picture navigation
is displayed.
Each time you press the PWR button, the AV output
mode switches as follows:
When the Video Box Unit is connected
[NORMAL]: Picture/sound with monitor picture
[VIDEO1]: Picture/sound with video1
[VIDEO2]: Picture/sound with video2
[NAV]: Sound with navigation
When the KTC-V800N or KTC-V800P is connected
[NORMAL]: Picture/sound with monitor picture
[TV]: Picture/sound with television
[NAV]: Sound with navigation
When connecting KTC-V800N/KTC-V800P," on
changing "AV-IN1" "AV-IN2" settings to "VD" (see
Setting the System, page 6) the switching items
become VIDEO1 and VIDEO2.
Press the SCRN button, the picture quality
adjustment screen to be displayed.
Each time you touch [
3 ]/[ 2 ] to adjust the value.
[BRT] (for Day time screen)
Touch [
3 ] for a brighter screen.
Touch [
2 ] for a darker screen.
[TIN]
Touch [
3 ] for a stronger green level.
Touch [
2 ] for a stronger red level.
[COL]
Touch [
3 ] for a deeper color.
Touch [
2 ] for a paler color.
[CONT]
Touch [
3 ] for less contrast.
Touch [
2 ] for stronger contrast.
[BLK]
Touch [
3 ] for less black level.
Touch [
2 ] for a stronger black level.
[DIM] (for Night time screen)
Touch [
3 ] for a brighter screen.
Touch [
2 ] for a darker screen.
Touch [ OK ] to end the picture quality adjustment
screen.
·The [ TIN ] and [ COL ] cannot be adjusted for the
navigation screen or the setting screens.
· The [ TIN ] cannot be adjusted for the picture of PAL.
· [BRT] and [DIM] initial values are maximum.
· As regards [DIM] adjustment:
·When the condition is bright around the periphery of
the monitor unit, the brightness does not change
even when [DIM] is adjusted.
·When set to maximum, even if the monitor unit
periphery dims, there is no change in from the
brightness set with [BRT].
· There is no connection with the vehicle's
illumination switch. (A sensor is installed facing the
front of monitor unit for light detection).
· If you make no key operation for 10 seconds, the
picture quality adjustment screen is automatically
cancelled.
NOTE
3
2
1
Adjusting the Picture Quality
NOTE
Switching the AV Output
NOTE
[ NORMAL ]
;;;
;;;
yyy
yyy
;;;
;;;
yyy
yyy
[ JUST ]
[ CINEMA ]
TV 1
WD
SEEK
BAND
AUTO1
SP NOR M A
L
O
V
FU L L
AV NOR M A
1
LL
Screen mode
AV output mode
Tuning mode
Channel No.
TV band
Speaker mode
Speaker volume level
<On Screen Display>
If the monitor's buttons operated while a TV, video or navigation picture is displayed, the receiving
channel No., the picture settings, AV output settings, etc., are superimposed on the picture .
Tuning mode,TV band, and Channel No.: When the KTC-V800N/ KTC-V800P is connected.
NOTE
LZ_800W_English_ver4
02.12.16
1:17 PM
Page 5

Reviews

There are no reviews of this manual yet.