KENWOOD KVTM707 Owner's Manual

Cover page of KENWOOD KVTM707 Owner's Manual

Owner's Manual for KENWOOD KVTM707, downloadable as a PDF file.

Manual details

  • Immediate download after payment.
  • Delivered as a PDF file.
  • The manual has 72 pages
  • File size: 3.7 MB
  • Available language versions: Portuguese, French, English, Spanish, Dutch, German, Italian
  • Different language versions may vary sligthly in file size and page count.

We guarantee that...

  • our manuals are complete,
  • our manuals are checked with antivirus,
  • We'll issue refund if the manual is damaged, incomplete or unreadable (our refund policy)

Sample pages

Thumbnail of page 1Thumbnail of page 2Thumbnail of page 3Thumbnail of page 4
Thumbnail of page 5Thumbnail of page 6Thumbnail of page 7Thumbnail of page 8
Thumbnail of page 9
background image
7-Inch WIDE SCREEN MONITOR-RECEIVER
KVT-M707
INSTRUCTION MANUAL
© B64-3131-00/00 (KV)
Take the time to read through this instruction manual.
Familiarity with installation and operation procedures will help you obtain the best
performance from your new Monitor-receiver.
For your records
Record the serial number, found on the back of the unit, in the spaces designated on the
warranty card, and in the space provided below. Refer to the model and serial numbers
whenever you call upon your Kenwood dealer for information or service on the product.
Model KVT-M707 Serial number
US Residence Only
Register Online
Register your Kenwood product at
w w w.kenwoodusa.com
background image
2 | English
Contents
Before Use .................................................... 4
Opening/Closing the Monitor and Power
Switch ....................................................... 6
Removing/Attaching the Protection Panel 7
KVT-M707 Basic operations ........................ 8
Basic Operations of Remote Controller ... 10
Switch Screen Mode .................................. 12
Muting Audio Volume upon Reception of
Phone call ............................................... 13
Tuner Control ............................................. 14
Displaying the Easy Control Panel
Displaying the Tuner Control screen
Displaying the Tuner Menu screen
Seek Mode
Auto Memory
Manual Memory
Preset Select
Set Station Name
Direct Search
Traffic Information
Search for Program Type
Radio Text
Disc Changer/CD player Control .............. 20
Displaying the Easy Control Panel
Displaying the Disc Changer/ CD player Control
screen
Displaying the Disc Changer/ CD player Menu
screen
Set Disc Name
Disc Select (during play by disc changer)
Direct Search
TV/ Video Control ...................................... 24
Displaying the TV Picture screen
Displaying the Easy Control Panel
Displaying the TV Control screen
Displaying the TV Menu screen
Seek Mode
Auto Memory
Manual Memory
Preset Select
Set Station Name
Direct Search
SIRIUS Tuner Control ................................. 28
Displaying the Easy Control Panel
Displaying the SIRIUS Tuner Control screen
Displaying the SIRIUS Tuner Menu
Channel Search
Channel Memory
Direct Channel Search
Information Display
HD Radio Control ....................................... 32
Displaying the Easy Control Panel
Displaying the HD Radio Control screen
Displaying the HD Radio Menu screen
Seek Mode
Auto Memory
Manual Memory
Receive Mode
Title Display
DAB Tuner control ..................................... 36
Displaying the Easy Control Panel
Displaying the DAB Tuner Control screen
Displaying the DAB Tuner Menu screen
Seek Mode
Auto Ensemble Memory
Service Preset Memory
Service Select
Language Filter
Search for Program Type
DAB Information
DAB Announcement
Weather Band Tuner Control .................... 42
Displaying the Easy Control Panel
Displaying the Weather Band Tuner Control screen
Character Entry.......................................... 43
How To Use the Character Entry screen
Source Select.............................................. 44
Displaying the Control screen
Displaying the Source Select screen
Adjusting the Monitor Display Position and
Quality .................................................... 45
Displaying the Screen Control screen
Displaying the Angle Control screen
background image
English |
3
Setup Menu
Setup Menu............................................................46
Displaying the Control screen
Displaying the Setup Menu screen
Audio Set Up ..........................................................47
Displaying the Audio Set Up screen
Crossover Network Setup
System Setup .........................................................50
Displaying the System Set Up 1 screen
Displaying the System Set Up 2 screen
AV Interface............................................................52
Displaying the AV I/F 1 screen
Displaying the AV I/F 2 screen
Displaying the AV I/F 3 screen
User Interface ........................................................54
Displaying the User I/F 1 screen
Displaying the User I/F 2 screen
Touch Panel Adjust
Clock
Security Code Setup
Set Up Memory
SIRIUS Setup ..........................................................59
Displaying the SIRIUS Set Up screen
DAB Set Up .............................................................60
Displaying the DAB Set Up screen
Announcement Selection
Sound Effects Menu
Sound Effects Menu..............................................62
Displaying the Control screen
Displaying the Sound Effects Menu screen
Audio Control ........................................................63
Displaying the Audio Control 1 screen
Displaying the Audio Control 2 screen
Equalizer .................................................................64
Displaying the Equalizer screen
Tone curve setup
Zone Control ..........................................................66
Displaying the Zone Control screen
Troubleshooting Guide ............................. 68
Specifications............................................. 70
background image
4 | English
2WARNING
To prevent injury or fire, take the following
precautions:
· To prevent a short circuit, never put or leave any
metallic objects (such as coins or metal tools) inside
the unit.
2CAUTION
To prevent damage to the machine, take
the following precautions:
· Make sure to ground the unit to a negative 12V DC
power supply.
· Do not install the unit in a spot exposed to direct
sunlight or excessive heat or humidity. Also avoid
places with too much dust or the possibility of
water splashing.
· Do not place the faceplate or the faceplate case in
areas exposed to direct sunlight, excessive heat or
humidity. Also avoid places with too much dust or
the possibility of water splashing.
· To prevent deterioration, do not touch the terminals
of the unit or faceplate with your fingers.
· Do not subject the faceplate to excessive shock, as it
is a piece of precision equipment.
· When replacing a fuse, only use a new fuse with
the prescribed rating. Using a fuse with the wrong
rating may cause your unit to malfunction.
· Do not use your own screws. Use only the screws
provided. If you use the wrong screws, you could
damage the unit.
Audio units you can control from the
KVT-M707 Receiver (As of April, 2005):
KTC-V500N, KTC-SR901, KTC-SR902, KTC-SR903,
KTC-HR100, KHD-CX910, KHD-C710, KTC-WB100,
KDC-C719, KDC-C669, KDC-C469, KDV-C810,
KDC-CX89, KDC-CX87, KDC-C717, KDC-C667,
KDC-C467, KDC-D301, KDC-CX85, KDC-C715,
KDC-C665, KDC-C465, KDC-CX82, KDC-C712, KDC-662,
KDC-D300, KMD-D400, KTC-9090DAB
(Set the "O-N" switch to "N" position if provided.)
Navigation units you can control from the
KVT-M707 Receiver (As of April, 2005):
KNA-DV2100, KNA-DV3100, KNA-DV4100
NOTE
· If you experience problems during installation,
consult your Kenwood dealer.
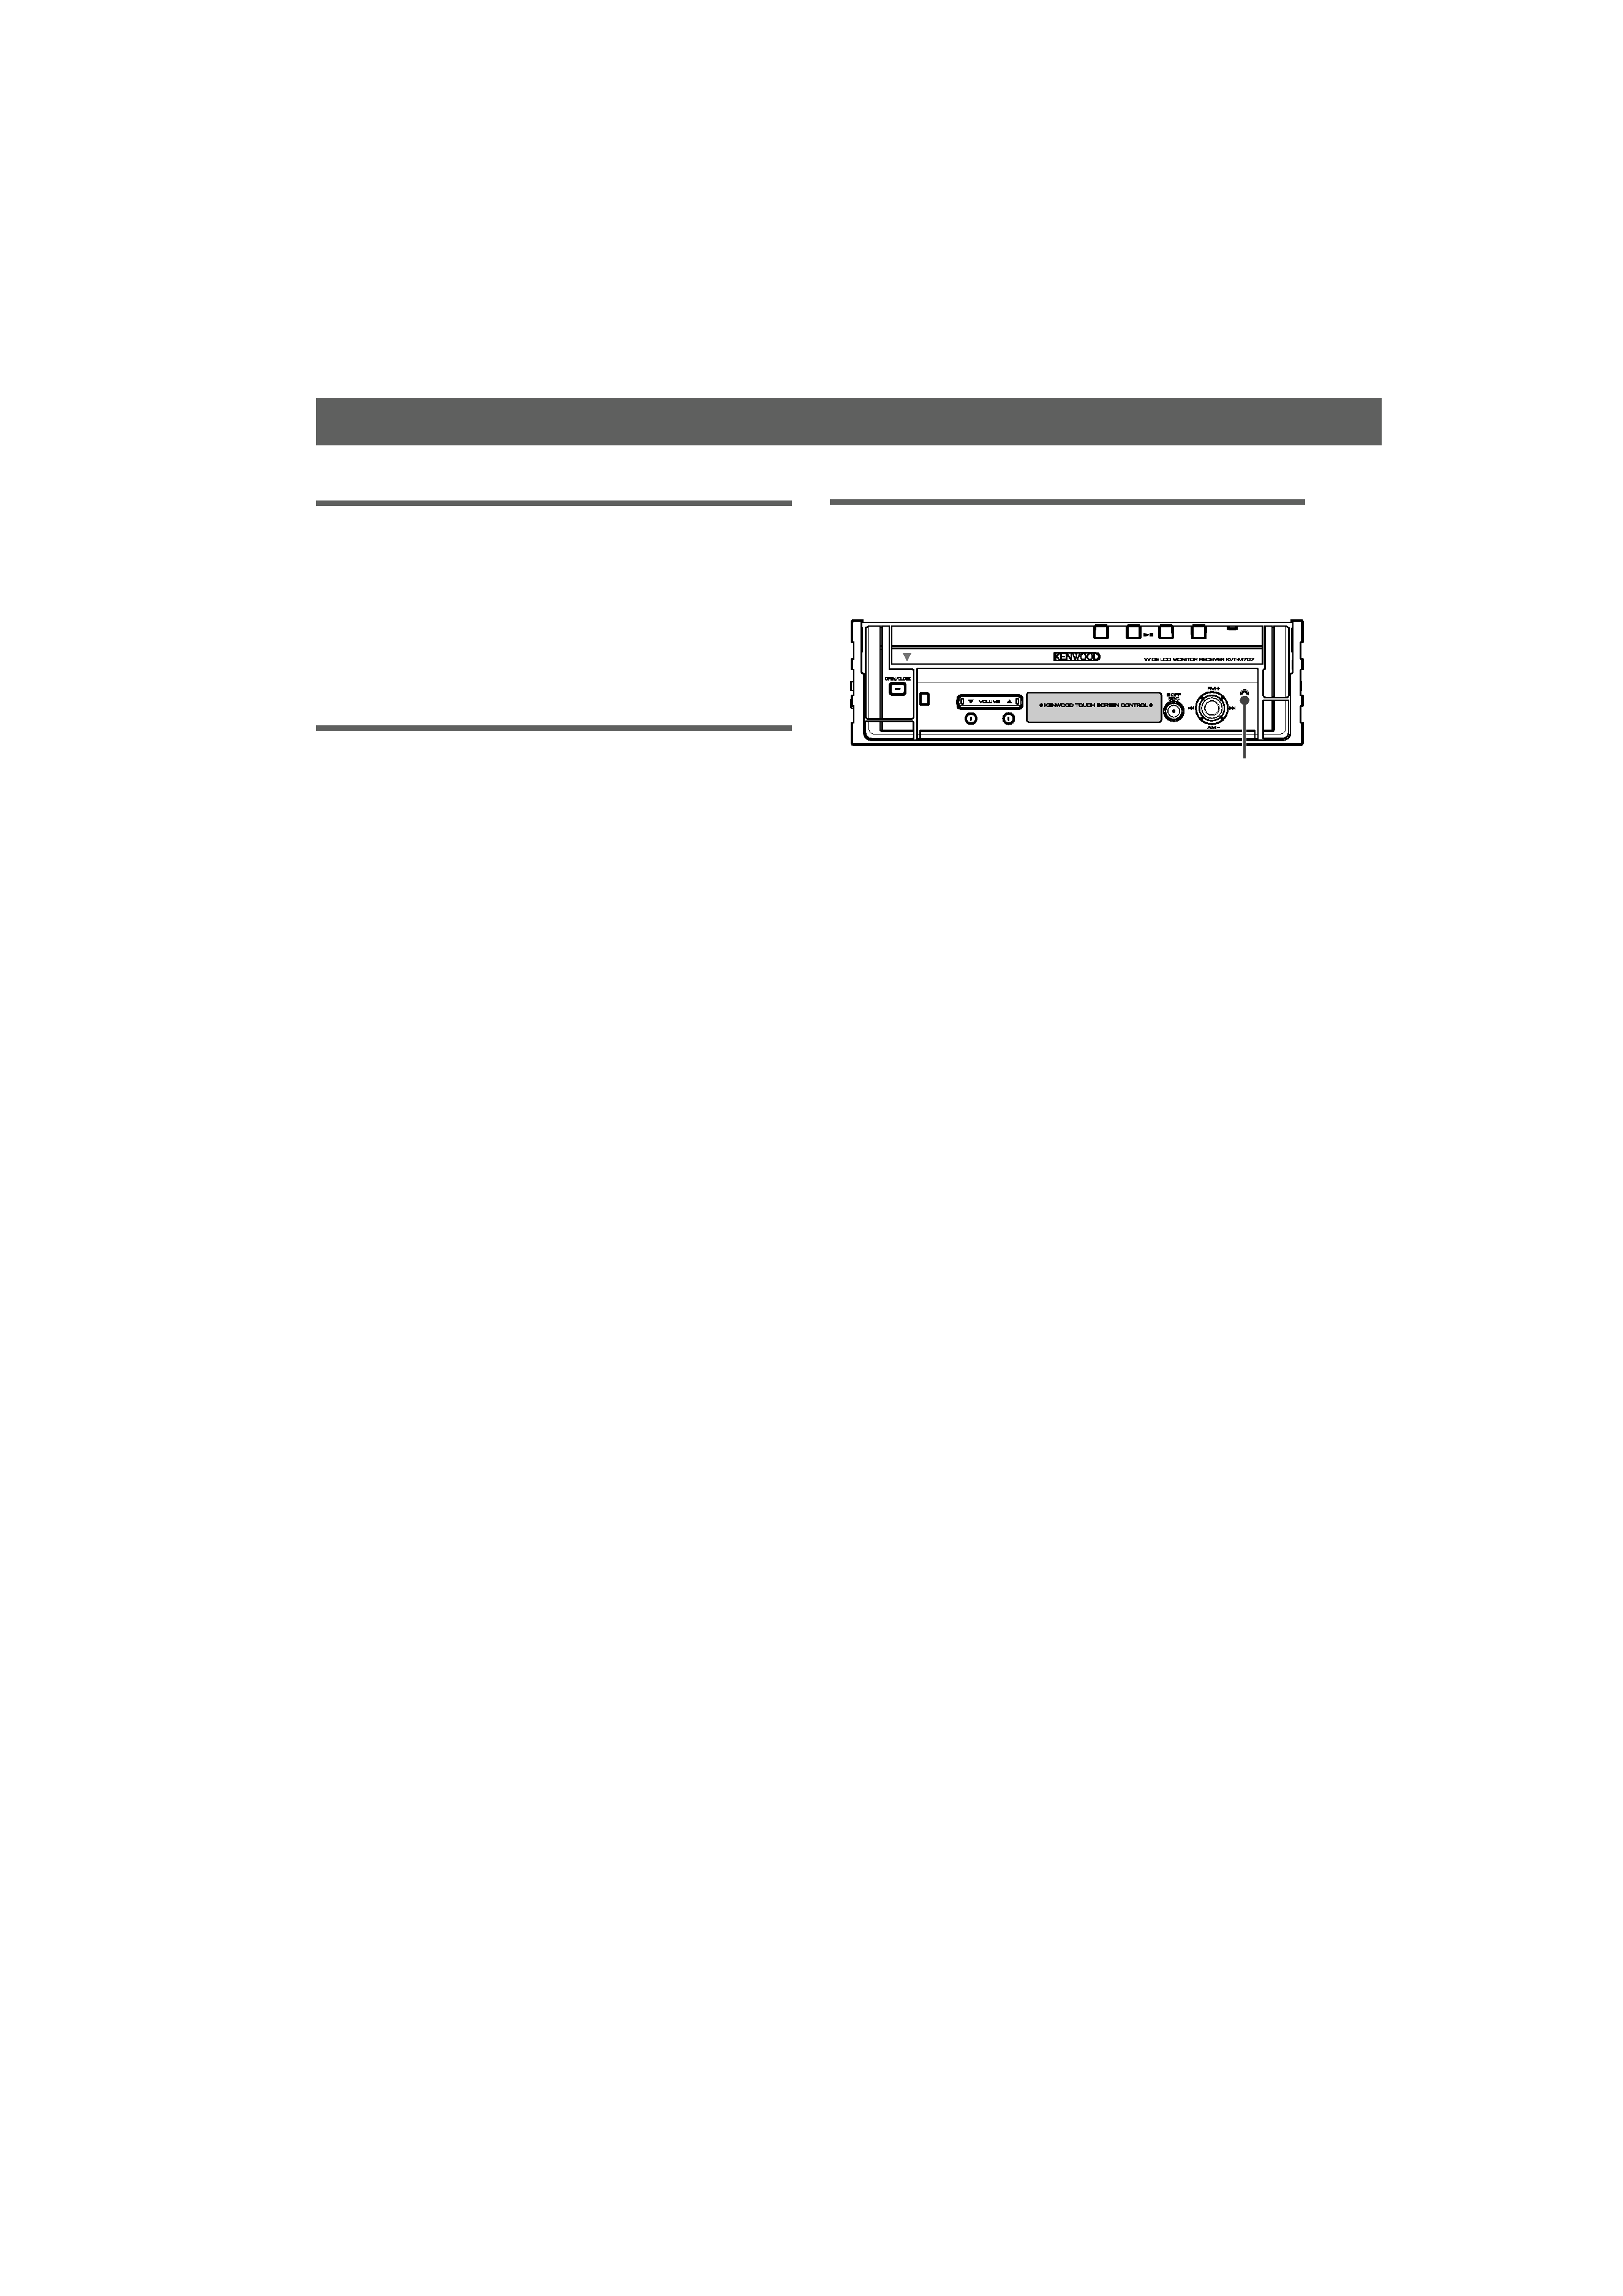
· If the unit fails to operate properly, press the Reset
button to restore factory settings.
· We recommend the use of <Security Code Setup>
(see page 56) to prevent theft.
· Characters in the LCD may become difficult to read
in temperatures below 5 °C (41 °F).
· The characters conforming to ISO 8859-1 character
set can be displayed.
· The illustrations of the display and the panel
appearing in this manual are examples used to
explain more clearly how the controls are used.
Therefore, what appears on the display in the
illustrations may differ from what appears on the
display on the actual equipment, and some of the
illustrations on the display may be inapplicable.
· Time is displayed on each control screen in the 12
hour clock display type (with AM/PM displayed) or
in the 24 hour clock display type (without AM/PM
displayed) depending on the sales area. The display
type cannot be changed. In this instruction manual,
screens of the 24 hour display type are used as
examples.
Before Use
Reset button
background image
English |
5
Loading and Replacing the battery
1. Use two "R03"/ "AAA"-size batteries.
Slide the cover while pressing downwards to
remove it as illustrated.
2. Insert the batteries with the + and ­ poles aligned
properly, following the illustration inside the case.
2WARNING
· Store unused batteries out of the reach of children.
Contact a doctor immediately if the battery is accidentally
swallowed.
· Do not set the remote control on hot places such as above
the dashboard.
· The provided batteries are intended for use in operation
checking, and their service life may be short.
· When the remote controllable distance becomes short,
replace both of the batteries with new ones.
Cleaning the panel and monitor
When the operator panel and monitor panels are
dirty, wipe and clean them using a soft cloth (such as
a commercially available silicon coated cloth). When
contaminated excessively, clean them using a cloth
dipped in a neutral detergent first, then remove the
detergent using a dry cloth.
Do not use a hard cloth and a volatile chemical (such
as an alcohol). If used, the panel surface may be
scratched or printed letters may be erased.
Cleaning the Faceplate Terminals
If the terminals on the unit or faceplate get dirty, wipe
them with a clean soft dry cloth.
Explanation of icons used on this manual
Indicates the key operation on the receiver.
Indicates the button you must touch.
Indicates the key or joystick operation on the
remote controller.
The initial value of each setup is shown.
Gives an additional information or an operation
advice.

Reviews

There are no reviews of this manual yet.