KENWOOD KRF-X9090D Owner's Manual

Cover page of KENWOOD KRF-X9090D Owner's Manual

Owner's Manual for KENWOOD KRF-X9090D, downloadable as a PDF file.

Manual details

  • Immediate download after payment.
  • Delivered as a PDF file.
  • The manual has 64 pages
  • File size: 2.48 MB
  • Available language versions: Japanese, French, English, Spanish, Dutch, German, Italian
  • Different language versions may vary sligthly in file size and page count.

We guarantee that...

  • our manuals are complete,
  • our manuals are checked with antivirus,
  • We'll issue refund if the manual is damaged, incomplete or unreadable (our refund policy)

Sample pages

Thumbnail of page 1Thumbnail of page 2Thumbnail of page 3Thumbnail of page 4
Thumbnail of page 5Thumbnail of page 6Thumbnail of page 7Thumbnail of page 8
Thumbnail of page 9
background image
B60-5561-10 01 CS
(E,X)
OC
0504
About the supplied remote control
Compared to standard remote controls, the remote control supplied with this model has several
operation modes. These modes enable the remote control unit to control other audio/video components.
In order to effectively use the remote control it is important to read the operating instructions and obtain
a proper understanding of the remote control and how to switch its operation modes (etc.).
Using the remote control without completely understanding its design and how to switch the operation
modes may result in incorrect operations.
AUDIO VIDEO SURROUND RECEIVER
KRF-X9090D
INSTRUCTION MANUAL
background image
2 EN
Units are designed for operation as follows.
U.S.A. and Canada ........................................... AC 120 V only
Australia ........................................................... AC 240 V only
Europe ............................................................... AC 230 V only
Other countries ............ AC 110-120 / 220-240 V switchable
Before applying the power
Caution : Read this page carefully to ensure safe
operation.
Maintenance of the unit
When the front panel or case becomes dirty, wipe with a soft, dry
cloth. Do not use thinner, benzine, alcohol, etc. for these agents may
cause discoloration.
In regard to contact cleaner
Do not use contact cleaners because it could cause a malfunction. Be
specially careful not to use contact cleaners containing oil, for they
may deform the plastic component.
How to use this manual
This manual is divided into four sections, Preparations, Operations,
Remote Control, and Additional Information.
Preparations
Shows you how to connect your audio and video components to this
model and prepare the surround processor.
Since this model works with all your audio and video components, kindly
follow the instructions in this manual for the correct connections.
Operations
Shows you how to operate the various functions available on this model.
Remote Control
Shows you how to operate other components using the remote control,
as well as a detailed explanation of all remote control operations. Once
you have registered your components with the proper setup codes, you'll
be able to operate both this receiver and your other AV components (TV,
VCR, DVD player, CD player, etc.) using the remote control supplied with
this receiver.
Additional Information
Shows you additional information such as "In case of difficulty"
(troubleshooting) and "Specifications".
Safety precautions
WARNING :
TO PREVENT FIRE OR ELECTRIC SHOCK,
DO NOT EXPOSE THIS APPLIANCE TO
RAIN OR MOISTURE.
CAUTION
RISK OF ELECTRIC SHOCK
DO NOT OPEN
CAUTION: TO REDUCE THE RISK OF ELECTRIC SHOCK, DO NOT
REMOVE COVER (OR BACK). NO USER-SERVICEABLE PARTS
INSIDE. REFER SERVICING TO QUALIFIED SERVICE PERSONNEL.
THE LIGHTNING FLASH WITH ARROWHEAD SYMBOL,
WITHIN AN EQUILATERAL TRIANGLE, IS INTENDED TO
ALERT THE USER TO THE PRESENCE OF UNINSULATED
"DANGEROUS VOLTAGE" WITHIN THE PRODUCT'S
ENCLOSURE THAT MAY BE OF SUFFICIENT MAGNITUDE
TO CONSTITUTE A RISK OF ELECTRIC SHOCK TO
PERSONS.
THE EXCLAMATION POINT WITHIN AN EQUILATERAL
TRIANGLE IS INTENDED TO ALERT THE USER TO THE
PRESENCE OF IMPORTANT OPERATING AND
MAINTENANCE (SERVICING) INSTRUCTIONS IN THE
LITERATURE ACCOMPANYING THE APPLIANCE.
Information on Disposal of Old Electrical and
Electronic Equipment (applicable for EU countries
that have adopted separate waste collection
systems)
Products with the symbol (crossed-out wheeled
bin)cannot be disposed as household waste.
Old electrical and electronic equipment should
be recycled at a facility capable of handling these
items and their waste byproducts.
Contact your local authority for details in locating a
recycle facility nearest to you.
Proper recycling and waste disposal will help conserve
resources whilst preventing detrimental effects on our
health and the environment.
05.7.16, 10:14 AM
2
background image
3 EN
Basic remote control operations for other
components ....................................................... 43
Registering setup codes for other components
......................................................................... 43
Searching for your codes ................................. 43
Checking the codes ......................................... 43
Re-assigning device keys ................................ 44
Operating other components .......................... 44
Storing the remote control code of the other
components ..................................................... 45
Setup code chart .............................................. 46
Other components' operations ....................... 58
In case of difficulty .......................................... 62
Specifications .................................................. 64
Before applying the power ...................................................... 2
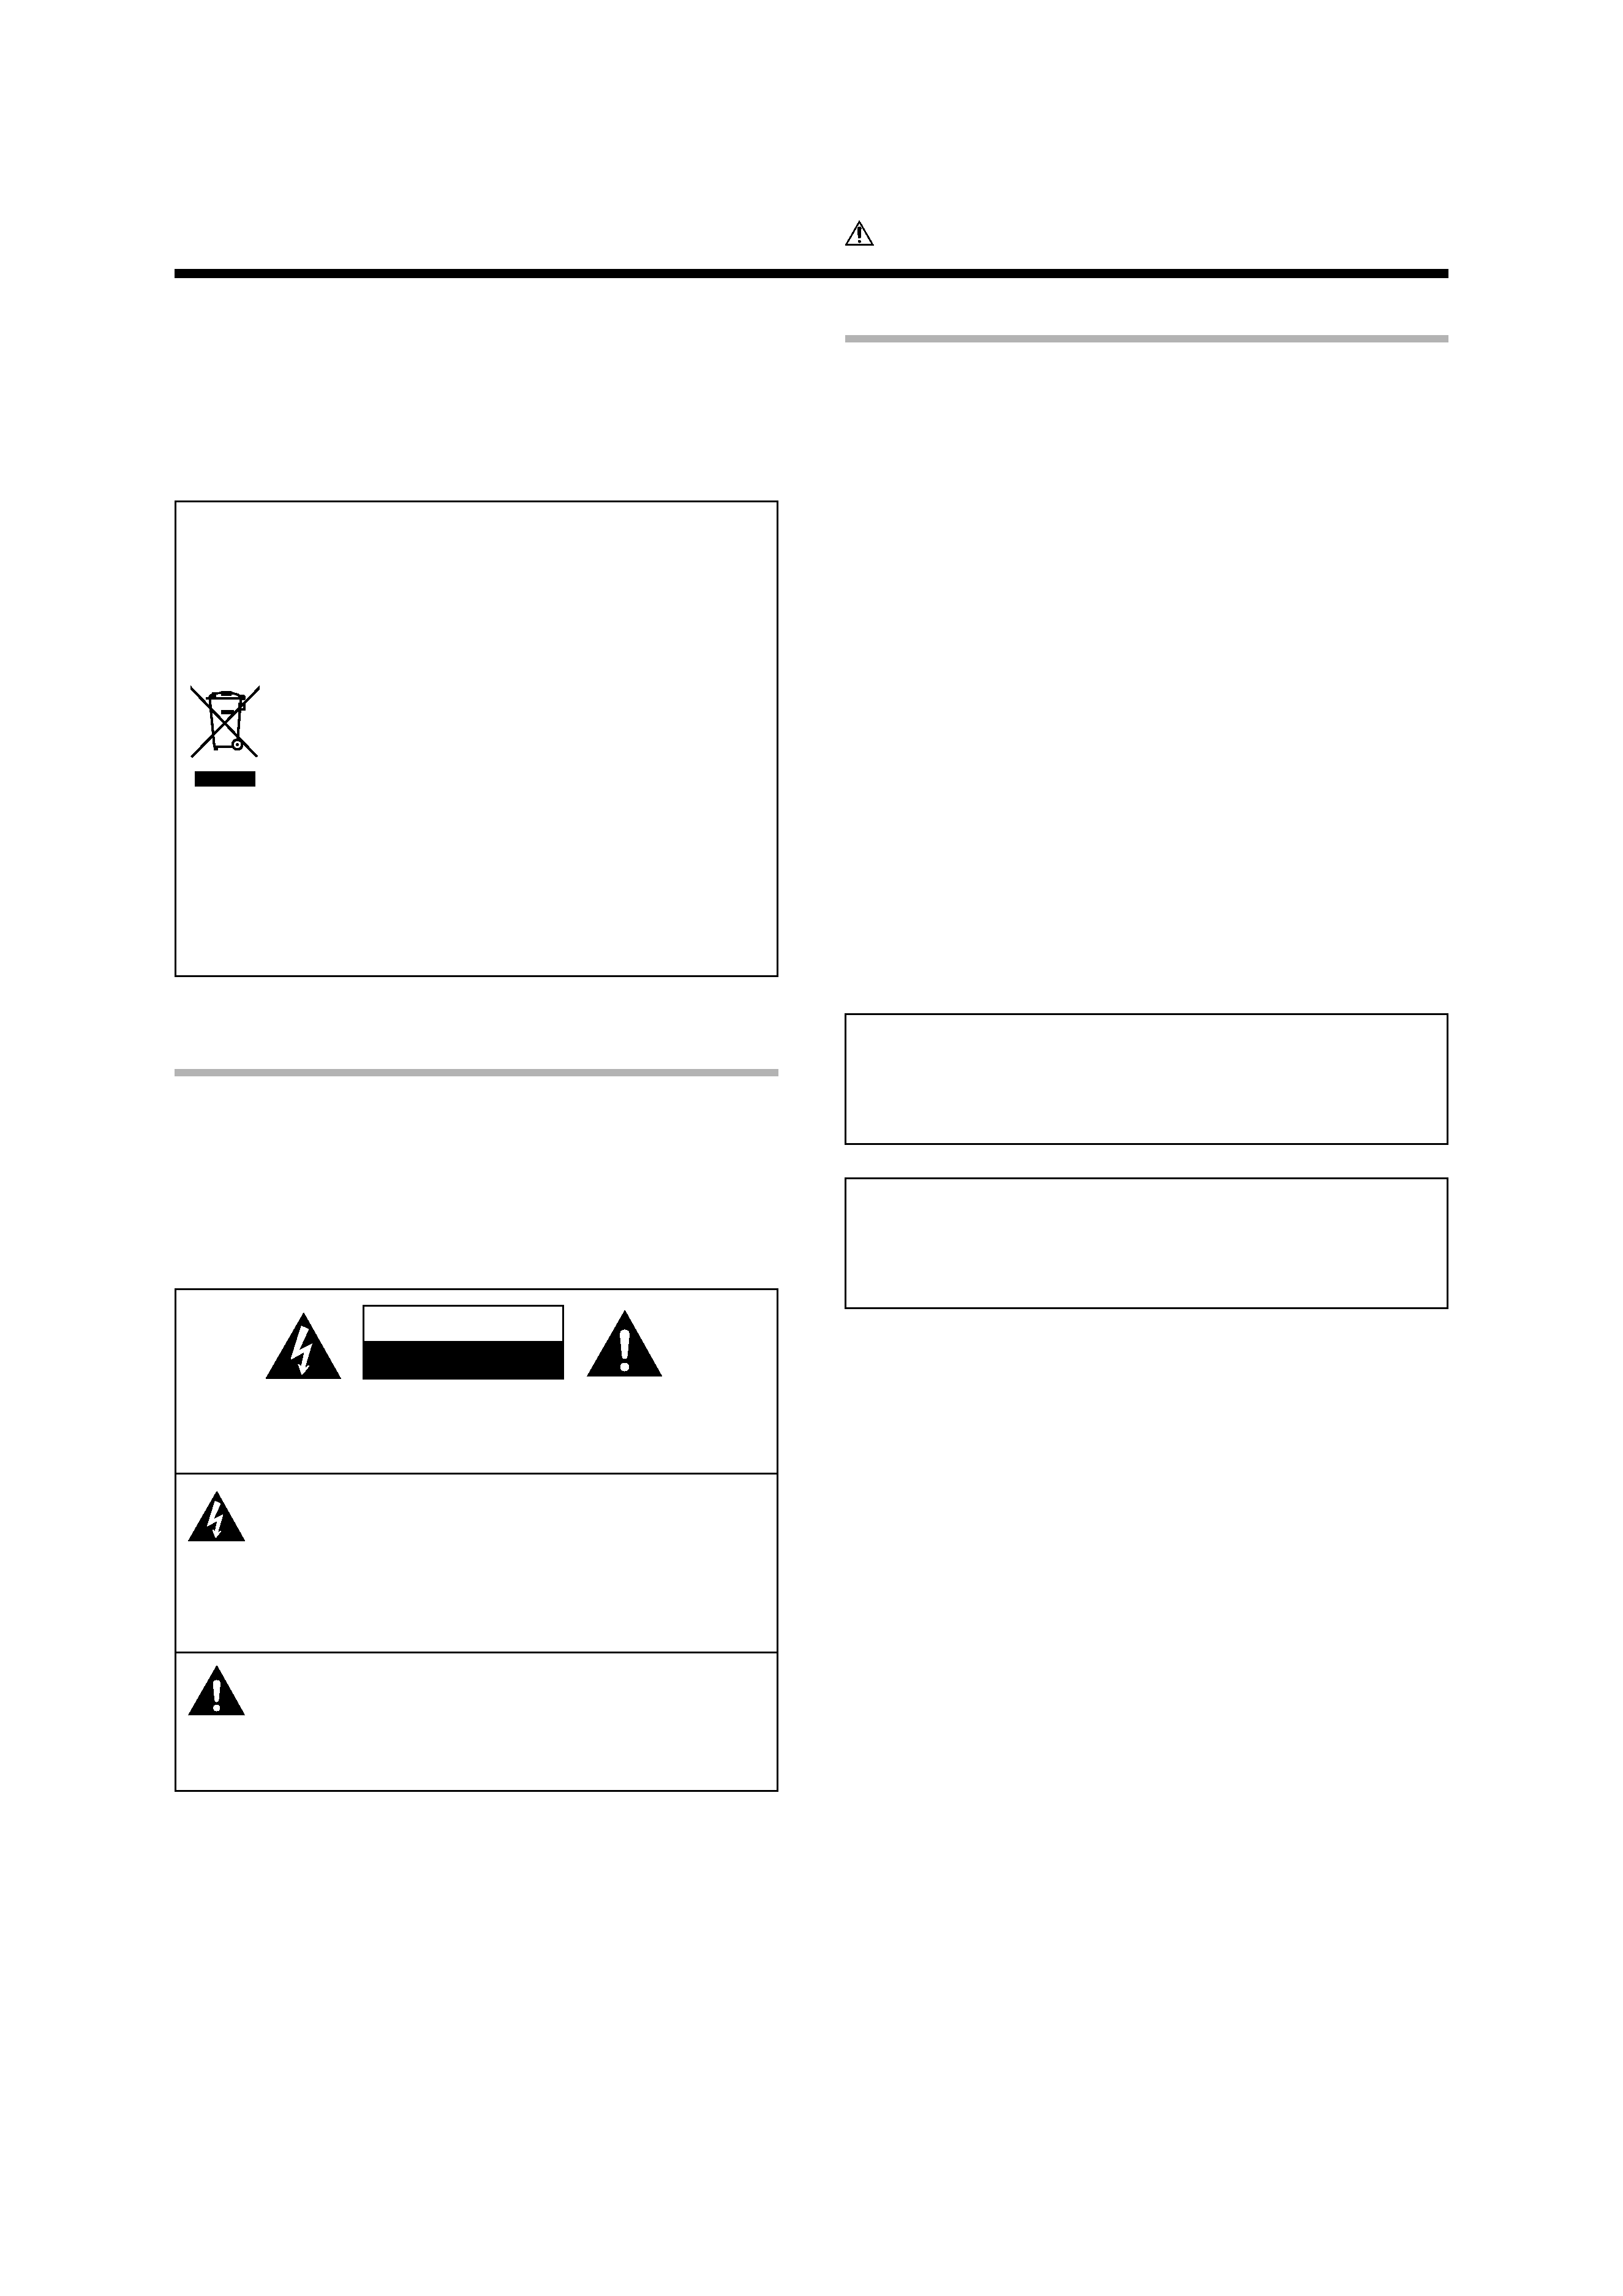
Safety precautions ..................................................................... 2
How to use this manual ............................................................. 2
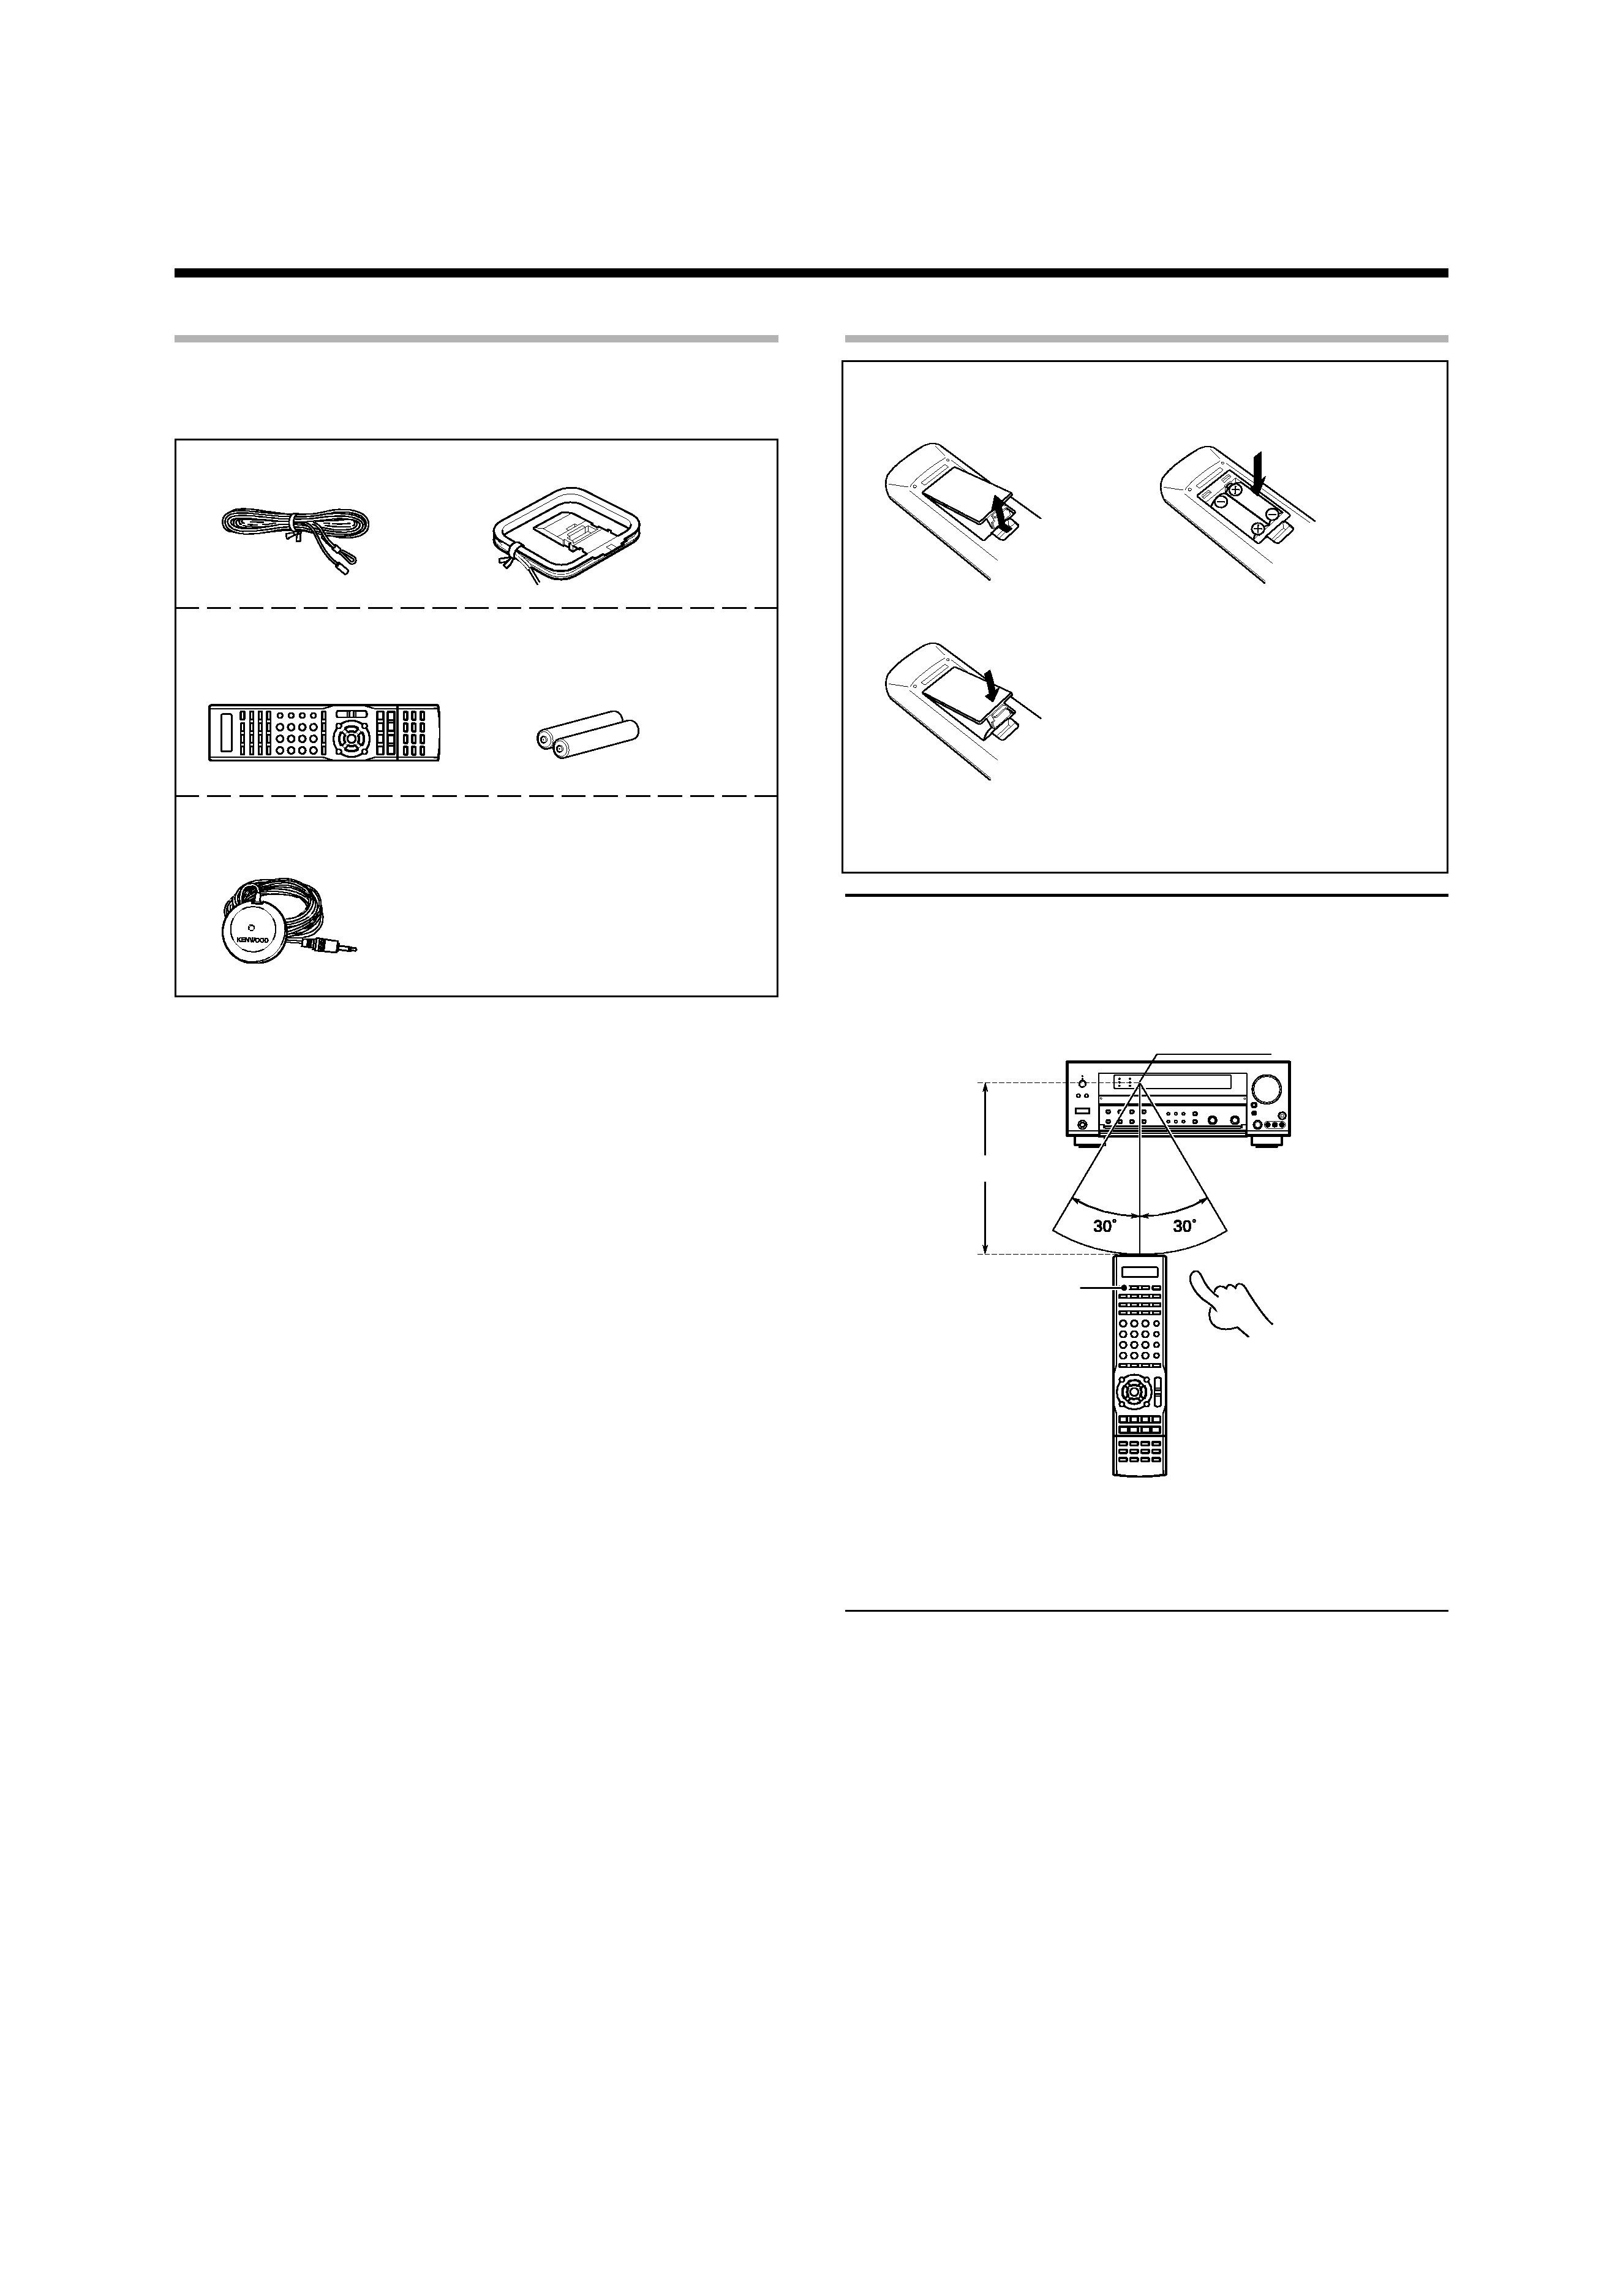
Unpacking .................................................................................. 4
Preparing the remote control ..................................................... 4
Special features ......................................................................... 5
Names and functions of parts ................................................. 6
Main Unit .................................................................................... 6
Remote control unit ................................................................... 7
Setting up the system ........................................ 8
Connecting the terminals .................................. 9
Connecting a DVD player (6-channel input) ..... 10
Connecting audio components ........................ 11
Connecting video components ........................ 12
Digital connections .......................................... 13
Connecting video components
(COMPONENT VIDEO) .................................... 14
Connecting the speakers ................................. 15
PRE OUT connections ..................................... 16
Connecting to another room (ROOM B) ......... 17
Connecting to the AV AUX jacks ..................... 18
Connecting the antennas ................................. 18
Preparing for surround sound ....................... 19
Before setting up the speakers ....................... 19
Setting up the speakers automatically (AUTO SETUP)
"Kenwood Room Acoustic Calibration" ............ 20
Setting up the speakers manually
(MANUAL SETUP) ........................................... 22
Other settings .................................................. 24
Normal playback .............................................. 26
Preparing for playback ..................................... 26
Listening to a source component .................... 26
Input level adjustment (analog sources only) .. 27
Adjusting the sound ......................................... 27
Recording .......................................................... 29
Recording audio (analog sources) ................... 29
Recording audio (digital sources) .................... 29
Recording video ............................................... 29
Listening to radio broadcasts ....................... 30
Tuning (non-RDS) radio stations ...................... 30
Using RDS (Radio Data System) ..................... 30
Presetting radio stations manually .................. 31
Receiving preset stations ................................ 31
Receiving preset stations in order (P.CALL) ... 31
Using the RDS DISP (Display) key .................. 32
Presetting RDS stations
(RDS AUTO MEMORY) .................................. 32
Tuning by Program TYpe (PTY search) ............ 33
Ambience effects ............................................. 34
Surround modes .............................................. 34
Surround play ................................................... 37
Virtual modes ................................................... 39
DVD 6-channel playback .................................. 39
Adjusting the sound ......................................... 40
Convenient functions ...................................... 42
Display dimmer adjustment ............................ 42
Sleep timer ....................................................... 42
Preparations
Contents
Caution : Read the pages marked
carefully to ensure
safe operation.
Operations
Additional
Information
Remote
Control
Before applying the power
05.7.16, 10:14 AM
3
background image
4 EN
Unpacking
Unpack the unit carefully and make sure that all accessories are
present.
FM indoor antenna (1)
AM loop antenna (1)
Remote control unit (1)
Batteries (R03/AAA) (2)
RC-R0918E
Microphone for SETUP (1)
(Cord length: approx. 5m)
If any accessories are missing, or if the unit is damaged or fails to operate,
notify your dealer immediately. If the unit was shipped to you directly,
notify your shipper immediately. Kenwood recommends that you retain
the original carton and packing materials in case you need to move or ship
the unit in the future.
Keep this manual handy for future reference.
Preparing the remote control
Loading the batteries
1 Remove the cover.
2 Insert the batteries.
3 Close the cover.
· Insert two AAA-size (R03) batteries as indicated by the polarity
markings.
Operation
When the standby indicator is lit, the power turns ON when you press the
RECEIVER ON key on the remote control. When the power comes ON,
press the key you want to operate.
RECEIVER ON
6 m
· When pressing more than one remote control key successively, press
the keys securely by leaving an interval of 1 second or more between
keys.
Notes
1. The supplied batteries may have shorter lives than ordinary batteries
due to use during operation checks.
2. When the remote-controllable distance gets shorter than before,
replace both batteries with new ones.
3. Placing the remote sensor in direct sunlight, or in direct light from a
high frequency fluorescent lamp may cause a malfunction.
In such a case, change the location of the system installation to
prevent malfunction.
Remote sensor
Operating range
(Approx.)
Infrared ray system
Before applying the power
05.7.16, 10:14 AM
4
background image
5 EN
Special features
True home theater sound
>
This model incorporates a wide variety of surround modes to bring you
maximum enjoyment from your video software. Select a surround mode
according to your equipment or the software you are going to play and
enjoy!
· THX Select2 Cinema
· THX MusicMode
· THX Games
· THX Surround EX
· Dolby Digital EX
· Dolby Pro Logic IIx
· Dolby Digital
· Dolby Virtual Speaker
· Dolby Headphone
· DTS-ES
· DTS Neo:6
· DTS 96/24
· DTS
· DSP Mode
Kenwood Room Acoustic Calibration
)
Without going through a complicated manual setup procedure, this
function automatically measures the capacity of your speaker system,
speaker layout and acoustic specifications of your listening room correctly
with the provided microphone, and provides the best listening
environment.
ACTIVE EQ
ACTIVE EQ mode will produce a more dynamic sound quality in any
condition. You can enjoy a more impressive sound effect when ACTIVE
EQ is turned on.
GAME mode function
§
When you connect a game machine to the AV AUX jacks on the front
panel, the input selector of the receiver switches automatically to
"GAME" and the optimum sound field for enjoying games is set.
This feature improves your convenience in playing video games.
Universal IR (InfraRed) remote control
In addition to the basic receiver operations, the remote control unit
supplied with this receiver can also operate almost all of your remote
controllable audio and video components. Just follow the simple setup
procedure to register the components you have connected.
Video up conversion
This receiver can convert the incoming composite video signals to S-
Video signal.
If your monitor TV has S-Video jacks, it is not necessary to do the
composite video connections, just use an S-Video cord to connect the
receiver and your monitor TV.
RDS (Radio Data System) tuner
This model is equipped with an RDS tuner that provides several convenient
tuning functions: RDS Auto Memory, to automatically preset up to 40
RDS stations broadcasting different programs; station name display, to
show you the name of the current broadcast station; and PTY search to
let you tune stations by program type.
PTY (Program TYpe) search
Tune the stations by specifying the type of program you want to hear.
Before applying the power
05.7.16, 10:14 AM
5

Reviews

There are no reviews of this manual yet.