4
Preparations
Special features
True home theater sound
This receiver incorporates a wide variety of surround modes to bring you
maximum enjoyment from your video software. Select a surround mode
according to your equipment or the software you are going to play and enjoy!
ª
Home THX Cinema
THX Select incorporates a complex multichannel digital audio program
materials such as Dolby Digital, PRO LOGIC & DTS which enables
multichannel decoding.
This system features Re-equalization (Re-EQ), Timbre Matching, Adaptive
Decorrelation, Bass Peak Level Manager and Loudspeaker Position Time
Synchronization, which reproduces similar cinematic effects in the home
environment.
Dolby Digital
The DOLBY DIGITAL mode lets you enjoy full digital surround from
software processed in the Dolby Digital format. Dolby Digital provides up
to 5.1 channels of independent digital audio for better sound quality and
more powerful presence than conventional Dolby Surround.
Dolby Pro Logic II
DOLBY PRO LOGIC II, whilst totally compatible with its predecessor
PRO LOGIC, provides greater advantage in surround sound. It allows
the users to enjoy the conventional stereo or Dolby Surround with a
convincing "5.1 like" presentation. PRO LOGIC II offers special features
for controlling the overall spatial, dimensionality, and frontal sound field
imaging. PRO LOGIC II produces an impressive surround sound from
video software marked
and three-dimensional space
from music CD. When listening to music, you will be able to enjoy the
experience of sheer STEREO surround sound.
Dolby 3 Stereo
This surround system reproduces theater-like surround sound from video
software marked
.
The 3 STEREO mode will redirect the Surround signal to the front left and
right speakers when only the front and center speakers are used.
DTS
DTS (Digital Theater System) is a 5.1 channel digital audio format that
provides five full-spectrum channels and one low-frequency (subwoofer)
channel for unprecedented clarity, optimum channel separation and a
(wide) dynamic range.
In the DTS mode, the 5.1 channel digital input from a DTS CD, LD or DVD
disc (carrying the "DTS" marking) can be played in Digital Surround.
Important:
When a DTS disc is played on a CD, LD or DVD player, noise may be output
from the analog output. It is recommended that you connect the digital
output of the player to the digital input of this unit.
Multi channel music (SRS Circle Surround
)
SRS Circle surround enables you to listen to multi channel sound from the
stereo source. We assume you have already enjoyed listening to Dolby
digital sound/DTS multi channel sound with your multi speakers. Now, this
time try listening to the stereo source (ex. Audio CD) using your multi
speakers. You may discover a new type of "stereo" sound through SRS
Circle Surround.
DSP surround modes
The DSP (Digital Signal Processor) used for this receiver incorporates a
variety of high quality adjustable sound fields, like "ARENA", "JAZZ CLUB",
"THEATER", "STADIUM" and "DISCO". It is compatible with almost any
kind of program source.
DVD 6-channel input
If you own a DVD player equipped with 6-channel output, this receiver
allows you to obtain the full surround sound impact of DVD source material
featuring multi-channel encoding. Since the source signals are digital and
each channel is input independently, the resulting ambience is far superior
to what can be achieved with conventional surround sound systems.
Universal IR (InfraRed) remote signal
In addition to the basic receiver, the remote control supplied with this
receiver can also operate almost all of your remote controllable audio and
video components. Just follow the simple setup procedure to register the
components you have connected.
How to use this manual
This manual is divided into four sections: Preparations, Operations, Remote
Control, and Additional Information.
Preparations
Shows you how to connect your audio and video components to the receiver
and prepare the surround processor.
We will guide you to make setting up your system as easy as possible.
However, since this receiver works with all of your audio and video compo-
nents, connecting the system can be fairly complex.
Operations
Shows you how to operate the various functions available from the receiver.
Remote Control
Shows you how to operate other components using the remote control, as
well as a detailed explanation of all remote control operations. Once you have
registered your components with the proper setup codes, you'll be able to
operate both this receiver and your other AV components (TV, VCR, DVD
player, LD player, CD player, etc.) using the remote control supplied with this
receiver.
Additional Information
Shows you additional information such as "In case of difficulty" (troubleshoot-
ing) and "Specifications".
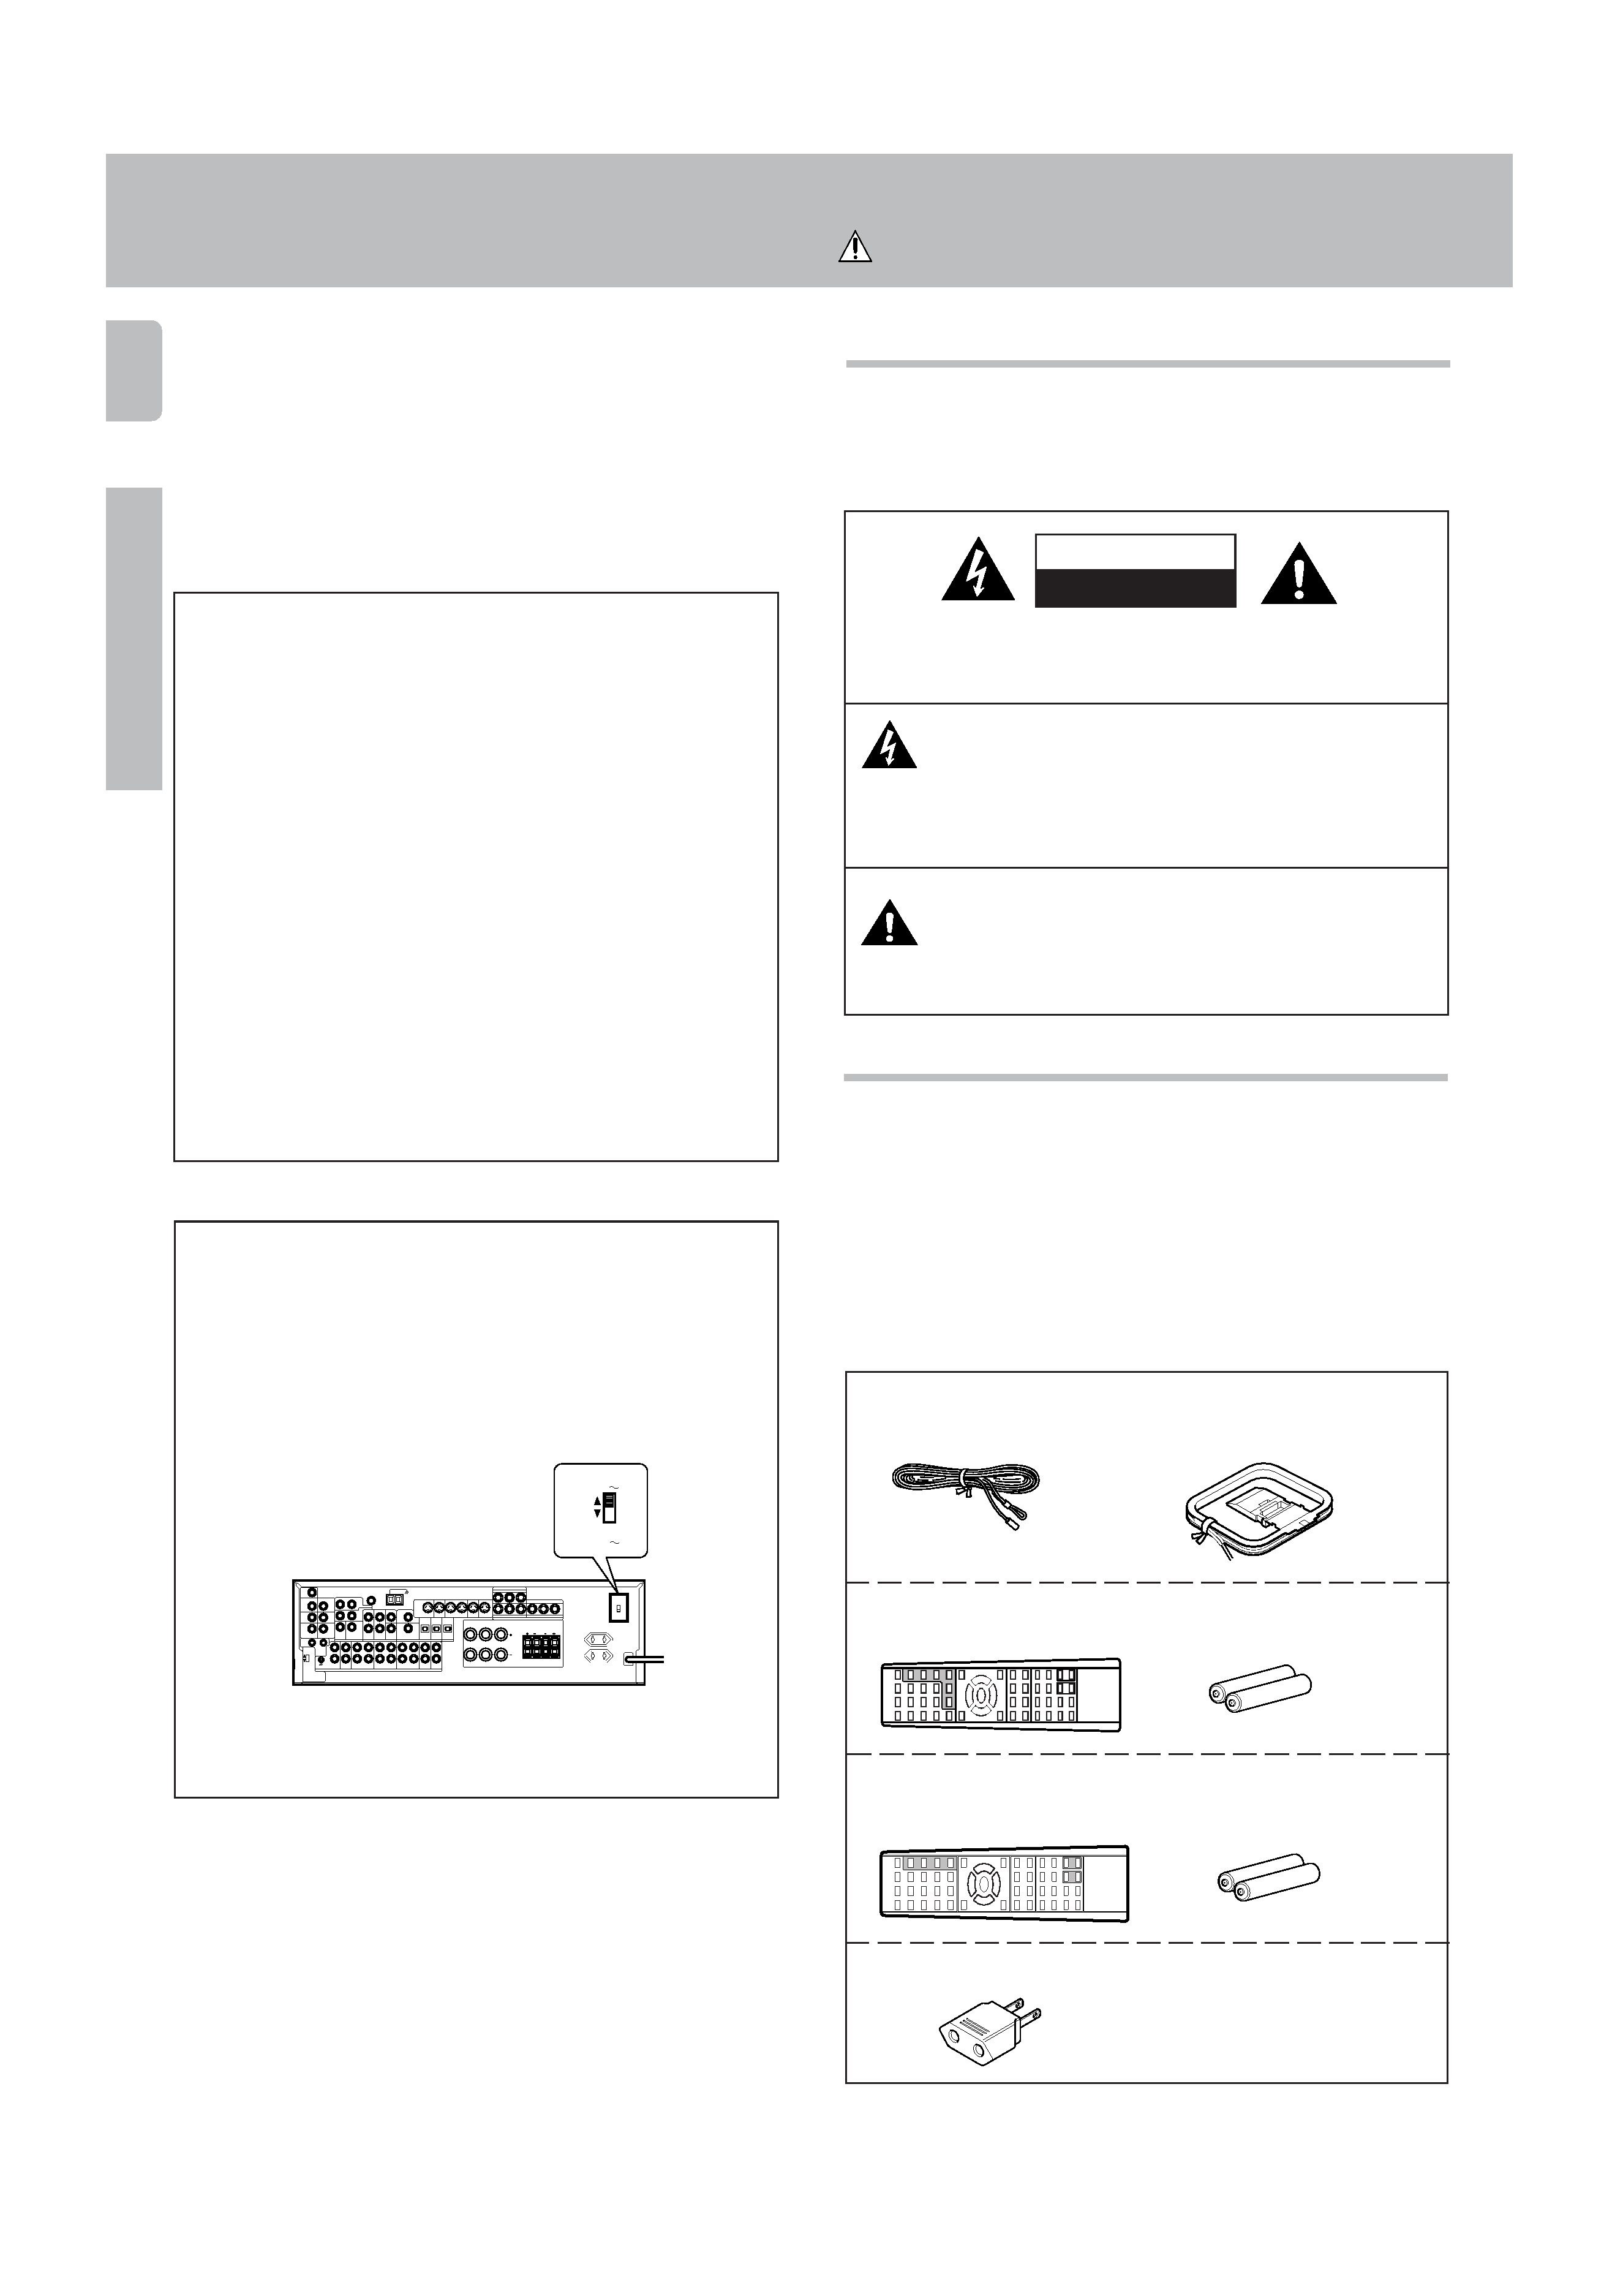
Before applying the power
Memory back up function
Please note that the following items will be deleted from the unit's memory
if the power cord is disconnected from the AC outlet for approximately 2
days.
· Power mode.
· Input selector settings.
· Device preset.
· Picture output.
· Speaker ON/OFF
· Volume level.
· BASS, TREBLE, INPUT level.
· Subwoofer ON/OFF.
· Dimmer level.
· Monitor ON/OFF.
· MD/TAPE settings.
· 6ch/2ch input setting.
· Listen mode setting.
· Speaker settings.
· Input mode setting.
· Midnight mode setting.
· Broadcast band.
· Frequency setting.
· Preset stations.
· Tuning mode.
· Source Direct.
· RF Band.
· THX.
· SW RE-MIX.
· Bass Peak Level.
*4958/01-07/EN
3/15/01, 1:35 PM
4