-- 4 --
English
· If you experience problems during
installation, consult your Kenwood dealer.
· If the unit does not seem to be working
right, try pressing the reset button first. If
that does not solve the problem, consult
your Kenwood dealer.
·Press the reset button if the Disc auto
changer fails to operate correctly. Normal
operatin should be restored.
· Characters in the LCD may become difficult
to read in temperatures below 41 °F (5 °C).
· The illustrations of the display and the panel
appearing in this manual are examples used
to explain more clearly how the controls are
used. Therefore, what appears on the display
in the illustrations may differ from what
appears on the display on the actual
equipment, and some of the illustrations on
the display may represent something
impossible in actual operation.
NOTE
Cleaning the Faceplate Terminals
If the terminals on the unit or faceplate get
dirty, wipe them with a dry, soft cloth.
Cleaning the Unit
If the faceplate of this unit is stained, wipe it
with a dry soft cloth such as a silicon cloth.
If the faceplate is stained badly, wipe the stain
off with a cloth moistened with neutral
cleaner, then wipe neutral detergent off.
Applying spray cleaner directly to the unit may
affect its mechanical parts. Wiping the
faceplate with a hard cloth or using a volatile
liquid such as thinner or alcohol may scratch
the surface or erases characters.
Safety precautions
RDS (Radio Data System)
When listening to an RDS station, the
programme service name of the station is
displayed, advising you quickly which station is
being received.
RDS (Radio Data System) stations also
transmit frequency data for the same station.
When you are making long trips, this function
automatically alternative switches to the
particular frequency with the best reception
for the particular network of stations that you
want to listen to. The data is automatically
stored, allowing you to switch quickly to
another RDS stations, broadcasting the same
programme, that has better reception. These
include stations stored in the station preset
memory that you often listen to.
Enhanced Other Network
Stations that offer <Enhanced Other
Network> also transmit information about
other RDS stations that have traffic
information. When you are tuned to a station
that is not transmitting traffic information, but
another RDS station starts transmitting a
traffic bulletin, the tuner automatically
switches to the other station for the duration
of the bulletin.
Alarm
When an emergency transmission (announcing
disasters, etc.) is sent, all current functions are
interrupted to allow the warning to be
received.
About RDS
Cleaning the tape head
When there's noise or the sound quality is bad
during tape play the tape head maybe dirty,
clean the tape head.
About Cassette tape
· If the tape is slack tighten it.
· If the cassette tape label is peeling off glue it
on again.
· Don't use deformed cassette tape.
· Don't place cassette tape on the dashboard
etc. where the temperature is high.
· Don't use cassette tape that's 100 minutes
long or longer.
About Cassette tape
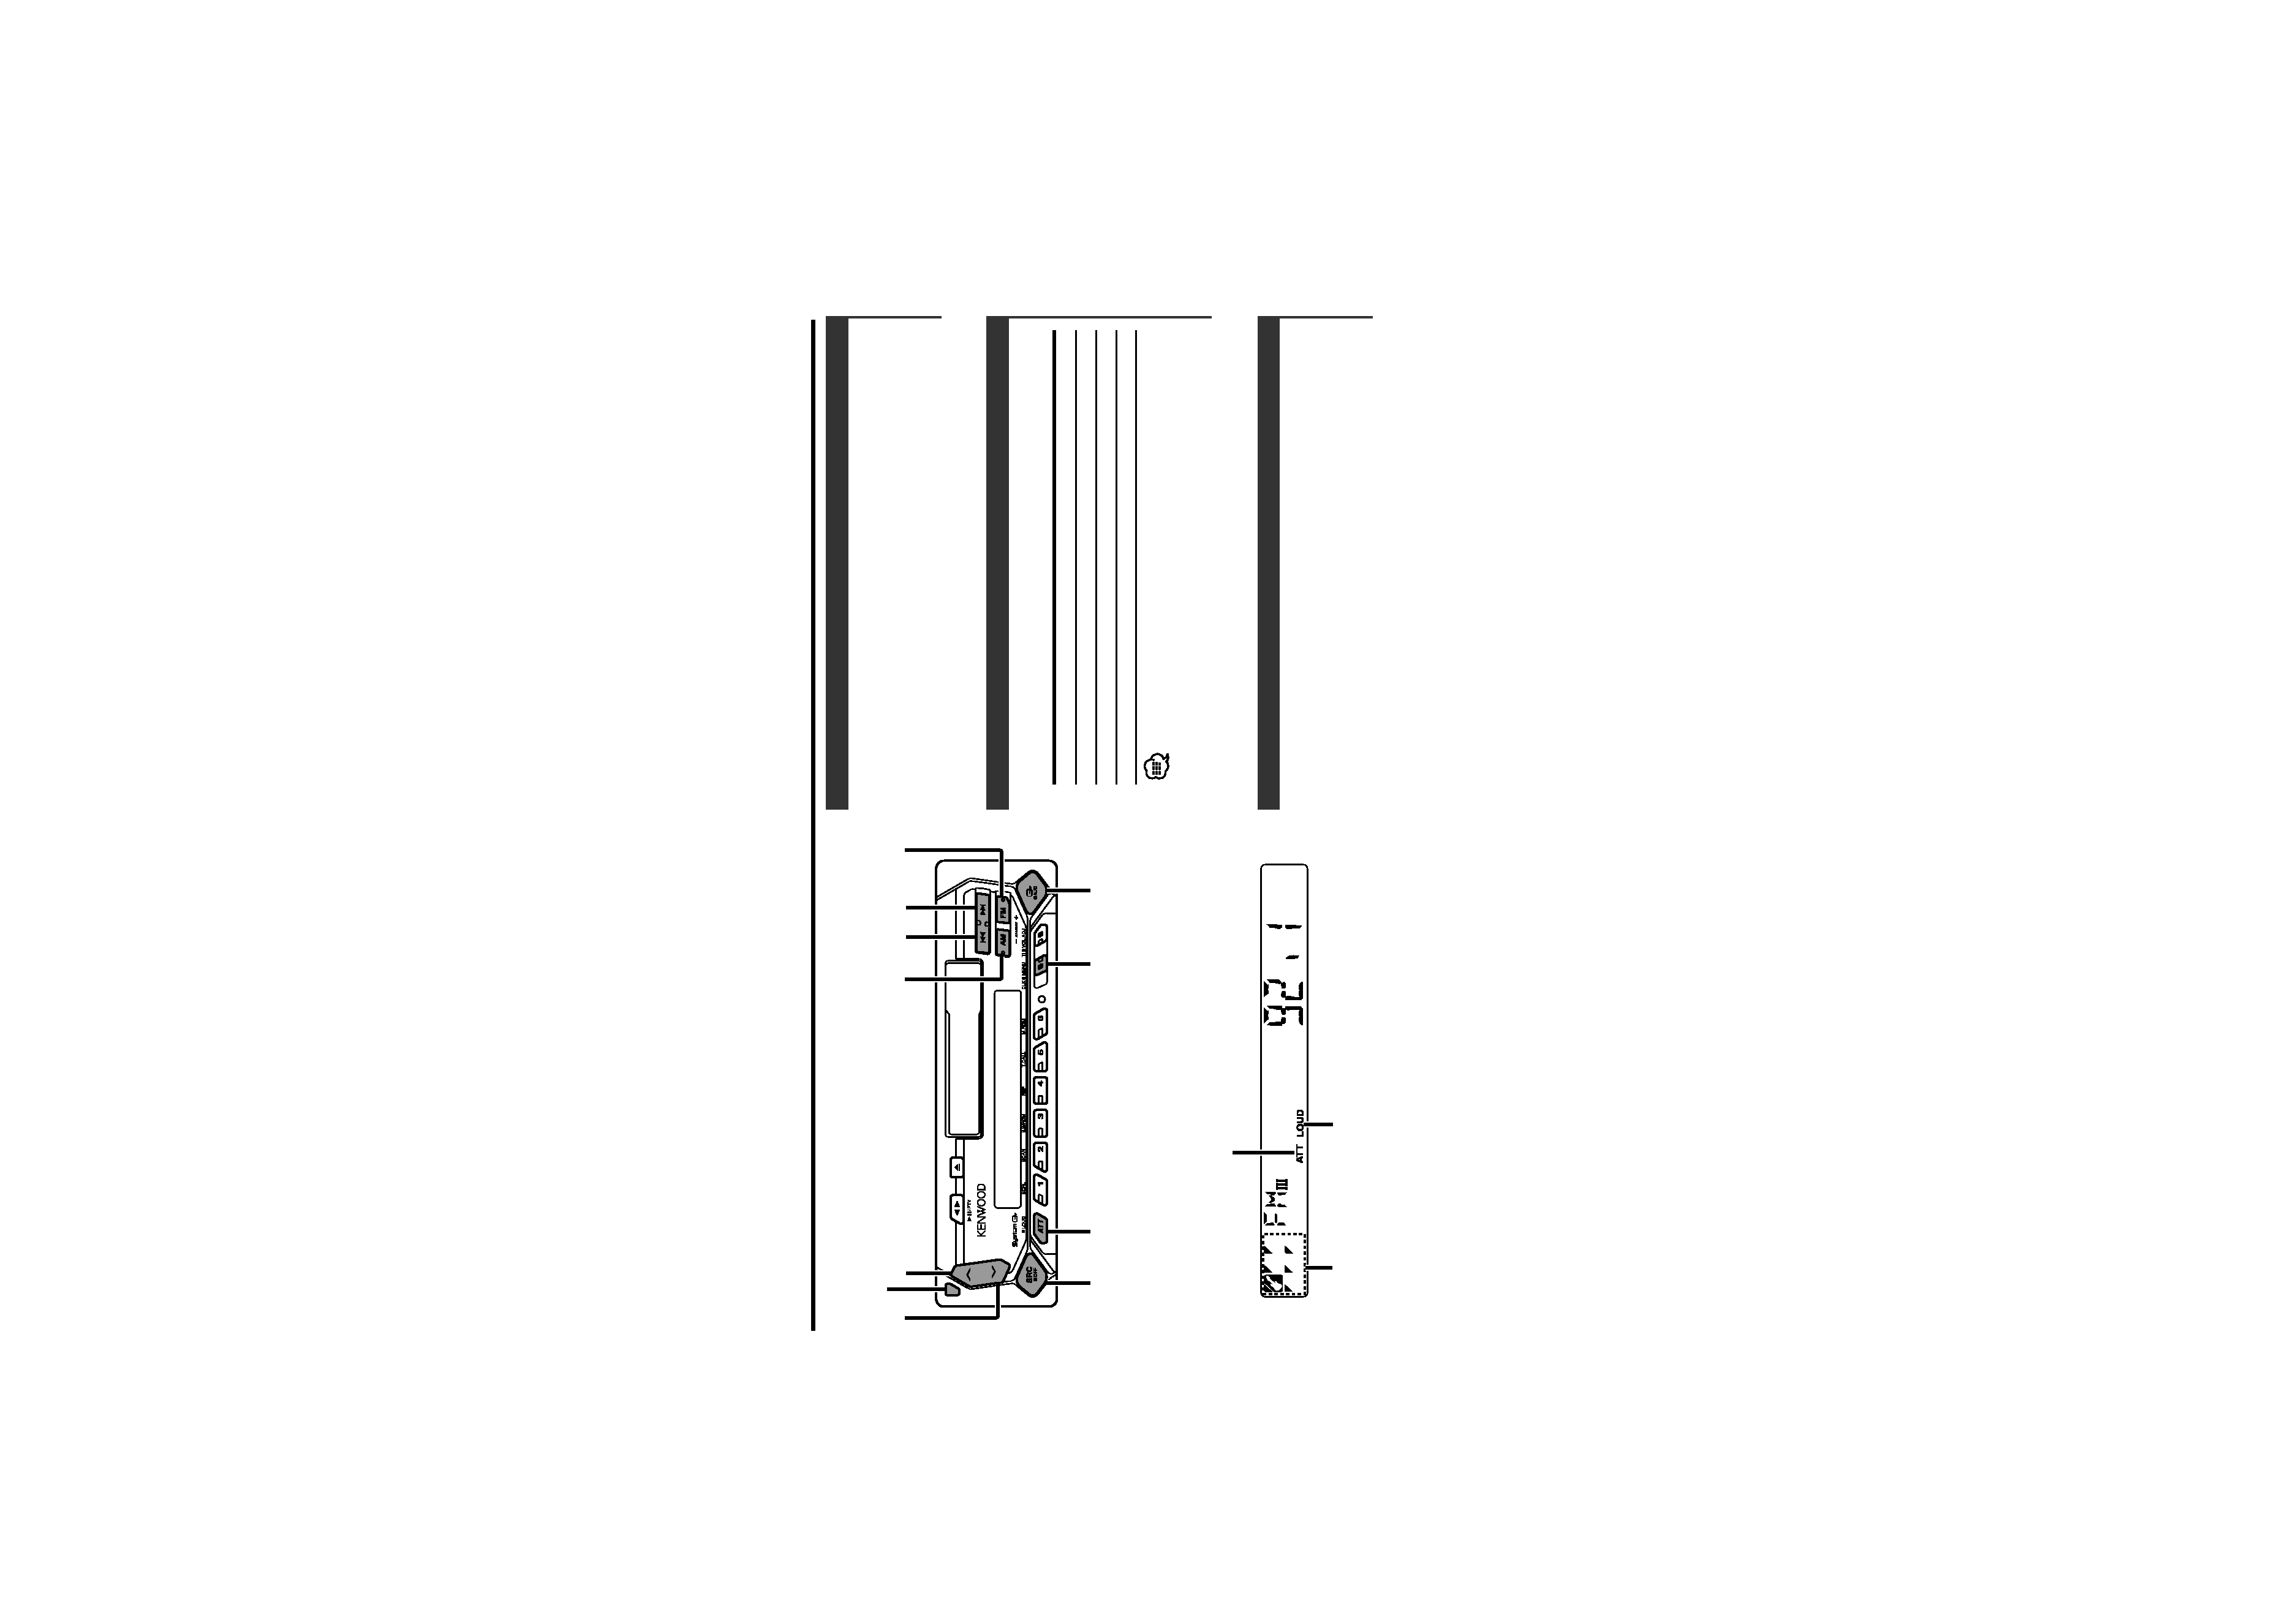
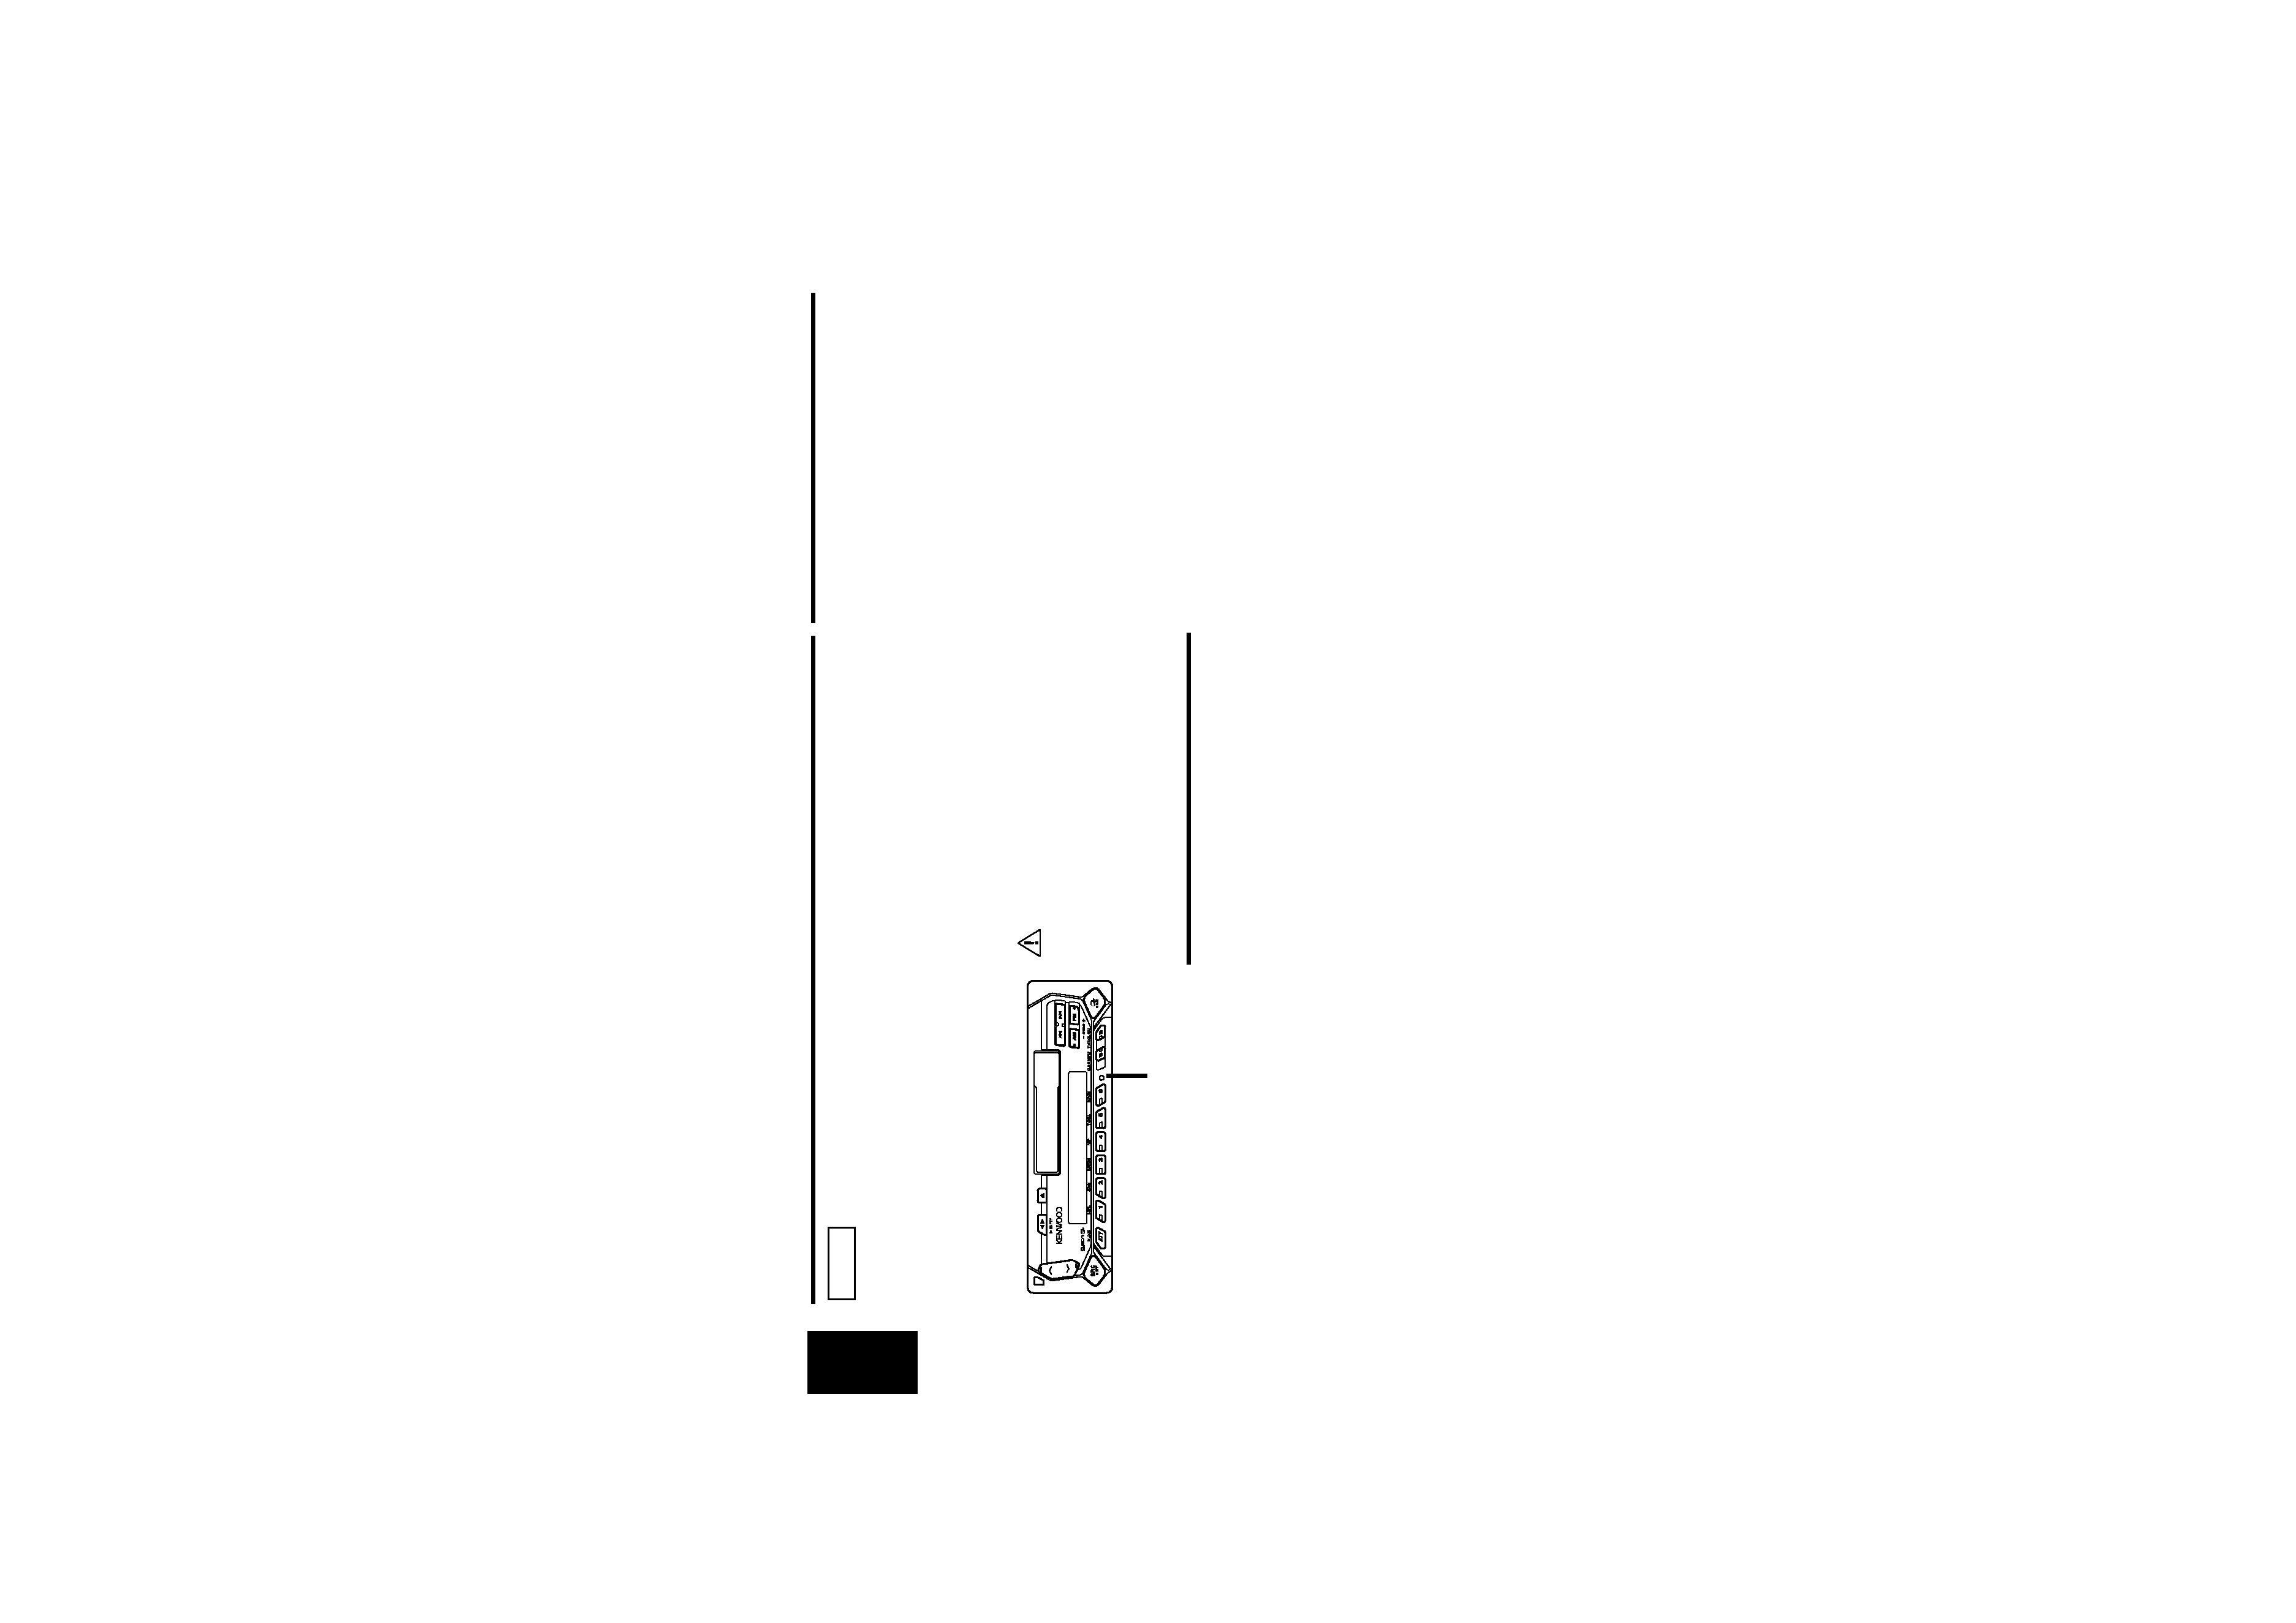
Reset button
KRC-394(E)_U.S r1
02.9.24
11:11 AM
Page 4