KENWOOD KOS-A210 Owner's Manual

Cover page of KENWOOD KOS-A210 Owner's Manual

Owner's Manual for KENWOOD KOS-A210, downloadable as a PDF file.

Manual details

  • Immediate download after payment.
  • Delivered as a PDF file.
  • The manual has 40 pages
  • File size: 0.75 MB
  • Available language versions: Croatian, Czech, Italian, Hungarian, Polish, Portuguese, Swedish, French, English, Russian, Spanish, Dutch, German, Slovenian, Ukrainian
  • Different language versions may vary sligthly in file size and page count.

We guarantee that...

  • our manuals are complete,
  • our manuals are checked with antivirus,
  • We'll issue refund if the manual is damaged, incomplete or unreadable (our refund policy)

Sample pages

Thumbnail of page 1Thumbnail of page 2Thumbnail of page 3Thumbnail of page 4
Thumbnail of page 5Thumbnail of page 6Thumbnail of page 7Thumbnail of page 8
Thumbnail of page 9
background image
EXTERNAL MEDIA CONTROLLER
KOS-A210
INSTRUCTION MANUAL
© B64-4455-00/00 (EW)
Declaration of Conformity with regard to the EMC Directive
2004/108/EC
Manufacturer:
Kenwood Corporation
2967-3 Ishikawa-machi, Hachioji-shi, Tokyo, 192-8525 Japan
EU Representative's:
Kenwood Electronics Europe BV
Amsterdamseweg 37, 1422 AC UITHOORN, The Netherlands
background image
2 | KOS-A210
Contents
Before use
3
Basic Operation
4
General functions
iPod & USB device functions
Cancel the Demonstration mode (only when connecting
to KOS-D210)
Listen to the audio via this unit
Function Control
6
Display Settings
9
Illumination Color Selection
Display Type Selection
Text Display Selection
Auxillary Input Name Setting
iPod/ USB device Operation
11
Music Search
Music Search for iPod
Searching for Music by Initial
Related Search
Drive Search
All Random
iPod Control by Hand Mode
Favorite Control
14
Favorite Preset Memory
Favorite Preset Recall
Favorite Preset Memory Delete
Favorite Name Setting
Input/Output Setting
15
Input Level Adjust
Transmission Frequency Setting
Operation of hands-free phoning
16
Before Use
Receiving a call
During a call
Call waiting
Other functions
Making a call
Dial a number
Speed dialing (Preset dial)
Calling a number in the Phone Book
Calling a number in the call log
Make a voice dialing call
Registering to the Preset Dial Number List
Display of phone number type (category)
Bluetooth Audio Operation
19
Before Use
Basic Operation
Bluetooth Setup
20
Registering Bluetooth device
Registering Special Bluetooth device
Registering PIN Code
Downloading the Phone Book
Selecting the Bluetooth device You Wish to Connect
Deleting a Registered Bluetooth device
Displaying the Firmware Version
Adding a voice dialing command
Setting a Voice Command for Category
SMS (Short Message Service)
Downloading the SMS
Appendix
25
Accessories
28
Installation Procedure
29
Connecting Wires to Terminals
30
Installation
32
Troubleshooting Guide
36
Specifications
38
background image
English
|
3
Before use
2WARNING
To prevent injury or fire, take the following
precautions:
· To prevent a short circuit, never put or leave any
metallic objects (such as coins or metal tools) inside
the unit.
Cancel the Demonstration mode to use this
unit when connecting to Display unit KOS-
D210 (optional accessory)!
This unit is initially set on the Demonstration mode
when connecting to KOS-D210.
When using this unit for the first time, cancel the
<Cancel the Demonstration mode> (page 5).
Cleaning the Unit
If the this unit is stained, wipe it with a dry soft cloth
such as a silicon cloth.
If the this unit is stained badly, wipe the stain off with
a cloth moistened with neutral cleaner, then wipe it
again with a clean soft dry cloth.
¤
· Applying spray cleaner directly to the unit may affect its
mechanical parts. Wiping the faceplate with a hard cloth or
using a volatile liquid such as thinner or alcohol may scratch
the surface or erase printed characters.
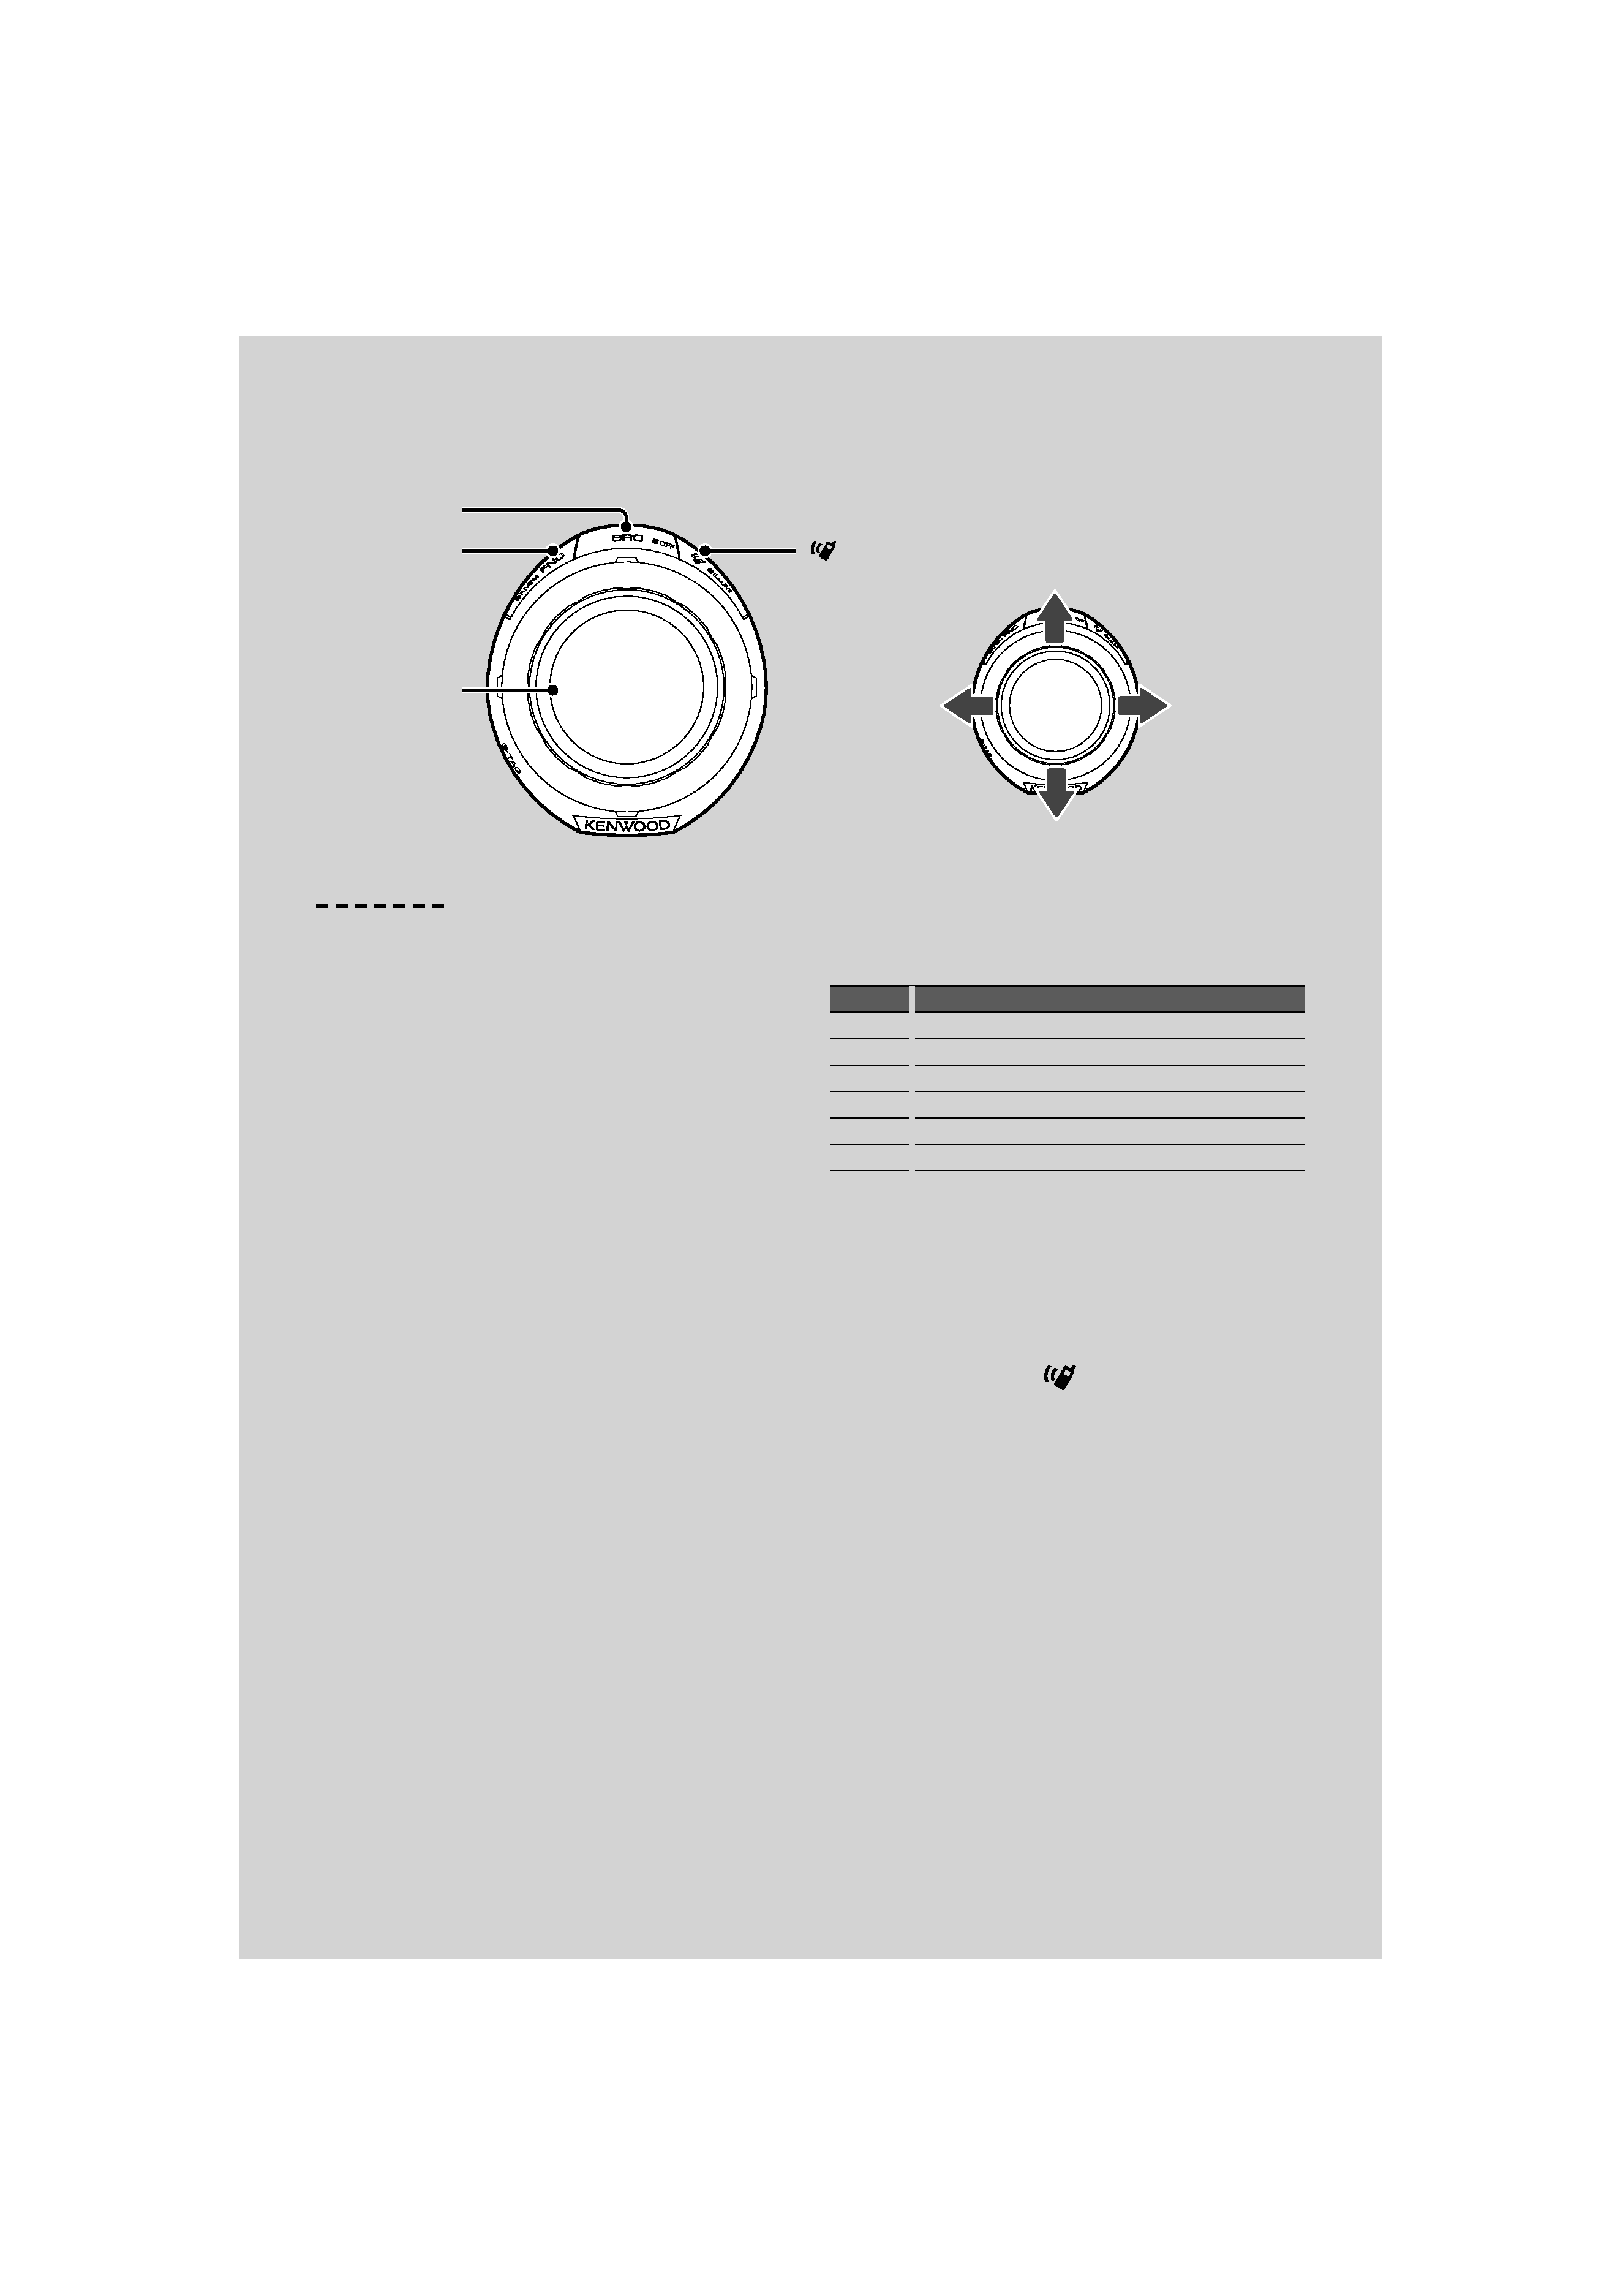
· To display the information from this unit on your
vehicle display, the vehicle audio should support the
RDS radio system.
· The notation " " in this manual represents the
displayed messages for Display unit KOS-D210
(optional accessory). The notation (" ") represents the
displayed messages for the vehicle audio connected
to this unit.
· If you experience problems during installation,
consult your Kenwood dealer.
· When you purchase optional accessories, check with
your Kenwood dealer to make sure that they work
with your model and in your area.
· Characters that conform to ISO 8859-1 can be
displayed.
· Characters that conform to ISO 8859-5 or ISO 8859-
1 can be displayed. Refer to "MENU"
> "Russian" of
<Function Control> (page 6).
· The illustrations of the display appearing in this
manual are examples used to explain more clearly
how the controls are used. Therefore, what appears
on the display in the illustrations may differ
from what appears on the display on the actual
equipment, and some of the illustrations on the
display may be inapplicable.
This Product is not installed by the manufacturer of a
vehicle on the production line, nor by the professional
importer of a vehicle into an EU Member State.
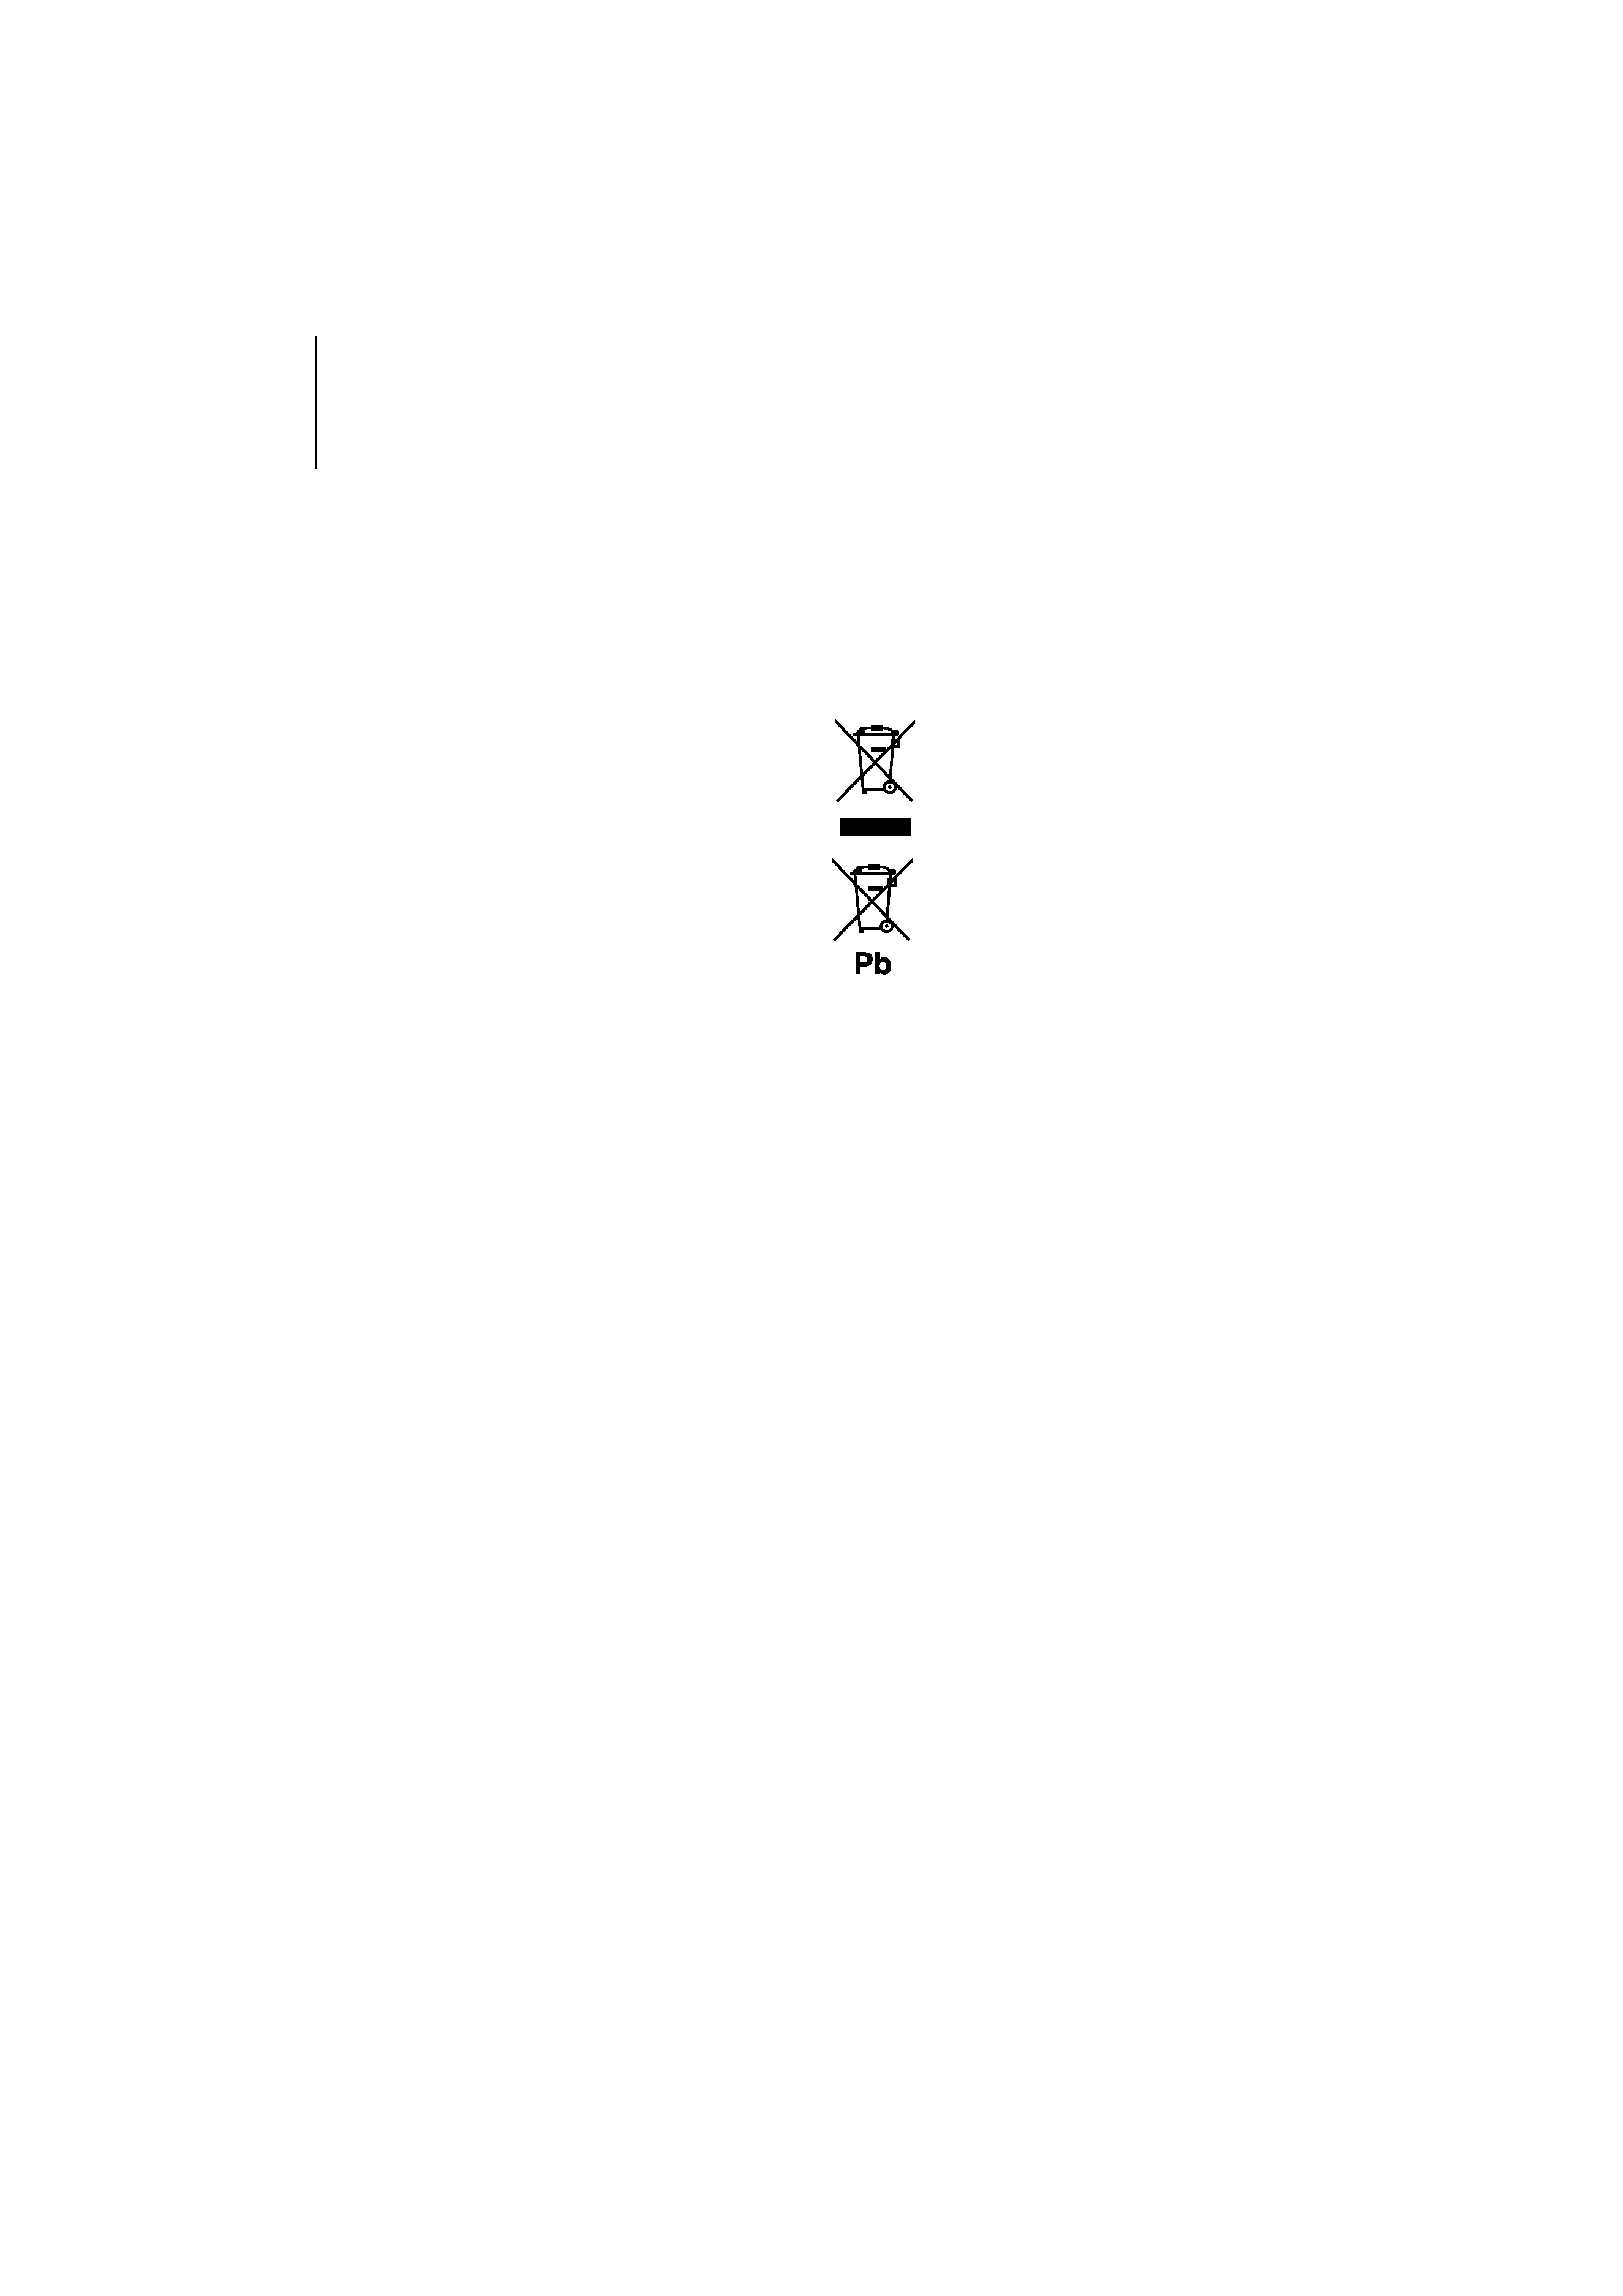
Information on Disposal of Old Electrical
and Electronic Equipment and Batteries
(applicable for EU countries that have
adopted separate waste collection systems)
Products and batteries with the symbol
(crossed-out wheeled bin) cannot be
disposed as household waste.
Old electrical and electronic equipment
and batteries should be recycled at a facility
capable of handling these items and their
waste byproducts.
Contact your local authority for details in
locating a recycle facility nearest to you.
Proper recycling and waste disposal will
help conserve resources whilst preventing
detrimental effects on our health and the
environment.
Notice: The sign "Pb" below the symbol for
batteries indicates that this battery
contains lead.
background image
4 | KOS-A210
General functions
Power/Source Select button: [SRC]
Turns on the power.
When the power is ON, select a source.
When connecting to KOS-D210 (Optional Accessory)
(SRC Select mode 1): Press the [SRC] button and then
turn the Control knob or push it toward up or down.
To determine the selected source, press the Control
knob.
When not connecting to KOS-D210 (Optional
Accessory) (SRC Select mode 2): Pressing this button
each time switches between sources.
iPod/ USB device ("iPod" or "USB"), Auxiliary input
("AUX"), and Standby ("STANDBY")
Press at least 1 second to turn off the power.
/
· To select SRC Select mode 2 when connecting to KOS-
D210, set "MENU"
> "SRC Select" of <Function Control>
(page 6) to "2".
· When an optional accessory is connected, the source name
for each device appears.
· When connection of the iPod is recognized, the source
display changes from "USB" to "iPod".
· For the playable audio files, and devices, refer to <About
Audio file> (page 25).
Text/Title scroll: Control knob
Scrolls the longer audio file text display when pushing
toward up for at least 2 seconds.
Function Control: [FNC]
Pressing this button allows you to set various
functions using the Control knob. Refer to <Function
Control> (page 6).
Category Function of setup item
FAV
Enters the Favorite Preset Recall mode.
MENU
Allows you to set up the environment.
RMV
Enters the USB remove mode.
SETUP
Allows you to set up the display and color.
BT
Allows you to set up the Bluetooth function.
--
Allows you to set up the each source function.
Favorite Control: [FNC]
Pressing the button for at least 1 second allows you to
register various functions. The registered function can
be executed from the list displayed by pressing this
button and then selecting "FAV". Refer to <Favorite
Control> (page 14).
Illumination Control: [
]
Hold this button and turn the Control knob to change
the KOS-D210 (Optional Accessory) and controller
illumination colors.
You can select from the 10 colors or to scan all 10
colors, each of which changes every 5 seconds.
/
· To make the KOS-D210 illumination color different from the
controller, set "OFF""MENU"
> "Illumi SYNC" of <Function
Control> (page 6). You can set the KOS-D210 illumination
color in "SETUP"
> "Color Select" (page 9) of <Function
Control> (page 6).
· Switching "Illumi SYNC" from "OFF" to "ON", does not
synchronize illumination color immediately. The next
illumination color change action activates the color
synchronize.
Basic Operation
[FNC]
[
]
[SRC]
Control knob
toward left
toward right
toward down
toward up
background image
English
|
5
iPod & USB device functions
Pause and play: Control knob
Switches between pause and play each time this
button is pressed.
Music search: Control knob
Pushing left or right on the control knob forwards or
reverses the music. Holding the control knob to the
left or right fast-forwards or fast-reverses (inaudible).
Folder search: Control knob
Changes the folder containing the audio file when
pushing toward up or down.
/
· For the operation on iPod, see <Music Search for iPod>
(page 11) for quick search and control functions.
Search mode: Control knob
After turning control knob, you can quickly search
songs with the Control knob. See <Music Search>
(page 11) for details.
USB device removing
When removing the iPod/ USB device, you must enter
the Remove mode. To enter the Remove mode, press
the [FUN] button and then select "RMV" ("USB RMV").
For details, refer to <Function Control> (page 6).
/
· The iPod/ USB device can be removed during power off.
C
C
C
Ca
Ca
Ca
Ca
Canc
nc lll
el ttth
h
h
he D
D
Demon tt
stra i
ti
ti
tion m d
d
d
ode
((((only when connecting to KOS-D210)))
y
D
D
D
Do not use this unit before canceling
D
D
D
Demonstration mode.
1
1
1
1 Turn the power ON
Press the [SRC] button.
2
2
2
2 Enter Function Control mode
Press the [FNC] button.
3
3
3
3 Select the Menu mode
Push the Control knob towards right, left, up
p
p
and down to select "MENU", and then press
the Control knob.
4
4
4
4
4 Select the "DEMO Mode" display
Turn the Control knob.
5
5
5
5 Set the Demonstration mode
Press the Control knob for at least 2
seconds.
Pressing this knob for 2 seconds or longer
toggles the setting between "ON" and "OFF".
6
6
6
6 Exit Function Control mode
Press the [FNC] button twice.
L
L
L
L
Listen to the audio via this unit
W
W
W
W
When listening to the audio with the
tttttransmitter function
Tune the vehicle radio to FM 88.3 MHz, and
then set the program service name for the
display.
The transmission frequency can be changed
with "MENU"
> "TransmissionFREQ" ("FREQ") of
<Function Control> (page 6).
W
W
W
W
When listening to the audio with the LINE
O
O
O
OUT function
Switch the source of the vehicle audio to
"AUX".

Reviews

There are no reviews of this manual yet.