English
|
5
Exit of the Demonstration Mode
Turn off the demonstration mode when you use it
for the first time after installation.
1 Press the [Volume] knob to quit the
demonstration mode when the message "To
Cancel DEMO Press the volume knob" is displayed
(approx. 15 seconds).
2 Turn the [Volume] knob to select"YES"and then
press the [Volume] knob.
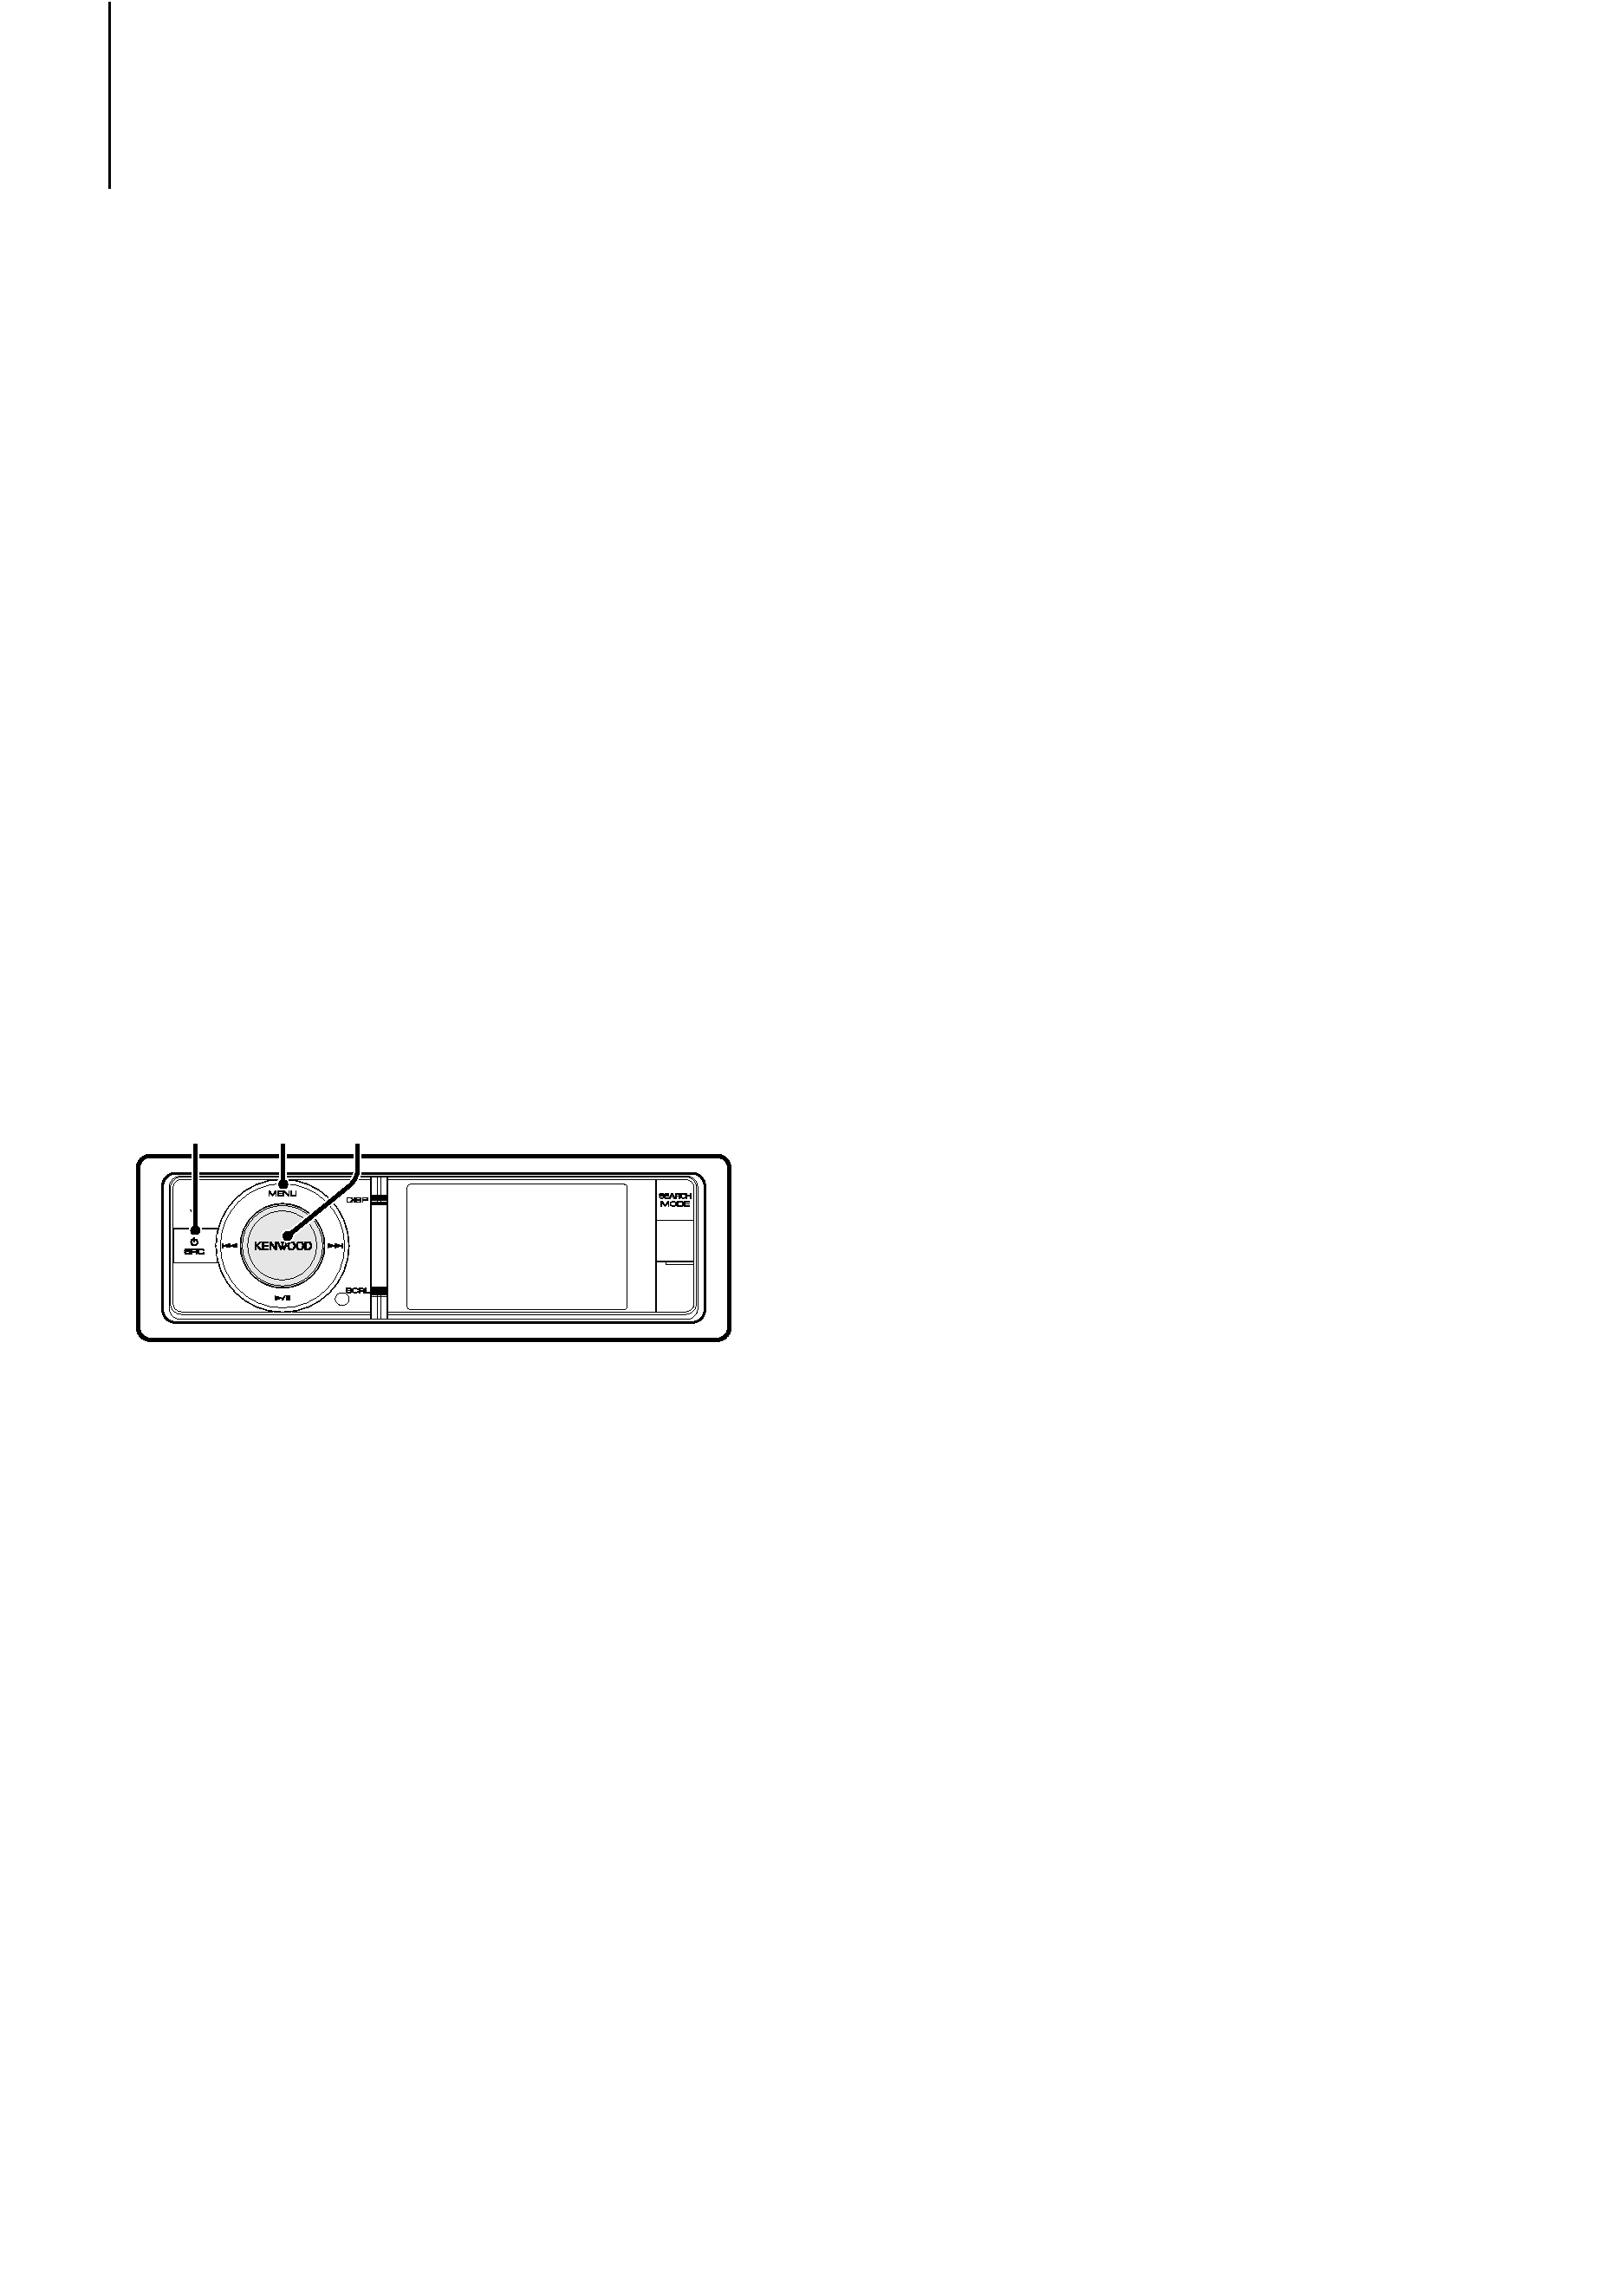
Power and Source Select
Turns the power ON by pressing the [SRC]
button.
When the power is ON, select a source.
· SRC Select mode 1: Pressing the [SRC] button
each time switches between sources.
Tuner (" TUNER" or " HD RADIO") USB
(" USB"), iPod (" iPod") or Zune (" Zune")
Pandora (" Pandora") Internal Memory
(" Int.Mem.") Auxiliary Input (" AUX")
Standby (" STANDBY")
· SRC Select mode 2: Press the [SRC] button and
then turn the [Volume] knob. To determine the
selected source, press the [Volume] knob.
Keeping pressing the [SRC] button for at least 1
second turns the power OFF.
/
· The SRC Select mode can be set in "Source Select" of <Initial
Settings> (page 43).
· Auxiliary input source is initially set to "OFF". Set "Built in
AUX" described in <Initial Settings> (page 43) to "ON".
· To use the Pandora source, set "Pandora Source" in <Initial
Settings> (page 43) to "ON".
· When an optional accessory is connected, the source name
for each device appears.
· When connection of the iPod or Zune is recognized, the
source display changes from "USB" to "iPod", "Zune".
Volume
Turning the [Volume] knob adjusts the sound
volume.
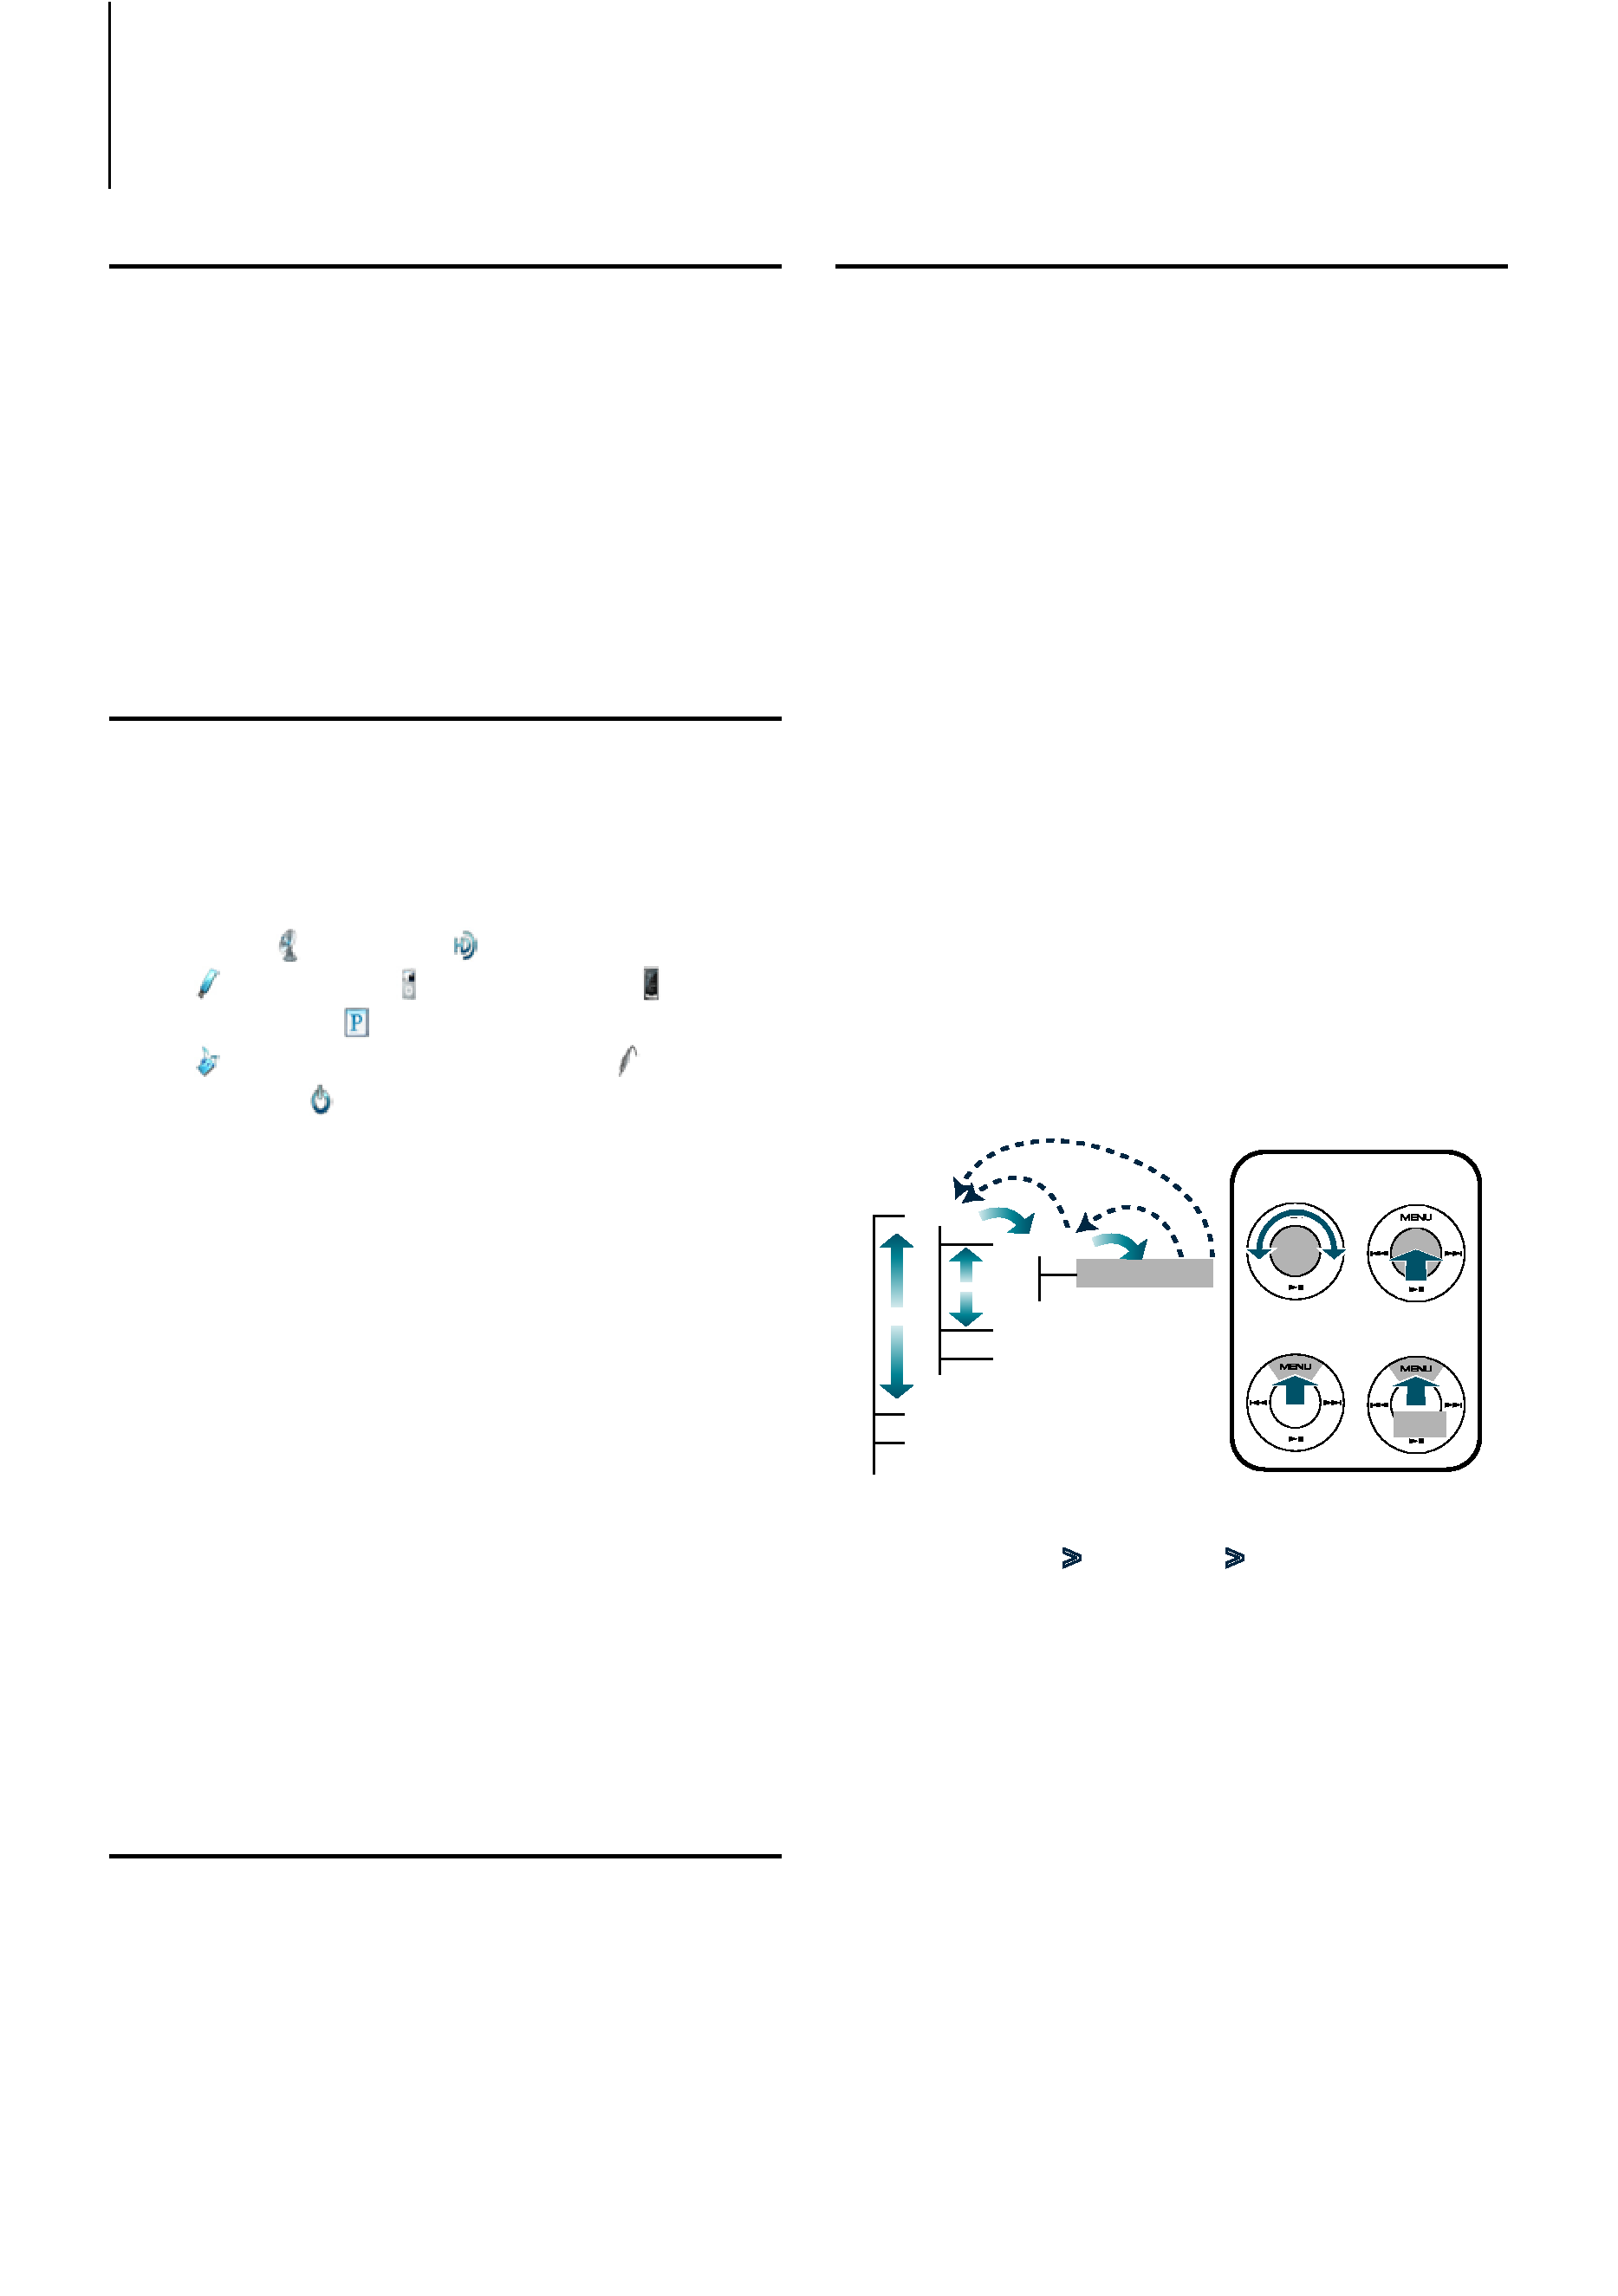
Menu List Operation
The basic operating procedure for using this
function is described below. The individual function
items are covered in the operating procedures.
1 Select the source
Press the [SRC] button repeatedly also switches
source.
Function items vary from source to source. For a list
of the function items, refer to <Menu List> (page 72).
SRC Select mode 2: Press the [SRC] button. Turn
the [Volume] knob and press it when the desired
item is displayed.
2 Enter Menu List mode
Press the [MENU] button.
3 Select the setting item
Turn the [Volume] knob and press it when the
desired item is displayed.
Repeat the operation until your desired setup item
is selected.
Press the [MENU] button to return to the
previous item.
Operation example:
Music
Playlists
My
...
Artists
Albums
...
Videos
Play Mode
...
[Volume]
[MENU]
[Volume]
[MENU]
1
1
2
3
4
2
2
3
4
3
1
1 sec.
In this manual, the above selection is indicated as
Select "Music"
> "Playlists" > "My Best 25".
4 Make a setting
Turn the [Volume] knob to select a setting
value, and then press the [Volume] knob.
5 Exit Menu Setting mode
Press the [MENU] button for at least 1 second to
return to the first hierarchy.
Press the [MENU] button in the first hierarchy to
exit the Menu List mode.
General Operation