KENWOOD KDC-234SG Owner's Manual

Cover page of KENWOOD KDC-234SG Owner's Manual

Owner's Manual for KENWOOD KDC-234SG, downloadable as a PDF file.

Manual details

  • Immediate download after payment.
  • Delivered as a PDF file.
  • The manual has 22 pages
  • File size: 0.82 MB
  • Available language versions: Polish, Swedish, English, Russian, Croatian, Czech, Slovenian, Hungarian
  • Different language versions may vary sligthly in file size and page count.

We guarantee that...

  • our manuals are complete,
  • our manuals are checked with antivirus,
  • We'll issue refund if the manual is damaged, incomplete or unreadable (our refund policy)

Sample pages

Thumbnail of page 1Thumbnail of page 2Thumbnail of page 3Thumbnail of page 4
Thumbnail of page 5Thumbnail of page 6Thumbnail of page 7Thumbnail of page 8
Thumbnail of page 9
background image
KDC-234SG
CD-RECEIVER
INSTRUCTION MANUAL
© B64-3245-00/00 (E2W)
background image
KDC-234SG
CD-RECEIVER
INSTRUCTION MANUAL
© B64-3245-00/00 (E2W)
background image
2 | English
Contents
Safety precautions
3
Notes
4
About CDs
5
General features
6
Power
Selecting the Source
Volume
Attenuator
System Q
Audio Control
Audio Setup
Speaker Setting
Clock Display
Adjusting Clock
Theft Deterrent Faceplate
TEL Mute
Tuner features
10
Tuning
Tuning Mode
Station Preset Memory
Auto Memory Entry
Preset Tuning
Monaural Reception
CD player features
12
Playing CD
Fast Forwarding and Reversing
Track Search
Track Repeat
Scan Play
Random Play
Accessories/ Installation Procedure 14
Connecting Wires to Terminals
15
Installation
17
Removing the Unit
18
Troubleshooting Guide
19
Specifications
21
background image
English |
3
Safety precautions
Lens Fogging
When you turn on the car heater in cold weather,
dew or condensation may form on the lens in the
CD player of the unit. Called lens fogging, this
condesnation on the lens may not allow CDs to
play. In such a situation, remove the disc and wait
for the condensation to evaporate. If the unit still
does not operate normally after a while, consult
your Kenwood dealer.
2WARNING
To prevent injury or fire, take the
following precautions:
· To prevent a short circuit, never put or leave any
metallic objects (such as coins or metal tools)
inside the unit.
2CAUTION
To prevent damage to the machine, take
the following precautions:
· Make sure to ground the unit to a negative 12V
DC power supply.
· Do not install the unit in a spot exposed to direct
sunlight or excessive heat or humidity. Also avoid
places with too much dust or the possibility of
water splashing.
· Do not place the faceplate in areas exposed to
direct sunlight, excessive heat or humidity. Also
avoid places with too much dust or the possibility
of water splashing.
· To prevent deterioration, do not touch the
terminals of the unit or faceplate with your
fingers.
· Do not subject the faceplate to excessive shock,
as it is a piece of precision equipment.
· When replacing a fuse, only use a new fuse with
the prescribed rating. Using a fuse with the wrong
rating may cause your unit to malfunction.
· Do not use your own screws. Use only the screws
provided. If you use the wrong screws, you could
damage the unit.
Do Not Load 3-in. CDs in the CD slot
If you try to load a 3 in. CD with its adapter into the
unit, the adapter might separate from the CD and
damage the unit.
background image
4 | English
Notes
· If you experience problems during installation,
consult your Kenwood dealer.
· If the unit fails to operate properly, press the Reset
button. The unit returns to factory settings when
the Reset button is pressed.
· Characters in the LCD may become difficult to
read in temperatures below 5 °C (41 °F).
· The illustrations of the display and the panel
appearing in this manual are examples used to
explain more clearly how the controls are used.
Therefore, what appears on the display in the
illustrations may differ from what appears on the
display on the actual equipment, and some of the
illustrations on the display may be inapplicable.
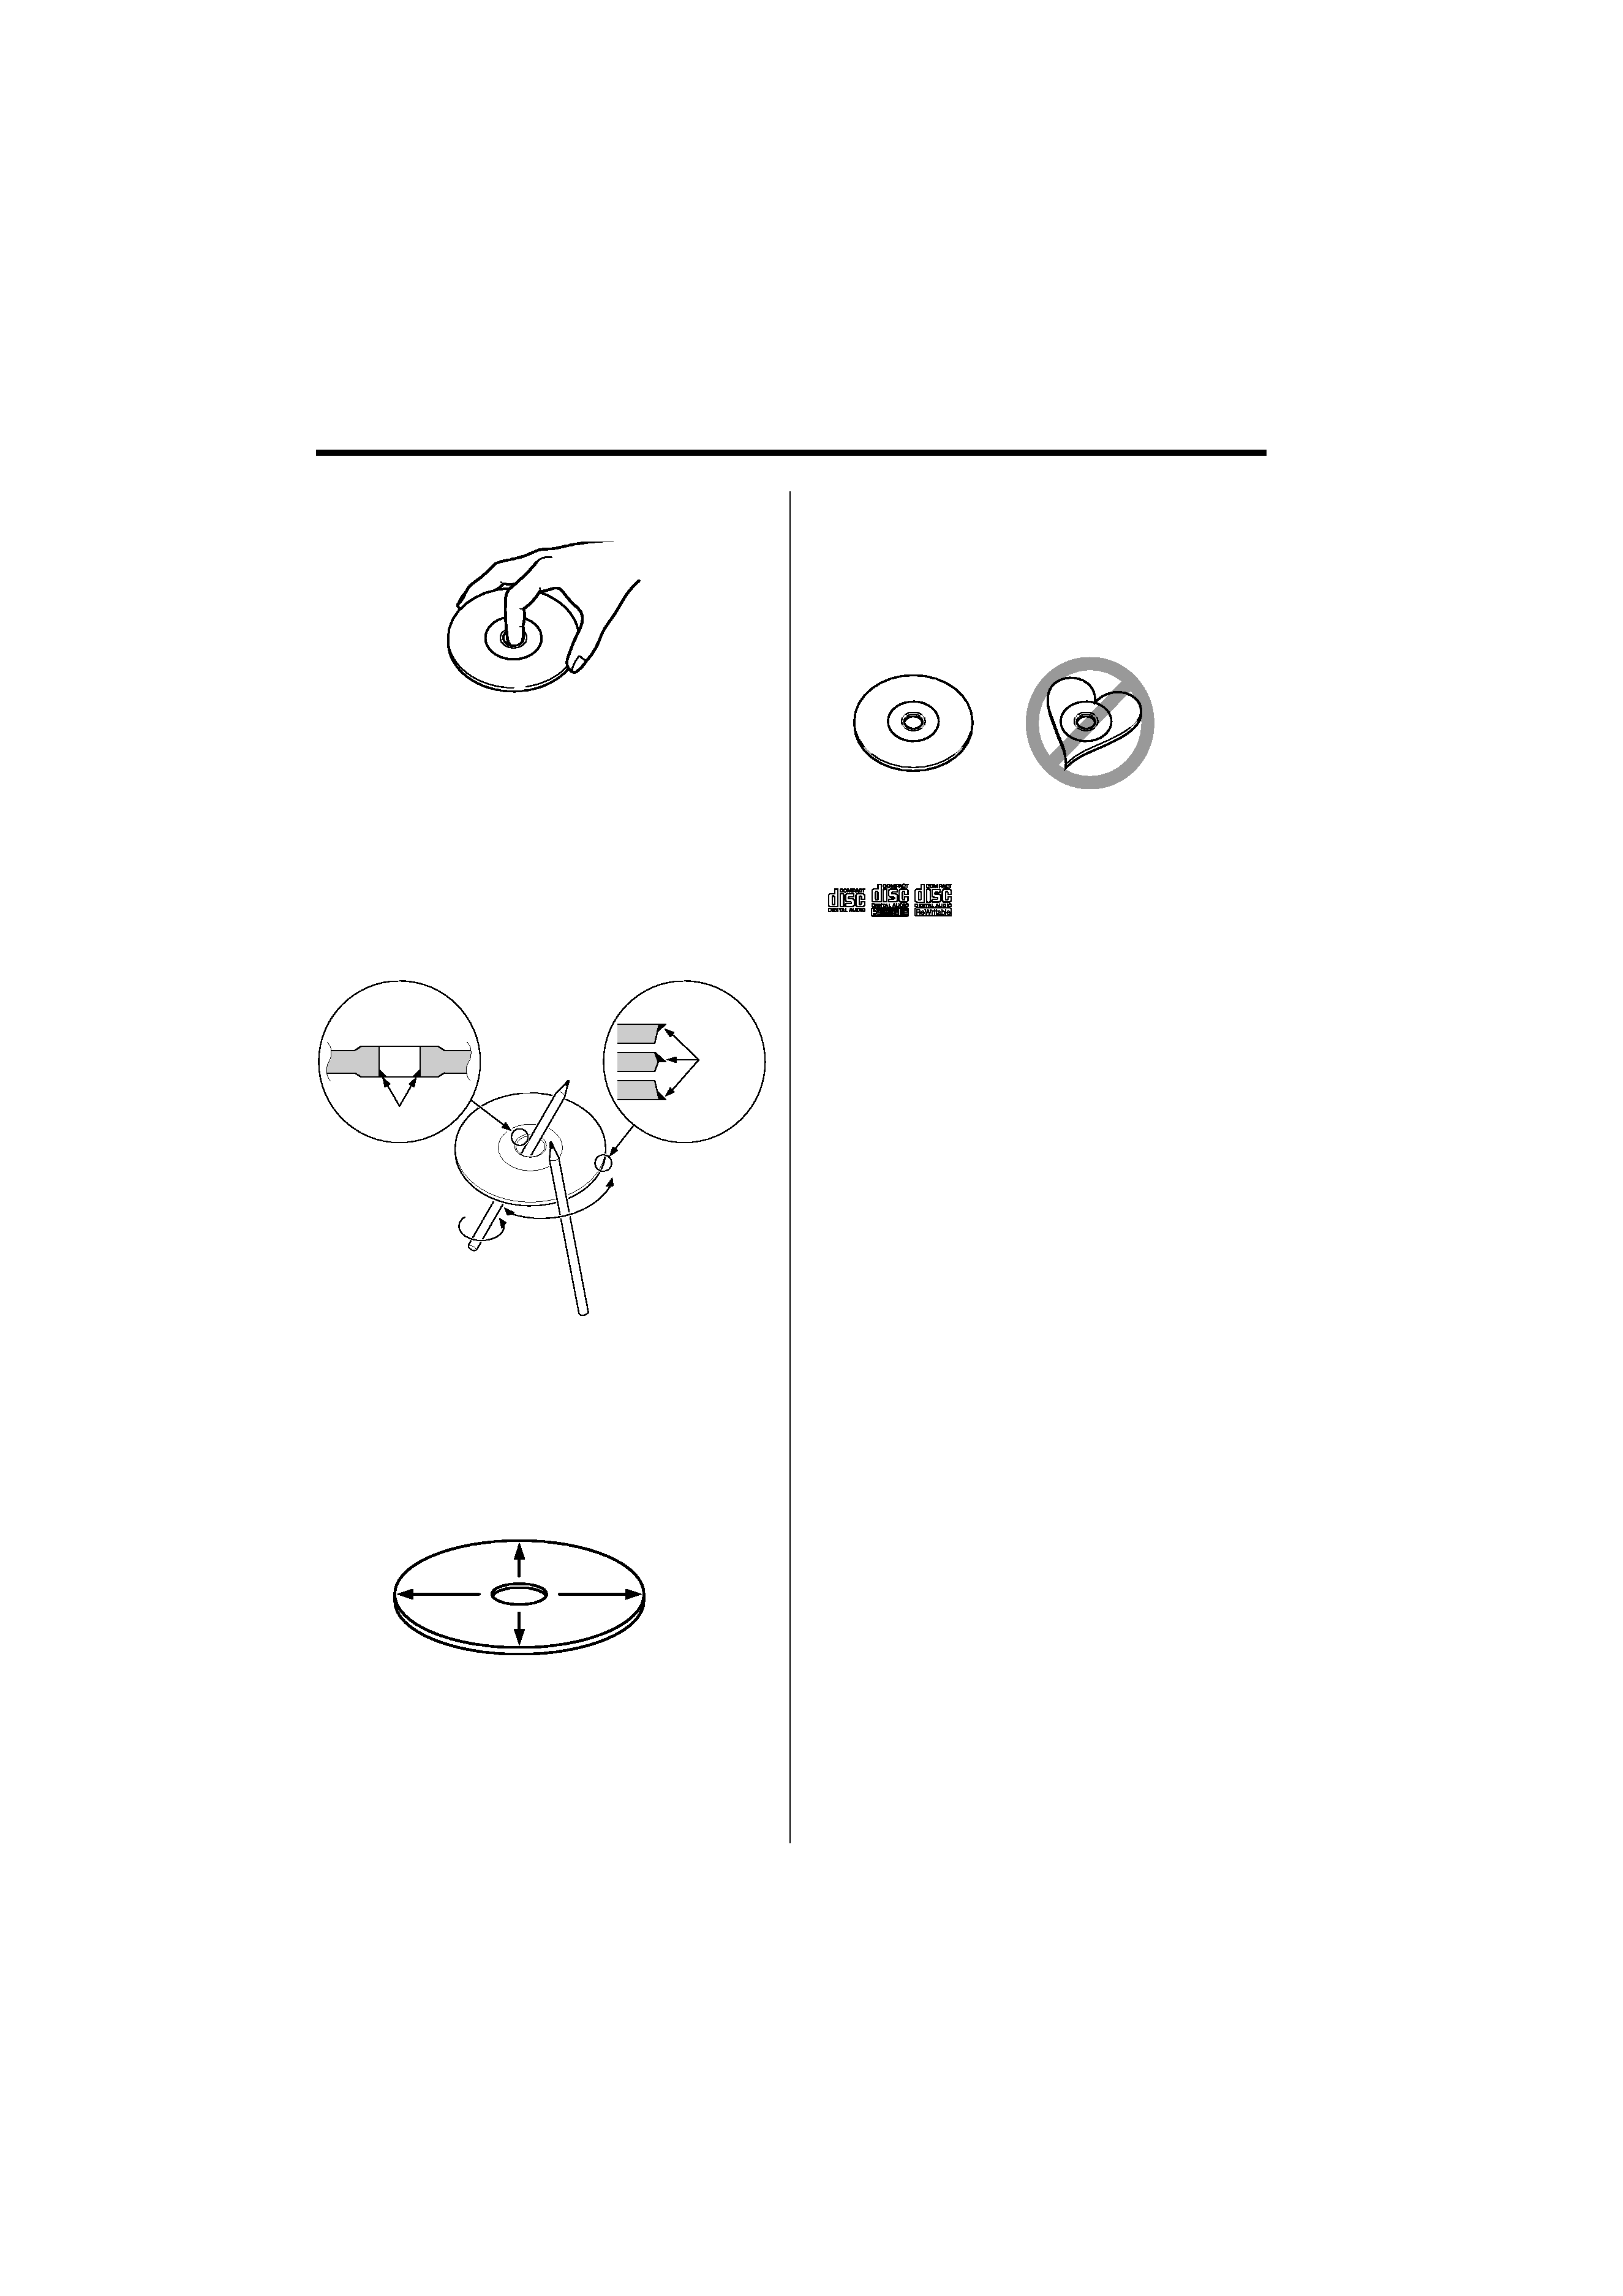
Cleaning the Unit
If the faceplate of this unit is stained, wipe it with a
dry soft cloth such as a silicon cloth.
If the faceplate is stained badly, wipe the stain off
with a cloth moistened with neutral cleaner, then
wipe it again with a clean soft dry cloth.
· Applying spray cleaner directly to the unit may affect its
mechanical parts. Wiping the faceplate with a hard cloth
or using a volatile liquid such as thinner or alcohol may
scratch the surface or erases characters.
Cleaning the Faceplate Terminals
If the terminals on the unit or faceplate get dirty,
wipe them with a clean soft dry cloth.
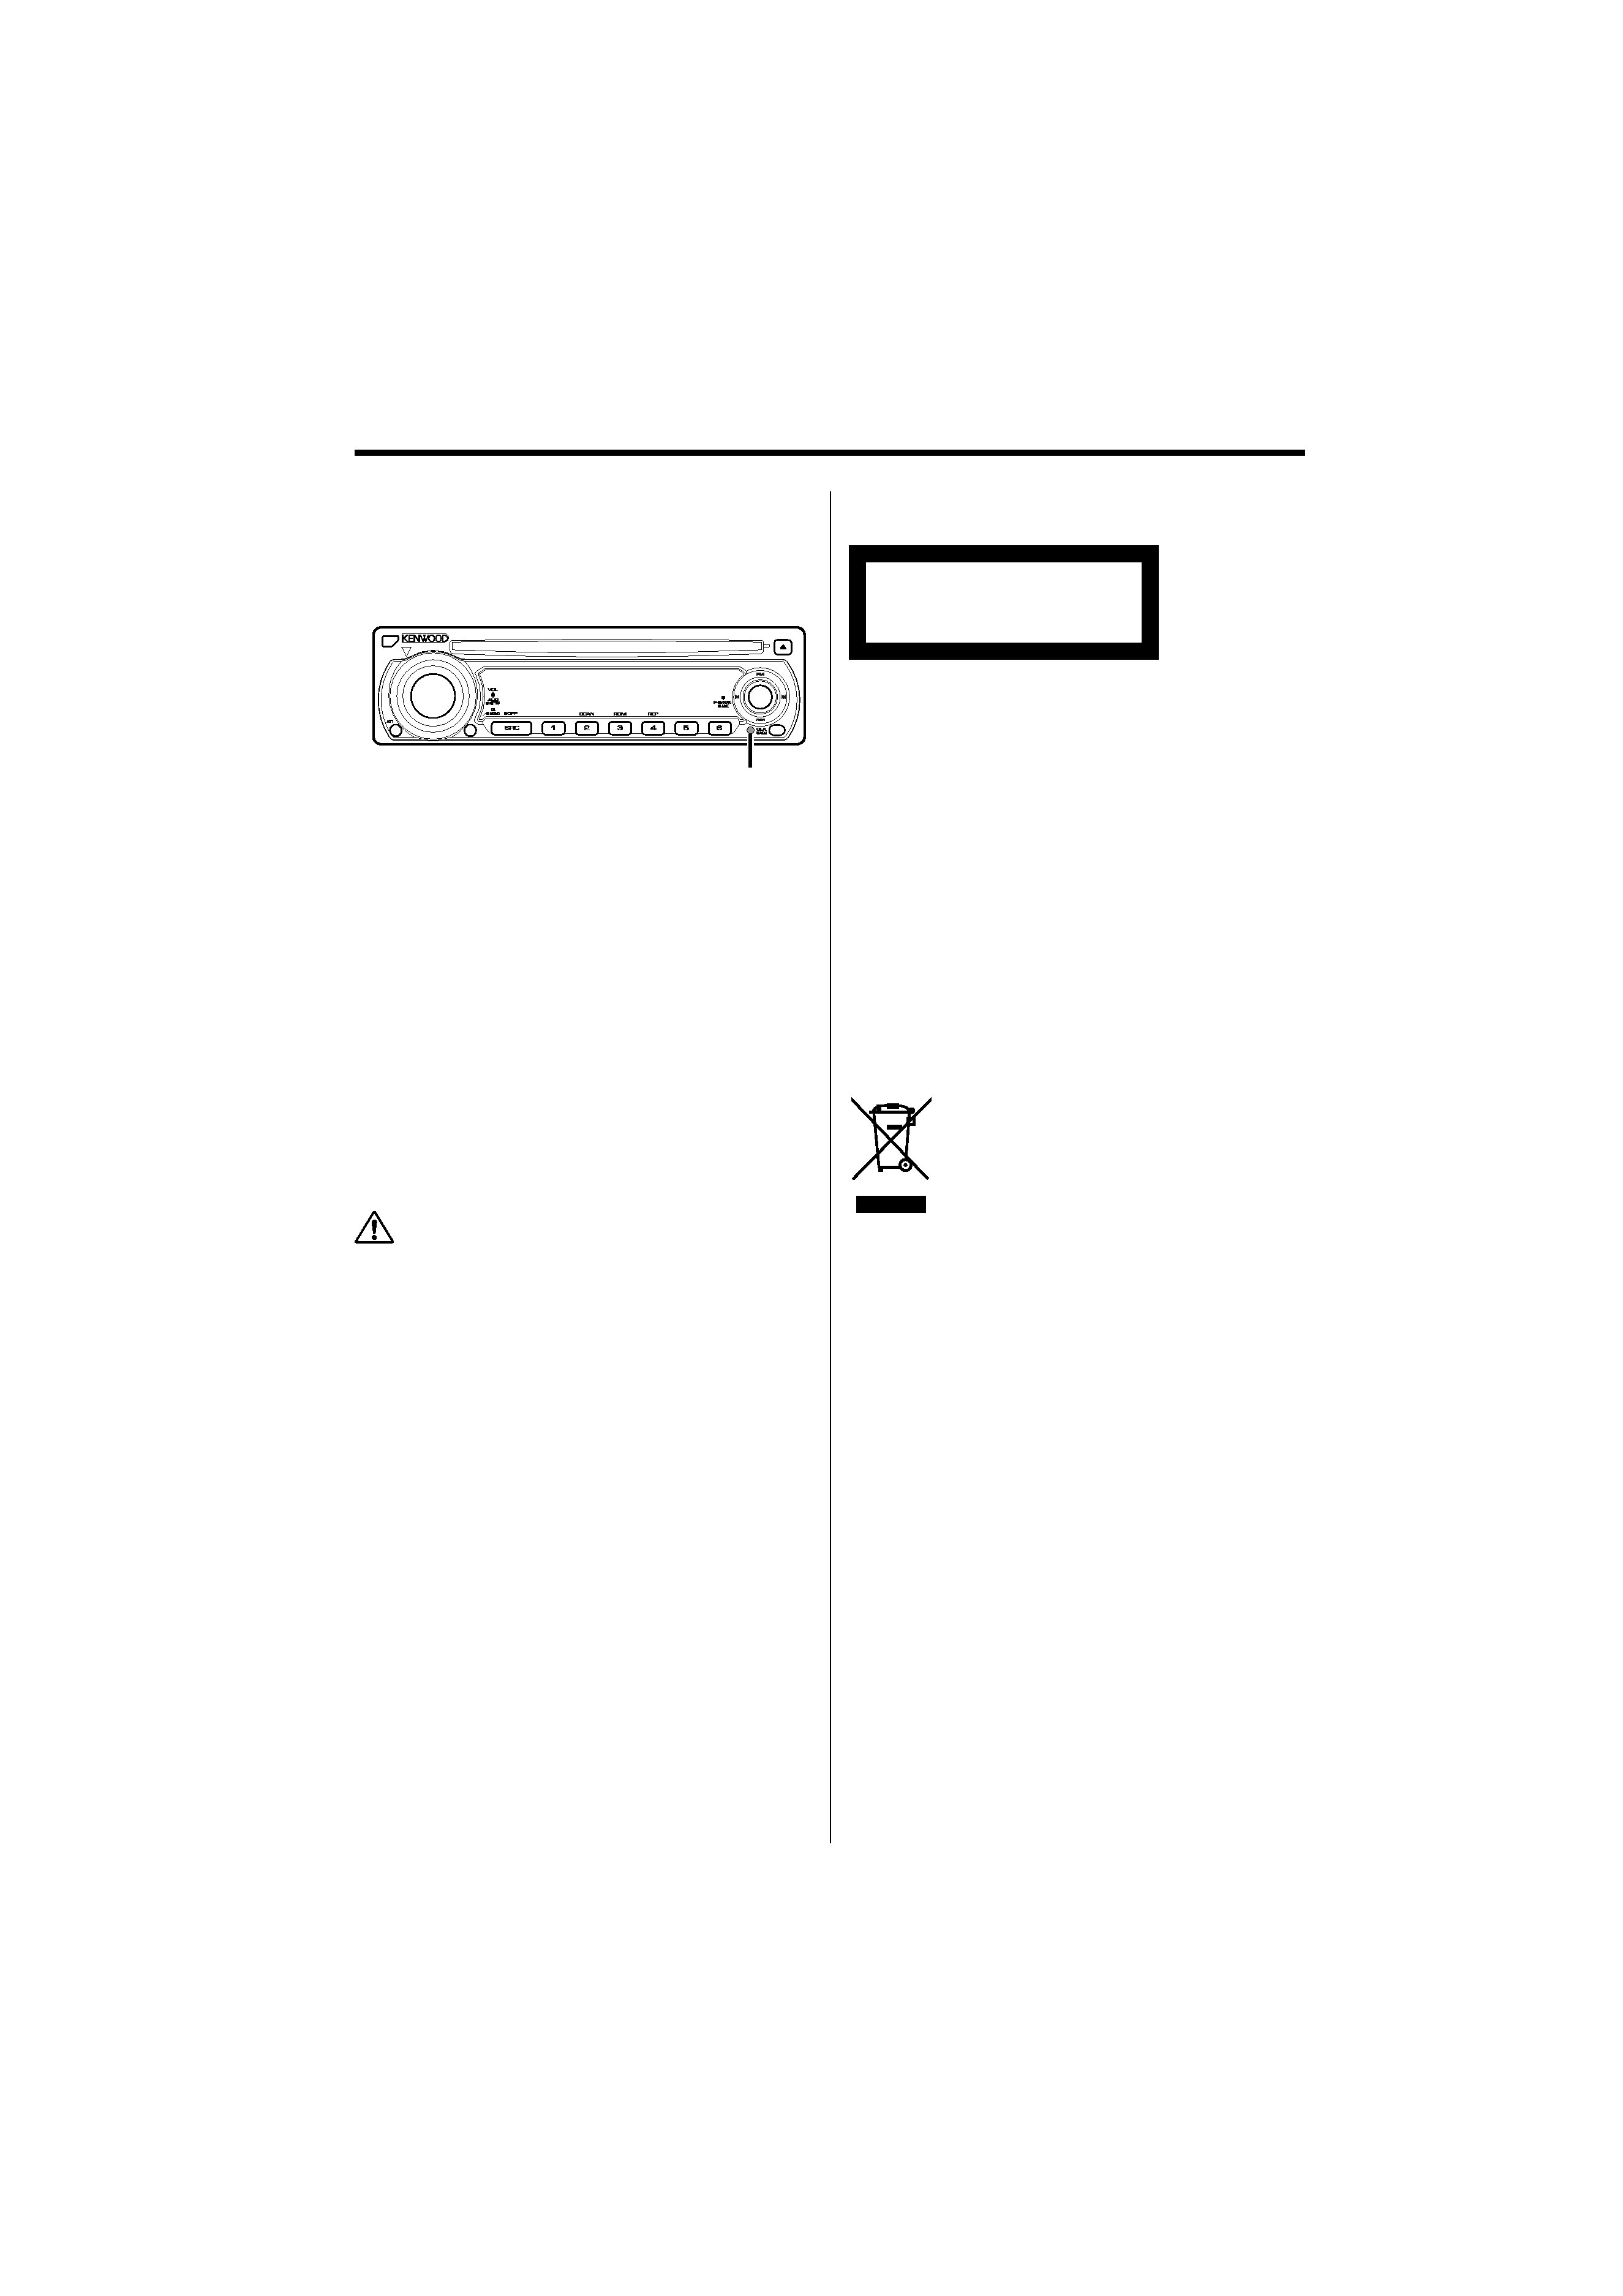
The marking of products using lasers
(Except for some areas)
CLASS 1
LASER PRODUCT
The label is attached to the chassis/case and says
that the component uses laser beams that have
been classified as Class 1. This means that the unit
is utilizing laser beams that are of a weaker class.
There is no danger of hazardous radiation outside
the unit.
This Product is not installed by the manufacturer
of a vehicle on the production line, nor by the
professional importer of a vehicle into an EU
Member State.
Information on Disposal of Old Electrical
and Electronic Equipment (applicable for
EU countries that have adopted separate
waste collection systems)
Products with the symbol (crossed-out
wheeled bin) cannot be disposed as
household waste.
Old electrical and electronic equipment
should be recycled at a facility capable
of handling these items and their
waste byproducts. Contact your local
authority for details in locating a
recycle facility nearest to you. Proper
recycling and waste disposal will help
conserve resources whilst preventing
detrimental effects on our health and the
environment.
Reset button
background image
English |
5
Handling CDs
· Do not touch the recording surface of the CD.
· CD-R and CD-RW are easier to damage than a
normal music CD. Use a CD-R or a CD-RW after
reading the caution items on the package etc.
· Do not stick tape etc. on the CD, or use a CD with
tape stuck on it.
When using a new CD
If the CD center hole or outside rim has burrs,
use the CD only after removing the burrs with a
ballpoint pen etc.
Burrs
Burrs
CD accessories
Do not use disc type accessories.
CD cleaning
Clean from the center of the disc and move
outward.
About CDs
Removing CDs
When removing CDs from this unit pull them out
horizontally.
CDs that can't be used
· CDs that are not round cannot be used.
· CDs with coloring on the recording surface or that
are dirty cannot be used.
· This unit can only play the CDs with
.
This unit may not correctly play discs which do
not have the mark.
· You cannot play A CD-R or CD-RW that has not
been finalized. (For the finalization process refer to
your CD-R/CD-RW writing software, and your CD-
R/CD-RW recorder instruction manual.)
CD storage
· Do not place CDs in direct sunlight (On the seat
or dashboard etc.) or where the temperature is
high.
· Store CDs in their cases.

Reviews

There are no reviews of this manual yet.