4 | English
About CD players/disc changers
connected to this unit
KENWOOD disc changers/ CD players released in
1998 or later can be connected to this unit.
Refer to the catalog or consult your Kenwood
dealer for connectable models of disc changers/
CD players.
Note that any KENWOOD disc changers/ CD players
released in 1997 or earlier and disc changers made
by other makers cannot be connected to this unit.
Unsupported connection may result in damage.
Setting the "O-N" Switch to the "N" position for the
applicable KENWOOD disc changers/ CD players.
The functions that can be used and the information
that can be displayed will differ depending on the
models being connected.
· You can damage both your unit and the CD changer if
you connect them incorrectly.
NOTE
· If you experience problems during installation,
consult your Kenwood dealer.
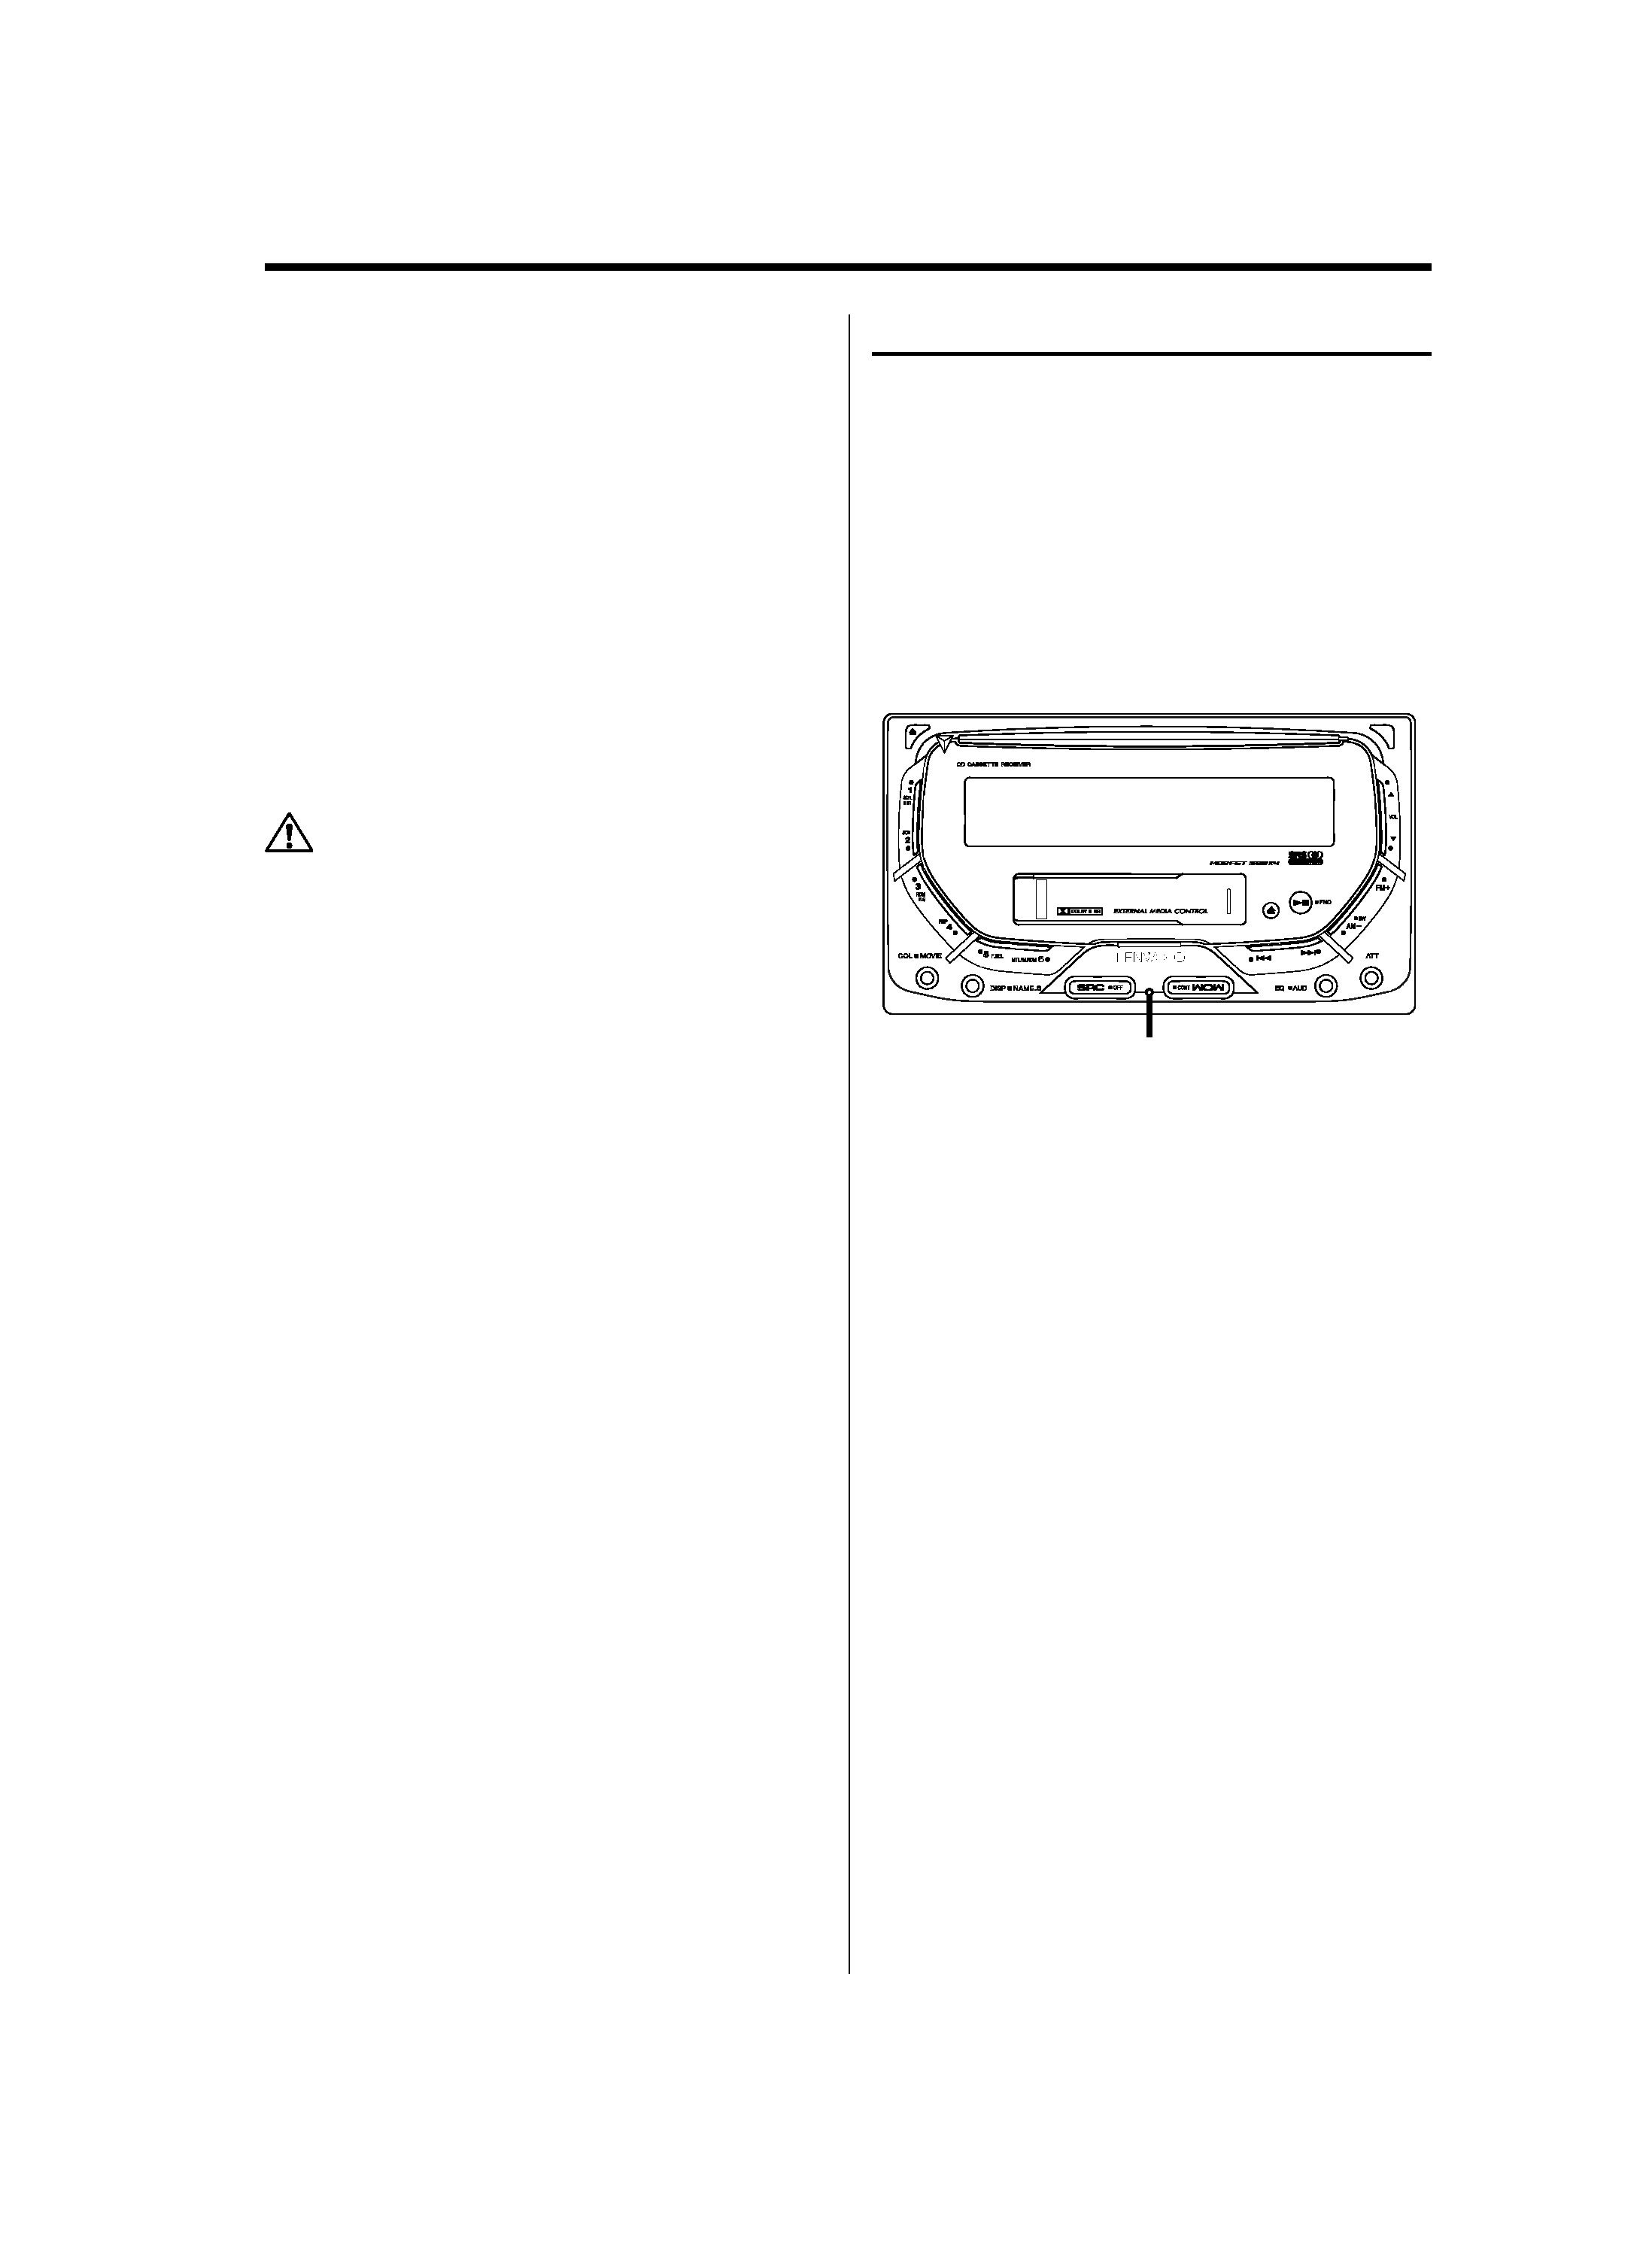
· If the unit fails to operate properly, press the Reset
button. The unit returns to factory settings when
the Reset button is pressed. If the unit still fails to
operate properly after the Reset button has been
pressed, contact your local KENWOOD dealer for
assistance.
· Press the reset button if the Disc auto changer
fails to operate correctly. Normal operation should
be restored.
· Characters in the LCD may become difficult to
read in temperatures below 41 °F (5 °C).
· The illustrations of the display and the panel
appearing in this manual are examples used to
explain more clearly how the controls are used.
Therefore, what appears on the display in the
illustrations may differ from what appears on
the display on the actual equipment, and some
of the illustrations on the display may represent
something impossible in actual operation.
Lens Fogging
Right after you turn on the car heater in cold
weather, dew or condensation may form on the
lens in the Disc player of the unit. Called lens
fogging, Discs may be impossible to play. In such
a situation, remove the disc and wait for the
condensation to evaporate. If the unit still does
not operate normally after a while, consult your
Kenwood dealer.
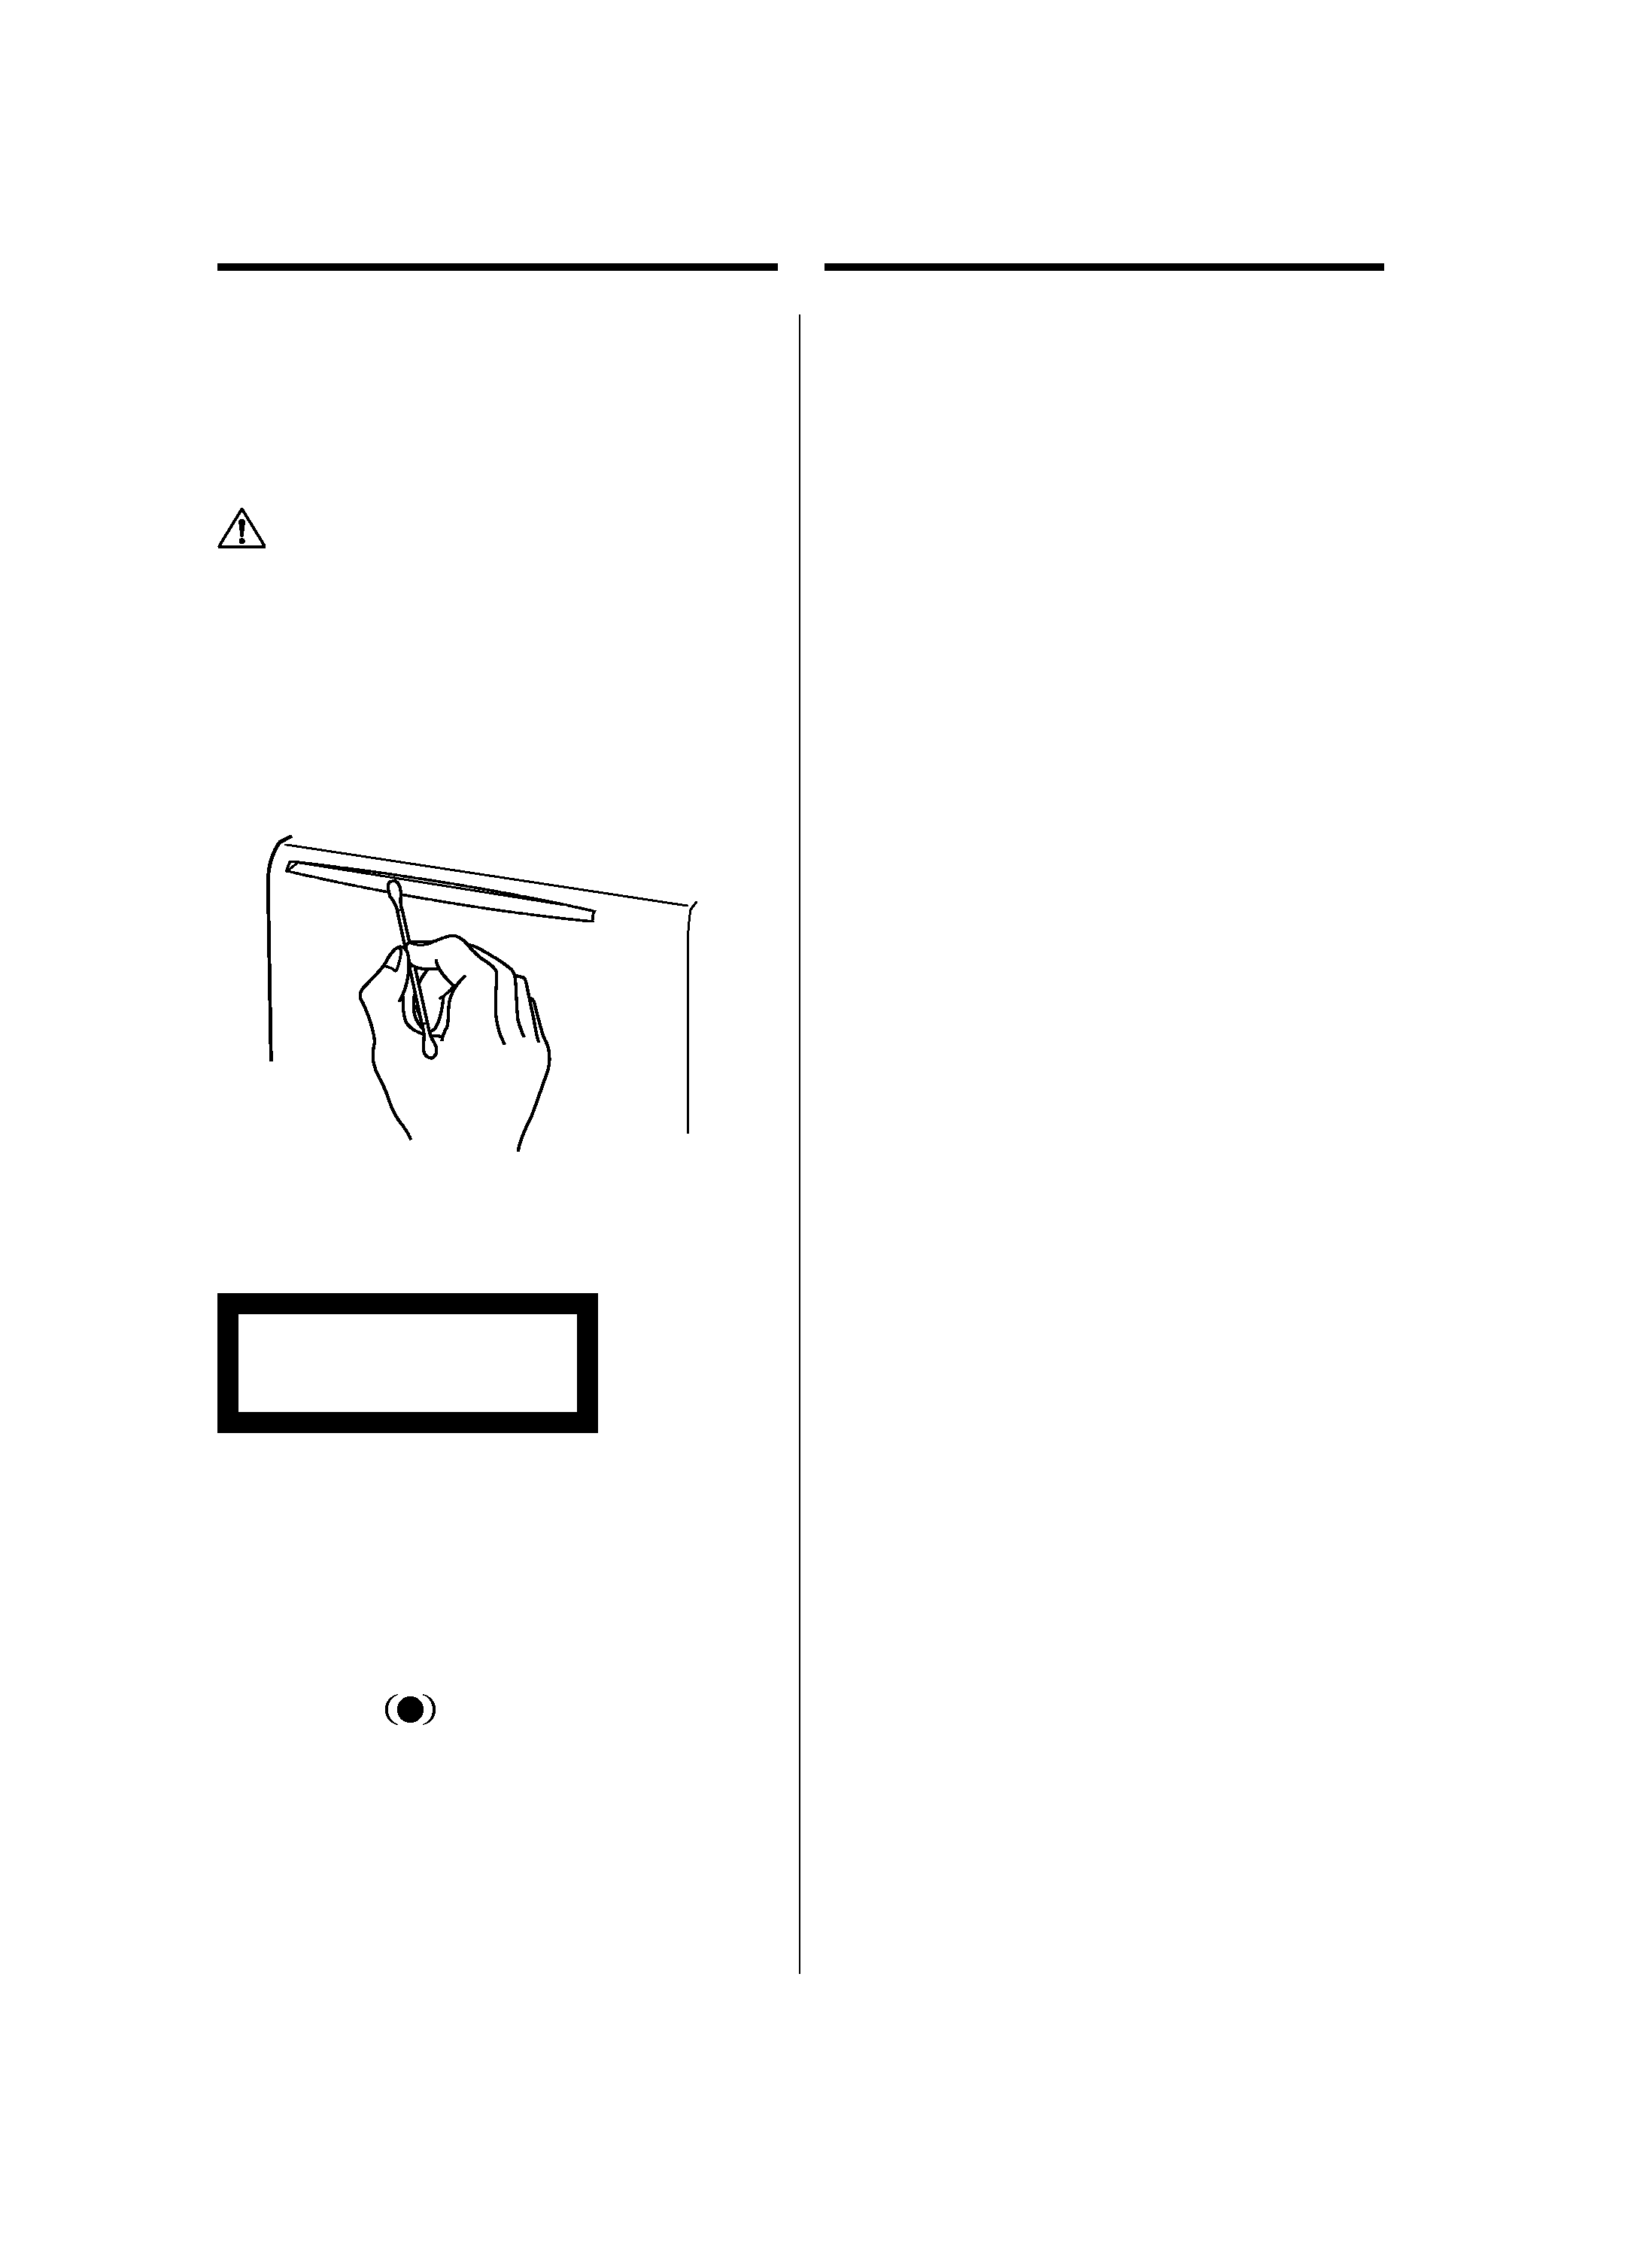
Safety precautions
Reset button