English
|
3
Before use
2WARNING
To prevent injury or fire, take the following
precautions:
· To prevent a short circuit, never put or leave any
metallic objects (such as coins or metal tools) inside
the unit.
Before using this unit for the first time
This unit is initially set on the Demonstration mode.
When using this unit for the first time, cancel the
<Demonstration mode Setting> (page 18).
How to reset your unit
· If this unit or the connected unit (disc auto changer,
etc.) fails to operate properly, press the Reset button.
The unit returns to factory settings when the Reset
button is pressed.
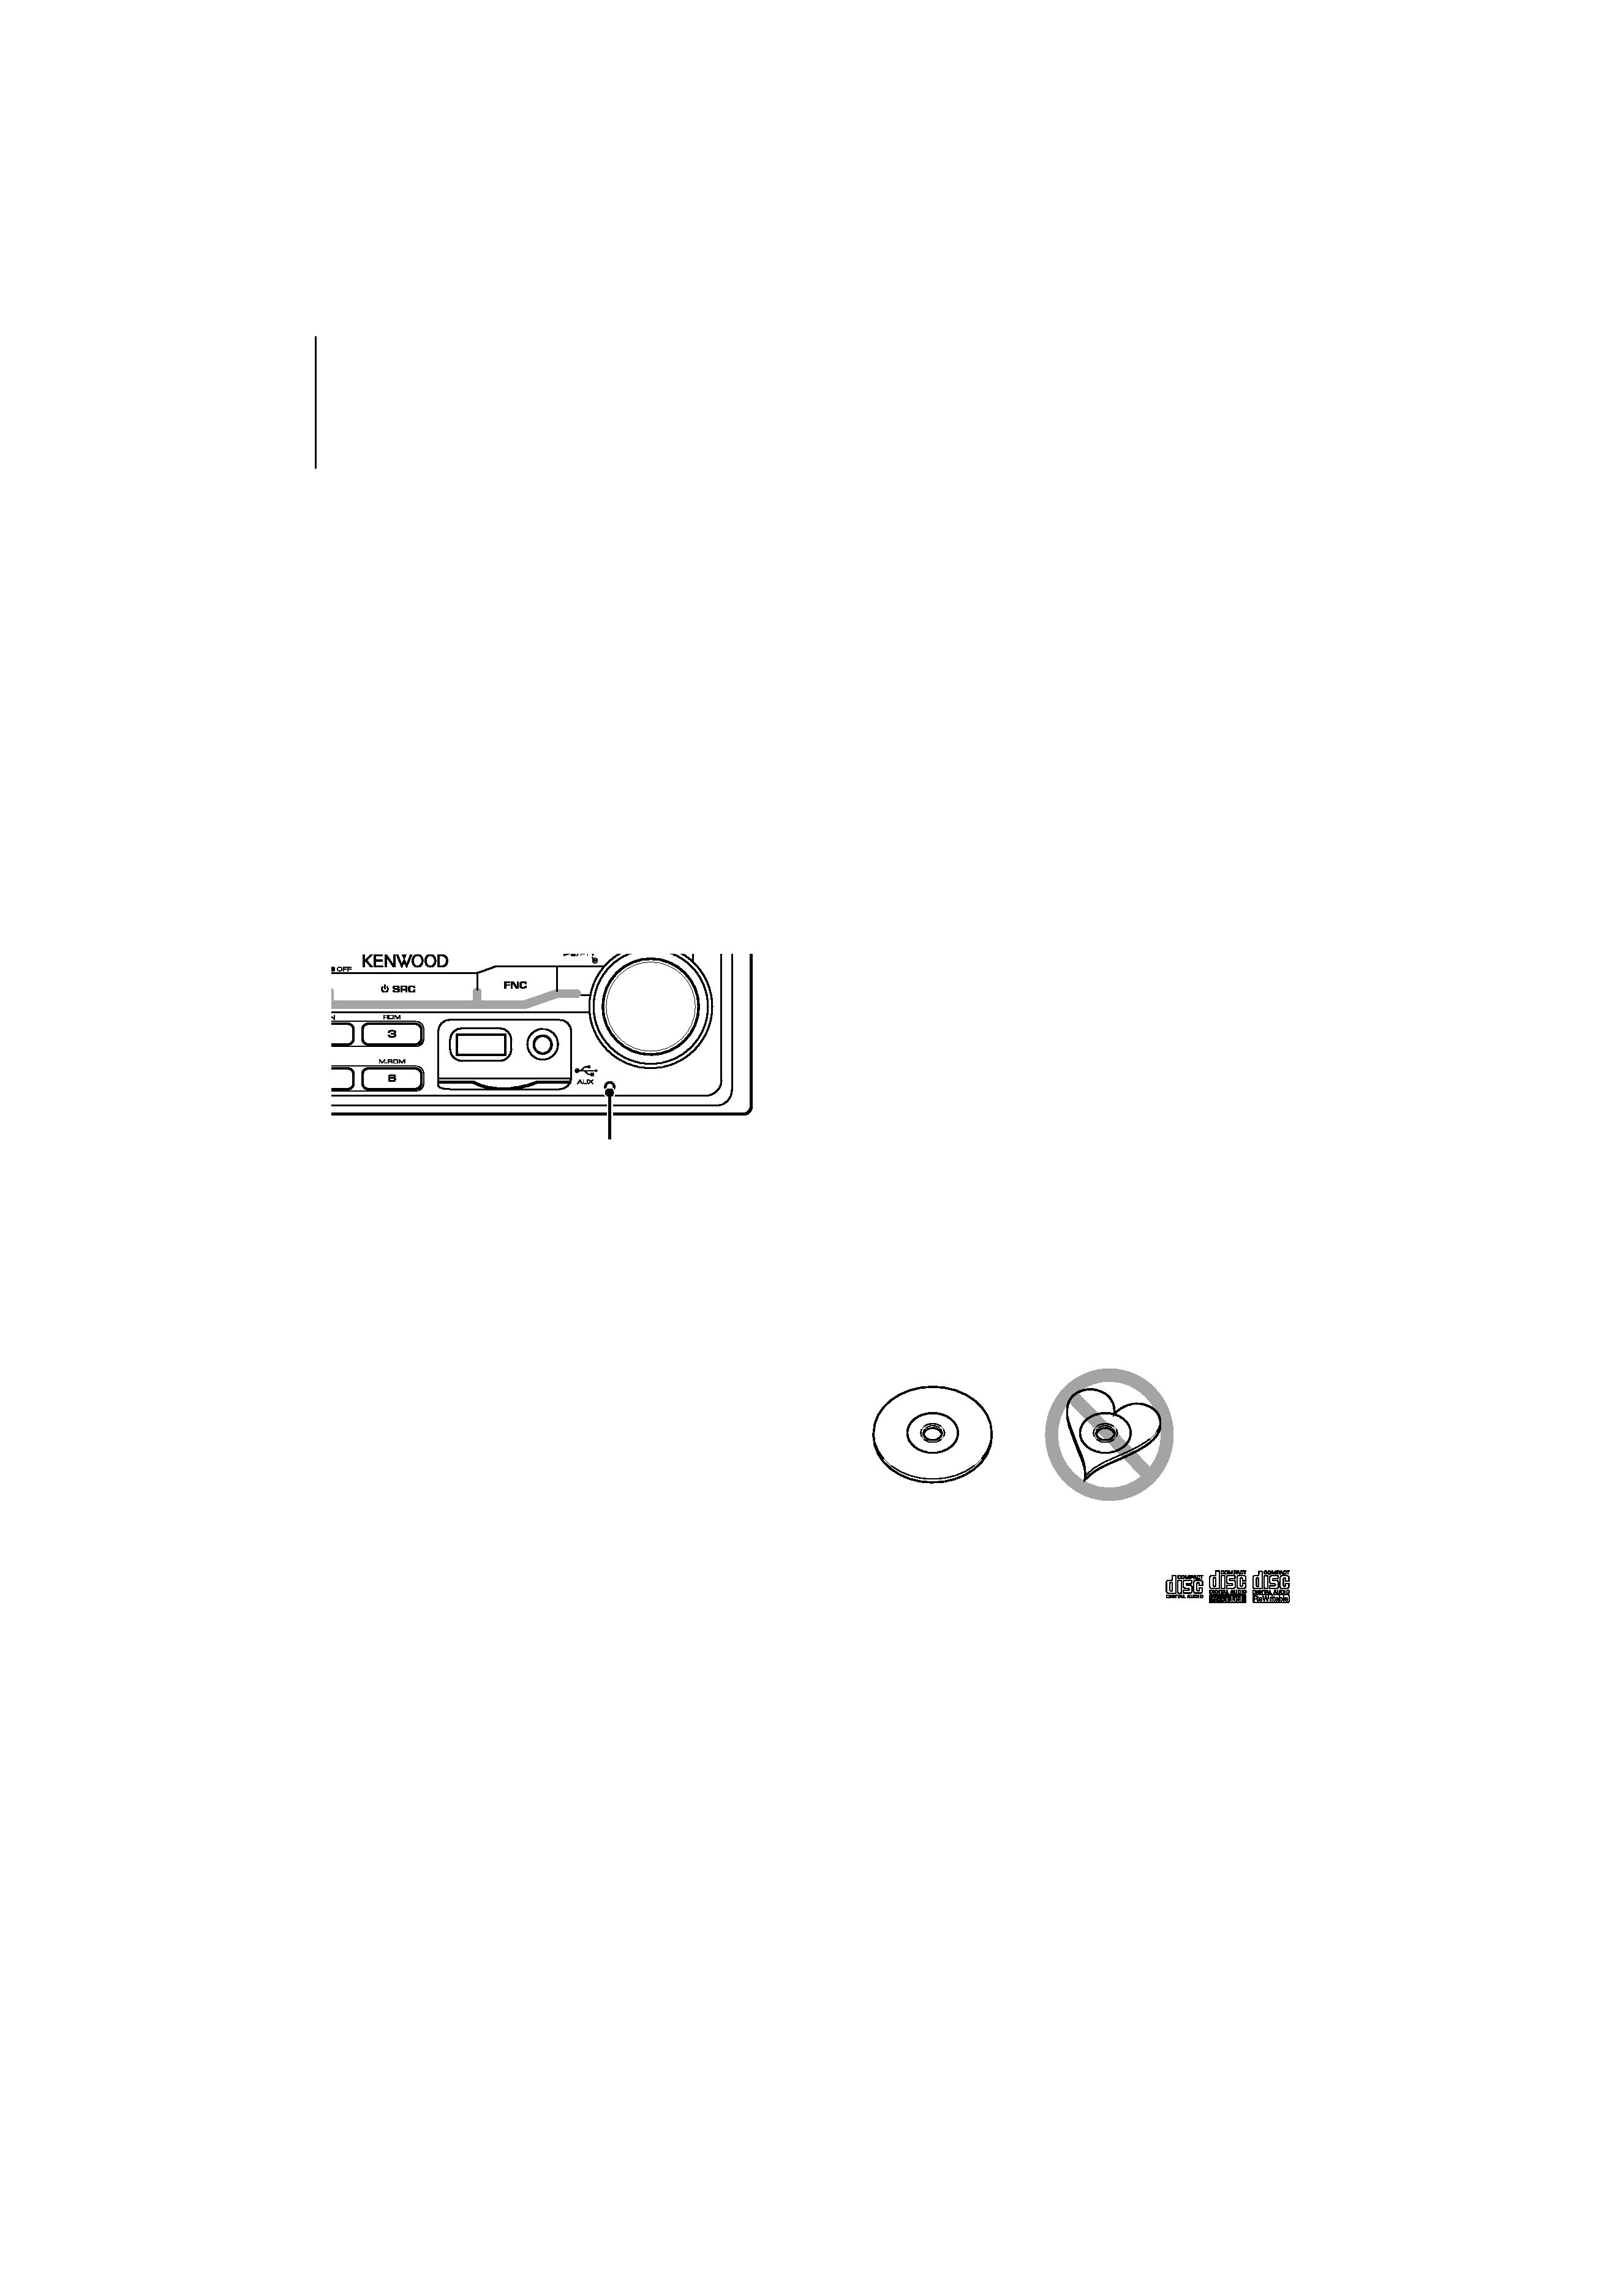
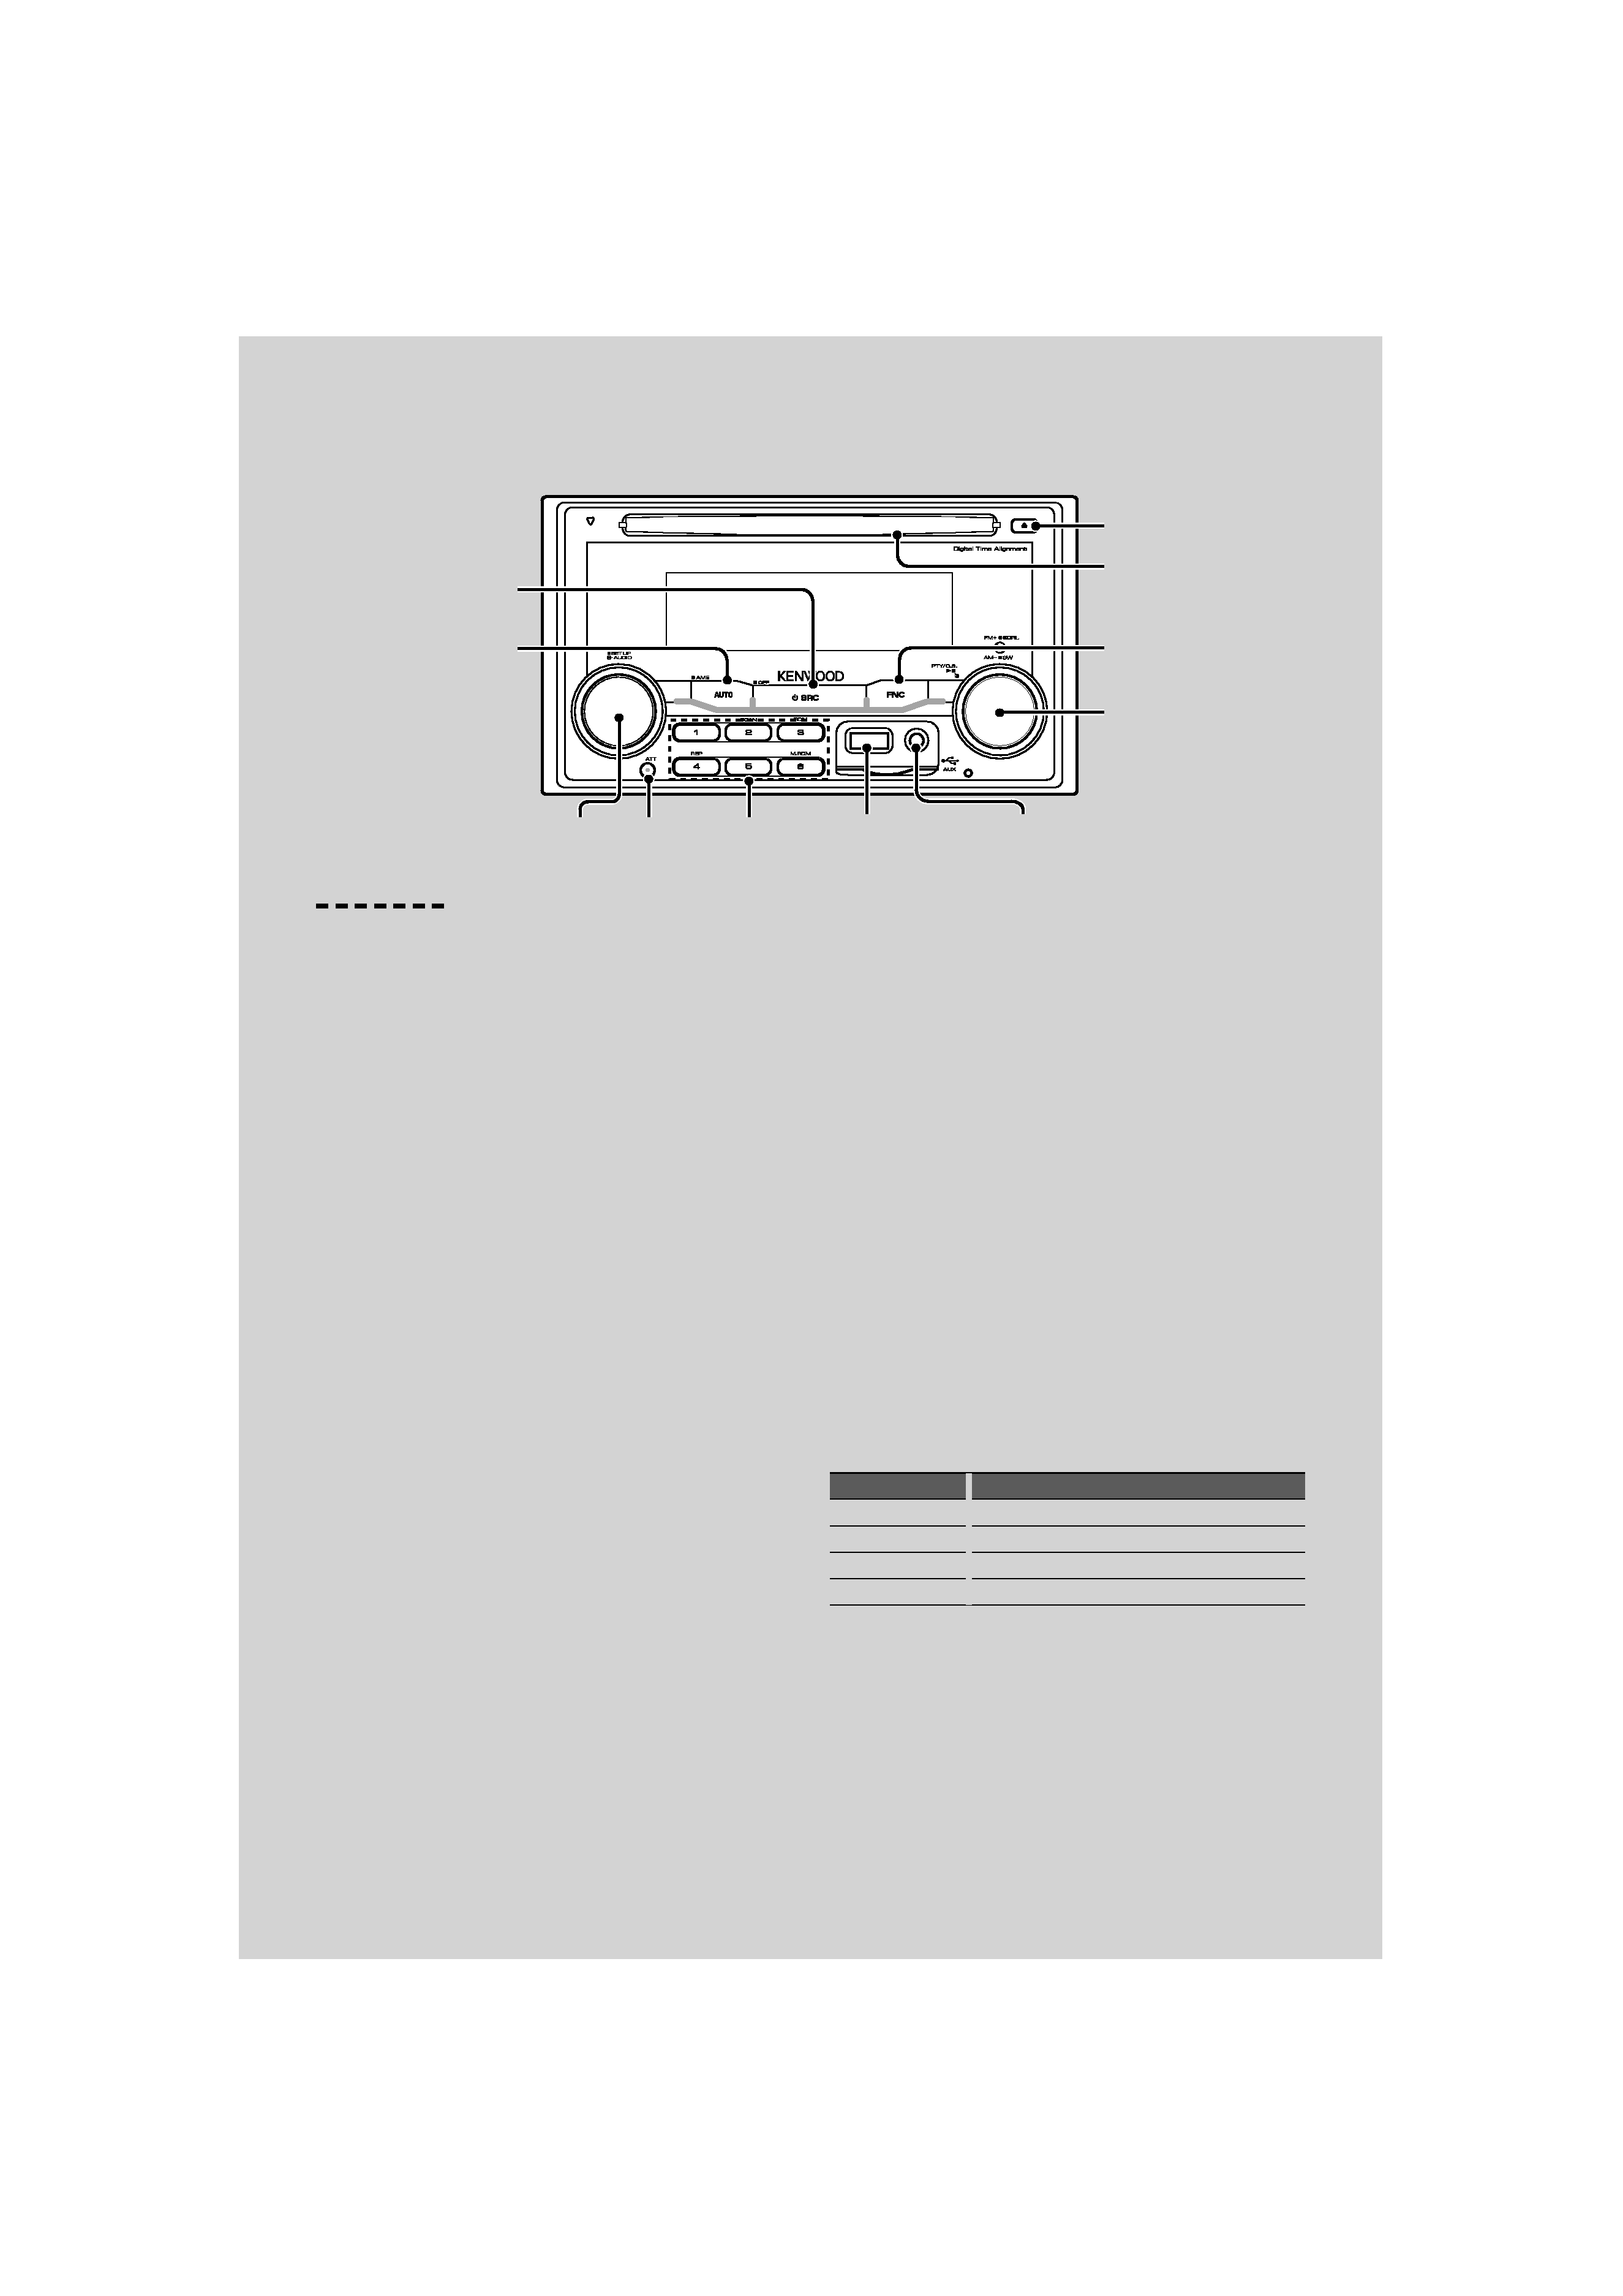
Reset button
Cleaning the Unit
If the faceplate of this unit is stained, wipe it with a
dry soft cloth such as a silicon cloth.
If the faceplate is stained badly, wipe the stain off with
a cloth moistened with neutral cleaner, then wipe it
again with a clean soft dry cloth.
¤
· Applying spray cleaner directly to the unit may affect its
mechanical parts. Wiping the faceplate with a hard cloth or
using a volatile liquid such as thinner or alcohol may scratch
the surface or erases characters.
Lens Fogging
When you turn on the car heater in cold weather,
dew or condensation may form on the lens in the
CD player of the unit. Called lens fogging, this
condensation on the lens may not allow CDs to play.
In such a situation, remove the disc and wait for the
condensation to evaporate. If the unit still does not
operate normally after a while, consult your Kenwood
dealer.
· If you experience problems during installation,
consult your Kenwood dealer.
· When you purchase optional accessories, check with
your Kenwood dealer to make sure that they work
with your model and in your area.
· Characters that conform to ISO 8859-1 can be
displayed.
· In this document, the description indicator will light
means a status is displayed. Refer to <About Display
Type> (page 8) for the details of the status display.
· The illustrations of the display, the function icon and
the panel appearing in this manual are examples
used to explain more clearly how the controls are
used. Therefore, what appears on the display in the
illustrations may differ from what appears on the
display on the actual equipment, and some of the
illustrations on the display may be inapplicable.
Handling CDs
· Do not touch the recording surface of the CD.
· Do not stick tape etc. on the CD, or use a CD with
tape stuck on it.
· Do not use disc type accessories.
· Clean from the center of the disc and move
outward.
· When removing CDs from this unit, pull them out
horizontally.
· If the CD center hole or outside rim has burrs,
use the CD only after removing the burrs with a
ballpoint pen etc.
CDs that cannot be used
· CDs that are not round cannot be used.
· CDs with coloring on the recording surface or CDs
that are dirty cannot be used.
· This unit can only play the CDs with
.
This unit may not correctly play discs which do not
have the mark.
· You cannot play a CD-R or CD-RW that has not been
finalized. (For the finalization process refer to your
CD-R/CD-RW writing software, and your CD-R/CD-
RW recorder instruction manual.)


 Service Manual")


